Felt crumbs
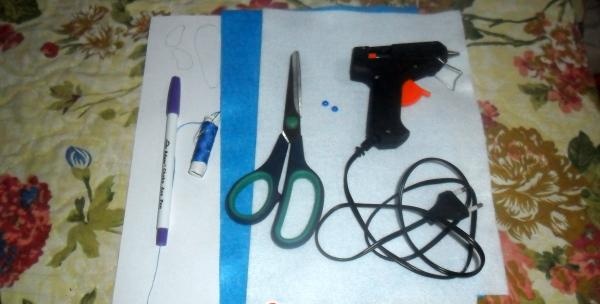
Making a toy for your baby that will become his favorite is not so difficult. Many children adore the heroes of the cartoon “Smeshariki”; any of them can be made from felt. Let's stock up on two sheets of felt, white and blue. Prepare matching threads, a needle, a pen (to trace the details), a couple of beads for making eyes, and a glue gun. It is important that the scissors are sharp.
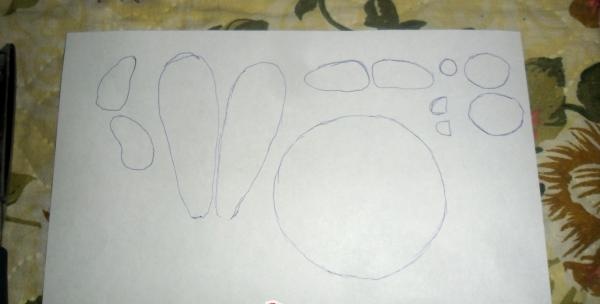
Many people don’t know where to get patterns - they’re easy to make yourself. Just choose a suitable picture, place a blank sheet of paper on the monitor and translate.
Transferring the pattern to the material is also easy. I cut out each piece, apply it to felt, trace it and cut it out.
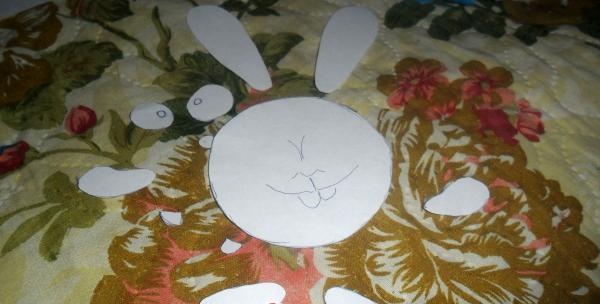
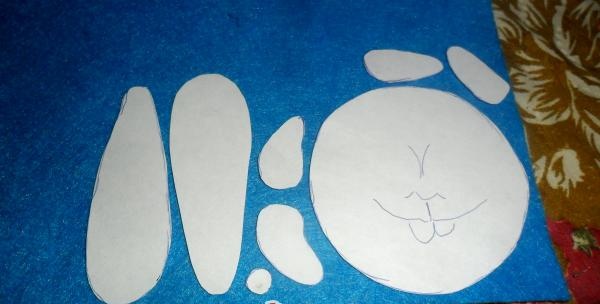
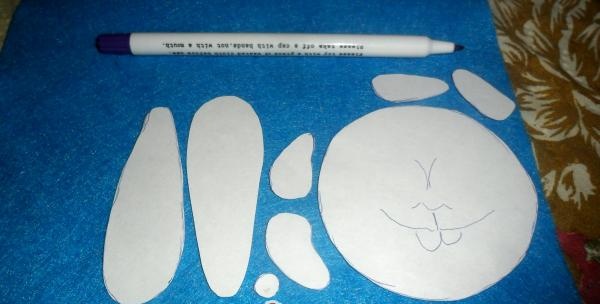
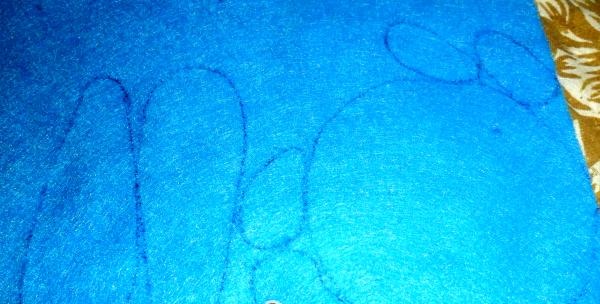
To begin with, I collected all the parts together to look at the future toy.
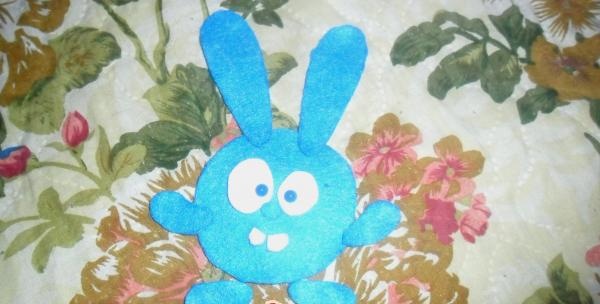
I decided to make it printed, so I cut out most of the parts in twos.
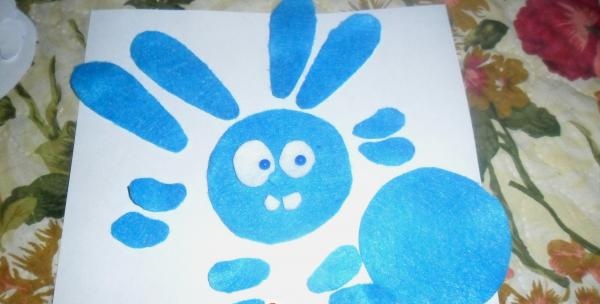
There was no stuffing at that moment; instead I used felt scraps; they remain after any work, be it a brooch, a hairpin or an applique.
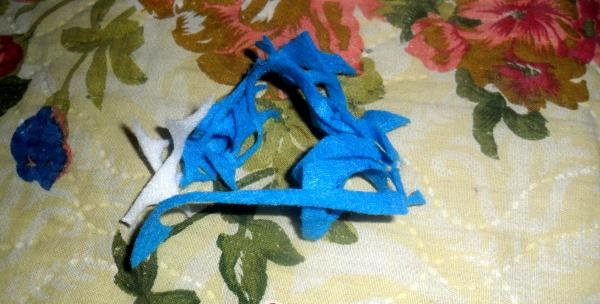
It didn’t turn out very voluminous, but the child liked it. I started sewing from the feet. I combined it, put in a little filler, and sewed it up.
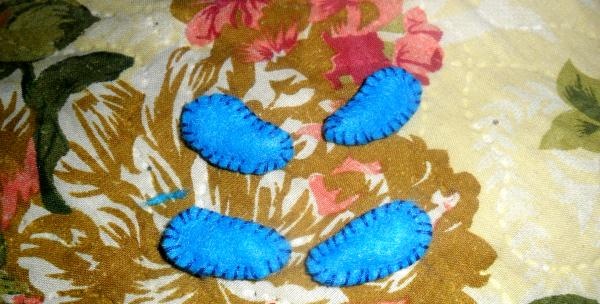
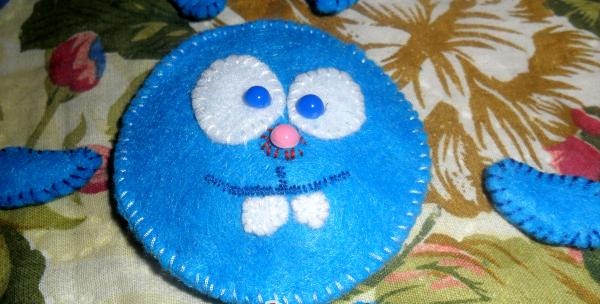
To move on to the body, you must first design the face of the toy.I decided to embroider a smile and outlined it with a disappearing marker. Embroidering on felt is quite convenient, although a good eye is required.
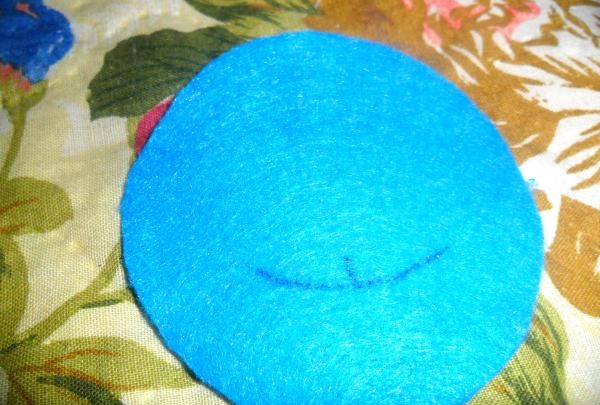
I arranged the remaining pieces to see the big picture, then removed them.
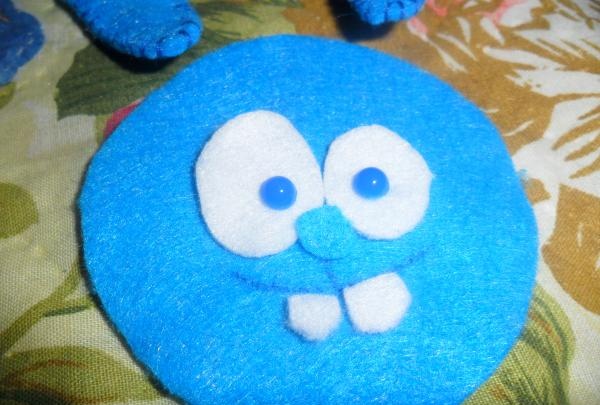
I embroidered a smile and sewed on the nose with red thread.
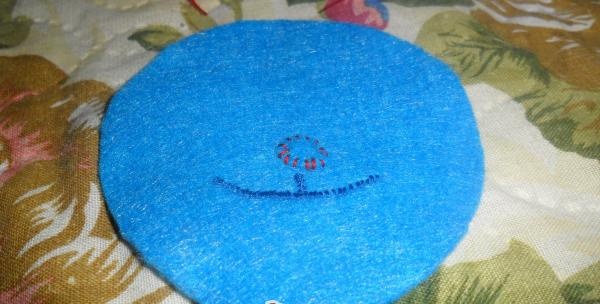
I constantly checked myself, applying the remaining parts.
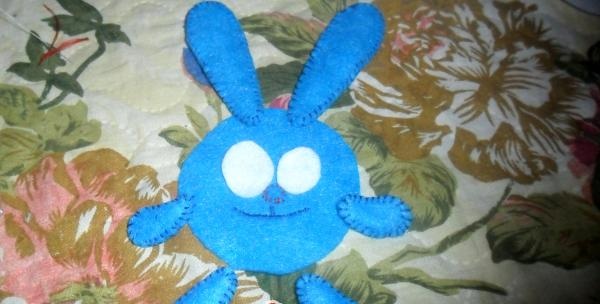
I sewed on the eyes, they sell ready-made ones in craft departments, they are inexpensive, and the toy looks different with them.
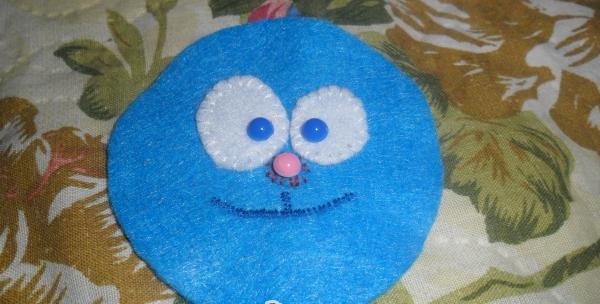
I attached it using hot glue, but many people simply sew on beads or buttons.
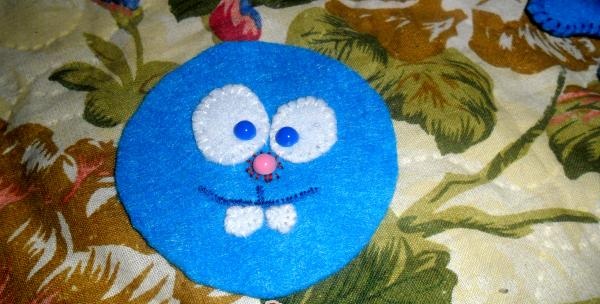
After decorating the muzzle, you can work on the body, stuffing it more than the paws and ears.
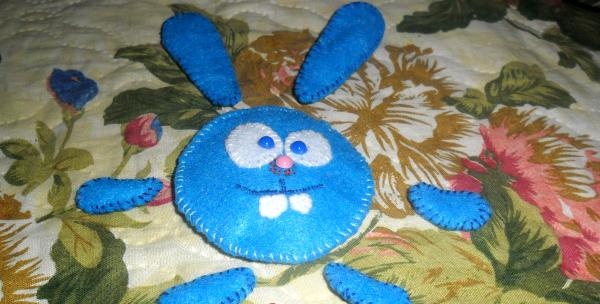
I also assembled the parts of the felt toy using a glue gun.
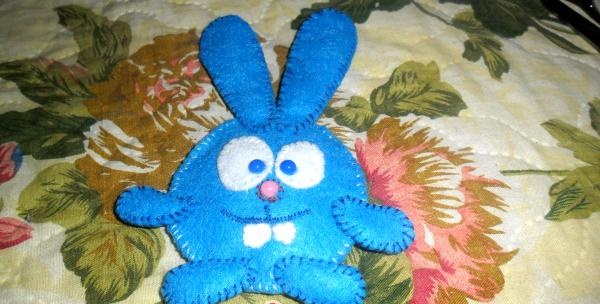
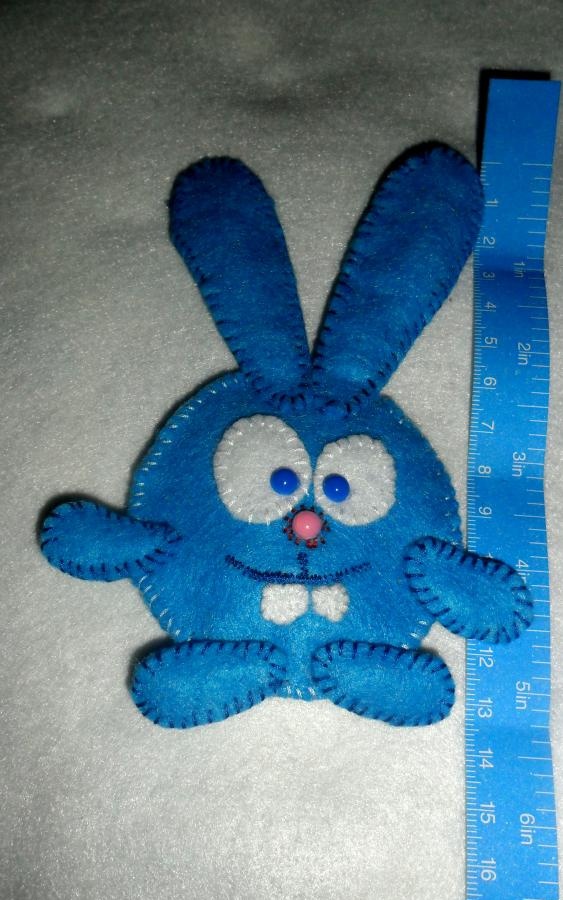
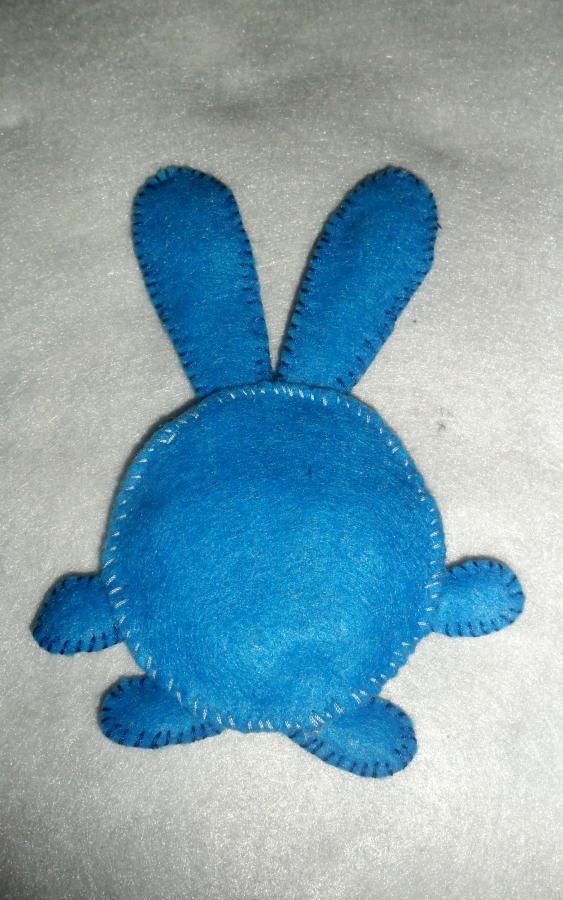
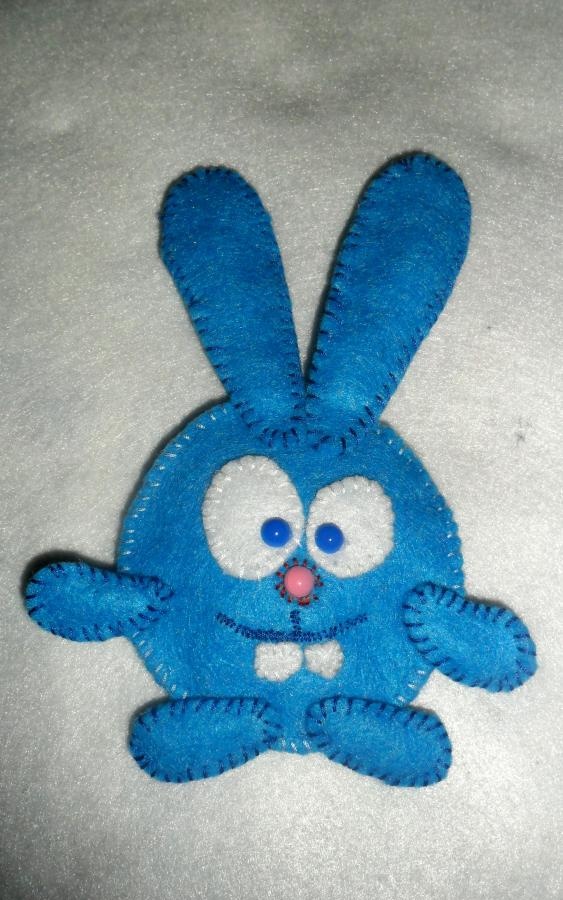
It wasn't very easy to make all the seams the same, but I think it's a matter of practice. Other “Smeshariki” from felt are sewn in a similar way. My son really liked the toy and takes the rabbit with him to bed.

Many people don’t know where to get patterns - they’re easy to make yourself. Just choose a suitable picture, place a blank sheet of paper on the monitor and translate.
Transferring the pattern to the material is also easy. I cut out each piece, apply it to felt, trace it and cut it out.


To begin with, I collected all the parts together to look at the future toy.

I decided to make it printed, so I cut out most of the parts in twos.

There was no stuffing at that moment; instead I used felt scraps; they remain after any work, be it a brooch, a hairpin or an applique.

It didn’t turn out very voluminous, but the child liked it. I started sewing from the feet. I combined it, put in a little filler, and sewed it up.

To move on to the body, you must first design the face of the toy.I decided to embroider a smile and outlined it with a disappearing marker. Embroidering on felt is quite convenient, although a good eye is required.

I arranged the remaining pieces to see the big picture, then removed them.

I embroidered a smile and sewed on the nose with red thread.

I constantly checked myself, applying the remaining parts.

I sewed on the eyes, they sell ready-made ones in craft departments, they are inexpensive, and the toy looks different with them.

I attached it using hot glue, but many people simply sew on beads or buttons.

After decorating the muzzle, you can work on the body, stuffing it more than the paws and ears.


I also assembled the parts of the felt toy using a glue gun.


It wasn't very easy to make all the seams the same, but I think it's a matter of practice. Other “Smeshariki” from felt are sewn in a similar way. My son really liked the toy and takes the rabbit with him to bed.
Similar master classes
Particularly interesting
Comments (0)

