Baby pillow "Kitty"
All children love when they have something unusual, something that others don’t have. For example, an original pillow. It will be in only one copy and only in his possession. You can, of course, buy such a pillow, but no one can guarantee that there is only one, so I suggest sewing it yourself. First, let's decide what we need, that is, what materials and tools we will need. So, we need to purchase fleece fabric in different colors, I took pink (fuchsia), lilac, white, black, yellow, light pink; filling, threads, the same colors as the fleece.
Draw a picture on paper measuring 38*55. We make a template of what the pillow will look like. For the drawing, I took the cartoon character “Kitty.” This is what I came up with.
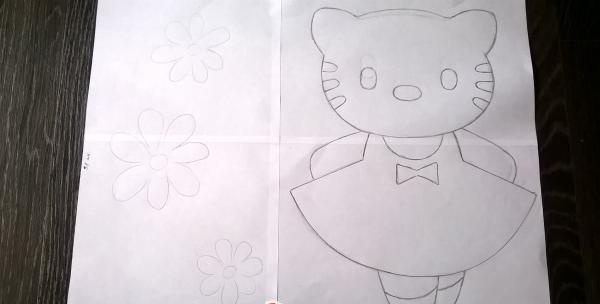
I transferred all the details onto a blank sheet of paper and cut them out. The result is patterns that are very convenient for cutting from fabric.
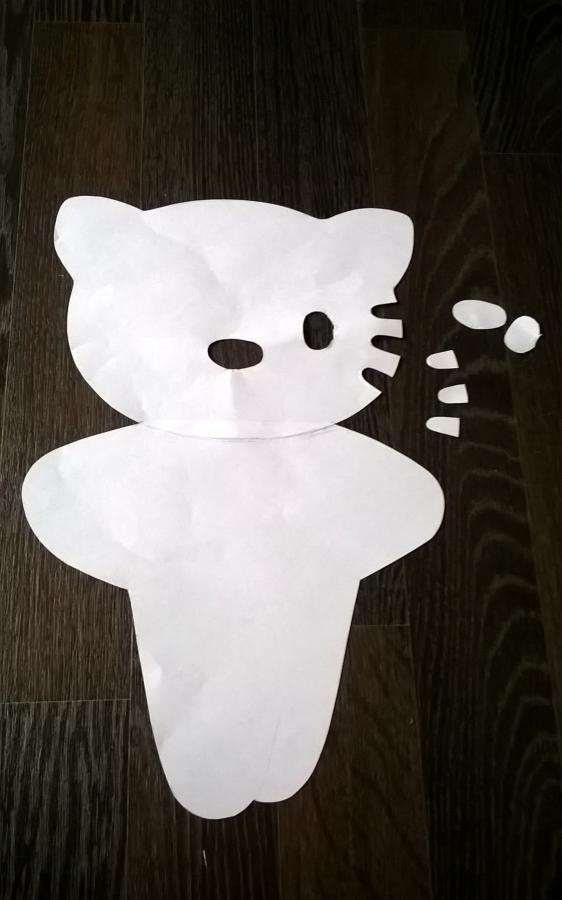
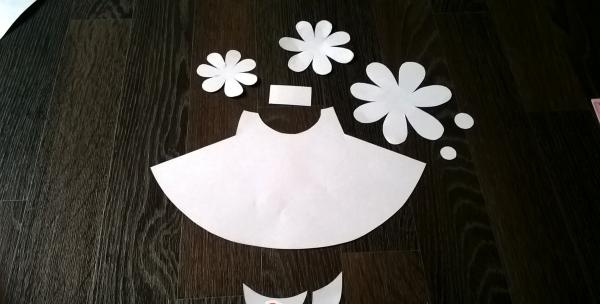
First we cut a 38*55 rectangle from pink fleece, we will need 2 parts, since the pillow has 2 sides.
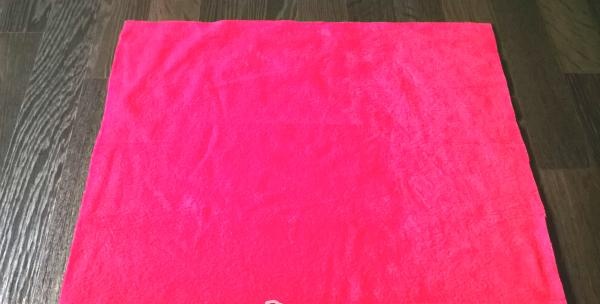
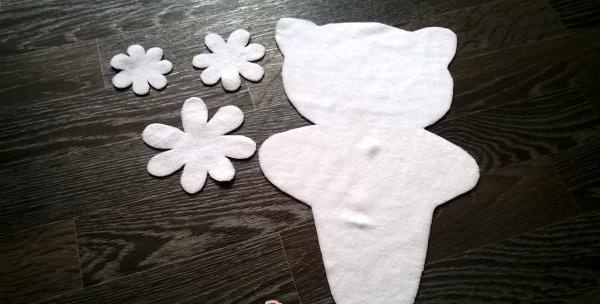
From white fleece we cut the cat itself and daisies.
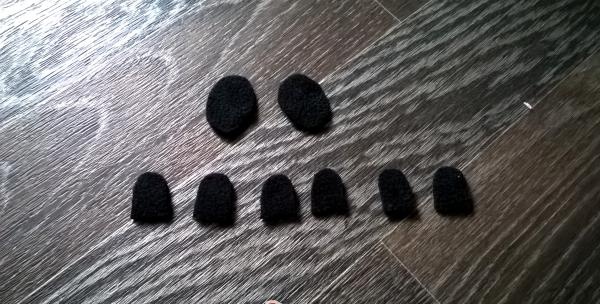
From black we cut out the eyes and antennae.
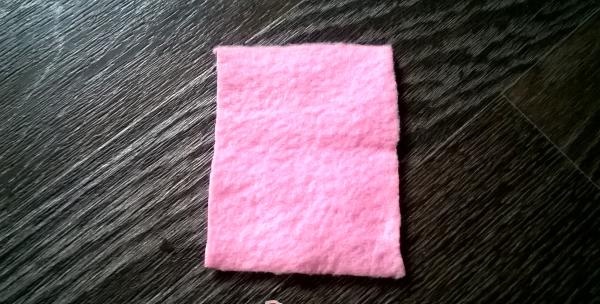
From light pink fleece we will cut out a rectangle measuring 6*8 - from it we will make a bow on the chest of the pussy.
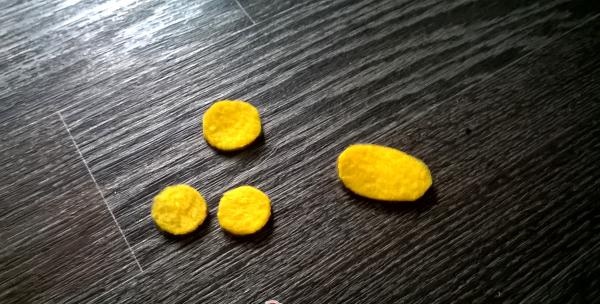
The details of the nose and the cores for the daisies will be yellow.
Only the lilac fleece parts remain. They will be a sundress and sandals.
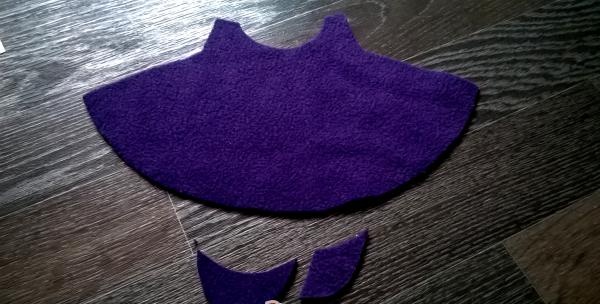
All the details have been cut out. Now we start assembling the pillow, namely, we begin to assemble our kitten. To begin, we sew on the white base of the kitten and place the daisies to the left of it.
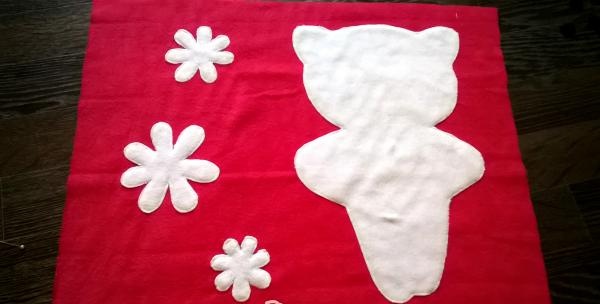
Now we sew on the yellow parts - the cores of the daisies and the cat's nose.
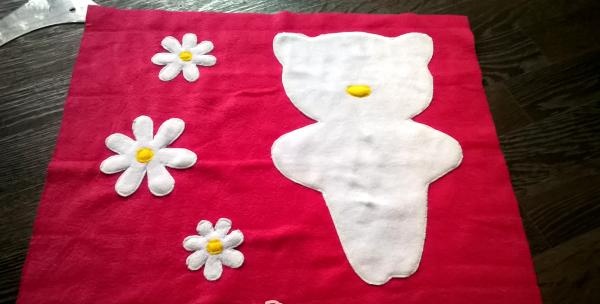
It's time to create a face for our pussy. To do this, we sew on the nose and antennae. We try to position the antennae symmetrically relative to each other so that the pussy is even and neat.
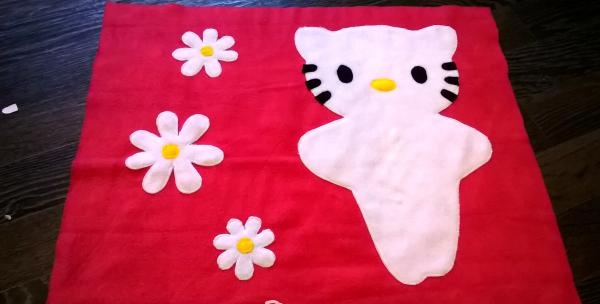
All that remains is to dress up the pussy. Sew on the sundress and sandals.
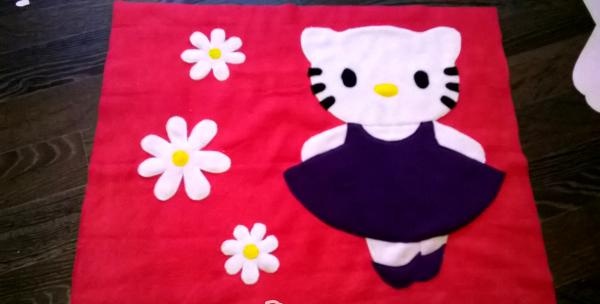
Well, the front side of the pillow is ready. Now we assemble the pillow itself. Place a second rectangle of the same type on the resulting part and stitch along the edge. A small incision should be left unsutured on the side. Through it you will need to turn the pillow right side out.
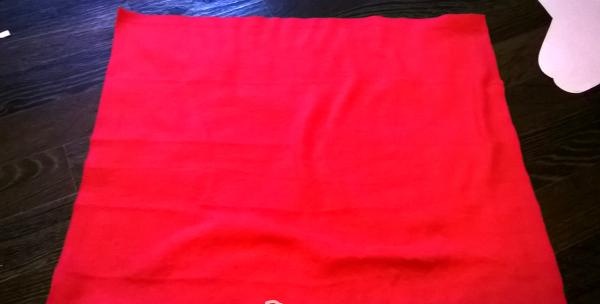
We turn the part inside out.
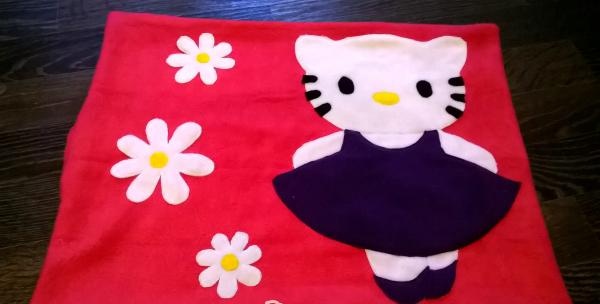
Now let's make a voluminous bow on the chest, or rather on the kitty sundress. To do this, take a light pink rectangle that we cut out in advance. Fold it in half and sew along the edges.
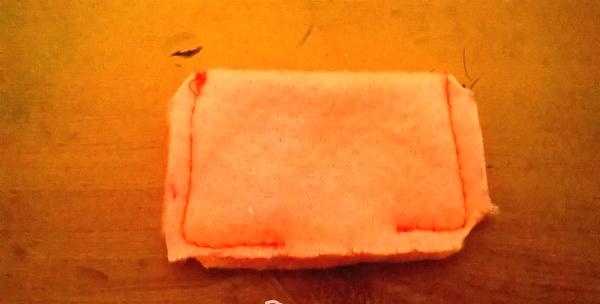
As can be seen in the picture. The bottom section is left unsewn so that it can be turned right side out. After we unscrew our bow. You should make a line in the middle using a low thread tension. This is done so that the middle of the bow can be pulled off.
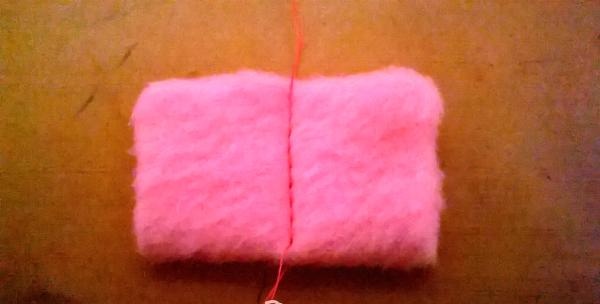
Pull the thread. But at the same time, secure it on one side with knots, that is, tie them. After tightening, tie it on the other side.
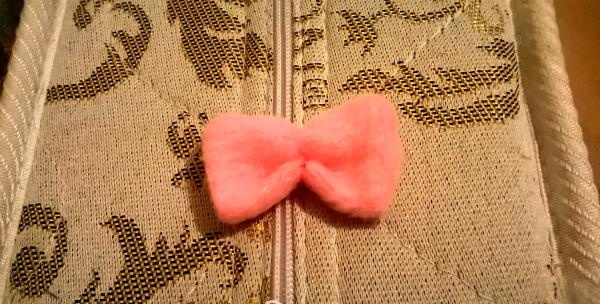
We manually sew the resulting bow to the cat’s sundress. We stuff the pillow with filler and sew it up.
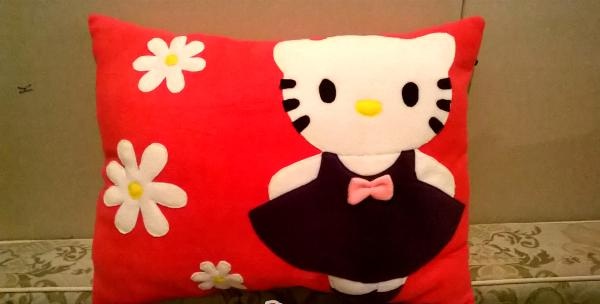
In the same way as we made the bow, we make a larger bow.For it we take only a 10*12 rectangle. Sew the resulting bow onto the pussy ear.
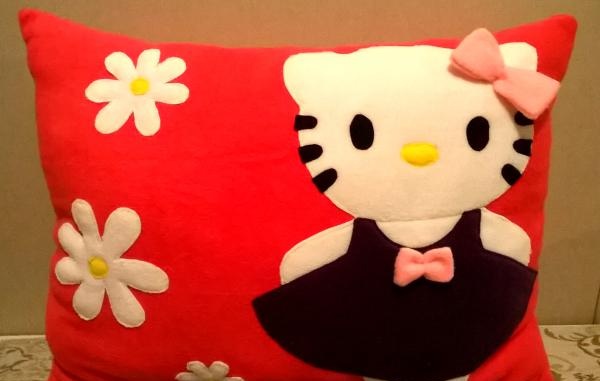
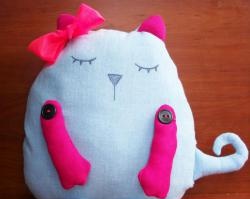
The pillow is ready! Now you can sew such a pillow for your little child.
Draw a picture on paper measuring 38*55. We make a template of what the pillow will look like. For the drawing, I took the cartoon character “Kitty.” This is what I came up with.

I transferred all the details onto a blank sheet of paper and cut them out. The result is patterns that are very convenient for cutting from fabric.


First we cut a 38*55 rectangle from pink fleece, we will need 2 parts, since the pillow has 2 sides.

From white fleece we cut the cat itself and daisies.

From black we cut out the eyes and antennae.

From light pink fleece we will cut out a rectangle measuring 6*8 - from it we will make a bow on the chest of the pussy.

The details of the nose and the cores for the daisies will be yellow.

Only the lilac fleece parts remain. They will be a sundress and sandals.

All the details have been cut out. Now we start assembling the pillow, namely, we begin to assemble our kitten. To begin, we sew on the white base of the kitten and place the daisies to the left of it.

Now we sew on the yellow parts - the cores of the daisies and the cat's nose.

It's time to create a face for our pussy. To do this, we sew on the nose and antennae. We try to position the antennae symmetrically relative to each other so that the pussy is even and neat.

All that remains is to dress up the pussy. Sew on the sundress and sandals.

Well, the front side of the pillow is ready. Now we assemble the pillow itself. Place a second rectangle of the same type on the resulting part and stitch along the edge. A small incision should be left unsutured on the side. Through it you will need to turn the pillow right side out.

We turn the part inside out.

Now let's make a voluminous bow on the chest, or rather on the kitty sundress. To do this, take a light pink rectangle that we cut out in advance. Fold it in half and sew along the edges.

As can be seen in the picture. The bottom section is left unsewn so that it can be turned right side out. After we unscrew our bow. You should make a line in the middle using a low thread tension. This is done so that the middle of the bow can be pulled off.

Pull the thread. But at the same time, secure it on one side with knots, that is, tie them. After tightening, tie it on the other side.

We manually sew the resulting bow to the cat’s sundress. We stuff the pillow with filler and sew it up.

In the same way as we made the bow, we make a larger bow.For it we take only a 10*12 rectangle. Sew the resulting bow onto the pussy ear.

The pillow is ready! Now you can sew such a pillow for your little child.
Similar master classes
Particularly interesting
Comments (1)


