Leather handbag with zipper
You can sew a good handbag from old leather fabric, which will protect the items inside from getting wet (melted snow and rain), and this handbag will also look beautiful.
Making this handbag will take you one week, and to make it you will need: brown and black leather fabric, black threads, scissors, zipper, button or button, beads (the color of the beads can be chosen as desired), braid and additional decoration in the form of an artificial bow (to hide a button or button).
Starting work, we prepare the materials and tools needed for the first part of the work: threads, scissors, fabric and fasteners.
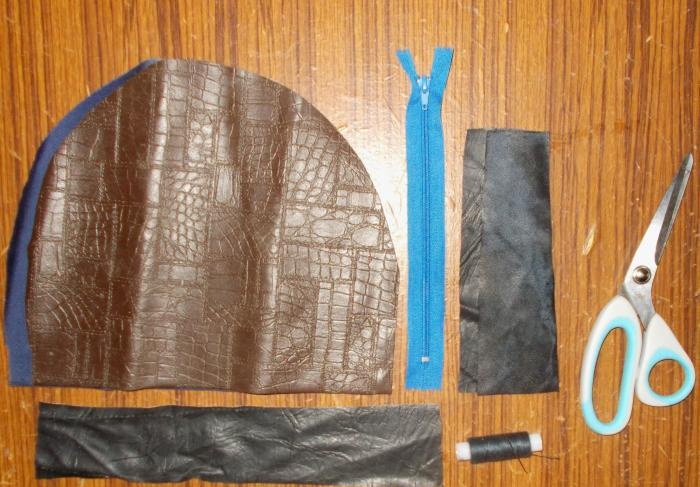
We present brown leather fabric in the form of one large oval shape cut into two parts. These two figures need to be sewn with three pieces of black fabric, one of which is made as a bottom, and the other two as side pieces. The width of the lower sides of the side parts should match the width of the bottom part, and their upper sides should gradually taper. If you sew a handbag this way, it will be more spacious.But first we need to sew two half oval brown pieces with the bottom piece:
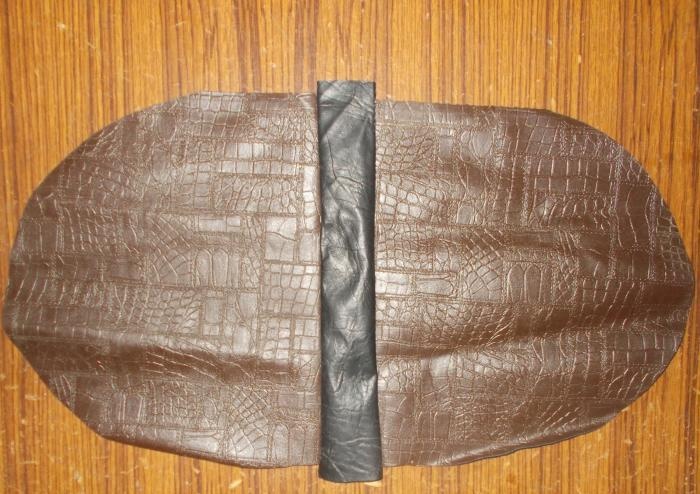
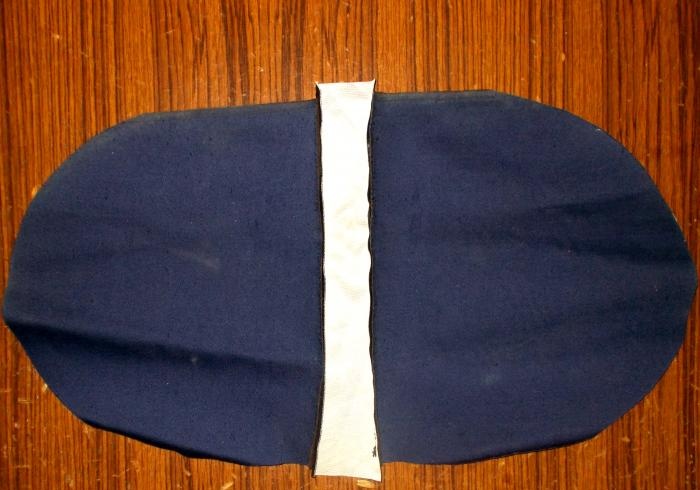
The bottom part has an additional layer of fabric that makes it denser. This is what the three stitched parts look like from the other side:
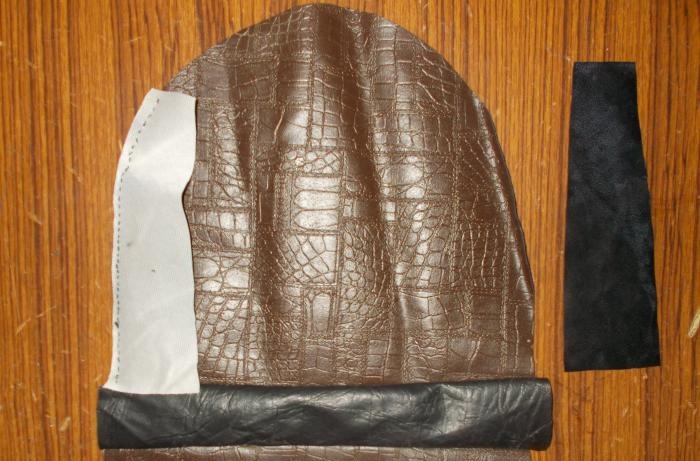
Next we sew on the side parts. We will have to sew a zipper behind the allowance areas of the upper sides of these parts, and the allowance sections themselves can be made as wide as 0.5 cm:
We sew the details of the sides to the three sides of the future handbag in this way:
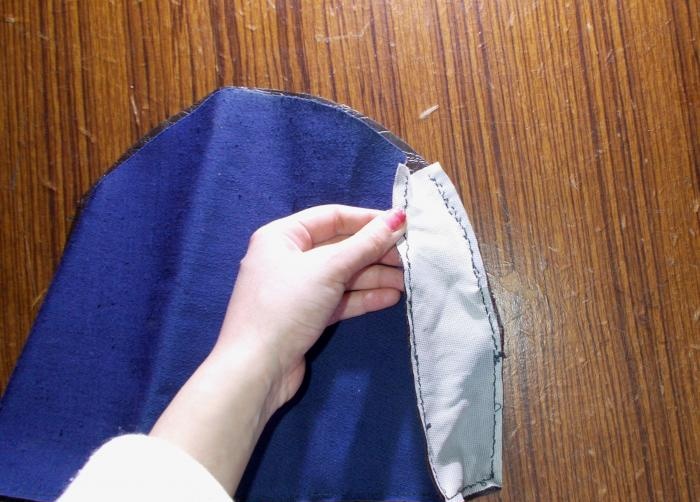
We make all the seams on the wrong side of the future handbag. You can make seams using a sewing machine, or if you don’t have one, you can do it manually:
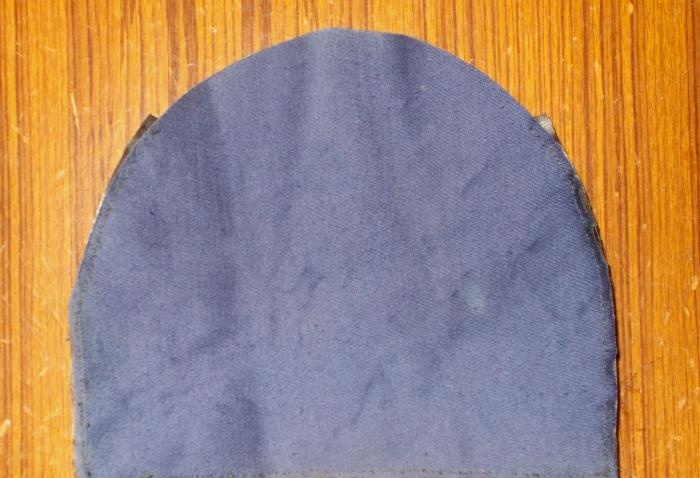
Upon completion of stitching, the craft needs to be turned inside out, then sew a zipper on top, cutting off an extra piece of semicircular brown leather fabric and leaving a little fabric as an allowance:
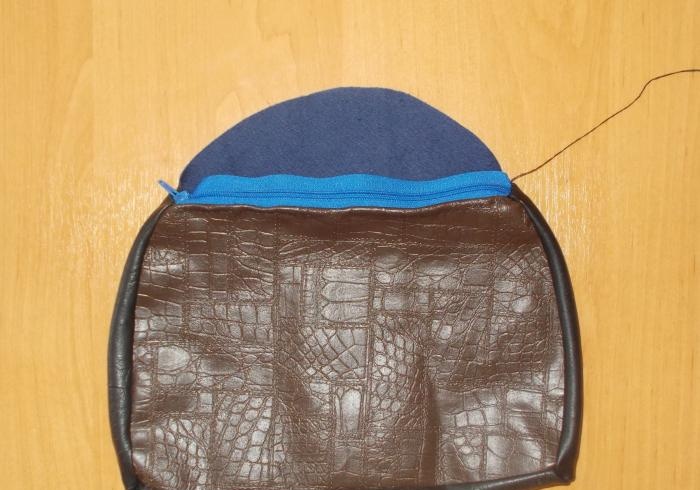
To sew the second side of the zipper, it should be unzipped.
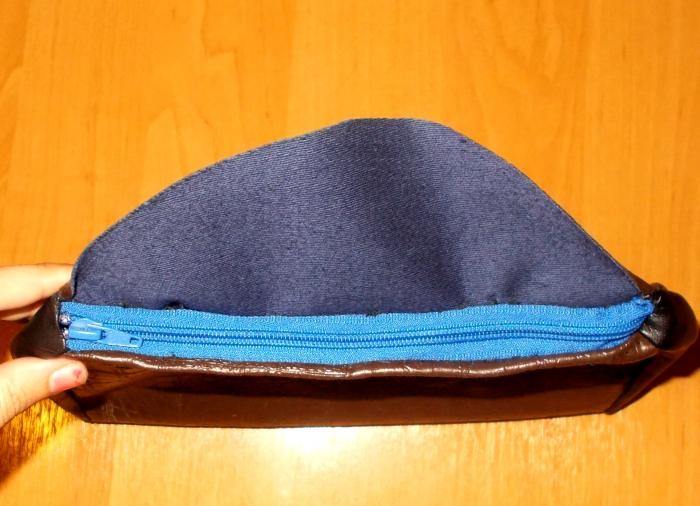
After sewing the zipper on the “front” side, it seems to us to be sewn normally:
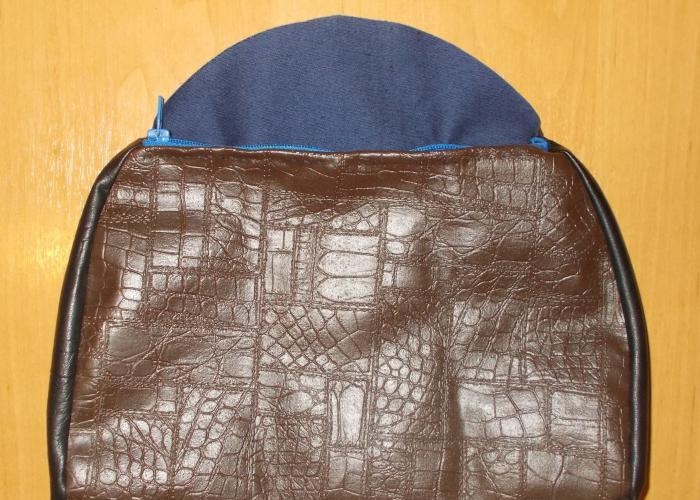
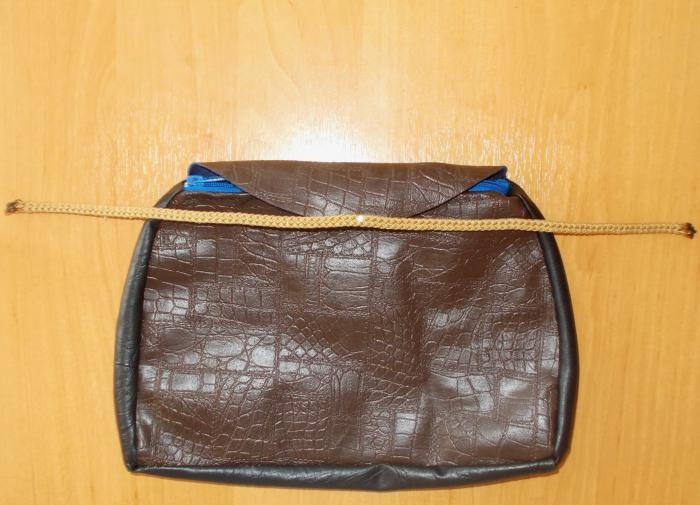
Next we need to sheathe the upper oval part - the “lid” crafts braid. We singe the ends of the cut braid with a lighter so that it does not “crumble”, after which we pin the braid to the middle of the “lid” and sew it on:
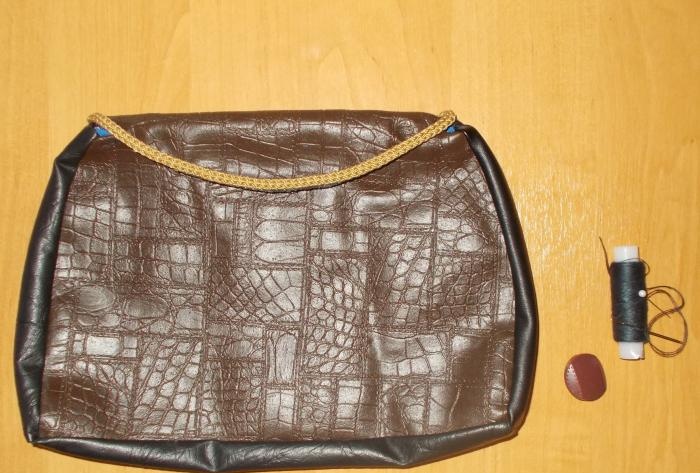
On the back of the bag there should be two singed ends of the braid:
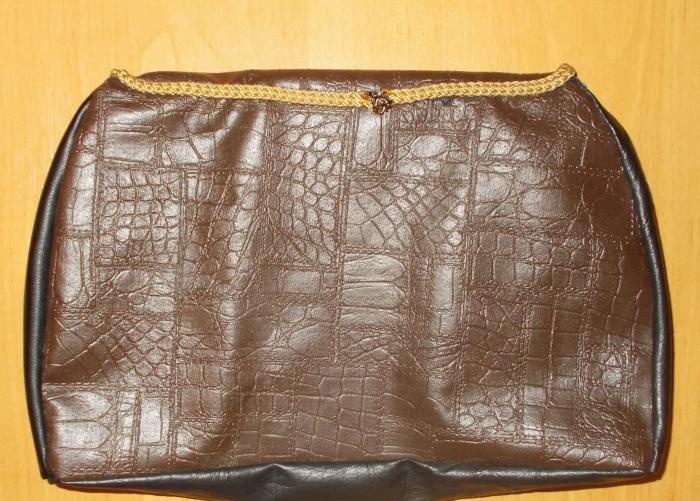
After that, we decided to first sew a large button on the front side of the bag with a small piece of elastic for fastening:
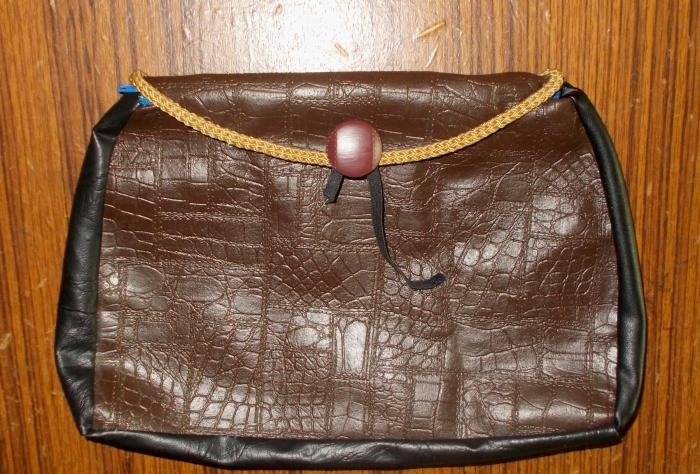
To sew on an elastic band, you need to fold it in the shape of a loop and make a hole in the designated area of the bag fabric, through which you need to insert the ends of the elastic, then hem them on top, connecting them with seams to the outer part of the elastic (so that it is always directed upward). Next we need to sew up the hole:
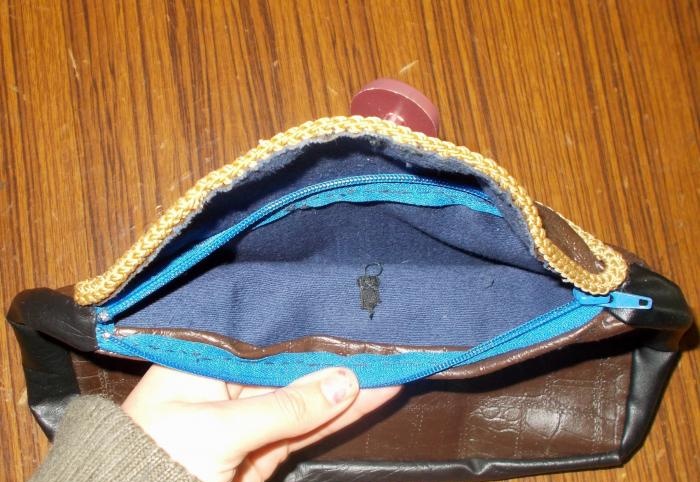
This is what our loop looks like from the outside:
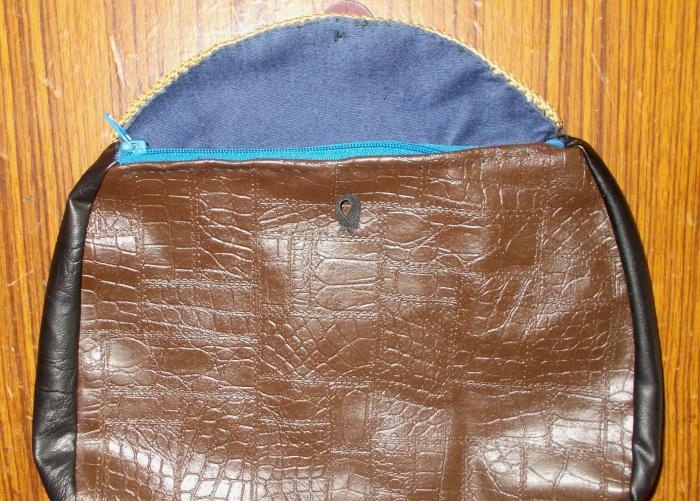
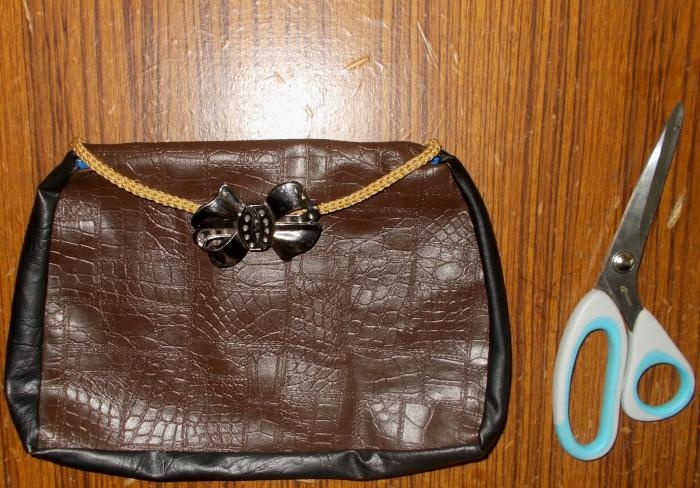
Next, we decided to remove the large button and sew an artificial decoration in the form of a bow in its place. The bow will have to hide another, small translucent button underneath.
After this, you need to make a handle for the resulting bag. For this purpose, for example, a cord from an old coupling may be suitable.
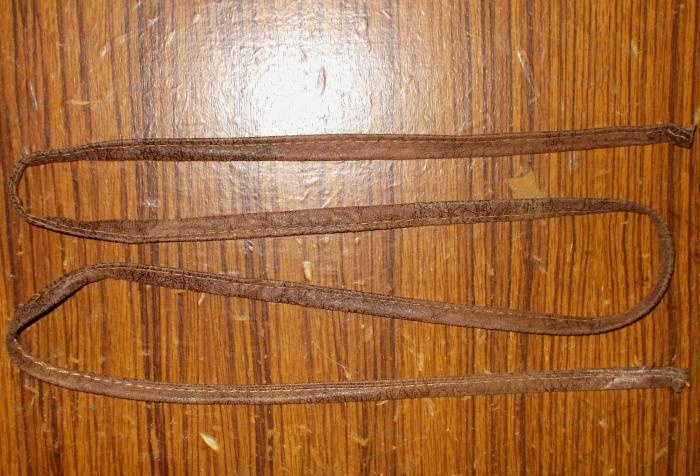
We need to sew it on at the ends, also making holes in the fabric of the bag on the sides:
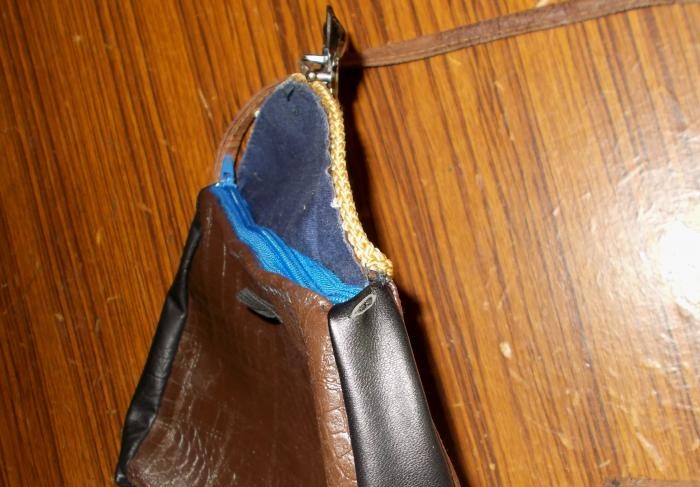
After sewing, these holes will need to be sewn up:
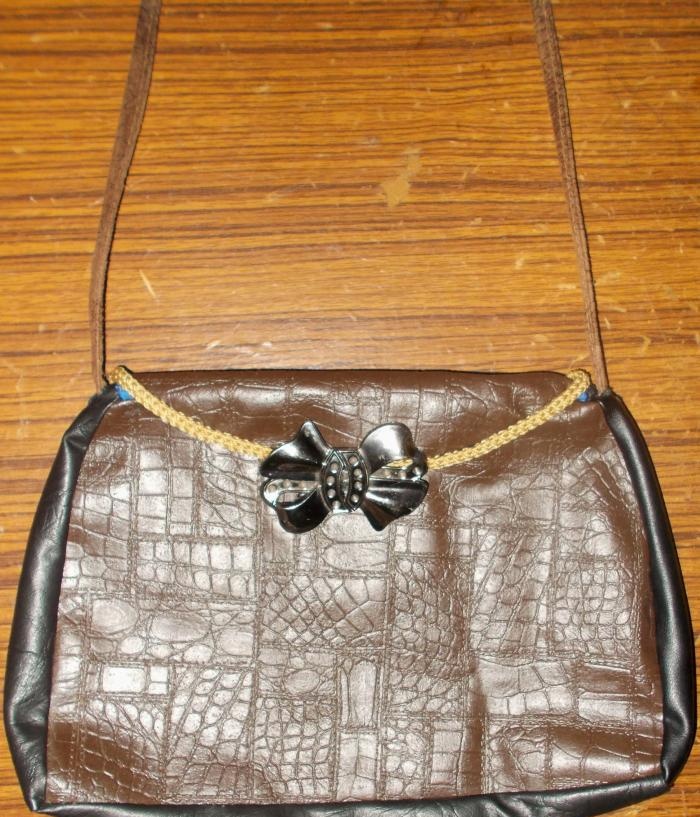
Next, under the decoration in the form of a bow, we sew a small translucent button:
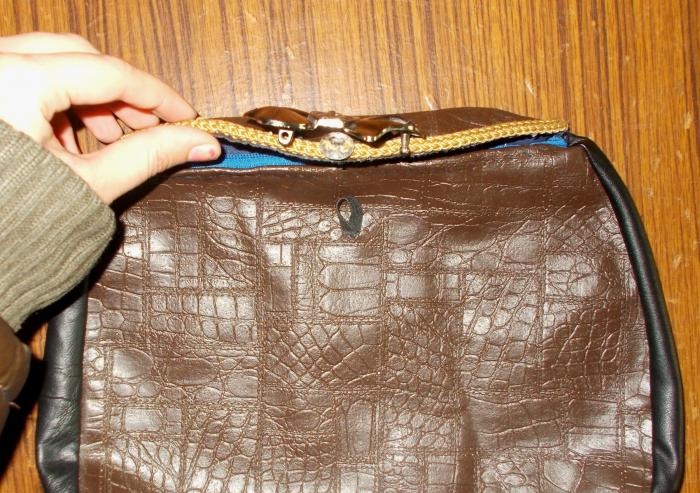
Turning the craft over, we decided to hide the two burnt ends of the braid behind a large button:
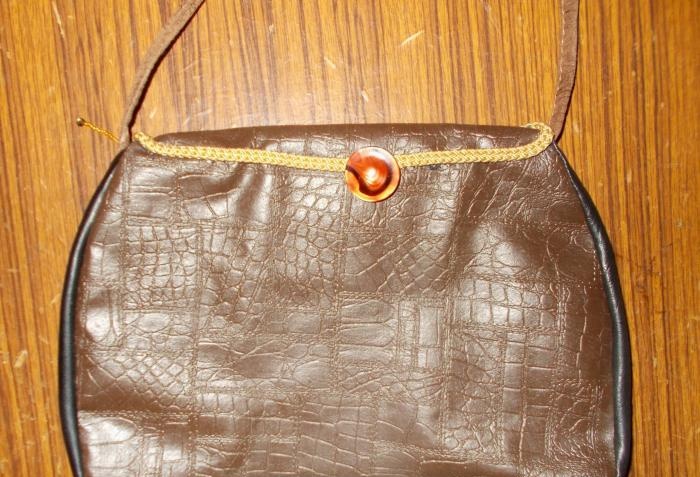
Next, we need to attach bead decorations to the hemmed braid.
Having introduced a black thread, we tie it and string the beads onto two threads (for strength):
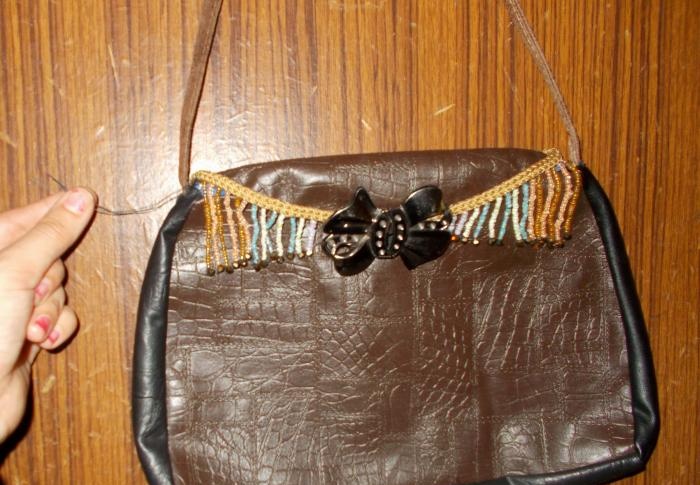
At the end of each row of beads, we string a large brown one onto one of the threads and tie the threads at the back:
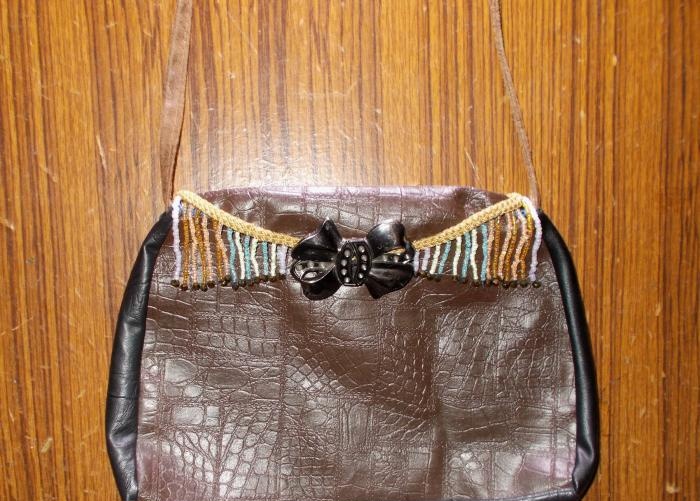
After that, that’s it: our craft - a handmade handbag, is ready, and you can use it:
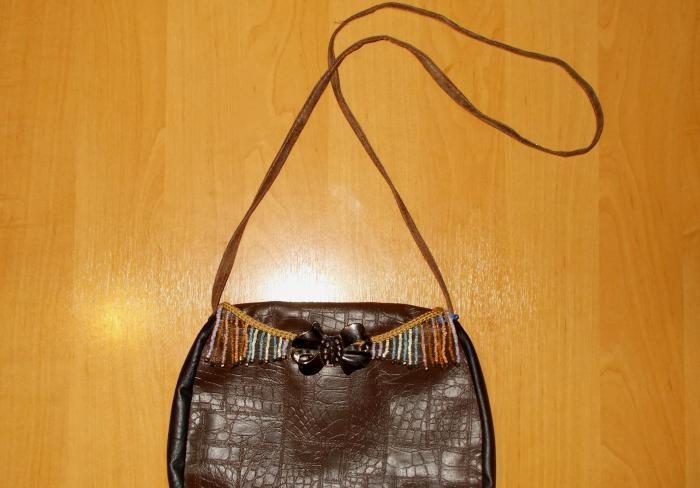
This is what it looks like after filling:
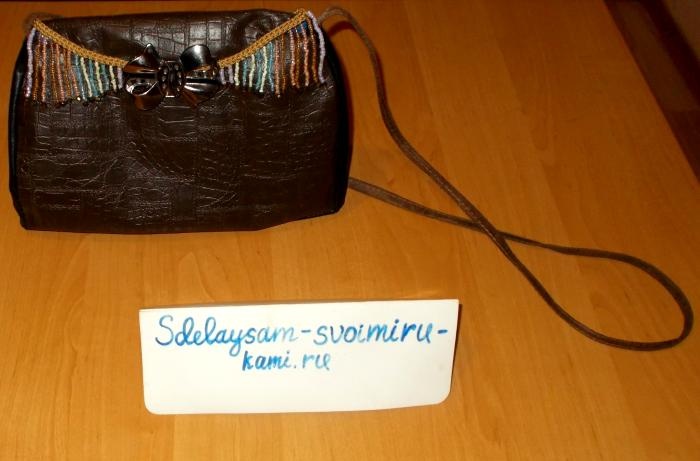
The “double clasp” will protect such a handbag from theft, the long handle will allow you to carry it on your shoulder, and the leather surface will protect it from getting wet.
Making this handbag will take you one week, and to make it you will need: brown and black leather fabric, black threads, scissors, zipper, button or button, beads (the color of the beads can be chosen as desired), braid and additional decoration in the form of an artificial bow (to hide a button or button).
Starting work, we prepare the materials and tools needed for the first part of the work: threads, scissors, fabric and fasteners.

We present brown leather fabric in the form of one large oval shape cut into two parts. These two figures need to be sewn with three pieces of black fabric, one of which is made as a bottom, and the other two as side pieces. The width of the lower sides of the side parts should match the width of the bottom part, and their upper sides should gradually taper. If you sew a handbag this way, it will be more spacious.But first we need to sew two half oval brown pieces with the bottom piece:

The bottom part has an additional layer of fabric that makes it denser. This is what the three stitched parts look like from the other side:

Next we sew on the side parts. We will have to sew a zipper behind the allowance areas of the upper sides of these parts, and the allowance sections themselves can be made as wide as 0.5 cm:

We sew the details of the sides to the three sides of the future handbag in this way:

We make all the seams on the wrong side of the future handbag. You can make seams using a sewing machine, or if you don’t have one, you can do it manually:

Upon completion of stitching, the craft needs to be turned inside out, then sew a zipper on top, cutting off an extra piece of semicircular brown leather fabric and leaving a little fabric as an allowance:

To sew the second side of the zipper, it should be unzipped.
After sewing the zipper on the “front” side, it seems to us to be sewn normally:


Next we need to sheathe the upper oval part - the “lid” crafts braid. We singe the ends of the cut braid with a lighter so that it does not “crumble”, after which we pin the braid to the middle of the “lid” and sew it on:


On the back of the bag there should be two singed ends of the braid:

After that, we decided to first sew a large button on the front side of the bag with a small piece of elastic for fastening:

To sew on an elastic band, you need to fold it in the shape of a loop and make a hole in the designated area of the bag fabric, through which you need to insert the ends of the elastic, then hem them on top, connecting them with seams to the outer part of the elastic (so that it is always directed upward). Next we need to sew up the hole:

This is what our loop looks like from the outside:

Next, we decided to remove the large button and sew an artificial decoration in the form of a bow in its place. The bow will have to hide another, small translucent button underneath.

After this, you need to make a handle for the resulting bag. For this purpose, for example, a cord from an old coupling may be suitable.

We need to sew it on at the ends, also making holes in the fabric of the bag on the sides:

After sewing, these holes will need to be sewn up:

Next, under the decoration in the form of a bow, we sew a small translucent button:

Turning the craft over, we decided to hide the two burnt ends of the braid behind a large button:

Next, we need to attach bead decorations to the hemmed braid.
Having introduced a black thread, we tie it and string the beads onto two threads (for strength):

At the end of each row of beads, we string a large brown one onto one of the threads and tie the threads at the back:

After that, that’s it: our craft - a handmade handbag, is ready, and you can use it:

This is what it looks like after filling:

The “double clasp” will protect such a handbag from theft, the long handle will allow you to carry it on your shoulder, and the leather surface will protect it from getting wet.
Sincerely, Vorobyova Dinara.
Similar master classes
Particularly interesting
Comments (0)


