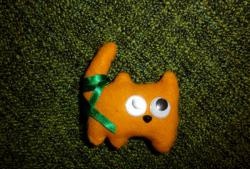
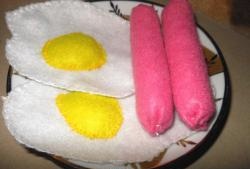
Felt Christmas toys
New Year's mood and New Year's bustle are wonderful! Despite the abundance of Christmas tree decorations in stores, homemade toys are always the best. And if the hands of your beloved children help make them, then even more so. Making a Christmas tree decoration from felt is not difficult, so try it and you will definitely succeed.
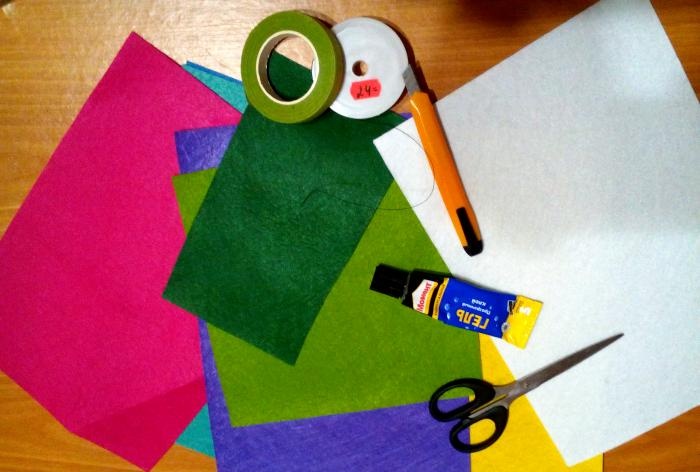
For them you need to take:
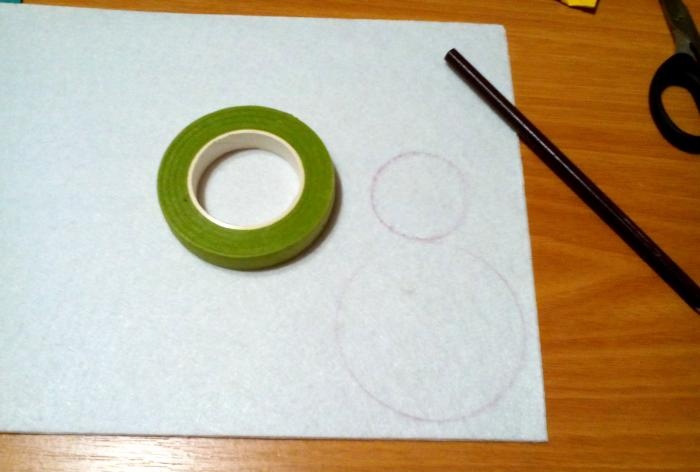
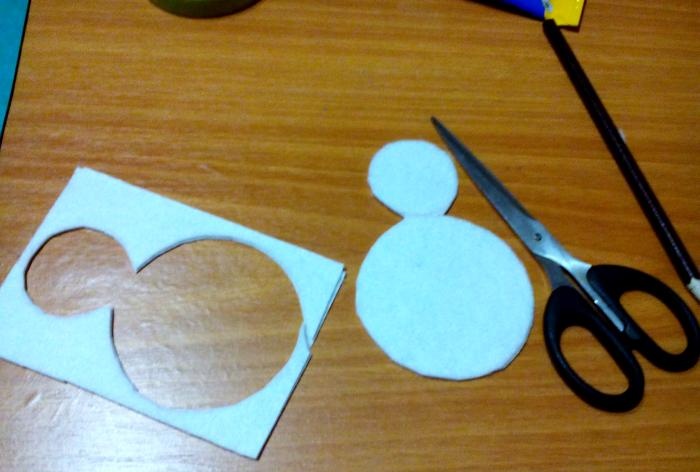
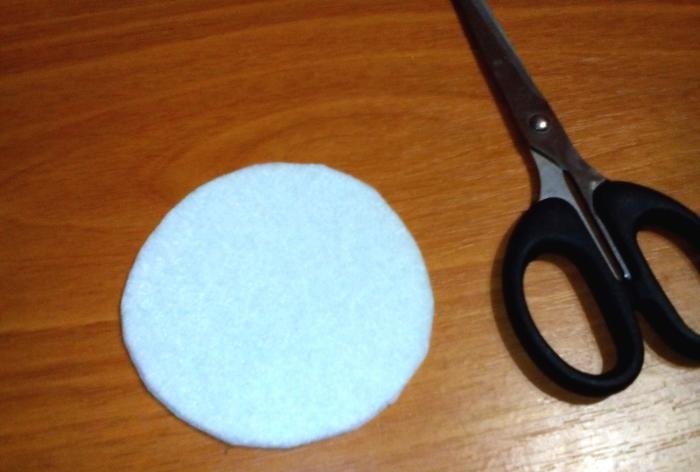
1. Draw a snowman on white felt, do this using any round object. As shown in the photo.
2. Fold the sheet in half and cut out the figure so that you get 2 of them.
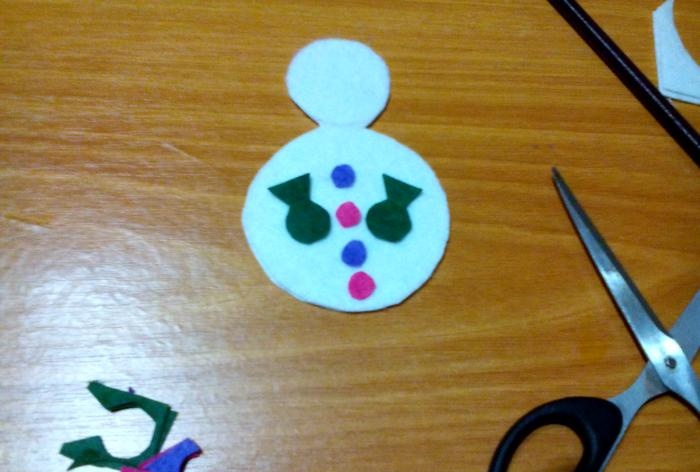
3. Make mittens and buttons from colored pieces. Attach them to see how they will look.
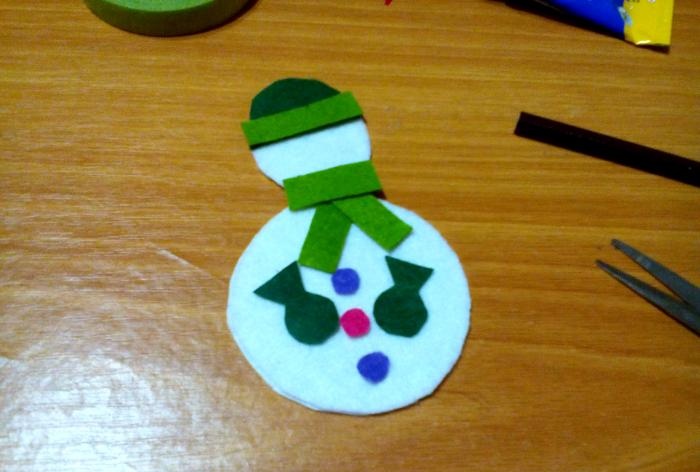
4. Cut out the hat and scarf and attach.
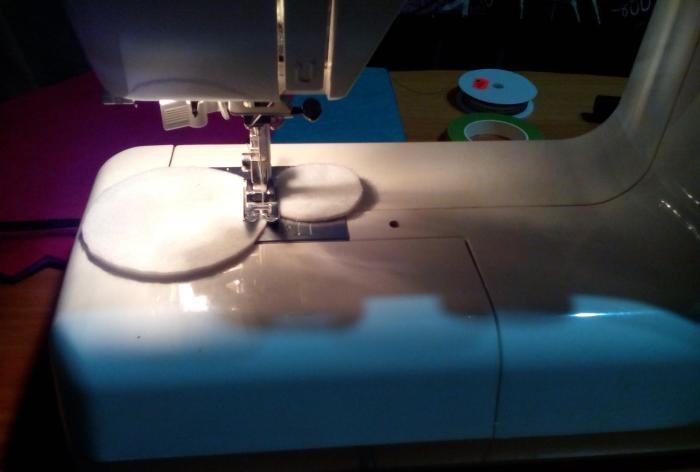
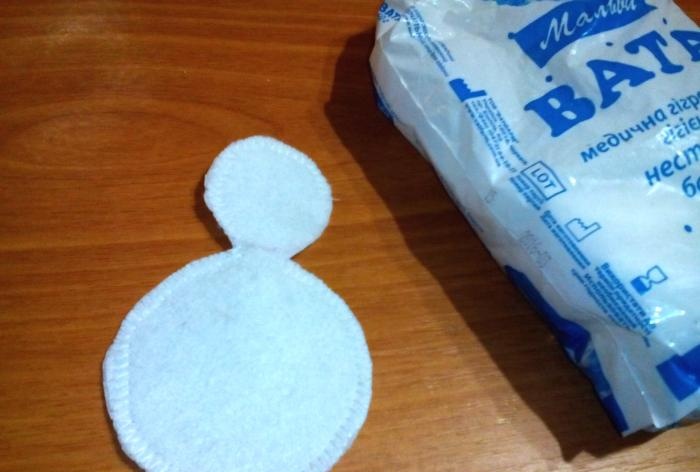
5. Set the zigzag stitch on the sewing machine in increments of 2 and stitch the two shapes together, leaving a small space to stuff the snowman with cotton wool. You can flash it manually. It should turn out like in the photo.
6. Stuff it with cotton wool. Glue all the parts in place and let dry.
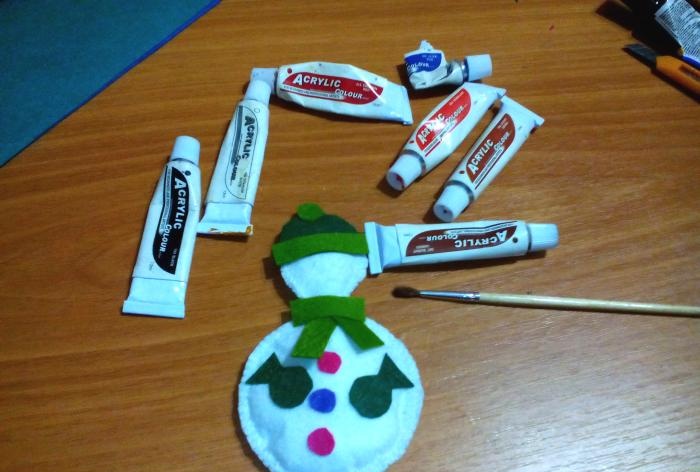
7.Paint the snowman's face with acrylic paints, as your imagination dictates.
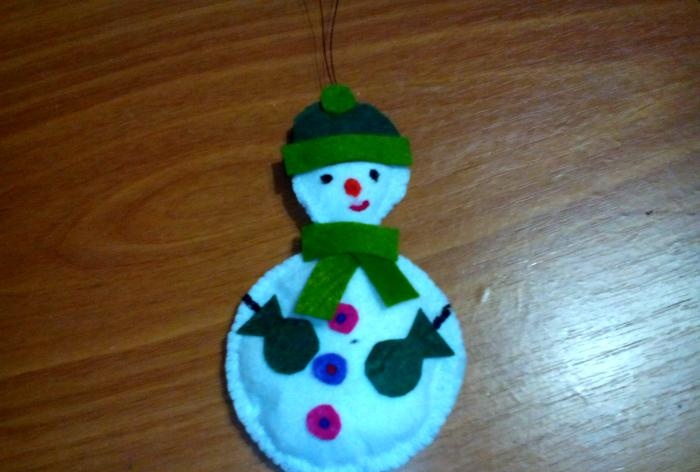
8. Fold a piece of wire or thread and glue it to the back of the snowman. Ready.
1. Cut 2 circles from white felt, as in the photo.
2. Cut out white mustache, eyebrows and beard, colored eyes, hat and nose.
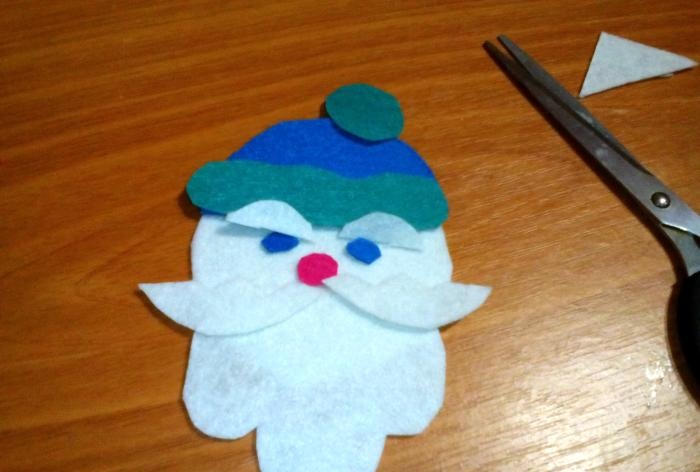
3. Glue on the nose and beard, and then all the other details. Glue the eyebrows last, slightly above the cap.
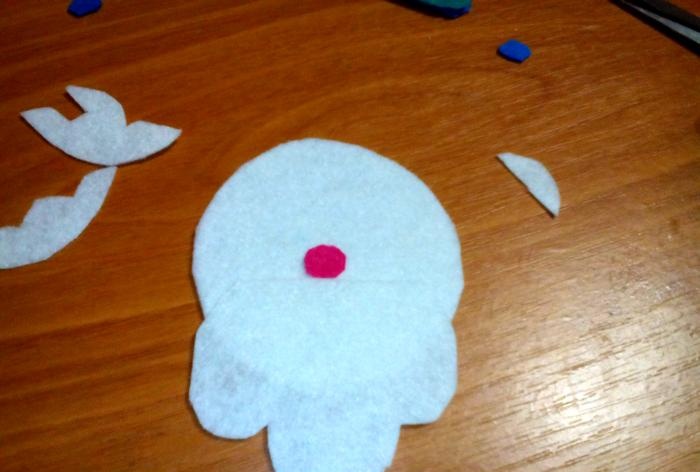
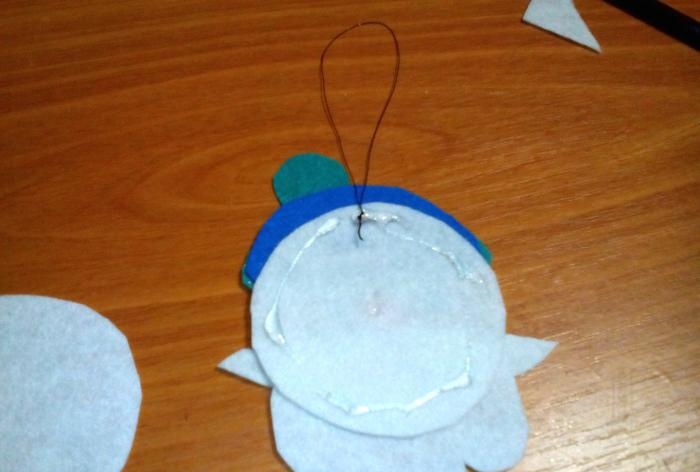
4. Turn the toy over and spread glue all around.
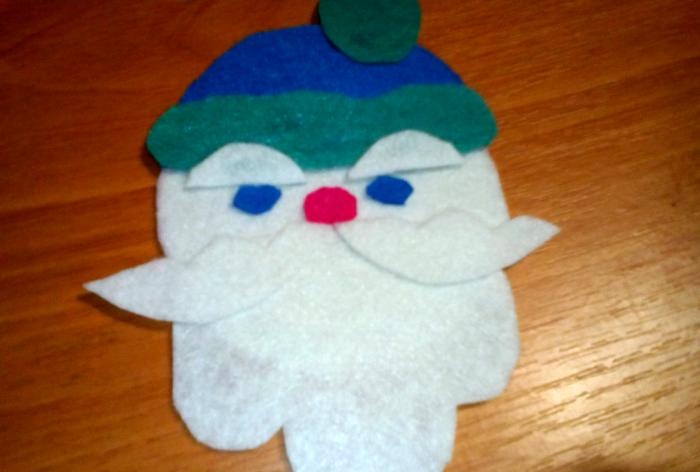
5. Place a piece of wire or thread on the glue, cut off, and close with a second circle.
1. Draw on paper the shape of a snowman, but with a large head and a small body. Cut out and transfer to felt. Fold it in half and cut it out so that you get 2 parts.
2. Sew on a sewing machine with a zigzag stitch in increments of 2 or sew by hand. It should look like in the photo. Be sure to leave room for stuffing the toy with cotton wool.
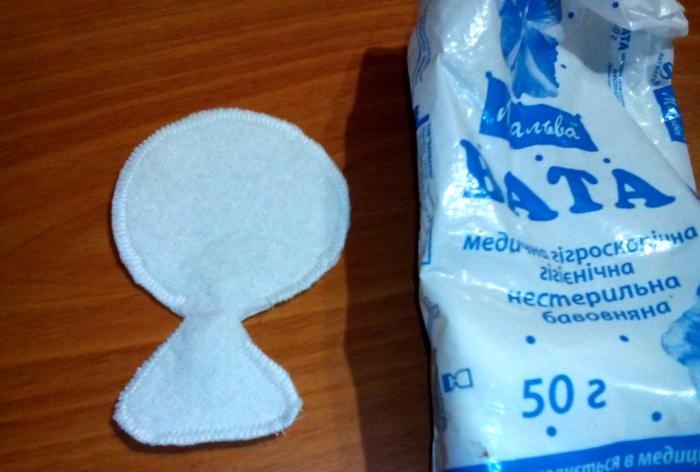
3. Fill it with cotton wool and sew it up with thread.
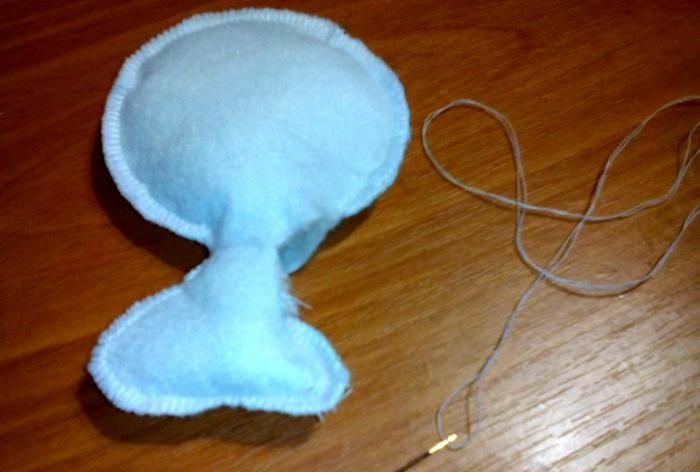
4. Cut out the legs like two uneven ovals and glue them to the back of the snowman, as in the photo.
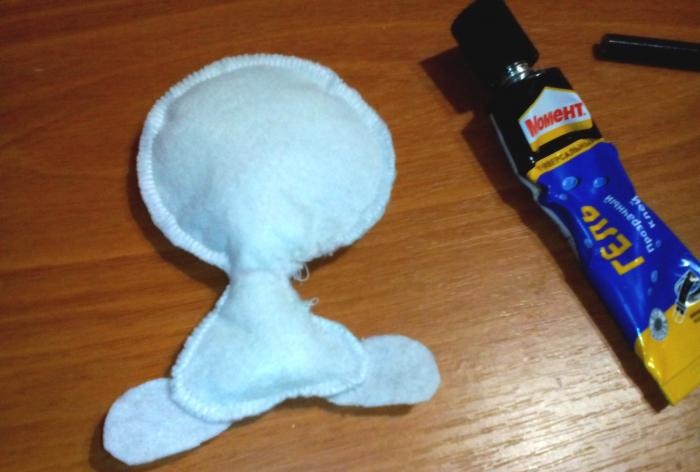
5. Cut out a hat from colored felt, which should have a bubo. Make it from two parts, coat them with glue and stick them on the snowman on both sides, as in the photo.
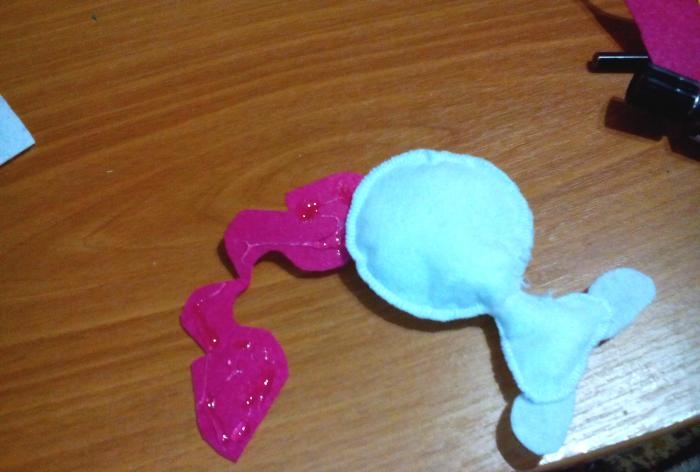
6. Make a headband and a bubo from half beads.
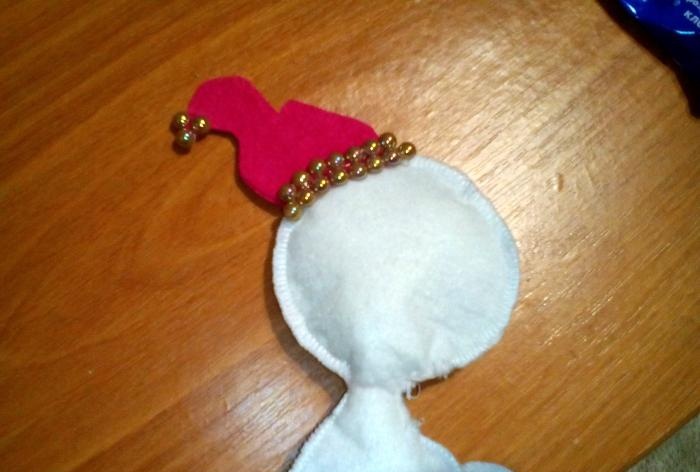
7. Cut out the handles in the shape of small circles and glue them to the front of the snowman.
8. Cut a scarf from colored felt and stick it on the toy.
9. Glue a piece of wire from a thread to the back of the snowman’s hat and cover this place with a small piece of felt.
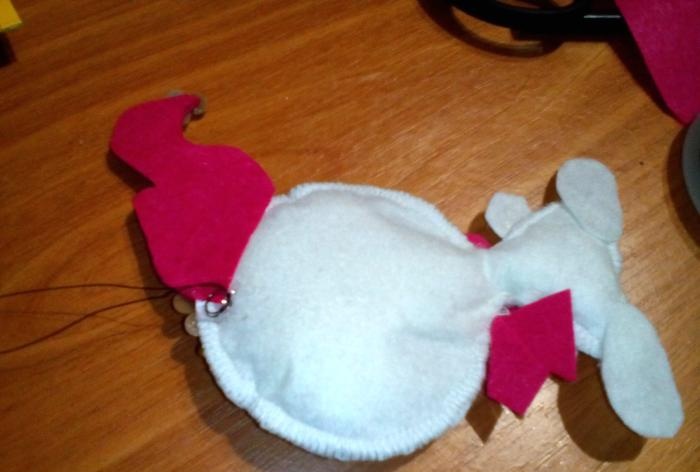
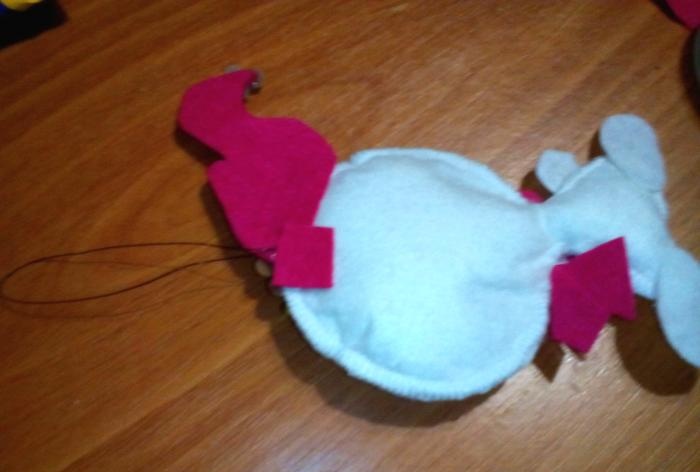
10. Make the nose out of felt, decorate the face with acrylic paints. You can make buttons from beads and the same hair. Ready.
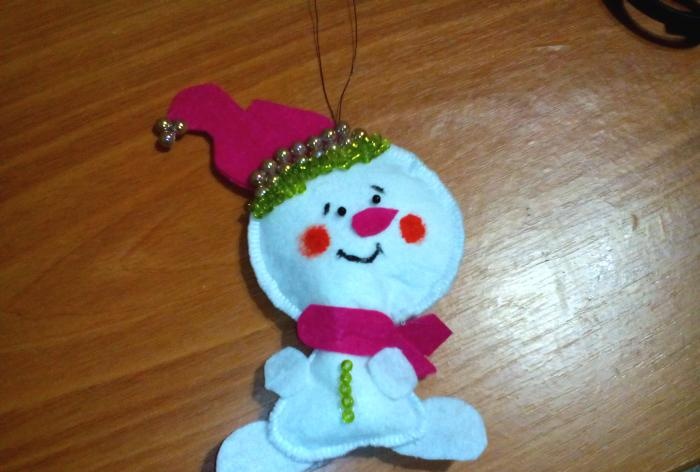
Working time is no more than half an hour. And three beautiful toys are ready!
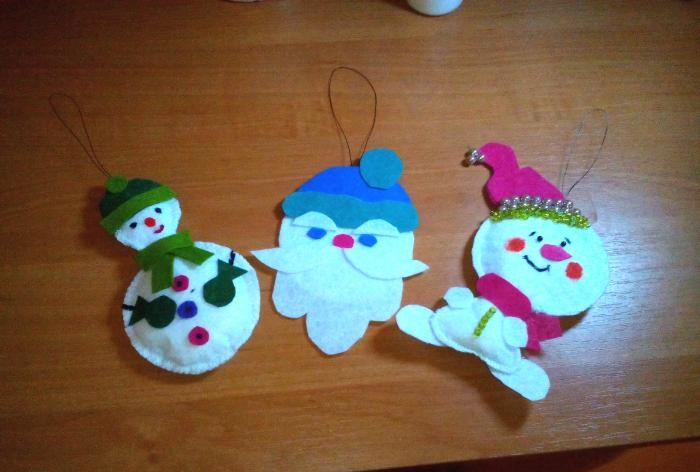
For them you need to take:
- pieces of multi-colored felt;
- glue moment transparent;
- scissors;
- threads with a needle;
- sewing machine (if possible);
- cotton wool;
- wire;
- beads;
- acrylic paints and brush;
- stationery knife;
- round object for outline.
Snowman 1

1. Draw a snowman on white felt, do this using any round object. As shown in the photo.

2. Fold the sheet in half and cut out the figure so that you get 2 of them.

3. Make mittens and buttons from colored pieces. Attach them to see how they will look.

4. Cut out the hat and scarf and attach.

5. Set the zigzag stitch on the sewing machine in increments of 2 and stitch the two shapes together, leaving a small space to stuff the snowman with cotton wool. You can flash it manually. It should turn out like in the photo.

6. Stuff it with cotton wool. Glue all the parts in place and let dry.

7.Paint the snowman's face with acrylic paints, as your imagination dictates.

8. Fold a piece of wire or thread and glue it to the back of the snowman. Ready.

New Year's face.
1. Cut 2 circles from white felt, as in the photo.

2. Cut out white mustache, eyebrows and beard, colored eyes, hat and nose.

3. Glue on the nose and beard, and then all the other details. Glue the eyebrows last, slightly above the cap.

4. Turn the toy over and spread glue all around.

5. Place a piece of wire or thread on the glue, cut off, and close with a second circle.

Snowman 2
1. Draw on paper the shape of a snowman, but with a large head and a small body. Cut out and transfer to felt. Fold it in half and cut it out so that you get 2 parts.
2. Sew on a sewing machine with a zigzag stitch in increments of 2 or sew by hand. It should look like in the photo. Be sure to leave room for stuffing the toy with cotton wool.

3. Fill it with cotton wool and sew it up with thread.

4. Cut out the legs like two uneven ovals and glue them to the back of the snowman, as in the photo.

5. Cut out a hat from colored felt, which should have a bubo. Make it from two parts, coat them with glue and stick them on the snowman on both sides, as in the photo.

6. Make a headband and a bubo from half beads.

7. Cut out the handles in the shape of small circles and glue them to the front of the snowman.
8. Cut a scarf from colored felt and stick it on the toy.
9. Glue a piece of wire from a thread to the back of the snowman’s hat and cover this place with a small piece of felt.


10. Make the nose out of felt, decorate the face with acrylic paints. You can make buttons from beads and the same hair. Ready.

Working time is no more than half an hour. And three beautiful toys are ready!

Similar master classes
Particularly interesting
Comments (0)

