Hot glue bracelet “Black Lagoon”
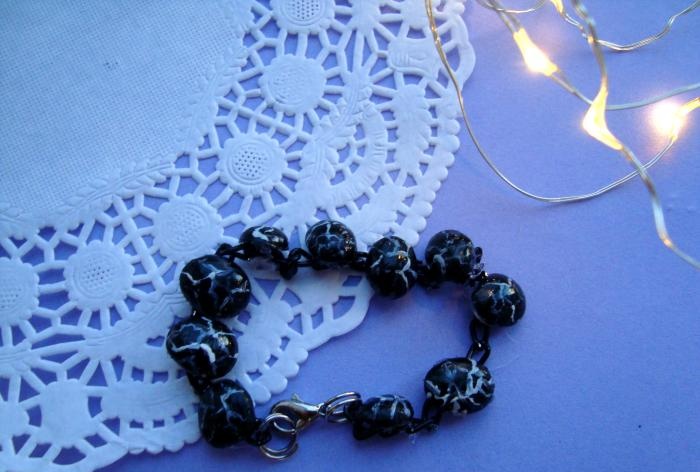
A regular hot glue gun can be used not only for gluing various parts, but also for creating various crafts and decorations. Don't believe me? Let's make a bracelet using hot glue. Even a beginner can handle it.
Begin!
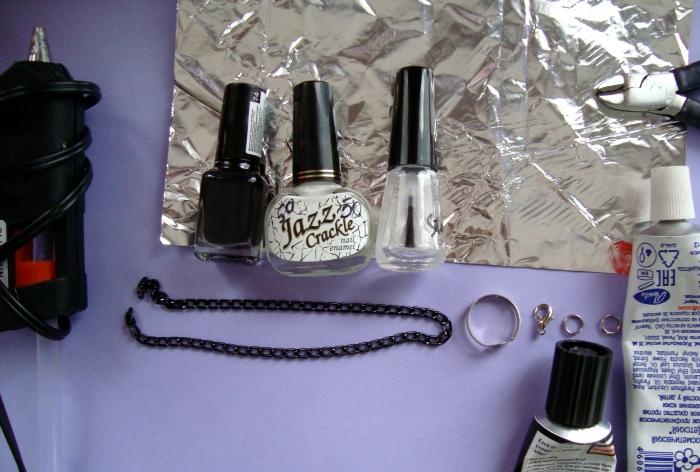
To create a bracelet we will need:
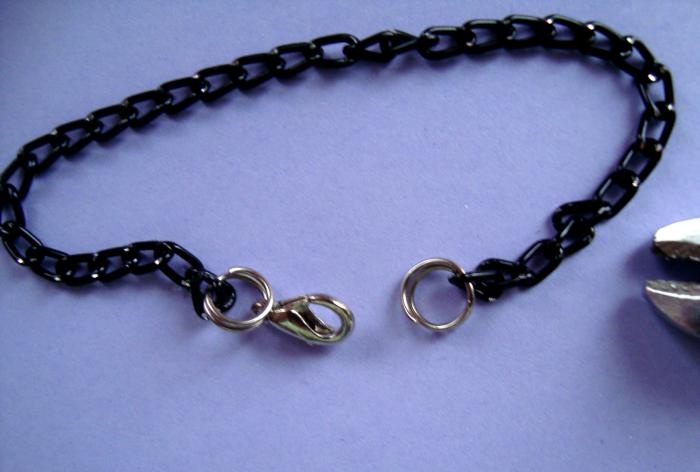
Step 1. Take a chain, preferably black, because... the bracelet will be dark. Before doing this, do not forget to measure your wrist so that the bracelet does not turn out too big or too small. Then we thread a ring through one end of the chain and close it with pliers. On the other side we also thread a ring with a carabiner for fastening.
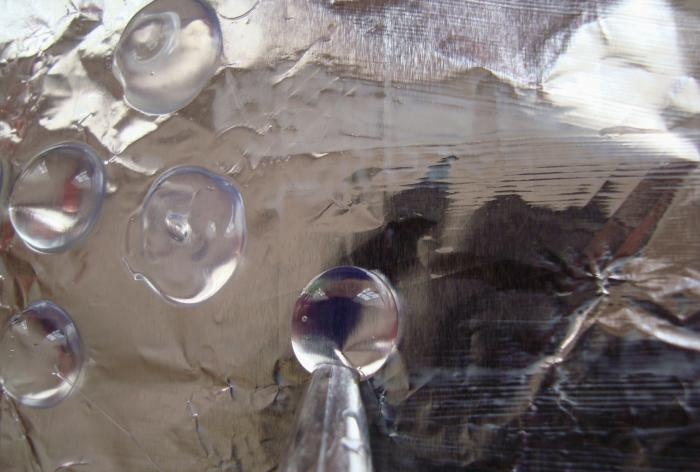
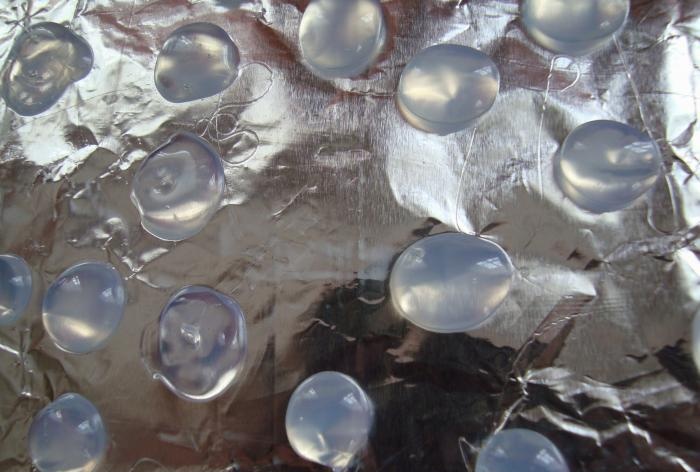
Step 2. Take foil. Lubricate it with rich cream so that the droplets peel off well from the foil.Squeeze small drops of glue onto the foil using a hot glue gun; they should turn out flat, like half beads. These will be the beads for the bracelet. The number of beads depends on the length of the chain. (In this product, the length of the chain is 14 cm and approximately 10 beads are obtained)
Note: Wait until the gun is warmed up and the glue is very hot. Otherwise, the droplets will turn out sloppy and crooked. When working with hot glue, be careful and pay special attention to the safety of children, as the glue gun gets hot and the glue comes out very hot.
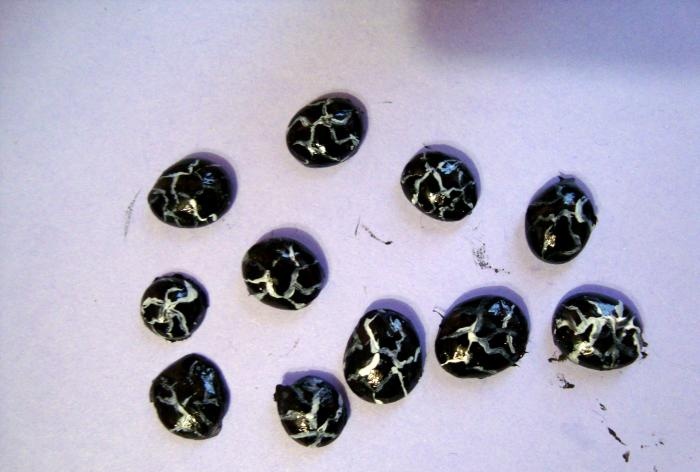
Step 3. When the glue beads dry, you need to paint them with black nail polish. It is better to do this without tearing them off the foil. Then take a white nail polish with a crackle effect and apply it over the black polish. Subsequently, the varnish will crack and create a marble effect. If you don’t have such a varnish, then you can use regular white acrylic paint or white nail polish, drawing thin, uneven lines to create a marble effect. We fix everything with clear nail polish.
Step 4. Glue our beads to the chain. This can be done using the same hot glue gun or Moment glue. Since I had one extra bead left, I made another ring. To do this, I glued one bead to the base of the ring, which can be purchased at any craft store.
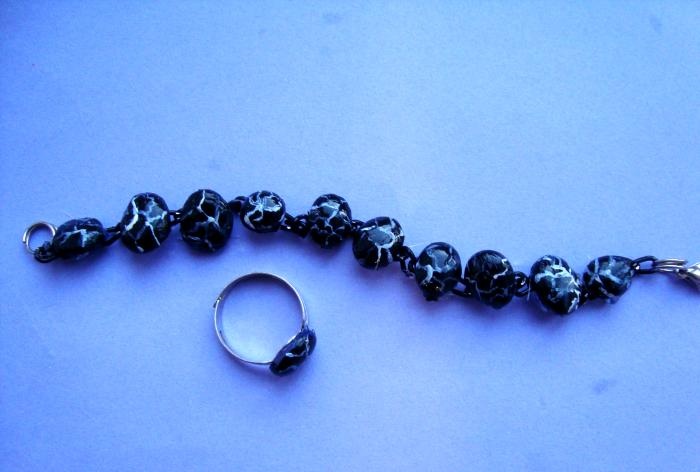
The bracelet is ready! The advantage of such a bracelet is that you can create the shape of the beads yourself and change the colors. Everyone can feel like a designer, creating a unique piece of jewelry.


Begin!
To create a bracelet we will need:
- - hot glue gun with 1 – 2 glue sticks;
- - foil;
- - black nail polish;
- - white nail polish with a crackle effect (can be replaced with white acrylic paint);
- - transparent nail polish;
- - Moment glue;
- - clasp - carbine for bracelet and two rings;
- - wire cutters and pliers;
- - fatty cream.

Step 1. Take a chain, preferably black, because... the bracelet will be dark. Before doing this, do not forget to measure your wrist so that the bracelet does not turn out too big or too small. Then we thread a ring through one end of the chain and close it with pliers. On the other side we also thread a ring with a carabiner for fastening.

Step 2. Take foil. Lubricate it with rich cream so that the droplets peel off well from the foil.Squeeze small drops of glue onto the foil using a hot glue gun; they should turn out flat, like half beads. These will be the beads for the bracelet. The number of beads depends on the length of the chain. (In this product, the length of the chain is 14 cm and approximately 10 beads are obtained)
Note: Wait until the gun is warmed up and the glue is very hot. Otherwise, the droplets will turn out sloppy and crooked. When working with hot glue, be careful and pay special attention to the safety of children, as the glue gun gets hot and the glue comes out very hot.


Step 3. When the glue beads dry, you need to paint them with black nail polish. It is better to do this without tearing them off the foil. Then take a white nail polish with a crackle effect and apply it over the black polish. Subsequently, the varnish will crack and create a marble effect. If you don’t have such a varnish, then you can use regular white acrylic paint or white nail polish, drawing thin, uneven lines to create a marble effect. We fix everything with clear nail polish.

Step 4. Glue our beads to the chain. This can be done using the same hot glue gun or Moment glue. Since I had one extra bead left, I made another ring. To do this, I glued one bead to the base of the ring, which can be purchased at any craft store.

The bracelet is ready! The advantage of such a bracelet is that you can create the shape of the beads yourself and change the colors. Everyone can feel like a designer, creating a unique piece of jewelry.

Similar master classes
Particularly interesting
Comments (1)

