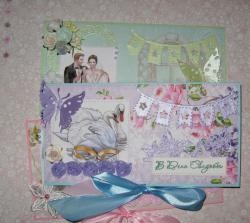
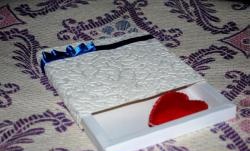
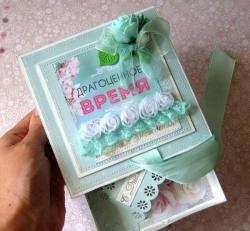
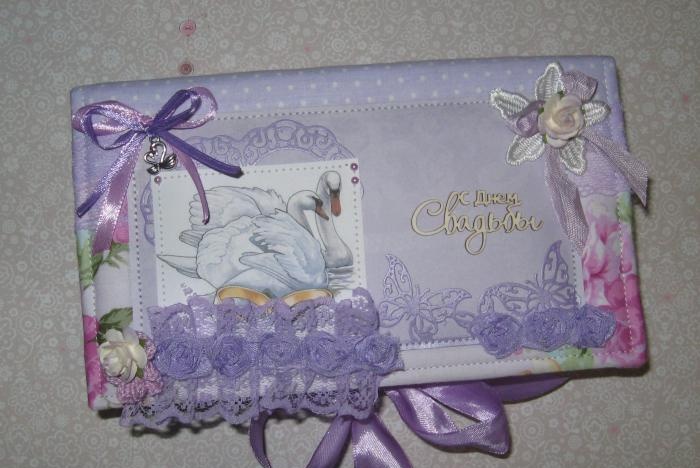
Wedding banknote box
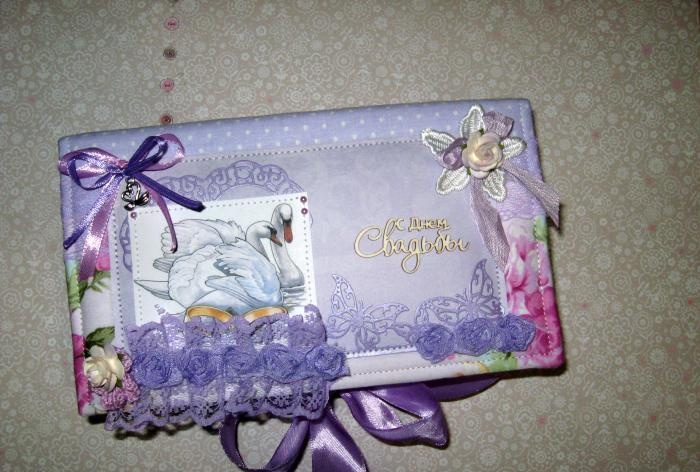
Finally, the summer of 2017 visited us and brought with it the wedding season. After all, basically all couples try to have their wedding in the summer, when it is sunny, warm, everything blooms and smells, when everything is there and everything is accessible. Well, many of us are probably guests of at least one wedding in 2017. And here, as always, the question arises with choosing a gift, since it is quite difficult to come up with something in our time. So that it is a pleasant surprise, but at the same time, every person plans present according to their income. Agree that in our difficult times, it is difficult to give a gift like this for eye-popping money. But still, cash gifts or certificates most often prevail at weddings. Even if the amount of money is small, but if everyone donates a certain amount, then a pretty good pile will eventually be collected. But in order for some kind of memory of your gift to remain, you can give money in an original banknote, which will be made by yourself. This is, firstly, very beautiful and stylish, and secondly, a pretty good and memorable thing.This is exactly the master class on making such a banknote box that we will look at right now.
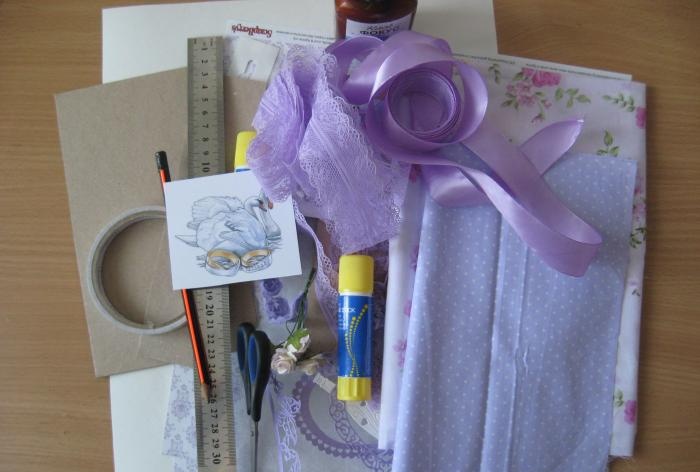
To make a banknote we will need to take:
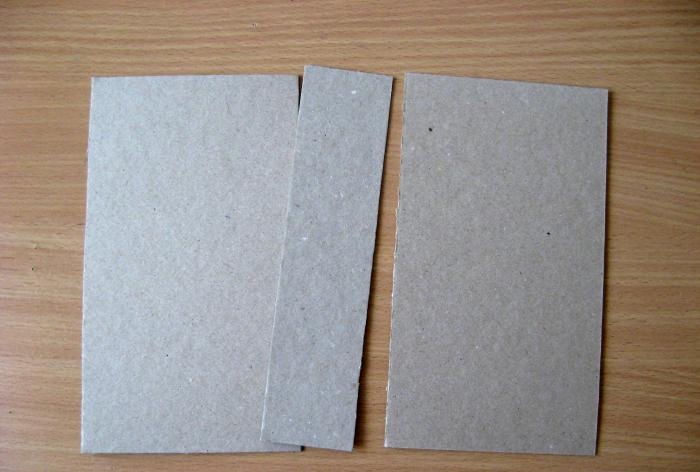
We take the binding parts and from them we need to make a single solid base, which will in the process turn into part of a folding box. We lay out all the parts side by side and tightly to each other.
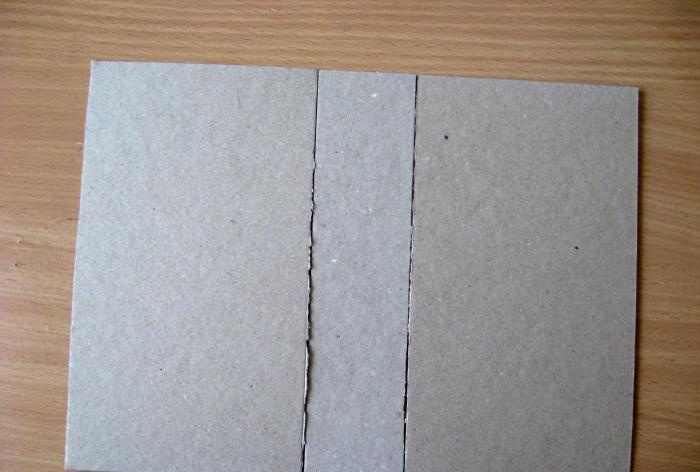
We cut cardboard strips 3*21 cm and glue them to the joints.
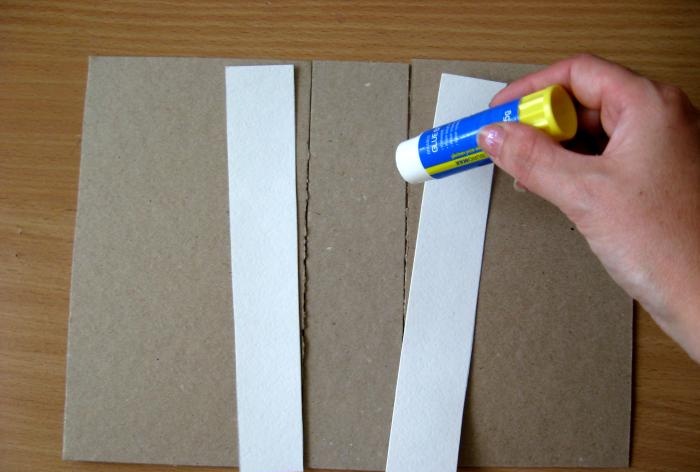
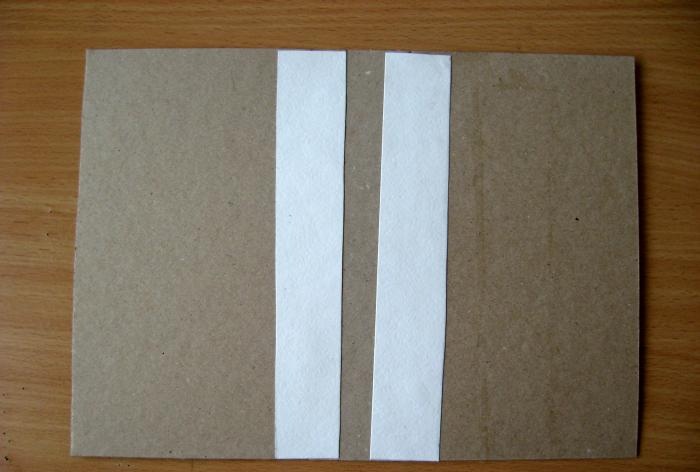
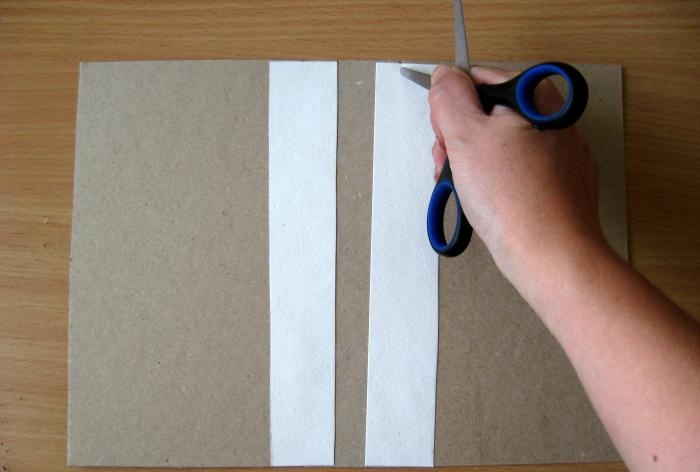
We get one solid piece. Now we draw bend lines with scissors so that they close and open well in the future.
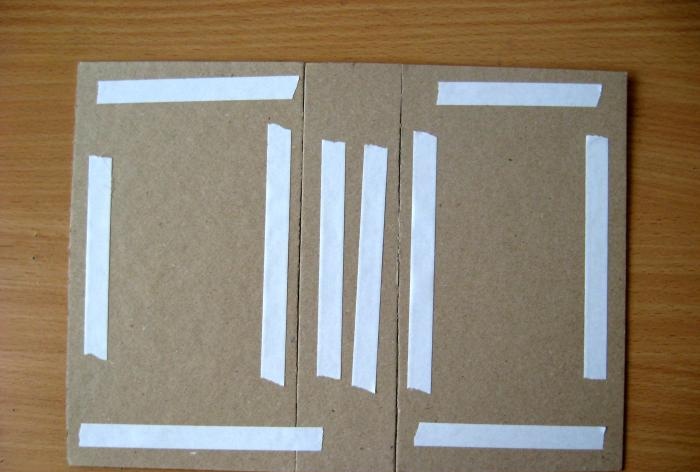
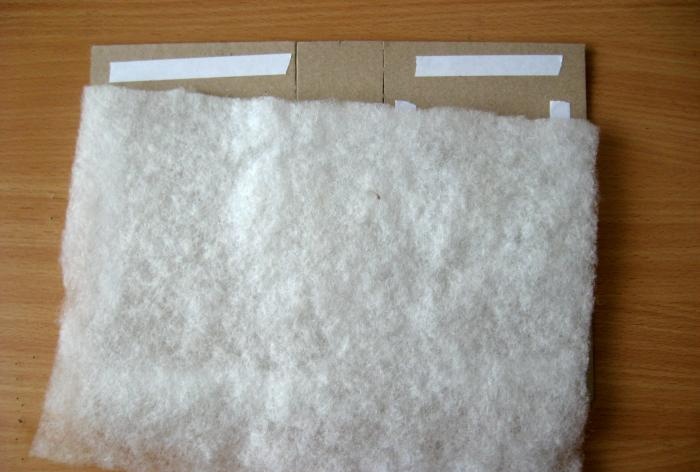
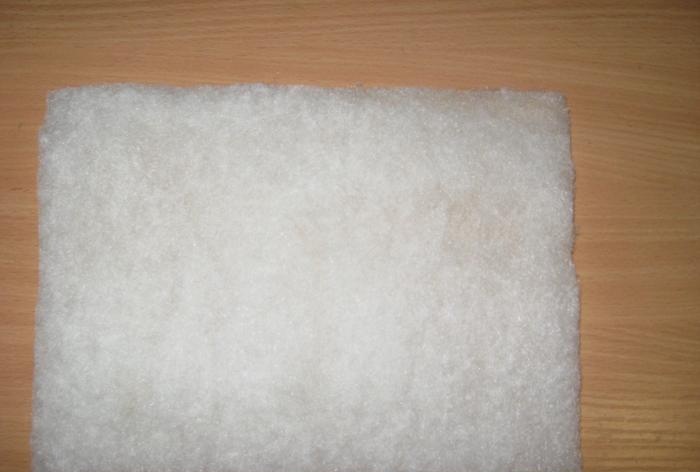
We turn it over and cover our solid base with strips of double-sided tape and glue the padding polyester.
Now let's take the fabric.
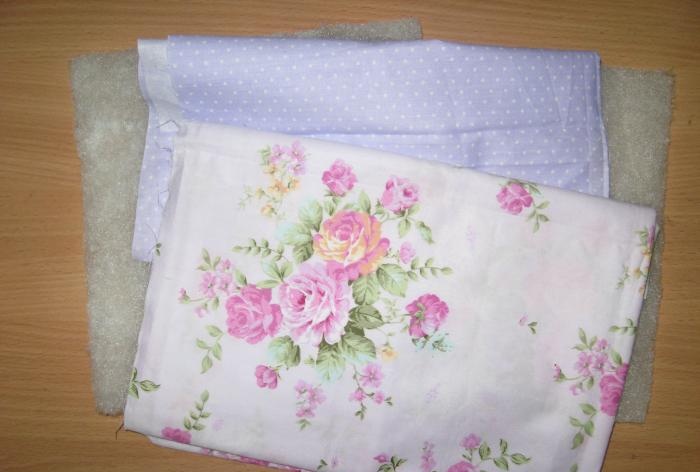
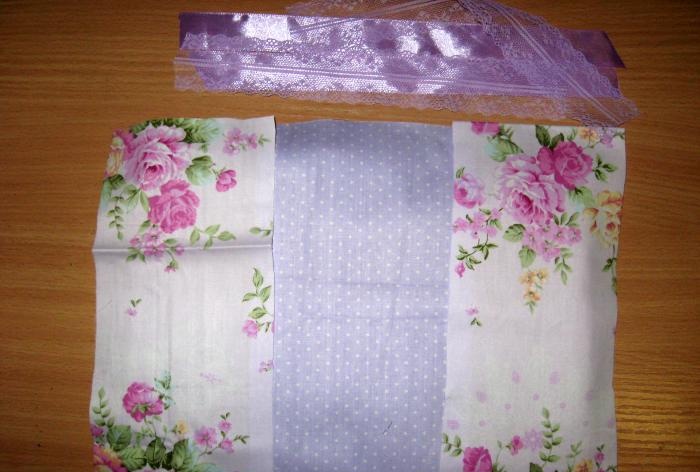
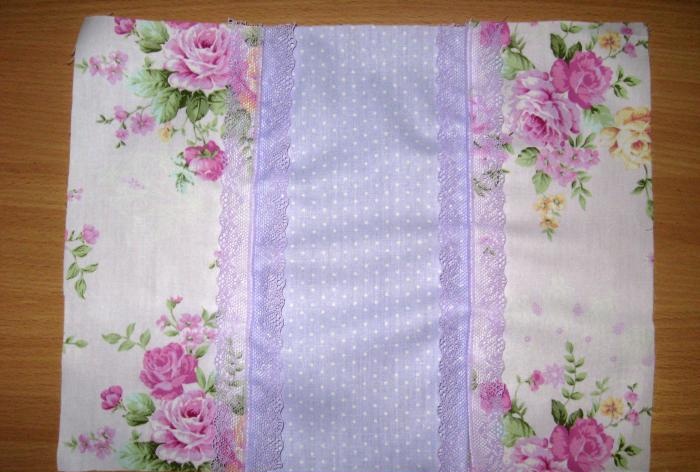
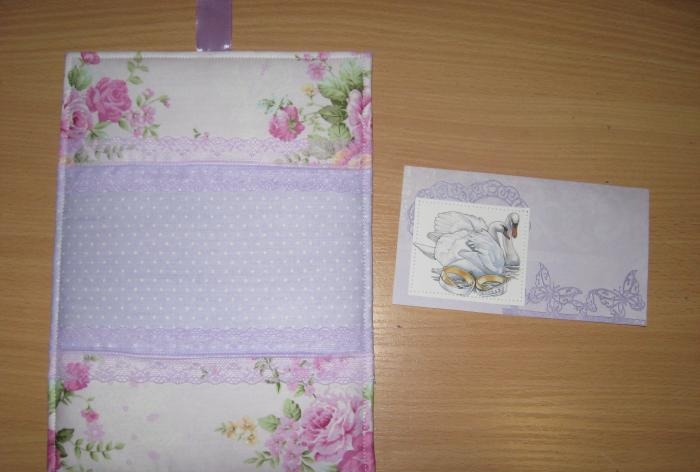
We cut off the fabric, as in the photo with stock, two pieces of ribbon and two pieces of lace. Iron the tape and pieces of fabric and sew them together. We sew lace onto the seams between the fabrics.
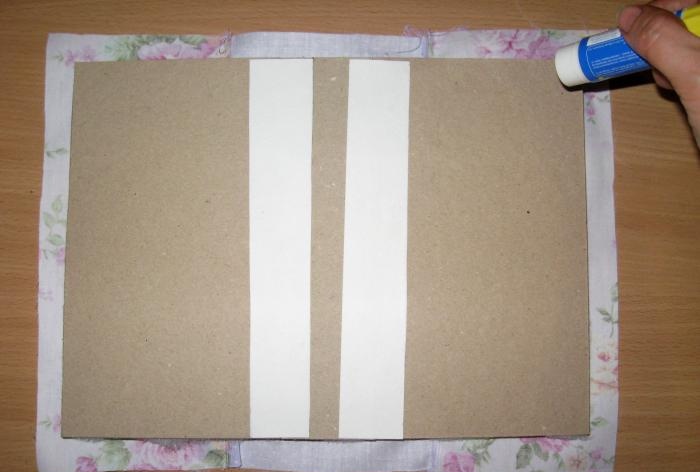
Now we need to wrap our binding blank with fabric. You also need to glue strips of tape in the center from the inside.
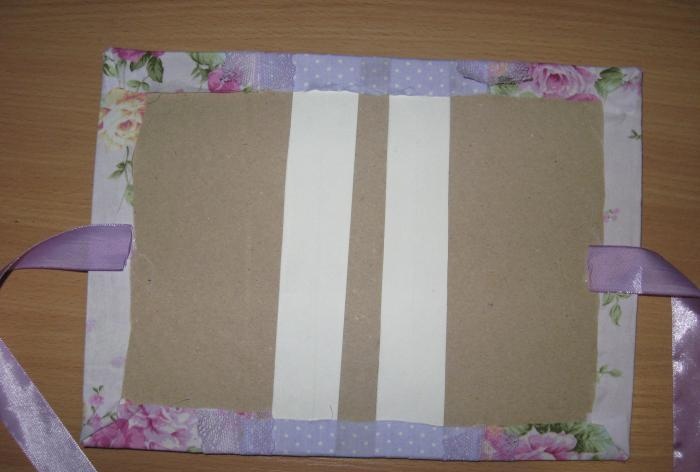
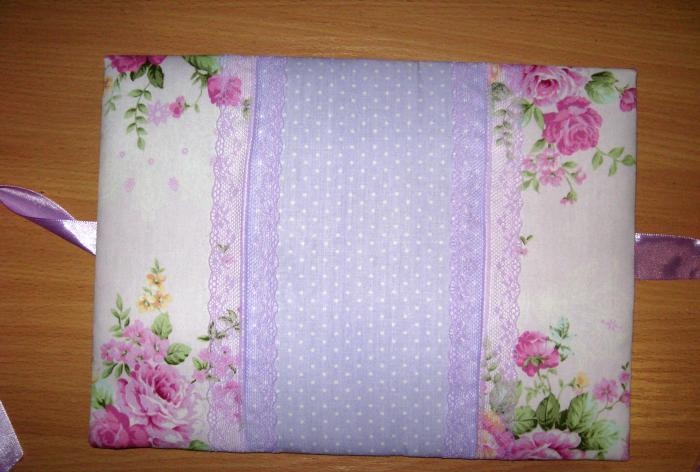
It turns out to be such a soft cover, we sew it along the edge. Now we need to make the inside of the bill holder. Take watercolor paper.
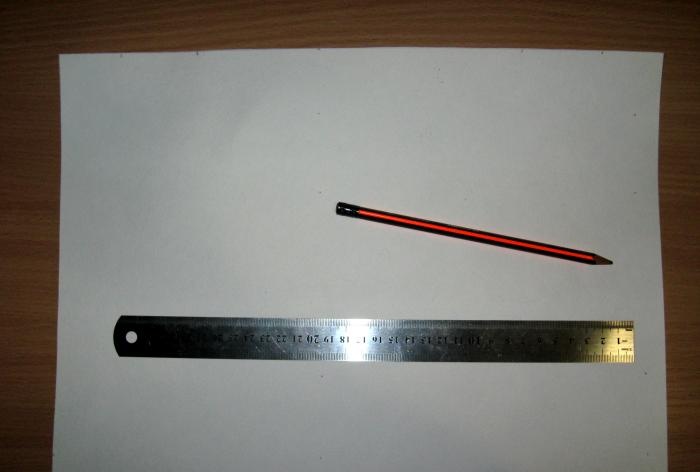
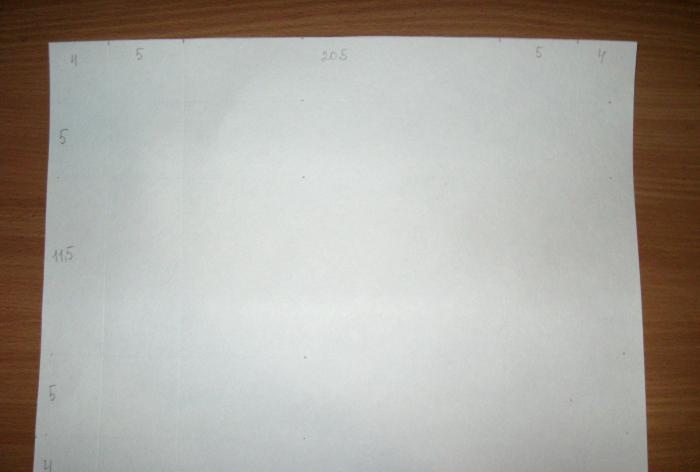
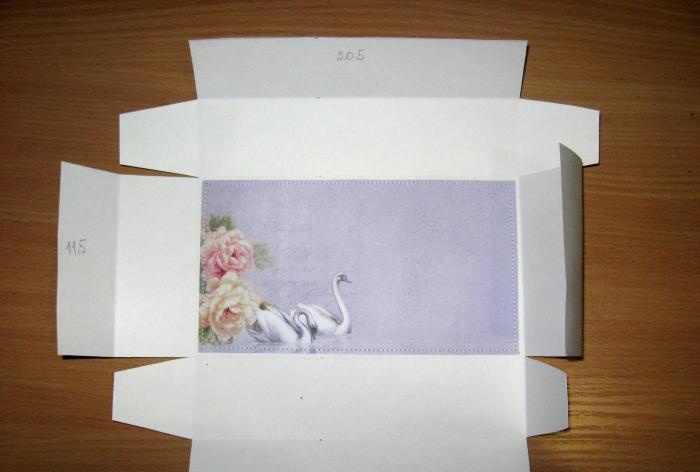
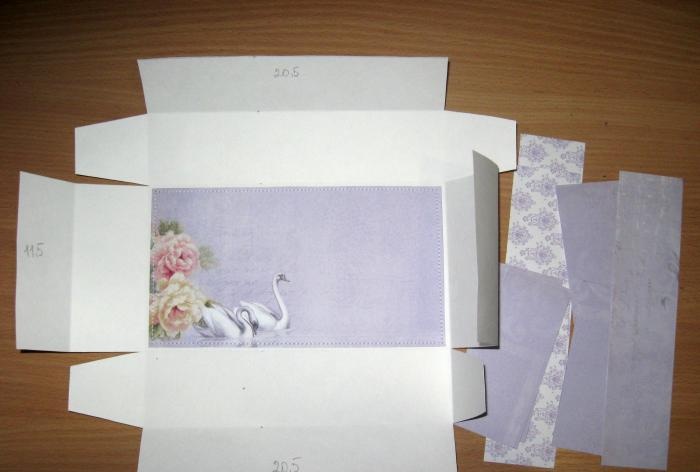
We divide it into parts, as in the photo, draw bend lines, and cut off the excess.
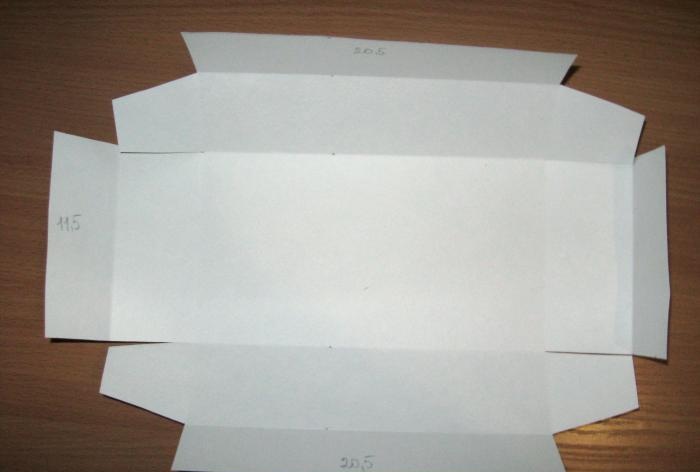
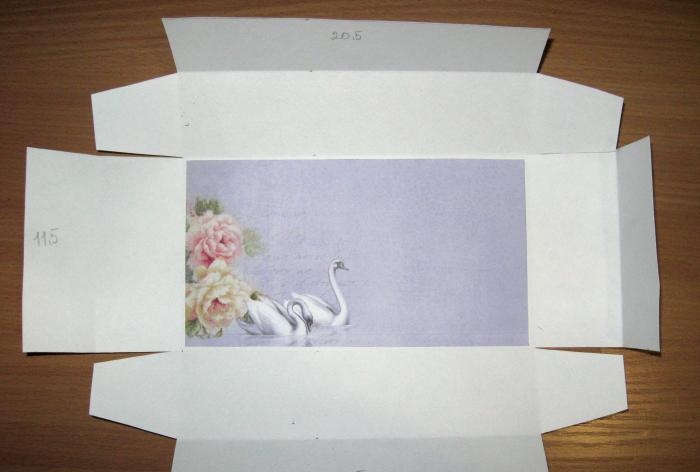
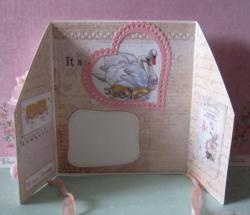
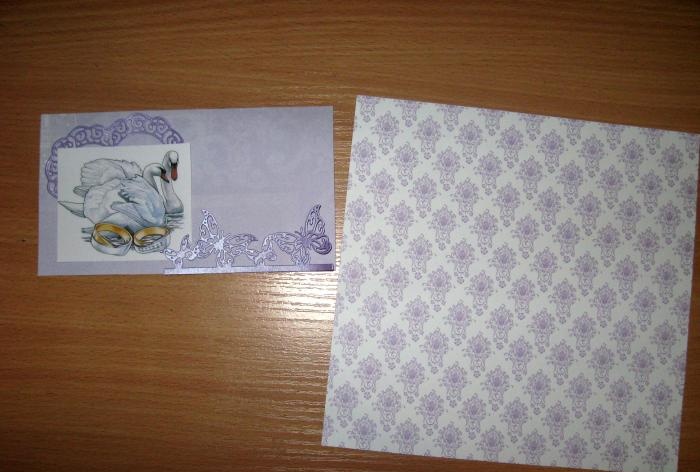
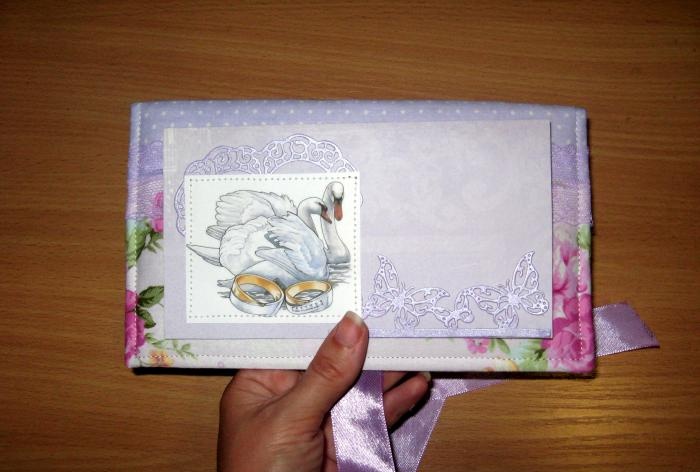
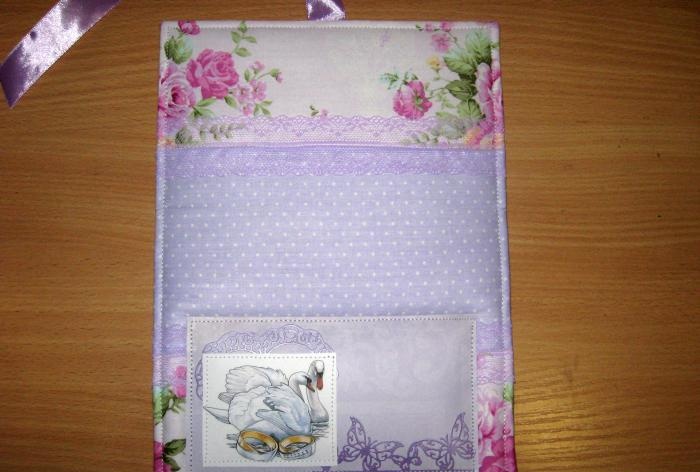
Inside we glue a rectangle 11*20 cm onto double-sided tape. From scrap paper we also cut a square 20.5 by 20.5 cm and a rectangle 9*17 cm. We glue a die-cut and a picture onto the rectangle, sew on the picture, and then glue the rectangle onto one of the soft sides covers and also sew them on by machine.
We also stitch the bottom and glue the very inside of the banknote.
We glue a rectangle inside and place it under the press.
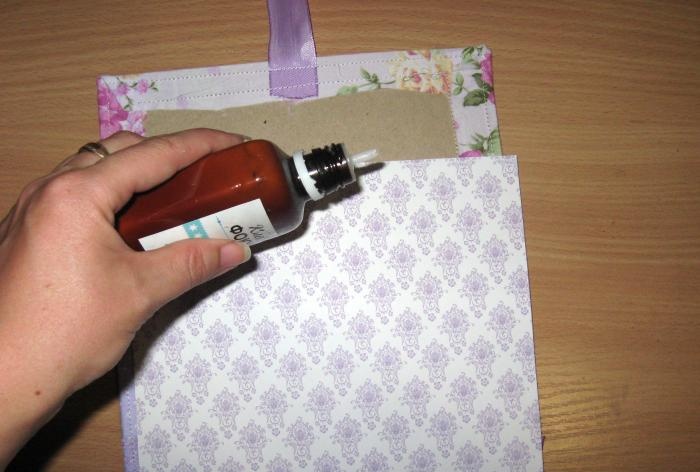
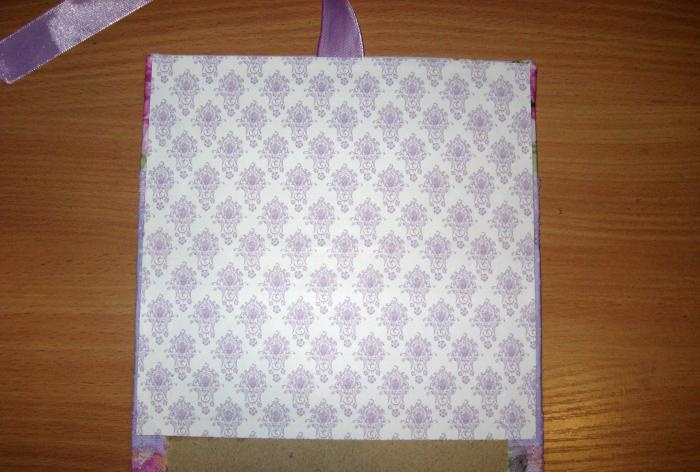
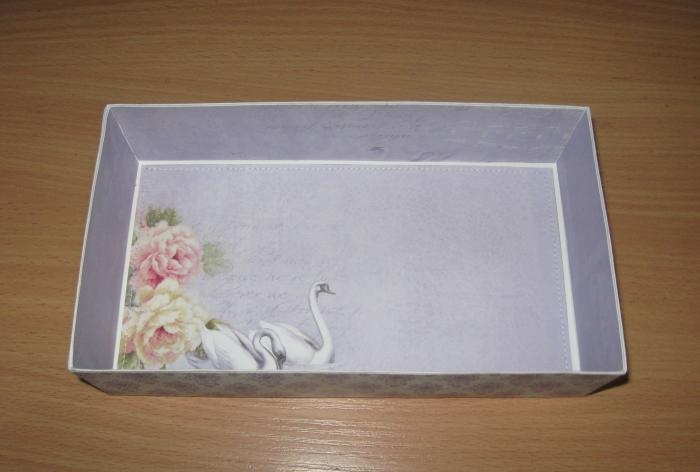
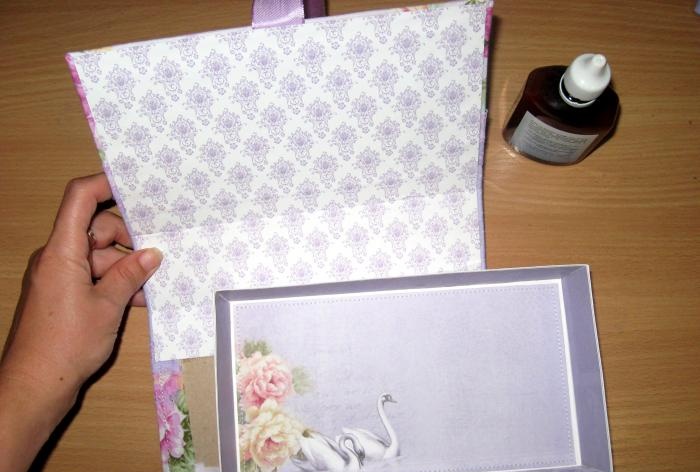
Now we glue the base itself directly into the soft cover.
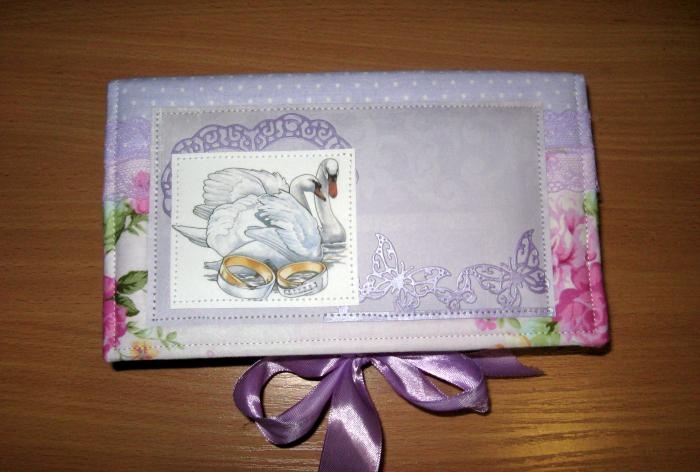
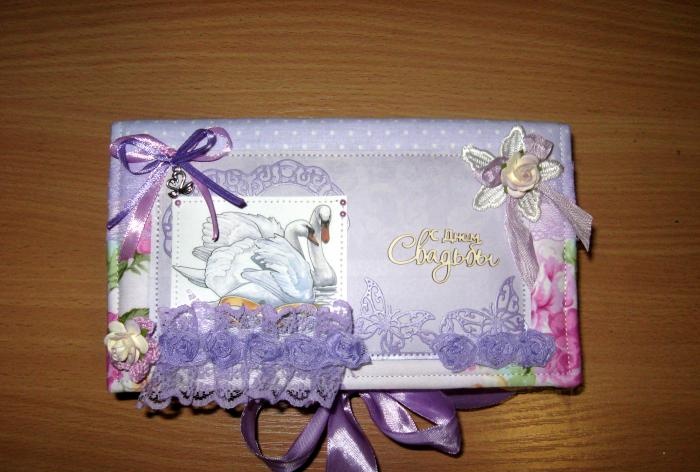
All that remains is to glue the decorations and our banknote is completely ready. Thank you for your attention and bye-bye!
To make a banknote we will need to take:
- Binding cardboard, two rectangles 12 by 21 cm and one 5 by 21 cm;
- White cardboard;
- Sintepon sheet thickness 100;
- Lilac fabric: take lilac with small white polka dots and lilac with flowers;
- Die-cut elements: hearts, flowers, glasses and champagne;
- Picture with a pair of swans;
- Watercolor paper, sheet A3 format;
- Scrappaper in lilac tone;
- Medium width lilac satin ribbon;
- Double cotton lace with embroidery;
- Focus glue and glue stick;
- Decorations: metal pendants, brads, paper flowers, lilac chiffon ribbon, pearl half beads;
- Double-sided tape;
- Scissors;
- Ruler;
- Simple pencil;
- Lighter.


We take the binding parts and from them we need to make a single solid base, which will in the process turn into part of a folding box. We lay out all the parts side by side and tightly to each other.


We cut cardboard strips 3*21 cm and glue them to the joints.


We get one solid piece. Now we draw bend lines with scissors so that they close and open well in the future.


We turn it over and cover our solid base with strips of double-sided tape and glue the padding polyester.


Now let's take the fabric.


We cut off the fabric, as in the photo with stock, two pieces of ribbon and two pieces of lace. Iron the tape and pieces of fabric and sew them together. We sew lace onto the seams between the fabrics.


Now we need to wrap our binding blank with fabric. You also need to glue strips of tape in the center from the inside.


It turns out to be such a soft cover, we sew it along the edge. Now we need to make the inside of the bill holder. Take watercolor paper.


We divide it into parts, as in the photo, draw bend lines, and cut off the excess.


Inside we glue a rectangle 11*20 cm onto double-sided tape. From scrap paper we also cut a square 20.5 by 20.5 cm and a rectangle 9*17 cm. We glue a die-cut and a picture onto the rectangle, sew on the picture, and then glue the rectangle onto one of the soft sides covers and also sew them on by machine.


We also stitch the bottom and glue the very inside of the banknote.


We glue a rectangle inside and place it under the press.


Now we glue the base itself directly into the soft cover.


All that remains is to glue the decorations and our banknote is completely ready. Thank you for your attention and bye-bye!

Similar master classes
Particularly interesting
Comments (1)

