Wedding envelopes for cash gift
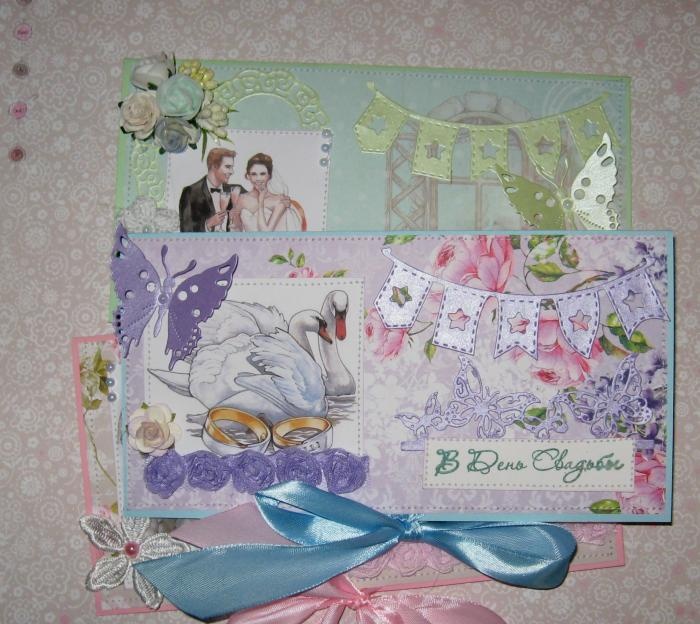
The long-awaited wedding season of spring-summer 2017 has arrived and fun, joy and congratulations to the newlyweds on this special day await us. The color scheme for weddings in 2017 is varied, as they say, for every taste, so it’s impossible to single out a specific color; whoever likes which one, the newlyweds will decorate their wedding in this color. Therefore, guests can also choose present for a wedding in any color scheme. As for wedding gifts, here it is. As they say, who knows what. This could be anything that would be useful for the newlyweds in their newborn family. These can be interior items, household appliances, a trip ticket, a car, an apartment, but in order not to rack your brains and please with a gift, then, of course, it is better to give a cash gift so that the newlyweds will already make a much better decision and what to spend some money on amount of money. But it’s worth considering the fact that money needs to be presented beautifully, elegantly and tastefully. Nowadays it is fashionable and popular to give money in handmade envelopes.This is considered not so much fashionable as exclusive, since it is 100% impossible to repeat the work, even if it is done by one person. Right now we will be making wedding envelopes in three colors.
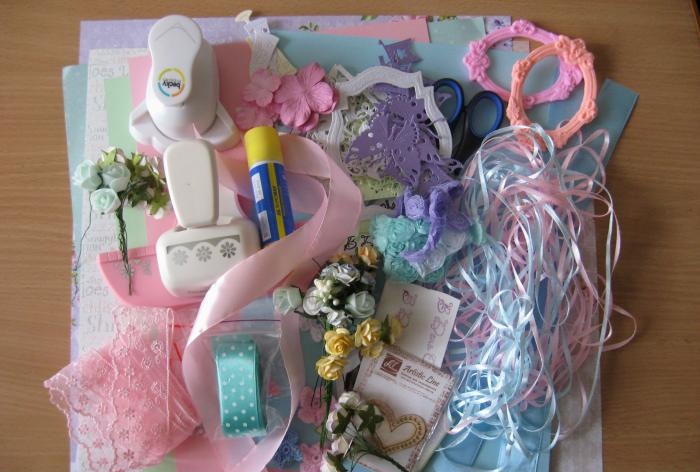
So, let's get started and take the following to make envelopes:
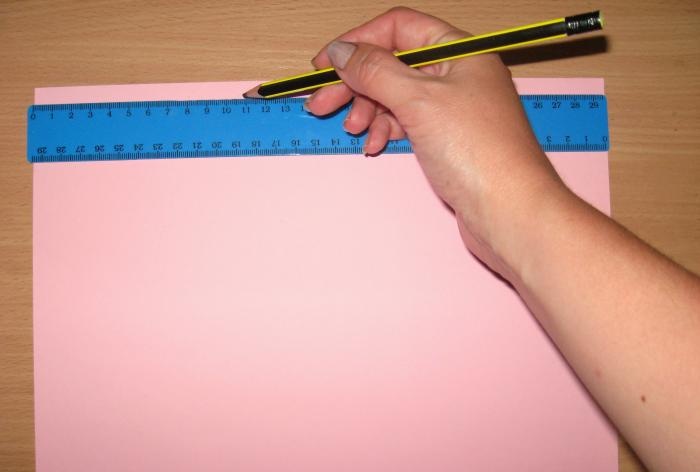
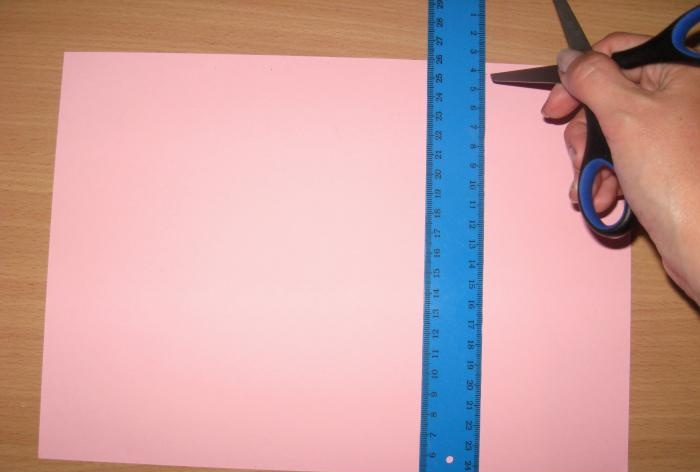
Let's start with the basics for cardboard envelopes. We divide each sheet in a horizontal position into three parts 11 cm, 11 cm and 7.5 cm.
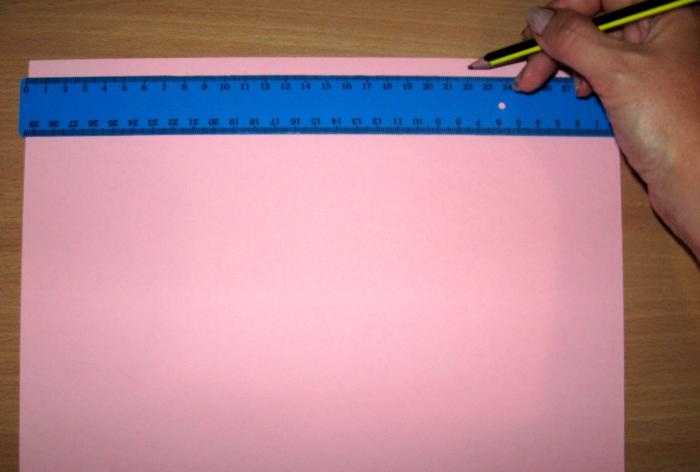
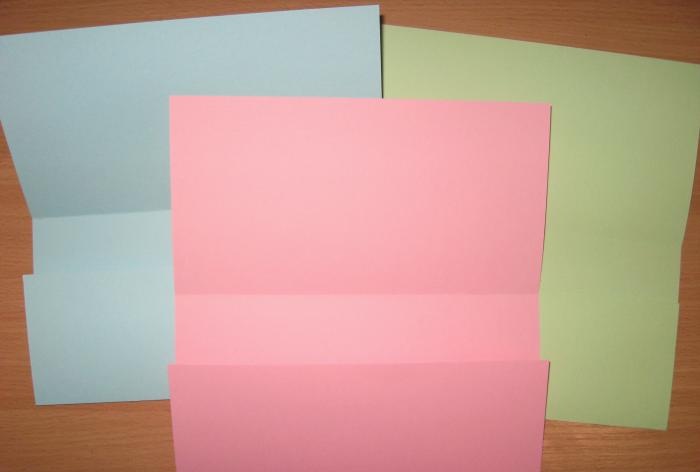
We draw bend lines and fold the bases under the envelopes.
Now for each envelope we select ribbons by color, burning the edges of each cut.
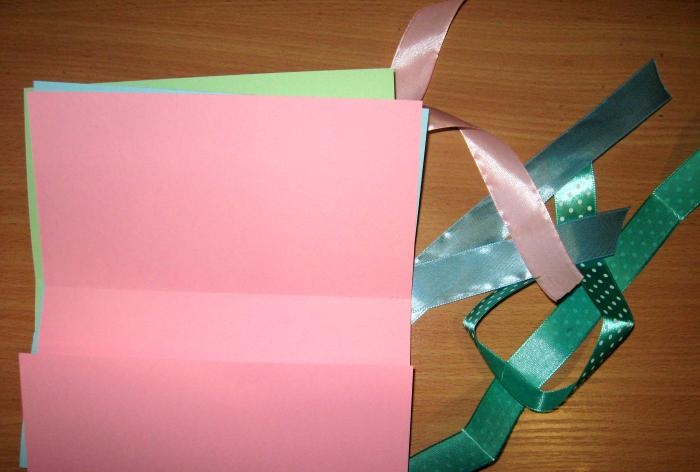
We glue the tapes onto the front and back of each base, centered on the edge. Now we cut out three rectangles of each color from scrap paper, two measuring 10.5 by 20.5 cm and one measuring 7 by 20.5 cm.
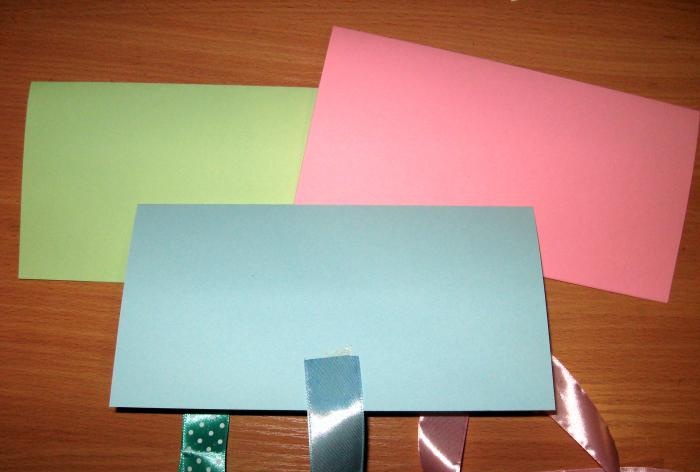
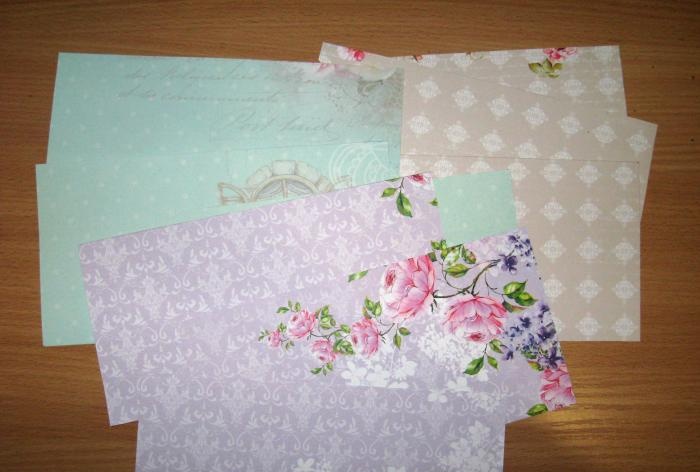
Inside and behind, we immediately glue scrap rectangles onto the tape. We will decorate and stitch the front ones. We stamp inscriptions of different colors, cut them out, and tint them. We glue a picture and an inscription on each of the envelopes and sew it on. We glue the butterflies onto the branches and flags with a glue stick.
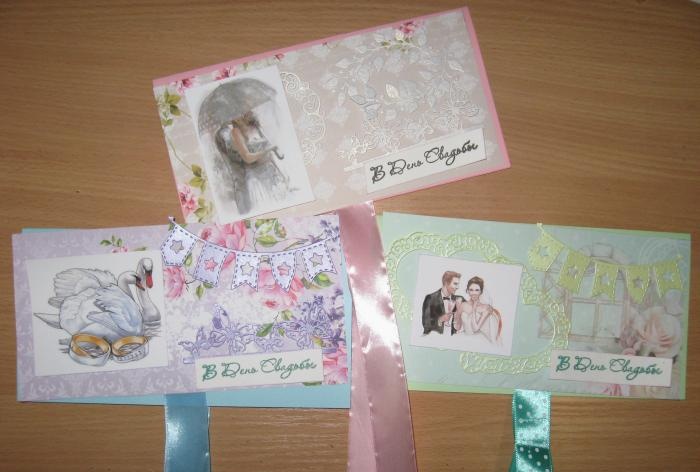
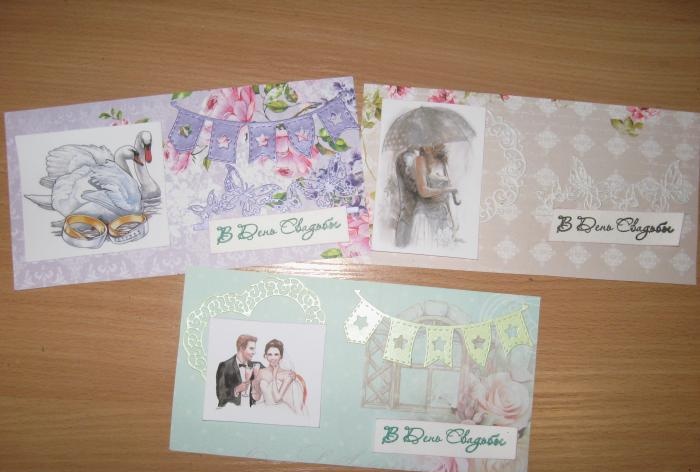
We glue these parts to the front of the envelopes and sew the outer parts of the envelopes separately, and the inner and back ones together. We get envelopes inside, tie them with bows.
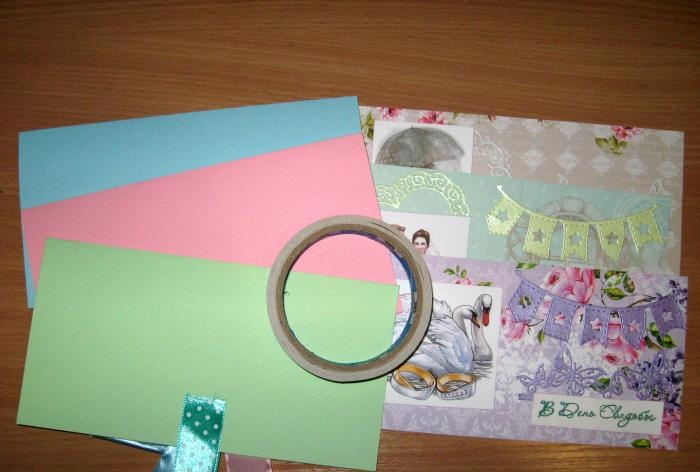
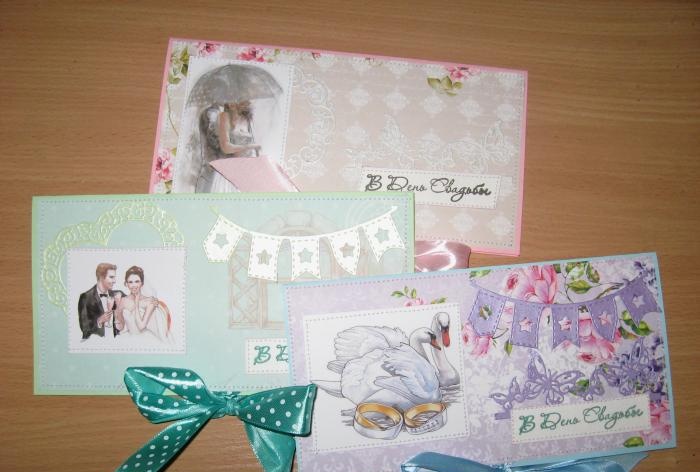
Glue on some decorations and you're done! We receive a variety of envelopes for wedding congratulations. Bye, see you everyone)
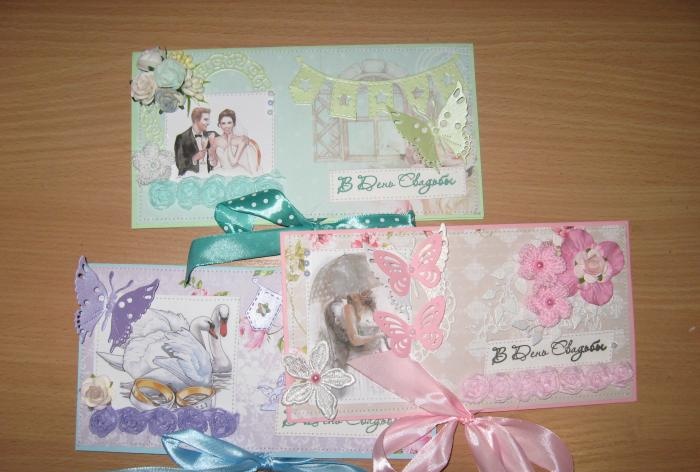
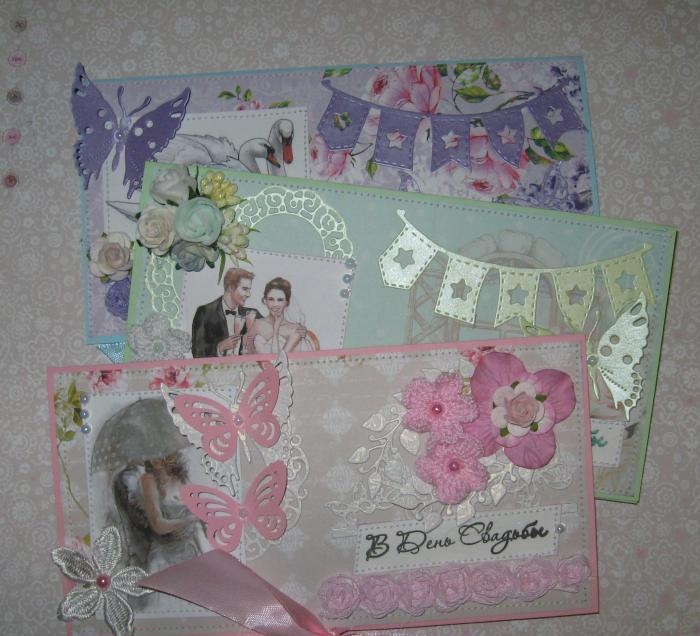
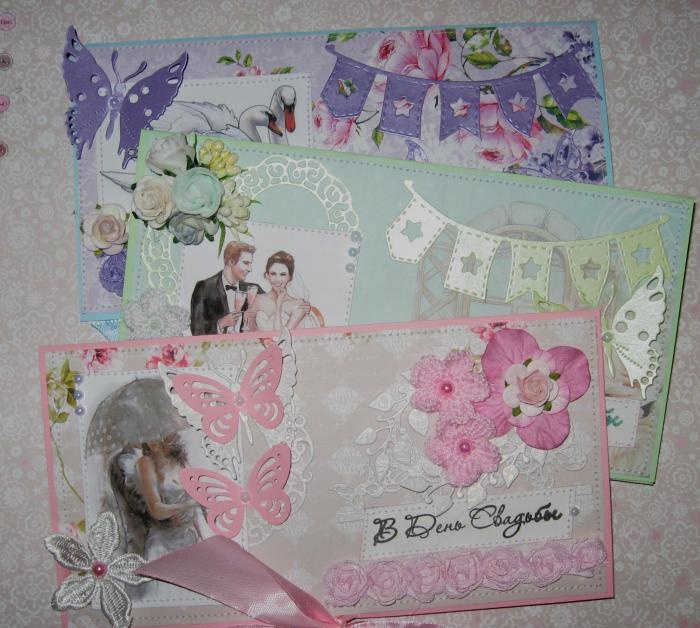
So, let's get started and take the following to make envelopes:
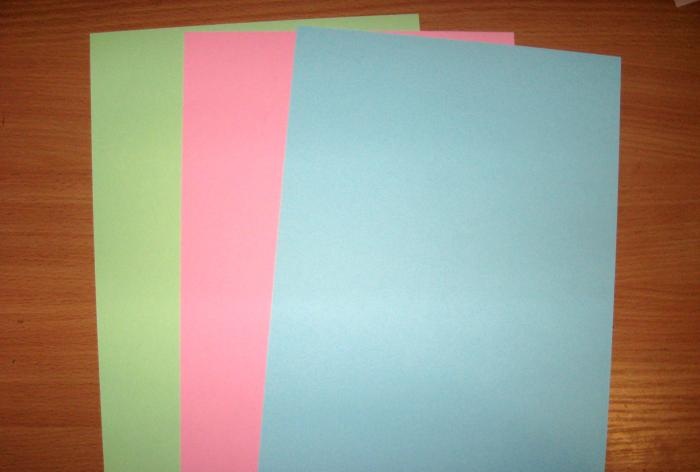
- Blue, light green and pink cardboard on A4 sheet;
- Scrappaper 30 by 30 cm in lilac, mint and beige-pink colors;
- Pictures of newlyweds, swans, etc., any on a wedding theme;
- Stamp and ink black and green “On the Wedding Day”;
- Ribbons 25 mm satin pink, blue, mint with polka dots;
- Lighter for processing ribbons;
- Paper flowers and latex roses are white, mint, lilac;
- White lace flowers;
- Pearl half beads;
- Cutting from mother-of-pearl cardboard in white, pistachio and lilac colors: festive flags, butterflies, hearts, frames;
- Chiffon roses on a ribbon are purple and soft pink;
- Curb hole punch;
- Scissors, glue stick, ruler, double-sided tape, pencil and glue gun.


Let's start with the basics for cardboard envelopes. We divide each sheet in a horizontal position into three parts 11 cm, 11 cm and 7.5 cm.


We draw bend lines and fold the bases under the envelopes.


Now for each envelope we select ribbons by color, burning the edges of each cut.


We glue the tapes onto the front and back of each base, centered on the edge. Now we cut out three rectangles of each color from scrap paper, two measuring 10.5 by 20.5 cm and one measuring 7 by 20.5 cm.


Inside and behind, we immediately glue scrap rectangles onto the tape. We will decorate and stitch the front ones. We stamp inscriptions of different colors, cut them out, and tint them. We glue a picture and an inscription on each of the envelopes and sew it on. We glue the butterflies onto the branches and flags with a glue stick.


We glue these parts to the front of the envelopes and sew the outer parts of the envelopes separately, and the inner and back ones together. We get envelopes inside, tie them with bows.


Glue on some decorations and you're done! We receive a variety of envelopes for wedding congratulations. Bye, see you everyone)


Similar master classes
Particularly interesting
Comments (0)


