Wedding invitation
Today “Hand Made” is gaining more and more momentum. It’s not surprising - original and exclusive present will delight anyone and leave a warm impression for many years. A very beautiful, and most importantly unique, handmade invitation can be made with your own hands from simple materials available to everyone. All you need is a little time and the desire to please your close friends or relatives.
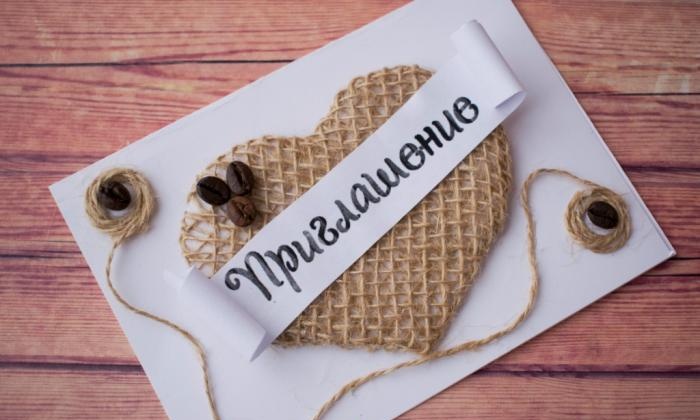
What you need:
1. Take a sheet of thick paper or A4 cardboard and cut it in half. To create a clear and even line, attach a ruler and draw with a stationery knife.
2. Fold the sheet in half. Cut out a heart from the same paper. We do it by eye, but it should occupy most of the area of the front side of the card.
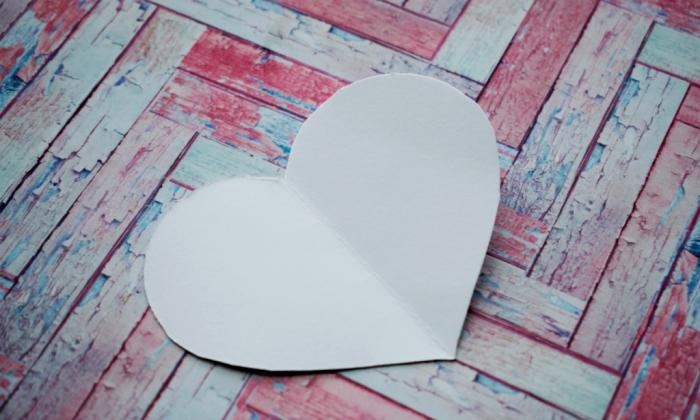

3. Glue a few pieces of double-sided tape on one side, turn it over and place it on the burlap, pressing down well. We turn it over and again glue the tape along the edge of the heart, bend the corners of the burlap and glue them.
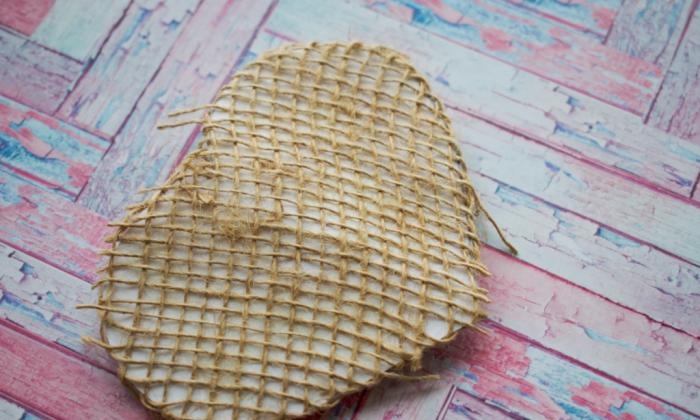
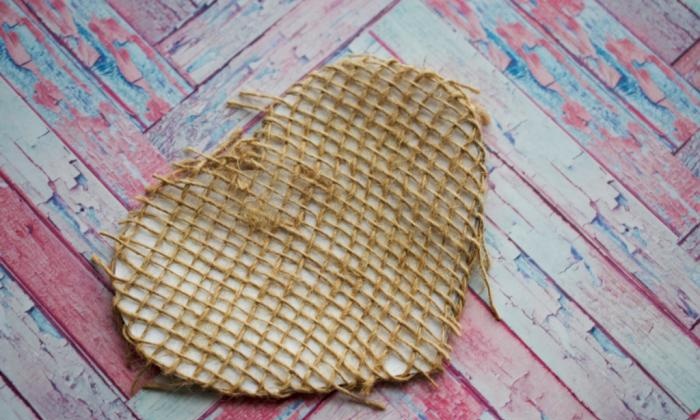
4. As you can see, due to the large cell, one layer is not enough.We apply burlap again to the front side, try to sew the lines of the second layer across the lines of the first. On the reverse side, use a glue gun to glue the burlap, carefully bending all the threads. Stretch the material well, it should not dangle. The second layer on the front side is not glued.
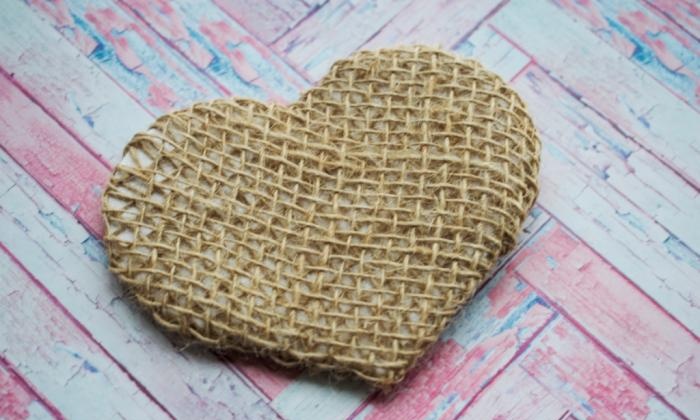
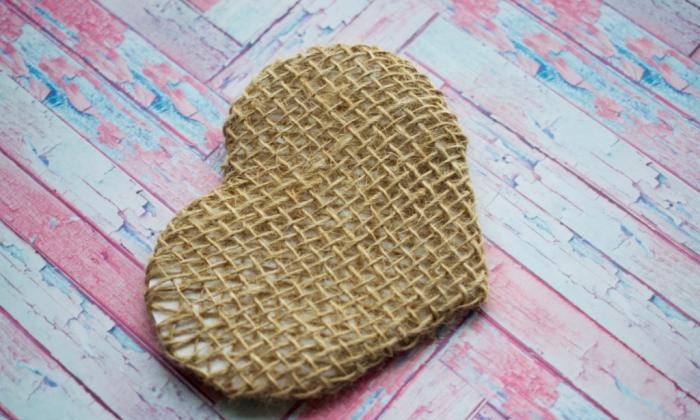
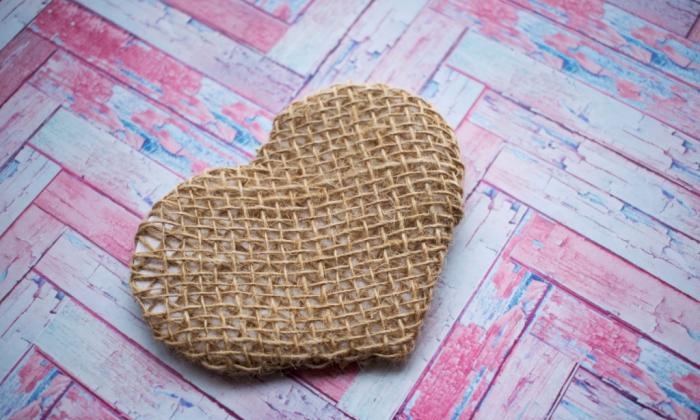
5. Glue the heart onto a cardboard blank.
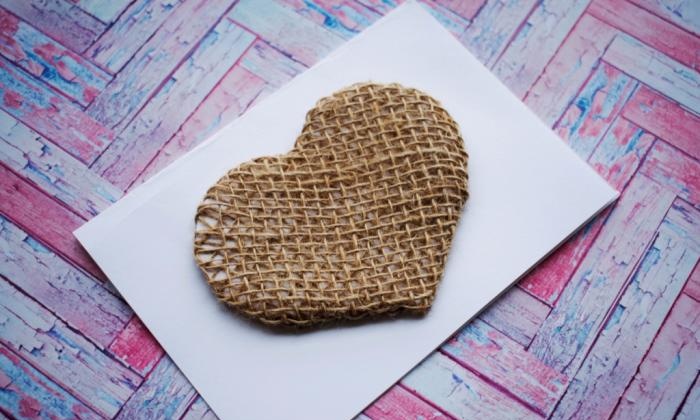
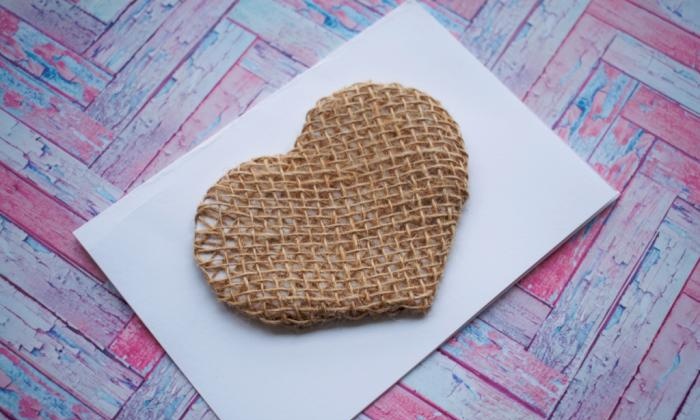
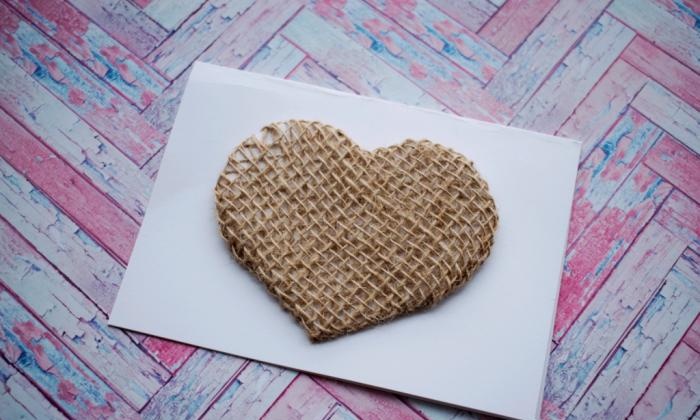
6. Print out the word “Invitation” in advance; when you cut it out, step back 3 cm from the letters “P” and “E”.

7. Use scissors to wrap the ends of the paper and glue them onto the heart.
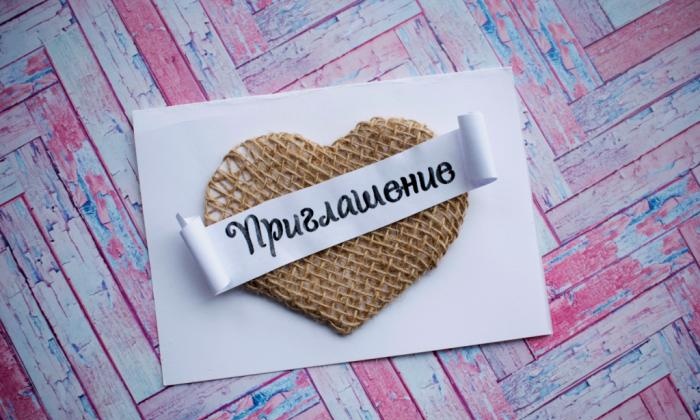
8. Take the twine, wrap 4 rings around your index finger, secure with glue. 35 cm away from the ring, cut the thread. Make the same ring on the reverse side.
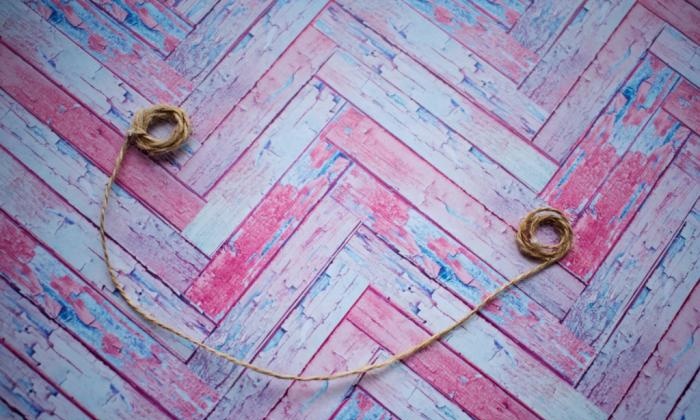
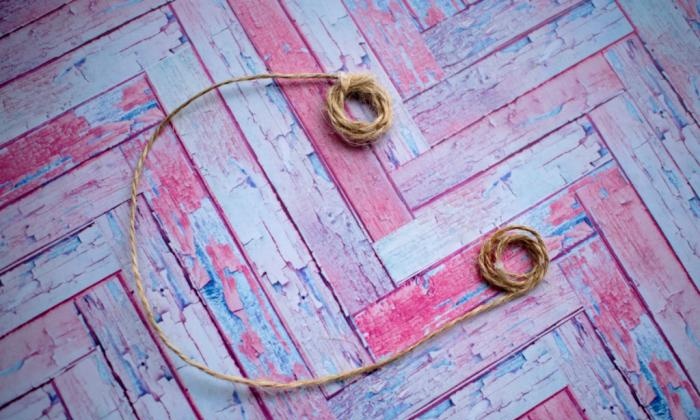
9. Glue the first ring on the upper left corner, the second on the lower right. Bend the thread as you wish, gluing it in several places to the paper.
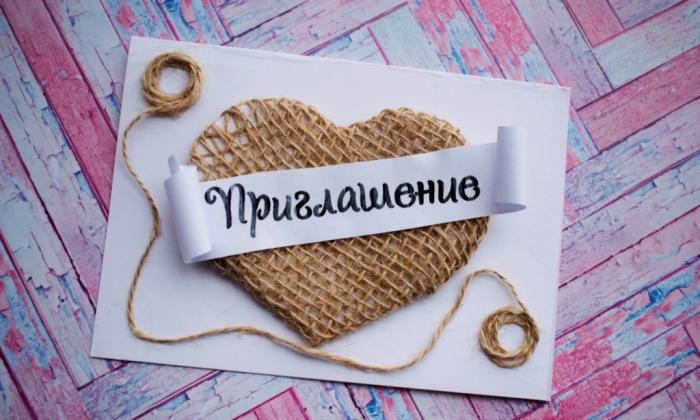
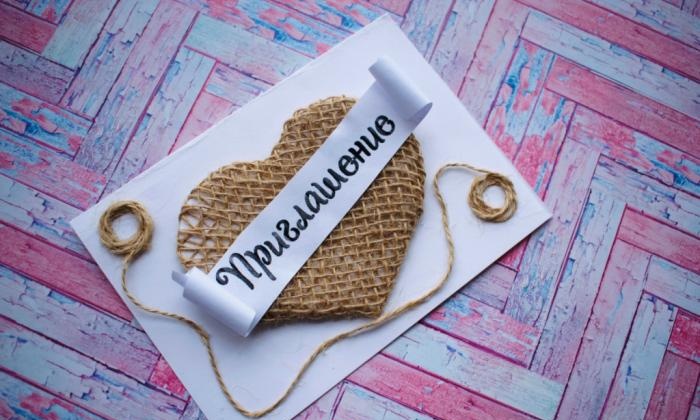
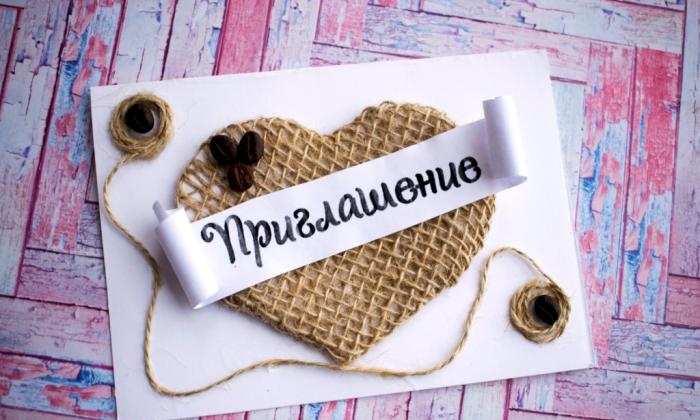
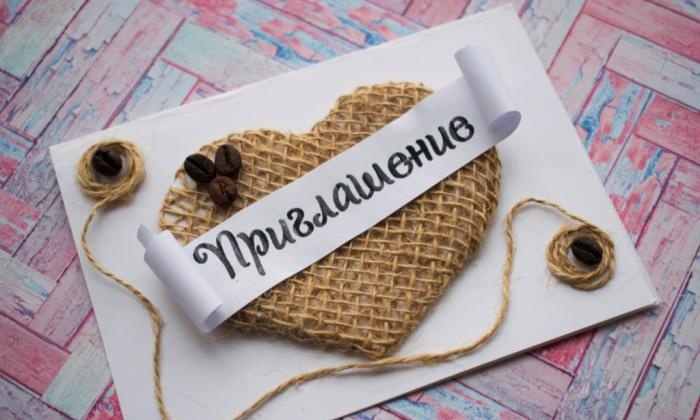
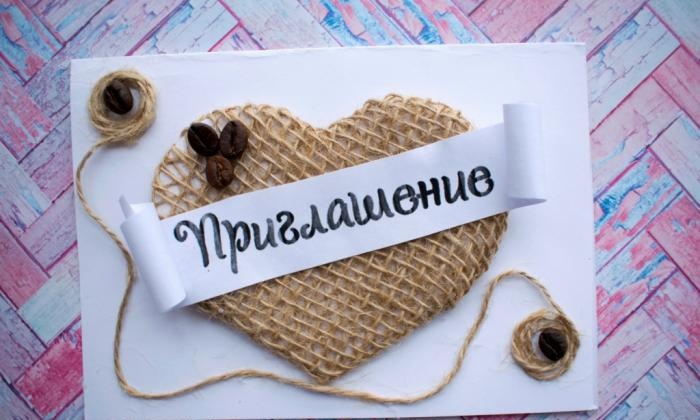
10. Take 5 coffee beans. Glue 1 piece into each ring, note that the coffee line should face the same direction. Make a flower from the remaining 3. Our wedding invitation is ready.


What you need:
- Thick white paper, the same color on both sides;
- Stationery knife;
- Ruler;
- Twine;
- Sackcloth;
- Glue gun or “liquid nails”;
- Scissors;
- Coffee beans.
1. Take a sheet of thick paper or A4 cardboard and cut it in half. To create a clear and even line, attach a ruler and draw with a stationery knife.


2. Fold the sheet in half. Cut out a heart from the same paper. We do it by eye, but it should occupy most of the area of the front side of the card.


3. Glue a few pieces of double-sided tape on one side, turn it over and place it on the burlap, pressing down well. We turn it over and again glue the tape along the edge of the heart, bend the corners of the burlap and glue them.


4. As you can see, due to the large cell, one layer is not enough.We apply burlap again to the front side, try to sew the lines of the second layer across the lines of the first. On the reverse side, use a glue gun to glue the burlap, carefully bending all the threads. Stretch the material well, it should not dangle. The second layer on the front side is not glued.


5. Glue the heart onto a cardboard blank.


6. Print out the word “Invitation” in advance; when you cut it out, step back 3 cm from the letters “P” and “E”.

7. Use scissors to wrap the ends of the paper and glue them onto the heart.

8. Take the twine, wrap 4 rings around your index finger, secure with glue. 35 cm away from the ring, cut the thread. Make the same ring on the reverse side.


9. Glue the first ring on the upper left corner, the second on the lower right. Bend the thread as you wish, gluing it in several places to the paper.


10. Take 5 coffee beans. Glue 1 piece into each ring, note that the coffee line should face the same direction. Make a flower from the remaining 3. Our wedding invitation is ready.


Similar master classes
Particularly interesting
Comments (1)


