Baby stroller made from newspaper tubes
Let's say you are invited to an event: a wedding or a baby shower. Original present – half of your congratulations. Don't go shopping looking for something exclusive. A surprise made by you personally will always stand out from the background of similar souvenirs.
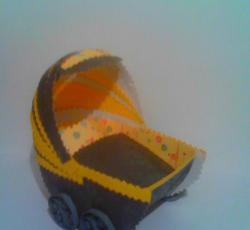
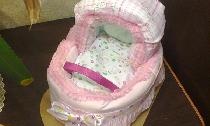
A stroller for a newborn made from scrap material, and even made with your own hands, will attract the attention of all guests. Just imagine how many positive emotions you will bring to the newlyweds by hinting about future children with a decorative stroller. And what memory of congratulations will remain for the baby and happy parents after your visit?
For the manufacture of crafts The following items will be required:
- paper (old newspapers);
- cardboard (for the base);
- stationery glue;
- glue (second, moment);
- scissors.
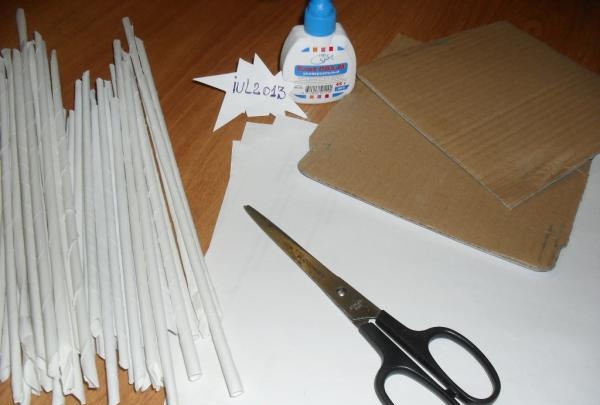
Suitable for tubes: newspaper, office paper, sheets from a regular notebook. All sizes are arbitrary. If the stroller is small, thick sheets will look rough.
We divide the A4 sheet into two parts to make it easier to twist the tubes later.
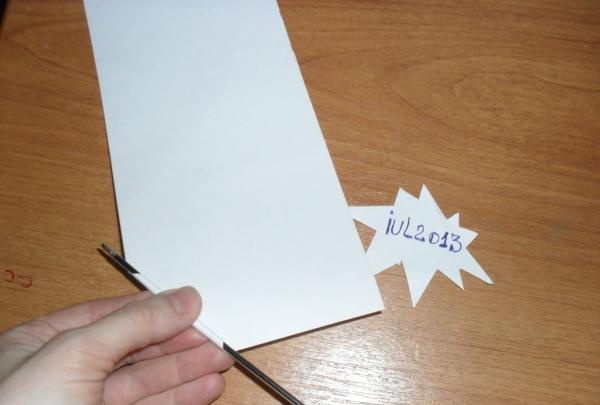
Use regular ballpoint pen paste to twist the edge of the paper diagonally.
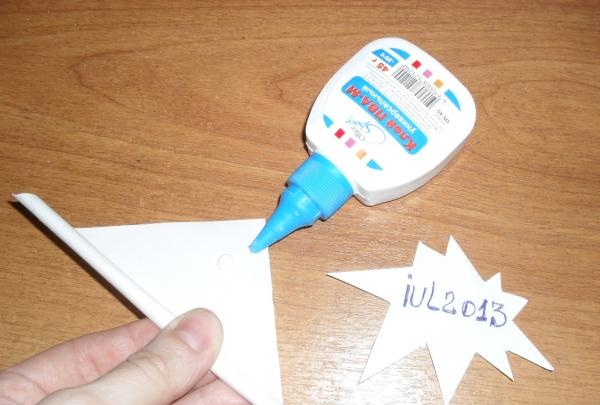
Finally, grease the free corner with glue (PVA).
If it is not needed, we take out the paste.
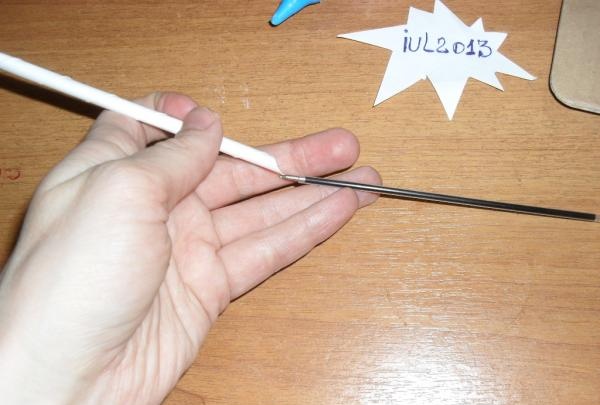
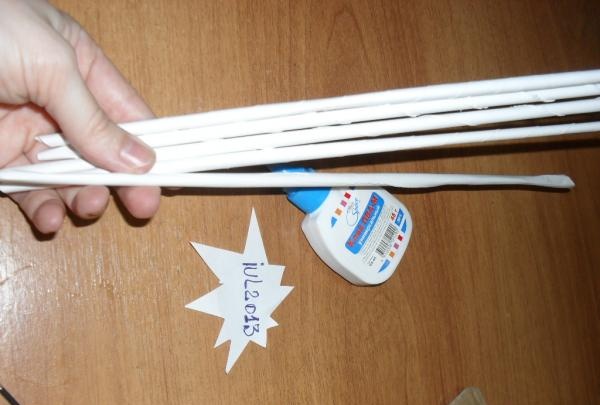
In this way we make all the preparations for the future craft (about 22-23).
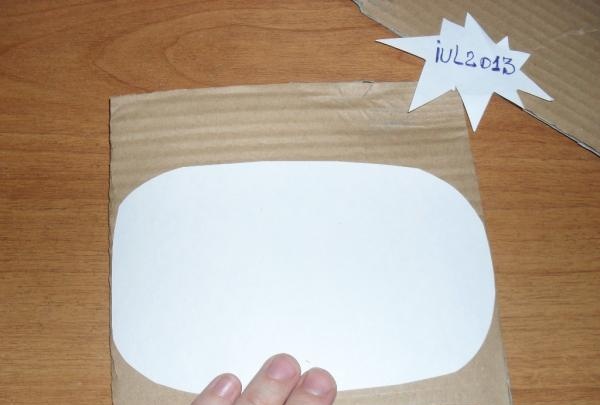
On a piece of cardboard we draw an oval using a paper template - it will serve as the basis of the structure. Do not throw away the template; it covers the working area from below.
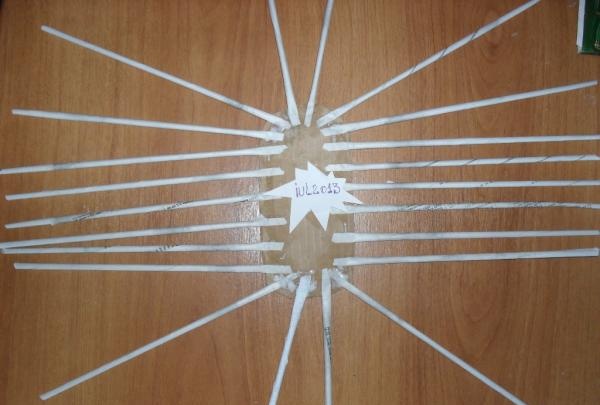
Glue the tubes onto the cardboard base. Turn over after the glue dries.
For further work on the design of the frame, two separate parts are taken.
The process is reminiscent of braiding. Only the middle link is always motionless.
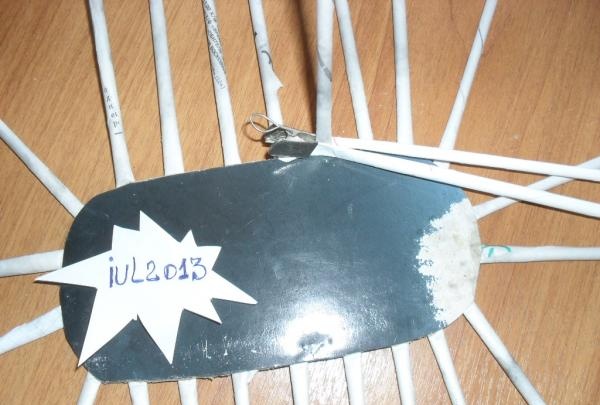
When the height of the sides reaches the desired size, the final weaving will be the “hood” of the stroller. We stop at its edges and turn in the opposite direction. We do the same with the other side. The protruding parts of the cradle itself need to be hidden. We take each tube by the edge and insert it between the braids. The row is neatly hidden.
The inside is still a mess, but don’t let that bother you – behind the decorations, everything will be hidden and will look very decent.
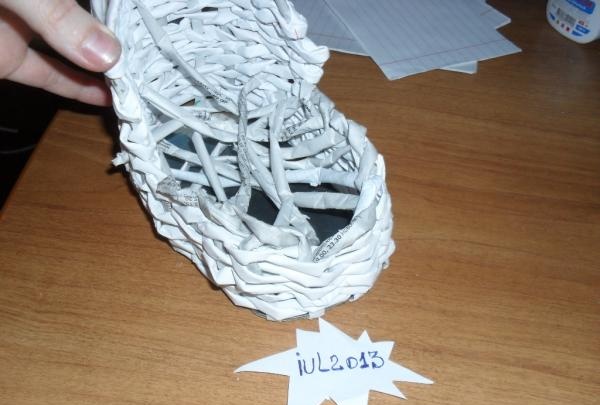
We outline the top of the visor. To do this, we connect (glue) two opposite tubes. Weaving to the top, we form the “crown”.
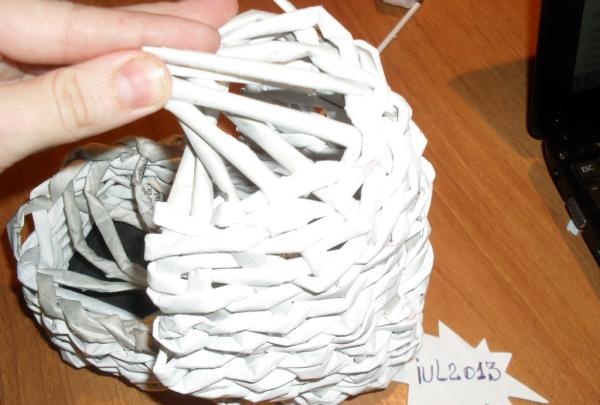
We bend the ends of the upper working tubes down and glue them with the guides along the edge of the visor.
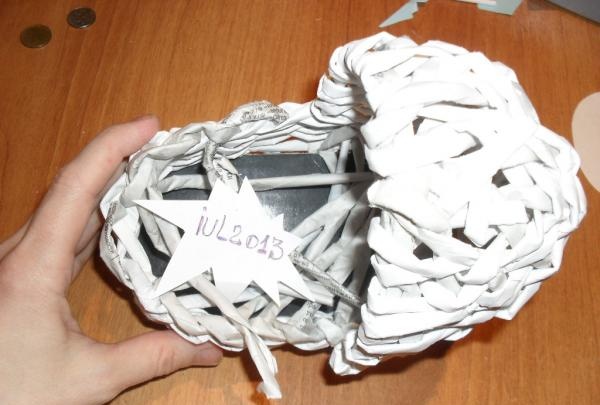
Like a real stroller, our decorative craft will be on wheels. The same tubes will be used. For a wheel, you need to crumple one tube into a flat plate, which will be wound onto another.
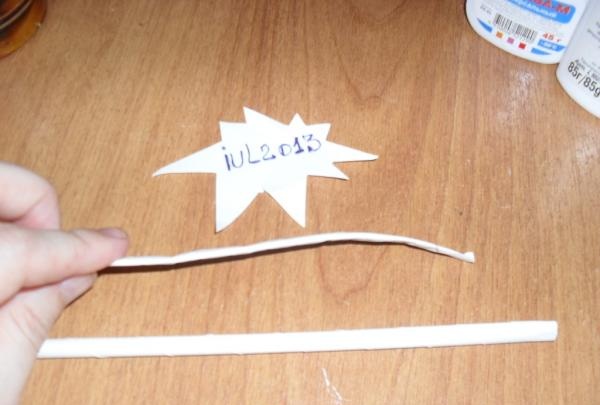
It turns out that the tube (main axis) contains two wheels at the edges.
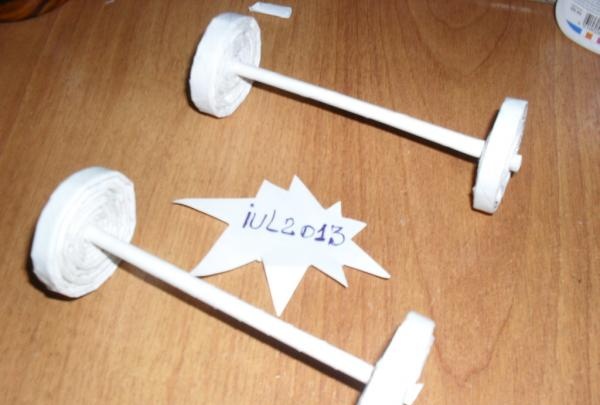
This part is simply glued to the bottom of the stroller.
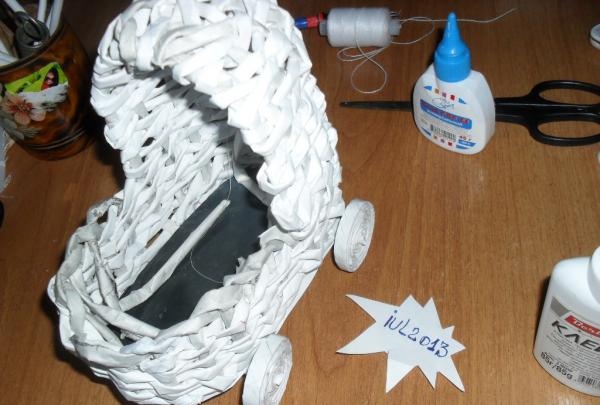
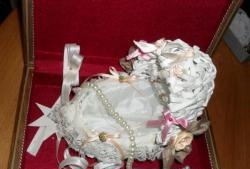
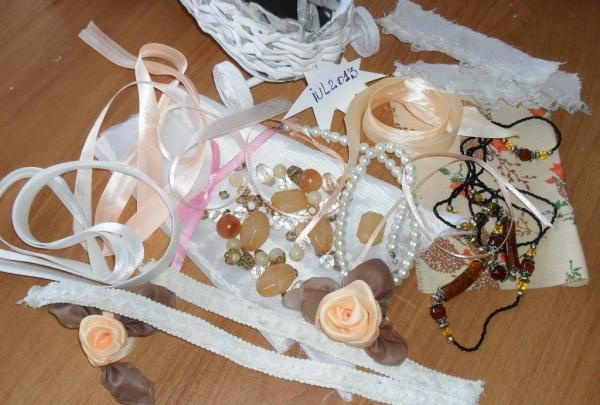
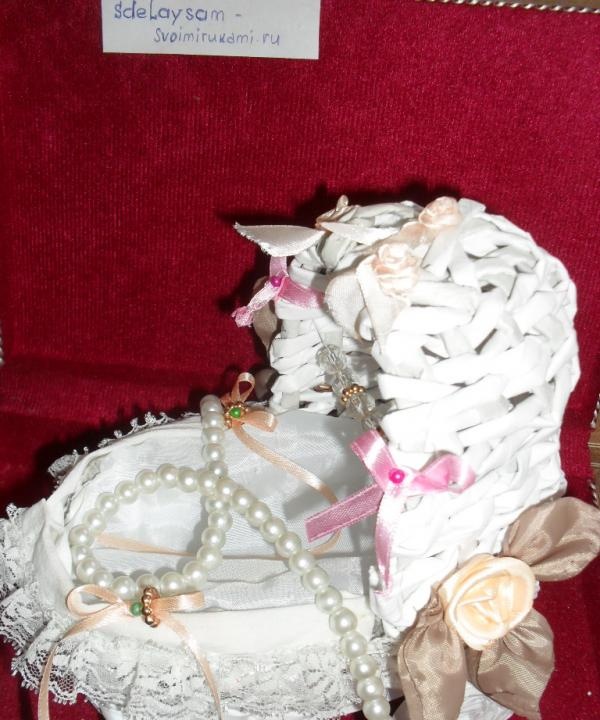
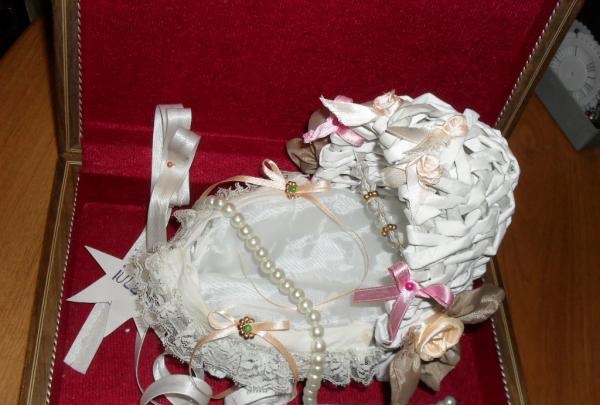
The main structure is done, let's move on to the most enjoyable part - decorating. The biggest helper is your imagination and taste.And a variety of items will come in handy: beads, ribbons, guipure, fluff fabric, buttons, homemade flowers, openwork knitting.
For the interior decoration of the cradle, it is better to use organza or regular lining fabric. These materials give a feeling of lightness.
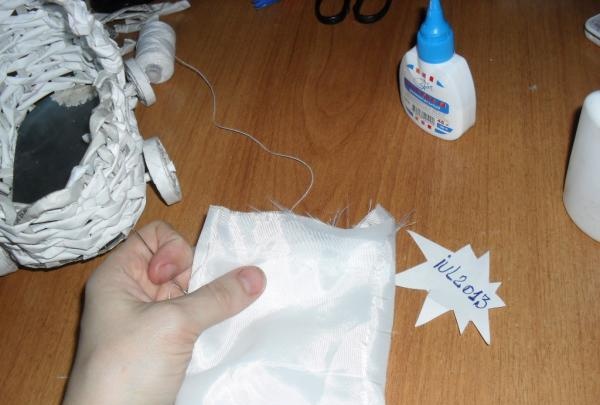
The fabric is folded several times (several layers) so that the ugly bottom and the remains hidden there are not visible.
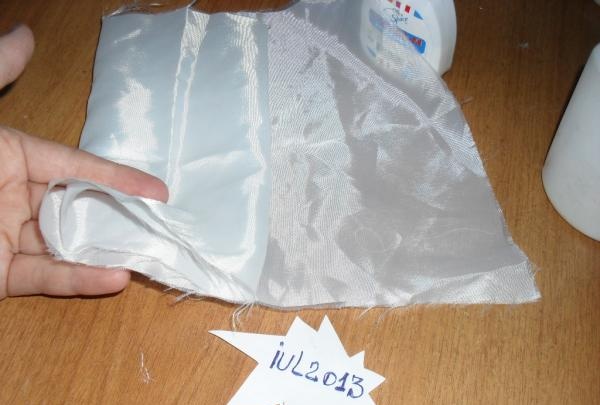
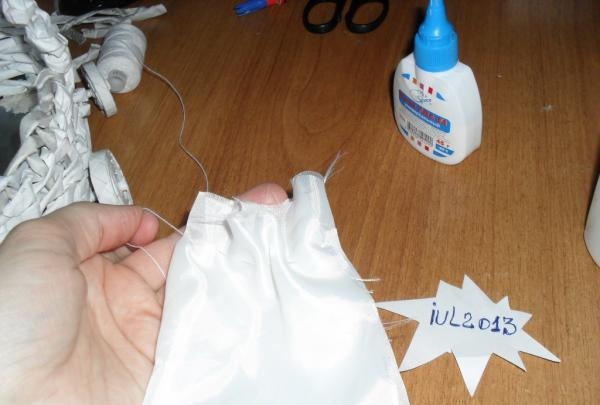
We sew along the edges with a simple stitch and pull it together by the threads, like a “sheaf”.
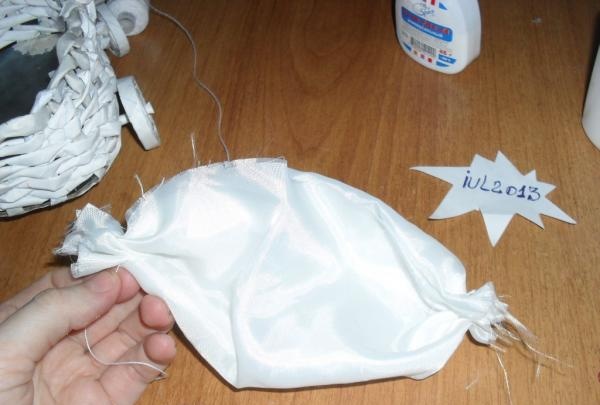
We put our “pastel” in place, straightening it for splendor.
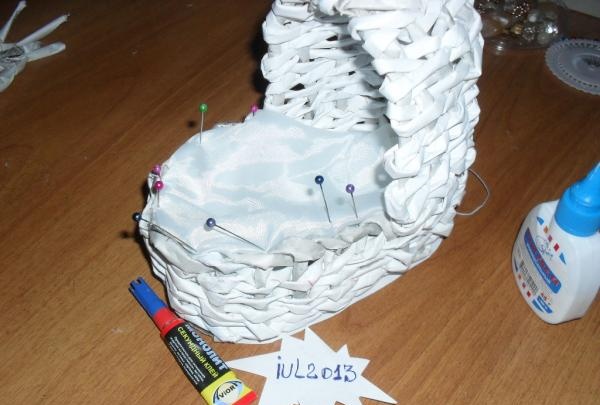
To prevent the slippery fabric from “dancing,” we outline the desired position and fix it with pins for now. In certain places we attach it with second glue (it is not advisable to use PVA due to weak grip).
The rest of the decoration depends on individual creativity.
Important. Do not make the tubes too thick - the model looks rough.
Mark the edge of the visor in time to avoid creating an “excavator bucket”.
The thinner the working tubes, the more delicate the toy looks. But the frame elements must be stronger than those with which you will weave.
A stroller for a newborn made from scrap material, and even made with your own hands, will attract the attention of all guests. Just imagine how many positive emotions you will bring to the newlyweds by hinting about future children with a decorative stroller. And what memory of congratulations will remain for the baby and happy parents after your visit?
For the manufacture of crafts The following items will be required:
- paper (old newspapers);
- cardboard (for the base);
- stationery glue;
- glue (second, moment);
- scissors.

Suitable for tubes: newspaper, office paper, sheets from a regular notebook. All sizes are arbitrary. If the stroller is small, thick sheets will look rough.
We divide the A4 sheet into two parts to make it easier to twist the tubes later.
Use regular ballpoint pen paste to twist the edge of the paper diagonally.

Finally, grease the free corner with glue (PVA).

If it is not needed, we take out the paste.

In this way we make all the preparations for the future craft (about 22-23).

On a piece of cardboard we draw an oval using a paper template - it will serve as the basis of the structure. Do not throw away the template; it covers the working area from below.

Glue the tubes onto the cardboard base. Turn over after the glue dries.

For further work on the design of the frame, two separate parts are taken.
The process is reminiscent of braiding. Only the middle link is always motionless.

When the height of the sides reaches the desired size, the final weaving will be the “hood” of the stroller. We stop at its edges and turn in the opposite direction. We do the same with the other side. The protruding parts of the cradle itself need to be hidden. We take each tube by the edge and insert it between the braids. The row is neatly hidden.
The inside is still a mess, but don’t let that bother you – behind the decorations, everything will be hidden and will look very decent.

We outline the top of the visor. To do this, we connect (glue) two opposite tubes. Weaving to the top, we form the “crown”.

We bend the ends of the upper working tubes down and glue them with the guides along the edge of the visor.

Like a real stroller, our decorative craft will be on wheels. The same tubes will be used. For a wheel, you need to crumple one tube into a flat plate, which will be wound onto another.

It turns out that the tube (main axis) contains two wheels at the edges.

This part is simply glued to the bottom of the stroller.

The main structure is done, let's move on to the most enjoyable part - decorating. The biggest helper is your imagination and taste.And a variety of items will come in handy: beads, ribbons, guipure, fluff fabric, buttons, homemade flowers, openwork knitting.

For the interior decoration of the cradle, it is better to use organza or regular lining fabric. These materials give a feeling of lightness.
The fabric is folded several times (several layers) so that the ugly bottom and the remains hidden there are not visible.

We sew along the edges with a simple stitch and pull it together by the threads, like a “sheaf”.


We put our “pastel” in place, straightening it for splendor.
To prevent the slippery fabric from “dancing,” we outline the desired position and fix it with pins for now. In certain places we attach it with second glue (it is not advisable to use PVA due to weak grip).

The rest of the decoration depends on individual creativity.


Important. Do not make the tubes too thick - the model looks rough.
Mark the edge of the visor in time to avoid creating an “excavator bucket”.
The thinner the working tubes, the more delicate the toy looks. But the frame elements must be stronger than those with which you will weave.
Similar master classes
Particularly interesting
Comments (2)


