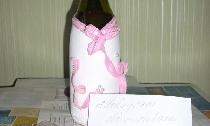
Wedding champagne
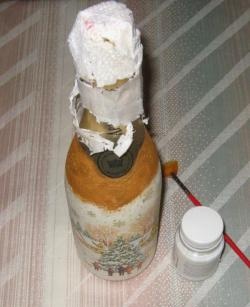
For work you will need: a bottle of champagne, water-based paint, a sponge, various ribbons, beads, livestock or colored adhesive tape, scissors, super moment gel glue, threads, a needle.
1. Take a bottle of champagne and remove the label. The easiest way to do this is to place the bottle in water for several hours, then the stickers do not tear and are removed very easily. If there is still glue left in some places, remove it with a sponge.
2. Wipe the bottle well.
3. Take adhesive tape or colored adhesive tape (I prefer the latter, since when painting it is better to see the edges that you don’t need to protrude beyond) and give our lady a neckline.
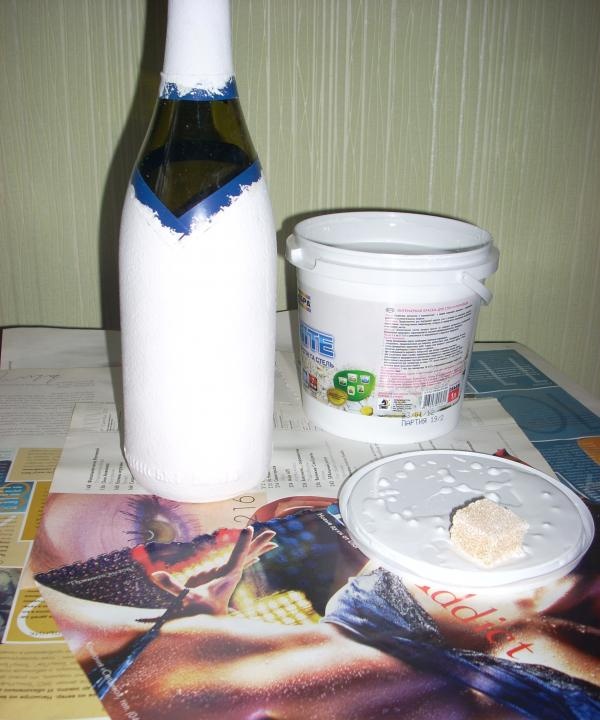
4. Using a sponge, paint the bottle. To ensure that the paint lays evenly and there are no gaps, we paint the bottle several times. Each layer of paint must dry before the next one can be applied.
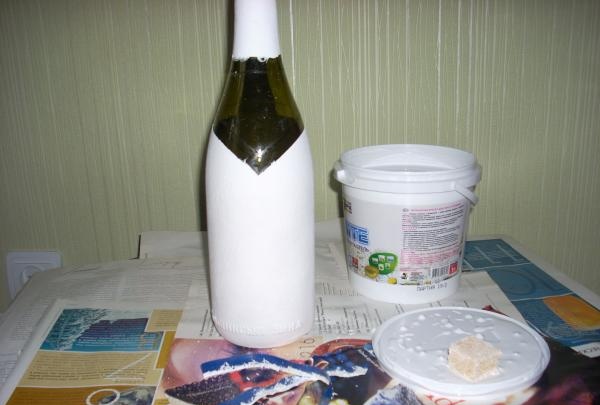
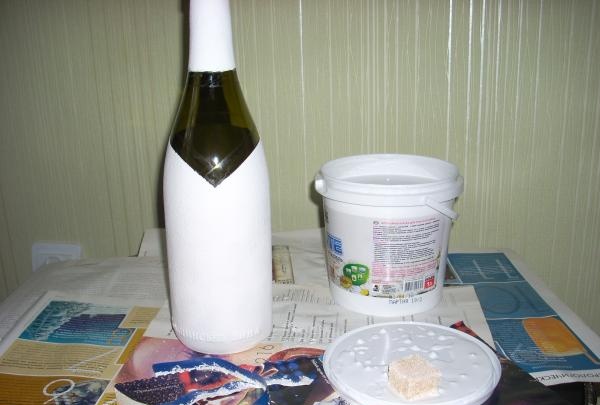
5. When the bottle is dry, carefully remove the adhesive tape. The advantage of water-based paint is that even if you didn’t paint very carefully and there are small flaws, everything is very easy to fix. Just wipe with a damp cloth and remove small imperfections.
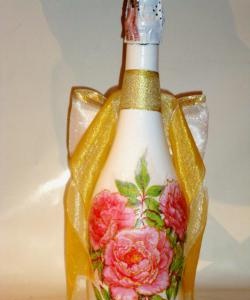
6. It's time to decorate the champagne with ribbons.
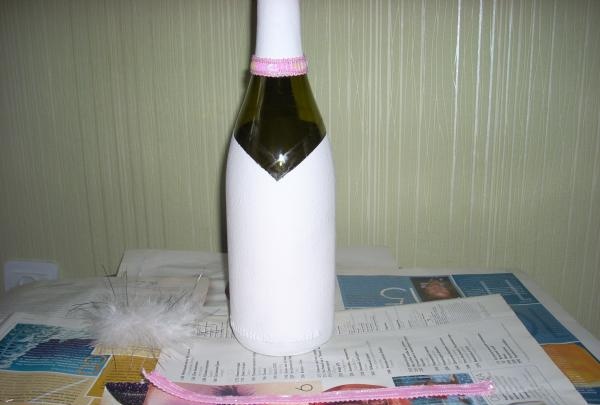
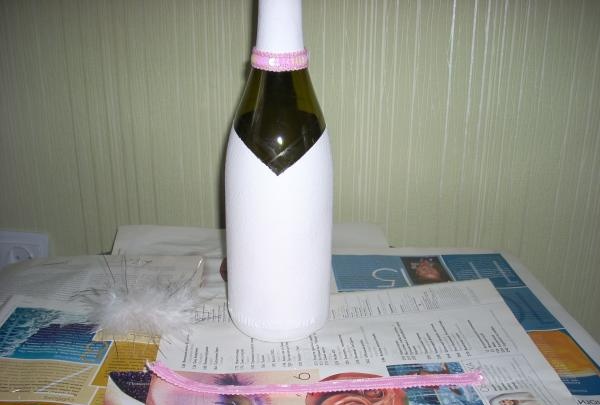
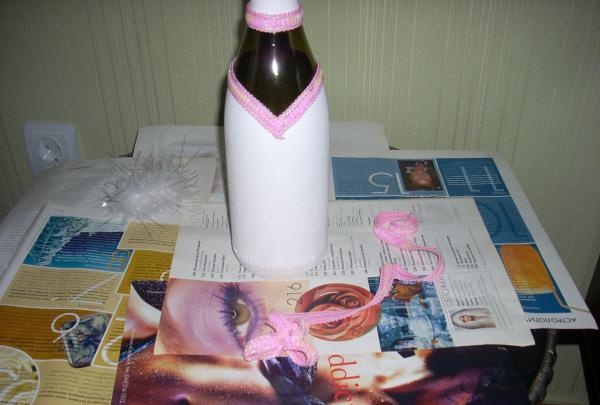
7. Measure out the required lengths of tape, cut and glue. We work carefully so as not to leave unsightly stains on the surface.
8. We form a small flower from a piece of ribbon, grab it with threads and glue it, attach the rest of the ribbon to a bottle of champagne in any shape.
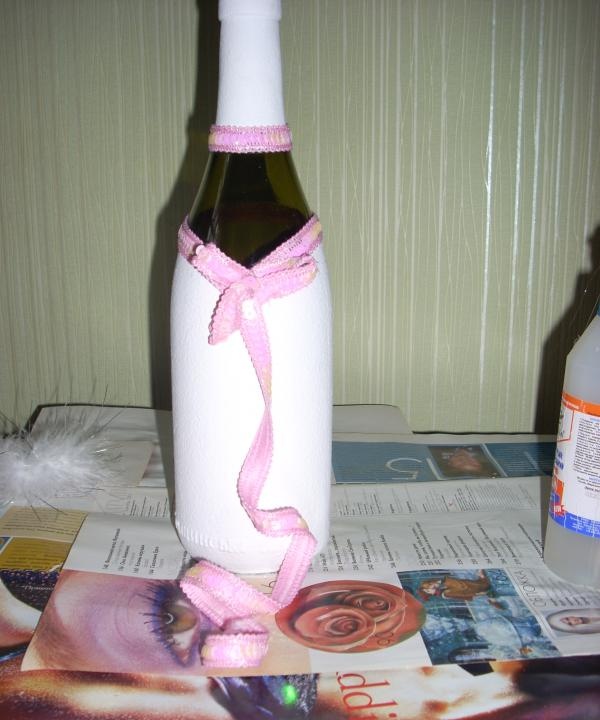
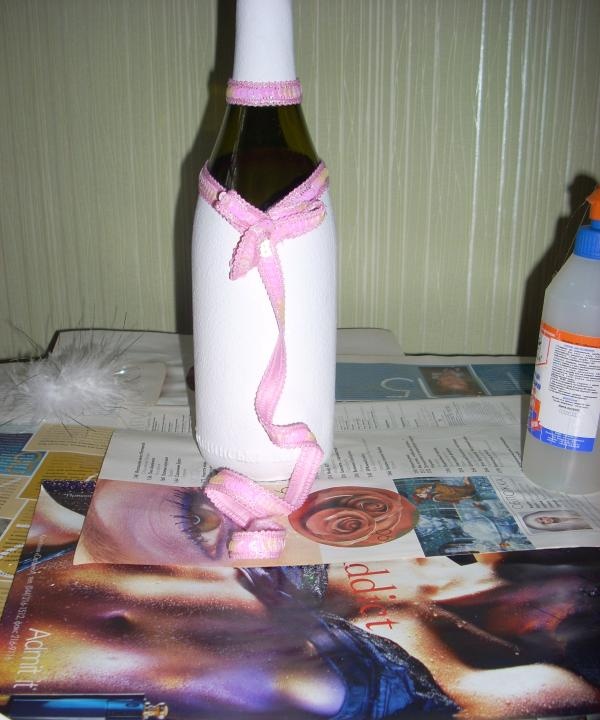
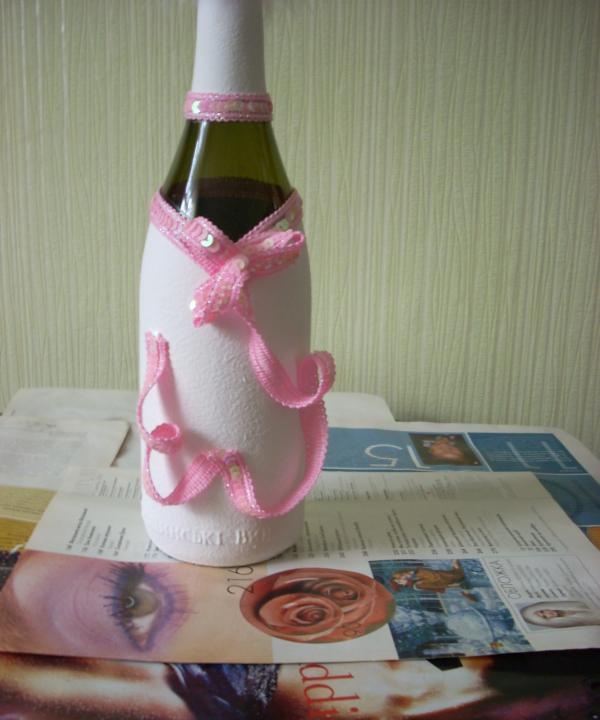
9. To make the bottle look more delicate, I decided to decorate the lid with a small fluff.
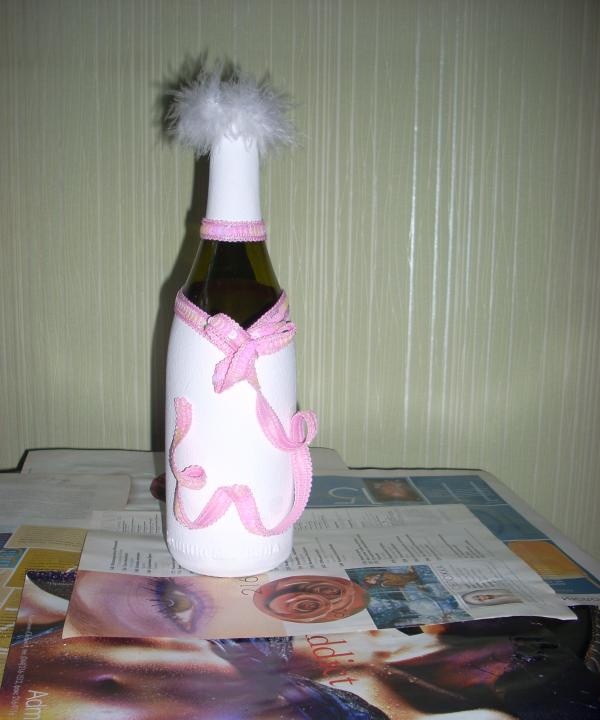
10. When all the ribbons are securely glued, decorate the bottle with a small number of beads.
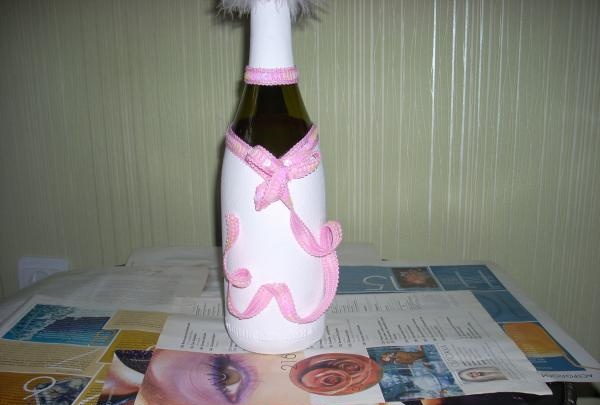
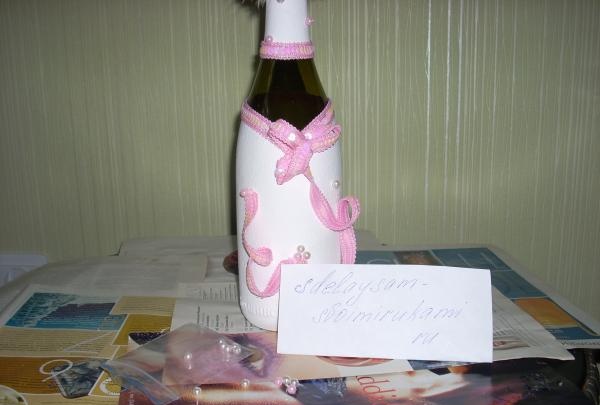
11. Let the glue dry well and our festive bottle of champagne is ready.
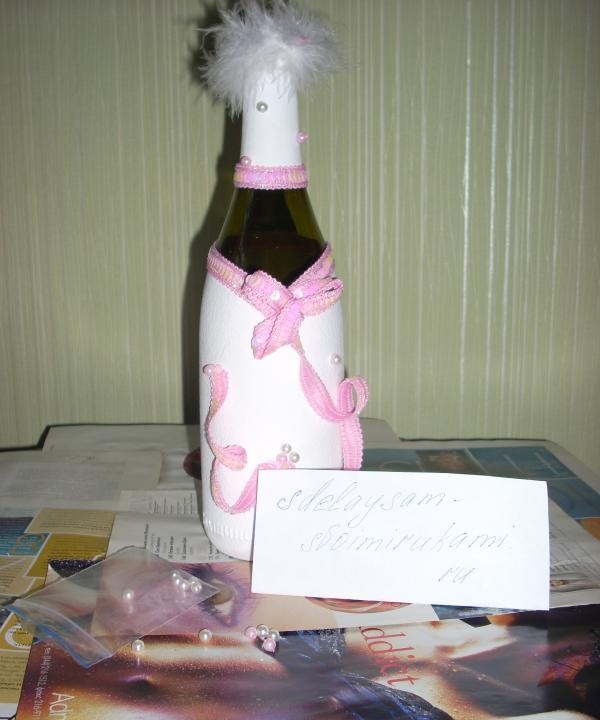
1. Take a bottle of champagne and remove the label. The easiest way to do this is to place the bottle in water for several hours, then the stickers do not tear and are removed very easily. If there is still glue left in some places, remove it with a sponge.
2. Wipe the bottle well.
3. Take adhesive tape or colored adhesive tape (I prefer the latter, since when painting it is better to see the edges that you don’t need to protrude beyond) and give our lady a neckline.

4. Using a sponge, paint the bottle. To ensure that the paint lays evenly and there are no gaps, we paint the bottle several times. Each layer of paint must dry before the next one can be applied.


5. When the bottle is dry, carefully remove the adhesive tape. The advantage of water-based paint is that even if you didn’t paint very carefully and there are small flaws, everything is very easy to fix. Just wipe with a damp cloth and remove small imperfections.
6. It's time to decorate the champagne with ribbons.


7. Measure out the required lengths of tape, cut and glue. We work carefully so as not to leave unsightly stains on the surface.
8. We form a small flower from a piece of ribbon, grab it with threads and glue it, attach the rest of the ribbon to a bottle of champagne in any shape.


9. To make the bottle look more delicate, I decided to decorate the lid with a small fluff.

10. When all the ribbons are securely glued, decorate the bottle with a small number of beads.


11. Let the glue dry well and our festive bottle of champagne is ready.

Similar master classes
Particularly interesting
Comments (0)


