Bright backpack made from old jeans
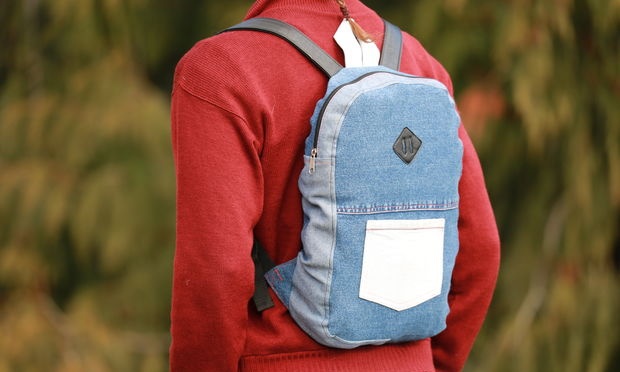
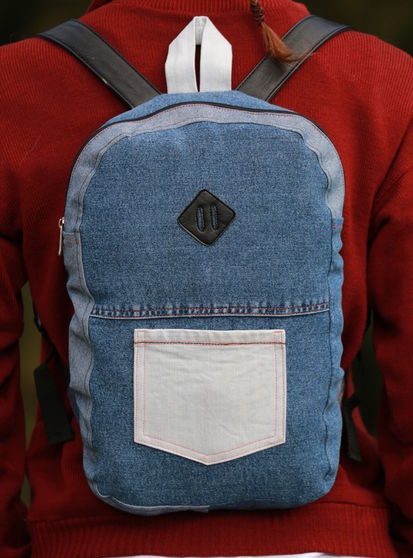
Perhaps you have a pair of old, unwanted jeans lying around? Try making a bright and cute backpack from denim that will cost you almost nothing.
This is a great way to give new life to old items that would otherwise end up in the trash. And if you don't have your own old jeans, you can get them cheap at a thrift store.
Follow the instructions and you will have a great backpack that will accompany you on any trip.
Tools
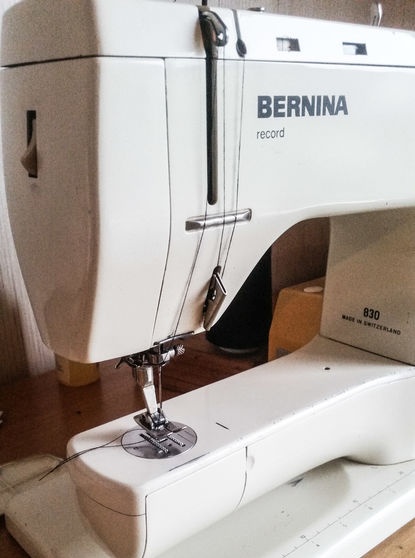
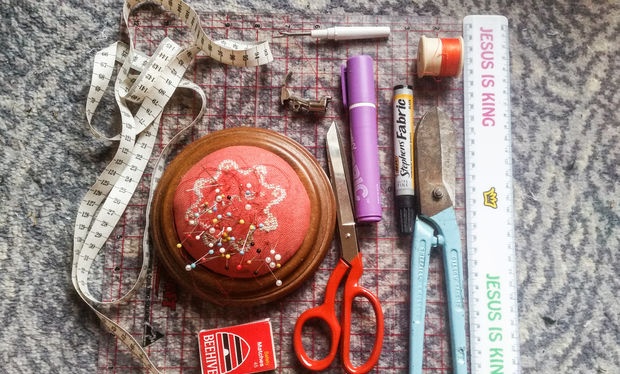
To work you will need:
- Scissors.
- Marker.
- Pins.
- Threads in contrasting colors.
- Matches or lighter.
- Ruler.
- Cutting board.
- Seam ripper.
- A zipper foot for a sewing machine (if you don’t have one, you can use a regular one).
- Sewing machine.
- Metal scissors (not necessary, but may come in handy).
- Iron.
Use the following tricks:
- Iron your backpack periodically. Then at the end of the job it will look much better.
- To find the middle of the fabric, fold the piece in half. Mark the middle with pins.
- The size of the details in the instructions are given for a small backpack for every day.If you want a larger bag, adjust the size.
- Use a seam ripper if you need to undo a seam.
Select materials
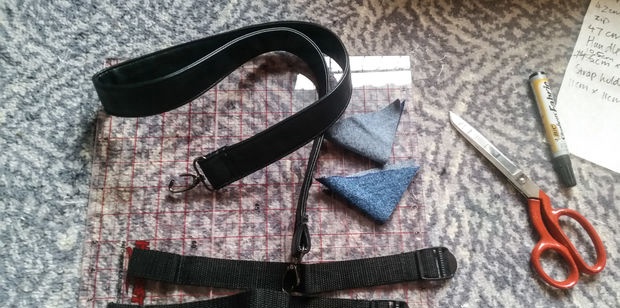
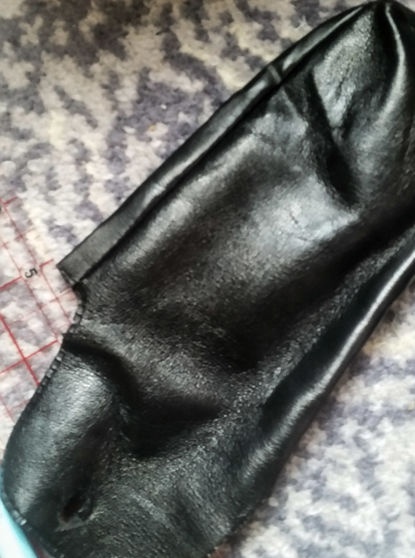
1. Fabric – approximately one square meter. Any thick fabric will do: jeans, corduroy, tarpaulin, etc. You can use old denim skirts. If you're using ripped jeans, you'll likely need to sew several pieces together to get the pieces to the right size.
2. Two plastic length adjusters for straps and straps of 28 cm each of the corresponding width.
3. A small square of fabric in a contrasting color to make a pocket on the front of the backpack (you can use leather from an old leather product)
4. Zipper length 42 cm.
5. Two straps 47.5 cm each.
Cut out the front and back pieces
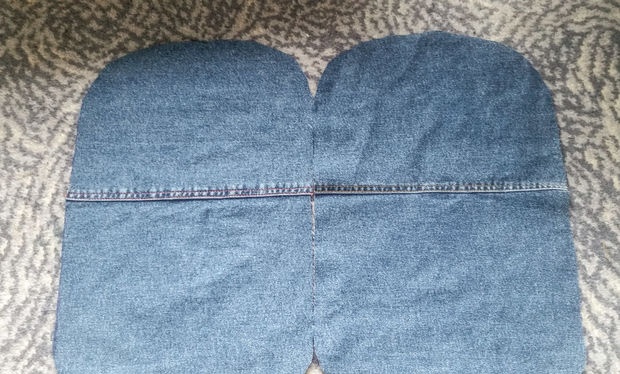
Cut two identical rectangles 37.5 by 25 cm. Place them on top of each other and fold them in half lengthwise. Using scissors, make the corners slightly rounded, the bottom ones slightly smaller than the top ones. Then the shape of the parts will look more like a backpack.
Sew on the front pocket
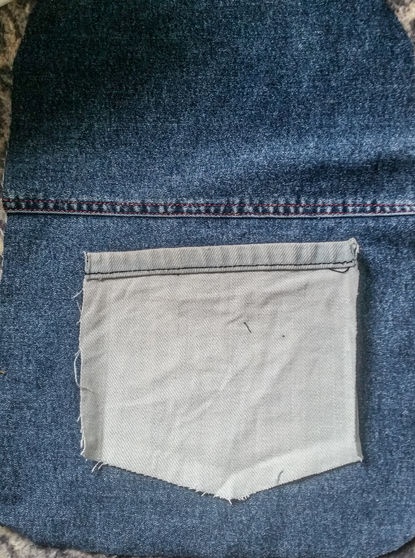
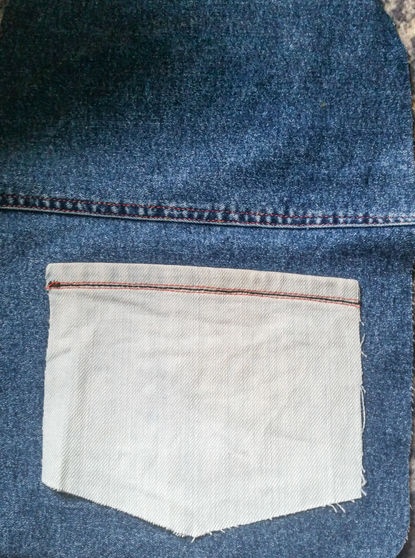
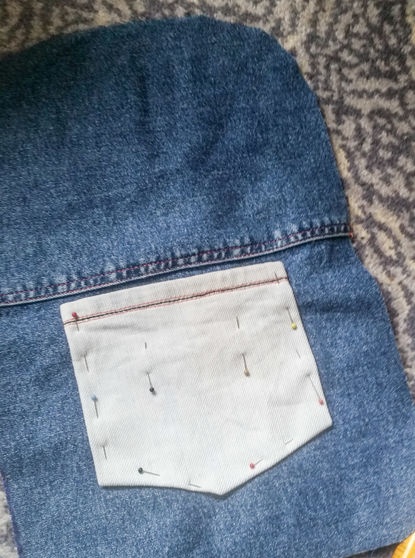
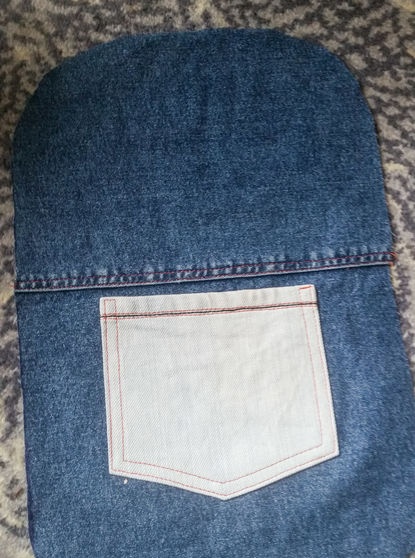
Cut a 17 x 17 cm square from contrasting fabric. You can experiment with color and texture, as long as the fabric is durable.
Fold the top edge of the square over twice and sew with a straight stitch to secure. You can make another seam along the top line with a contrasting thread for beauty.
To give a piece of fabric the shape of a pocket, fold the square in half vertically and cut part of the fabric at a slight angle from the fold to the edge.
Fold all edges except the top about 0.5 cm and pin them to the center of the front part of the backpack.
Sew the pocket along the edges with two rows of stitches using contrasting thread.
Cut and sew the side pieces
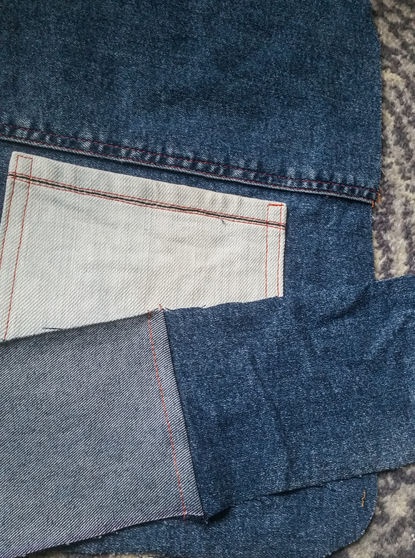
Cut three strips of denim measuring 42 x 9 cm.
Place the two strips right side to back and sew together along the short side.
Straighten the sewn strips of fabric and stitch the seam allowance to the fabric so that it does not fray inside.
Insert zipper
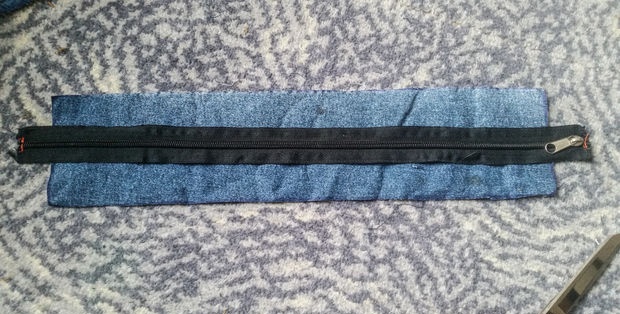
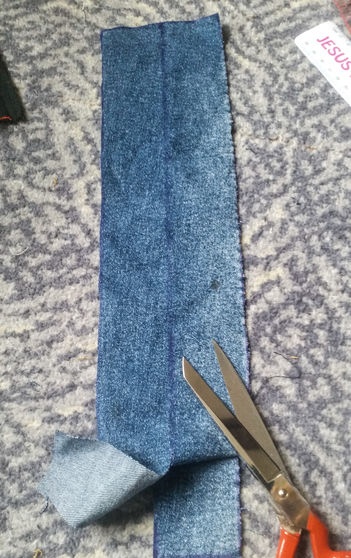
Take the third strip, fold it in half lengthwise to define the middle and cut along the fold line.
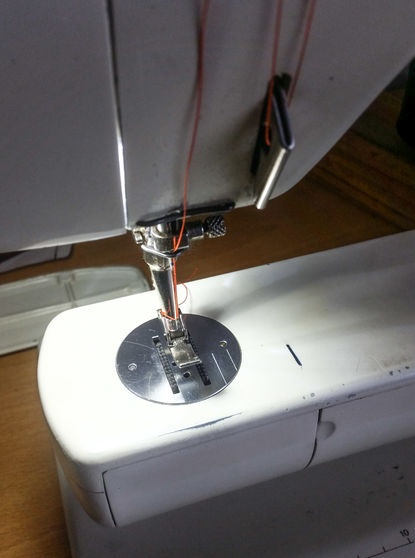
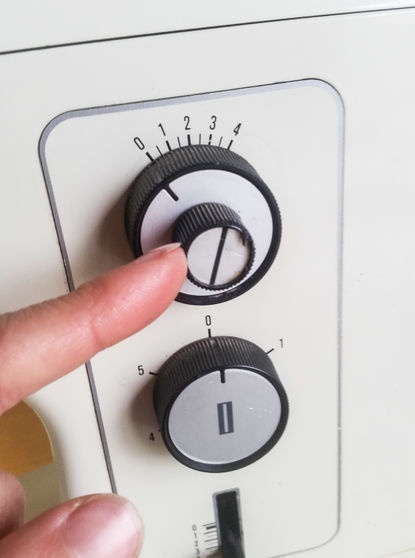
Install the zipper foot on your sewing machine. Or set your needle to the side so it doesn't get caught in the zipper itself when you start sewing! (You don't need to have a special zipper foot; you can do this step without one).
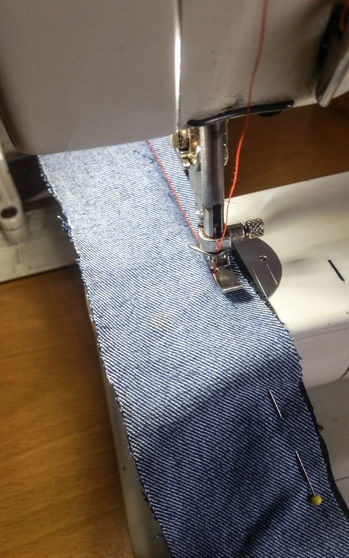
Pin one half of the denim strip, face down, to the right side of the zipper and sew them as close to the zipper teeth as possible.
Sew the second strip to the other side of the zipper, but not with the front side, but with the wrong side down, so that the two halves contrast with each other.
Fold the fabric over the teeth on both sides of the zipper and stitch to the wrong side.
Sew the sides
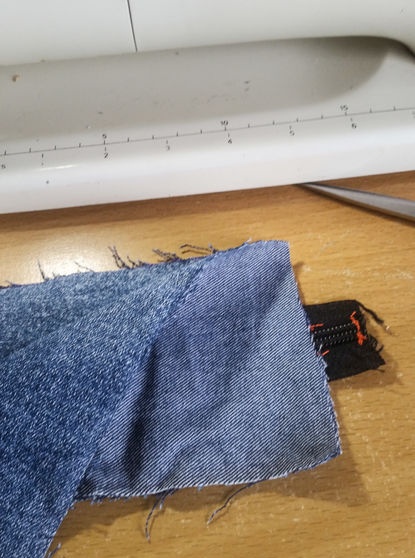
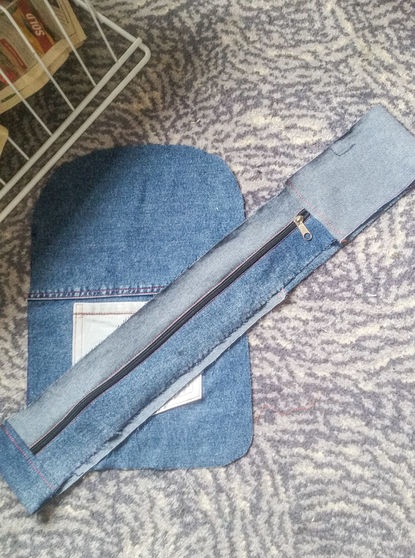
Place the zip strip and double strip right sides together and stitch along the short edge on both sides to create a closed piece.
Sew the seam allowances.
Sew the side strips to the front piece
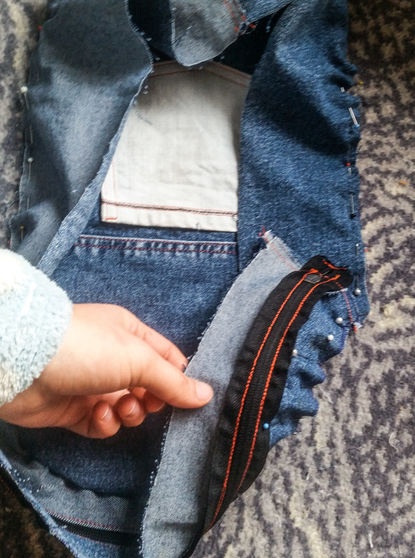
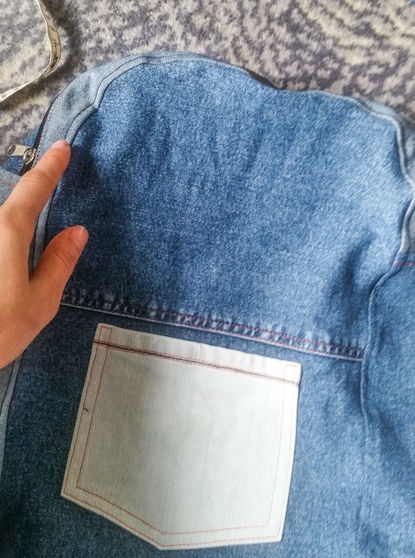
Place the front piece and zipper strip right sides together. The middle of the zipper should line up with the middle of the front of the backpack. Pin everything together, straightening the fabric along the folds.
Carefully stitch together the details. Sew the seam allowances using black thread (or choose another color that suits you).
Make a loop for the pen
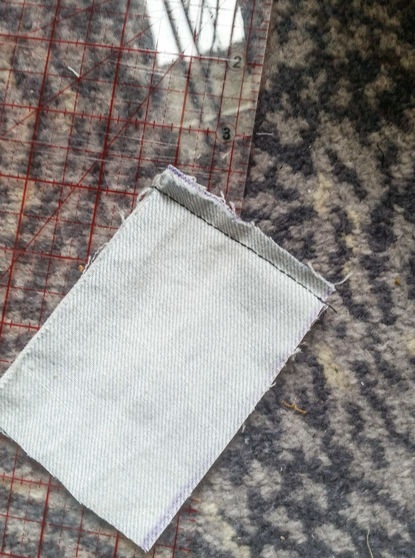
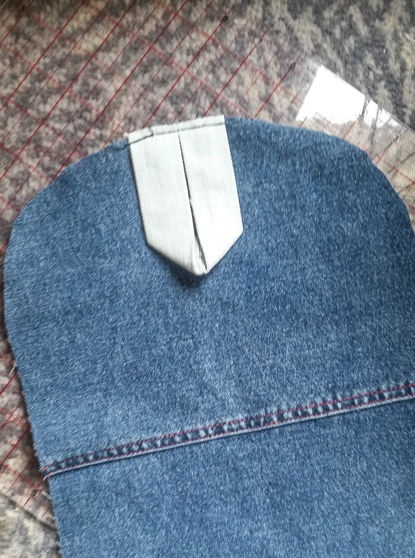
Cut two 10.5 x 7 cm rectangles from the same fabric you used for the front pocket and sew them together along the short edge.
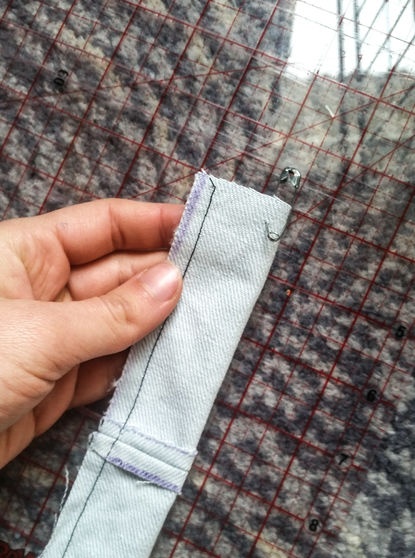
Now straighten the seam, fold the fabric in half lengthwise, wrong side out, and sew together.
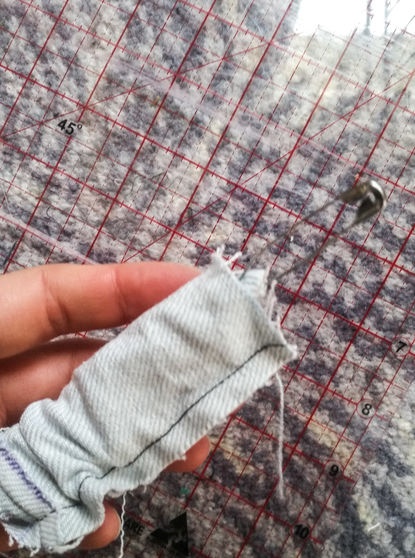
You should now have a long tube of fabric.
Attach a safety pin to one end of the tube and carefully turn it right side out.
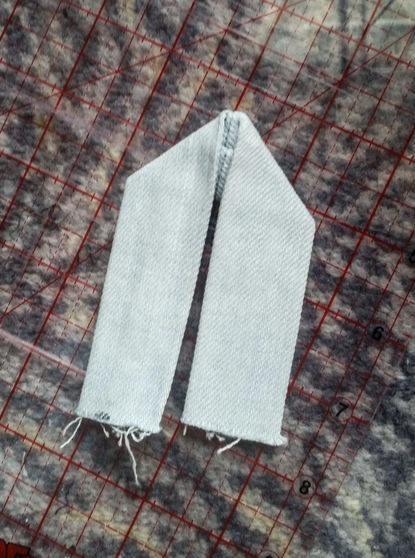
Fold both ends over, aligning them in the middle with the sides, and iron everything as shown in the picture.
Sew the handle to the top of the right side of the back piece.
Sew the straps
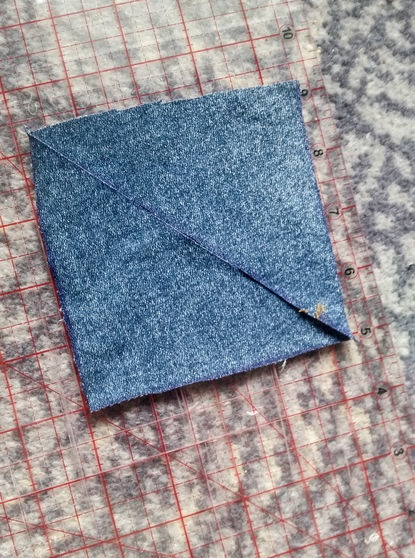
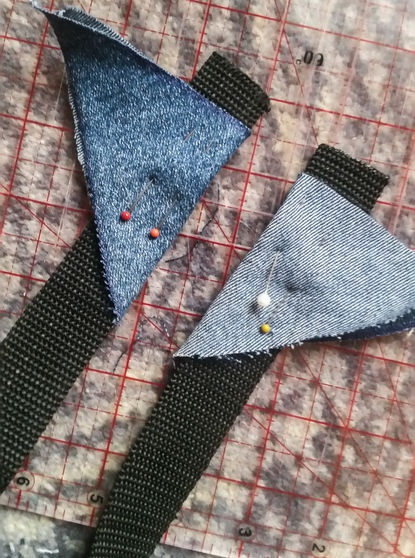
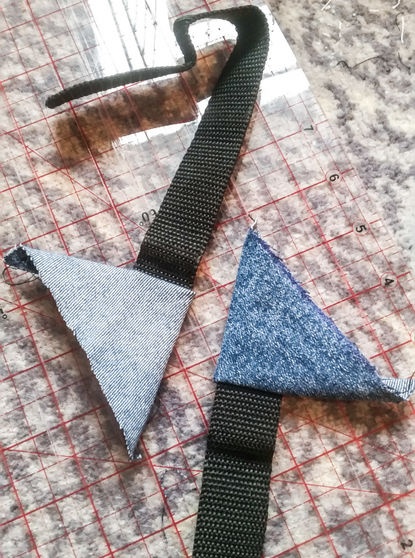
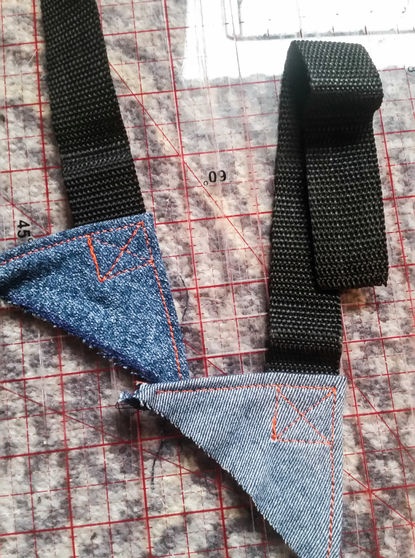
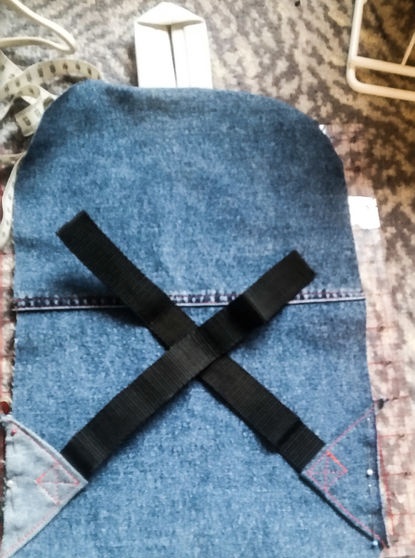
Cut out an 11 x 11 cm square from denim.
Using a ruler, draw a line from one corner to the opposite and cut the square along it.
Place one of the 28cm long straps at a right angle to the long side of the triangle and fold it in half around the strap as shown in the photo. Leave a small piece of strap sticking out of the triangle and stitch the fabric to the straps.
Turn the triangle and strap right side out and stitch the corner. For extra strength, sew a square seam through the fabric and the end of the strap that you left sticking out of the triangle.
Do the same with the other strap and triangle, but use the fabric with the wrong side facing out.
Place the triangles at the same height from the bottom edge of the back of the backpack and sew them.
Attach the harness adjusters
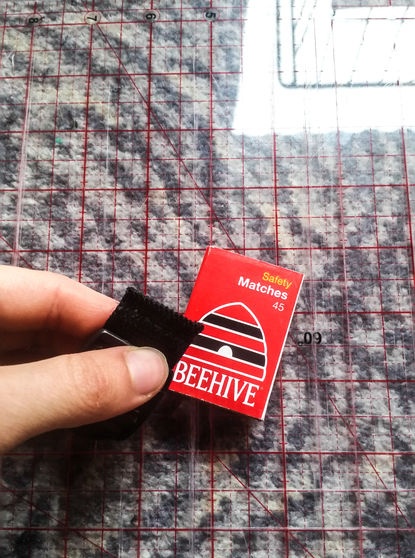
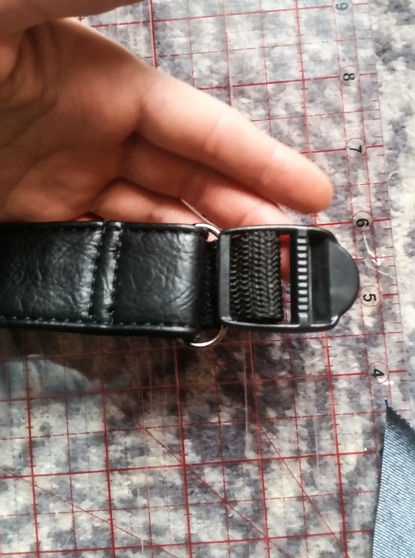
Cut two more pieces of straps, 8 cm long, and burn the edges with a match or lighter to prevent them from fraying.
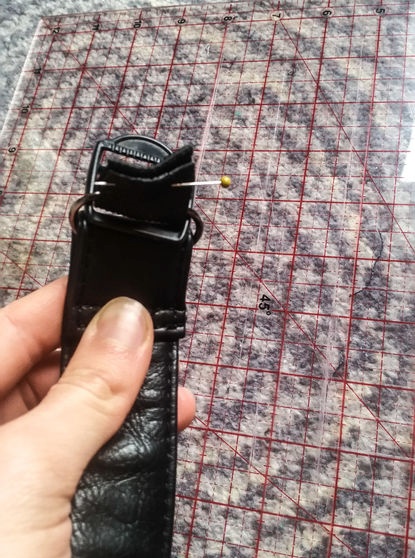
Pass a piece of webbing through the adjuster and back, stitch the end. The adjuster should be attached to the end of the strap in a small loop.
Attach the short strap to one end of the long (47.5 cm) strap as shown in the photo.
To get an idea of how it will all look together in the end, look at the first photo.
(If you don't have any ready-made straps and want to make them from scratch, cut two 47.5 x 4 cm strips of fabric and sew them into long tubes, then turn them right sides out, as you would with the handle).
Make an internal pocket for keys
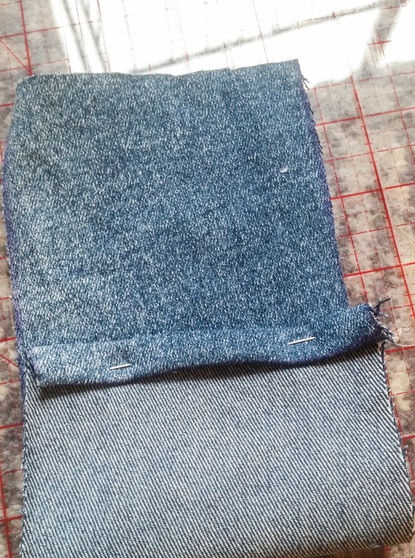
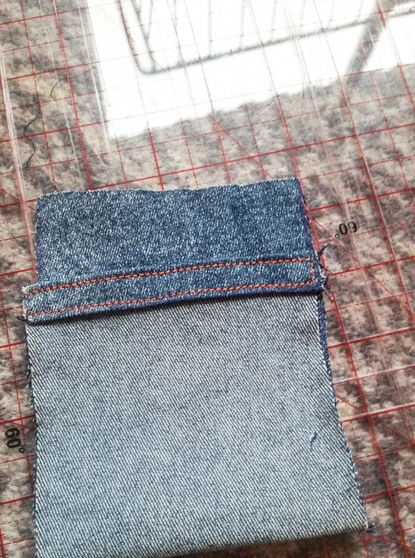
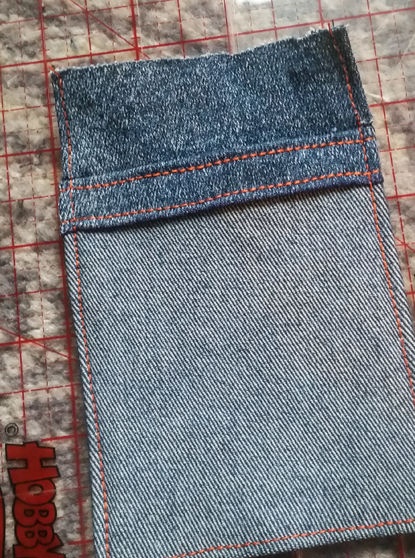
Cut a 24.5 x 9.5 cm rectangle from denim.
Fold one of the short ends over twice and stitch.
Fold the rectangle right side inward. Sew along the sides.
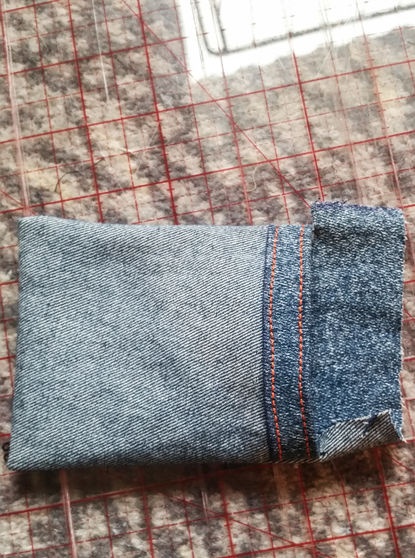
Turn the pocket right side out and make two small cuts on each side so that the seams on the inside lie flat.
Fold in the small scraps that you created when you made the cuts and stitch the pocket in the circle with a contrasting thread.
Minor modifications before final assembly
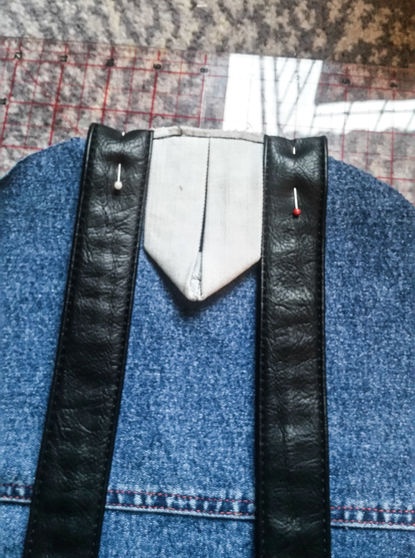
Place the straps right side up on the back of the backpack on either side of the top handle and sew them in place.
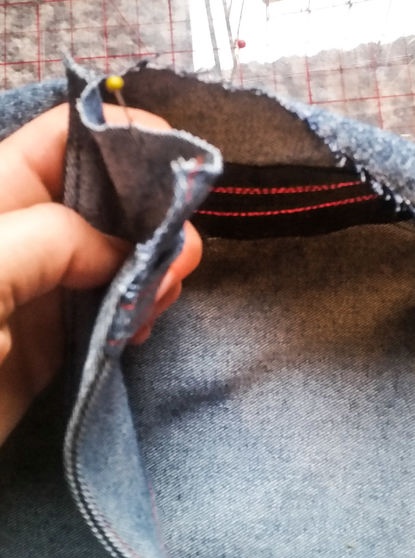
Place the inside pocket right side to the wrong side of the middle zipper piece. Refer to the second photo and sew them together.
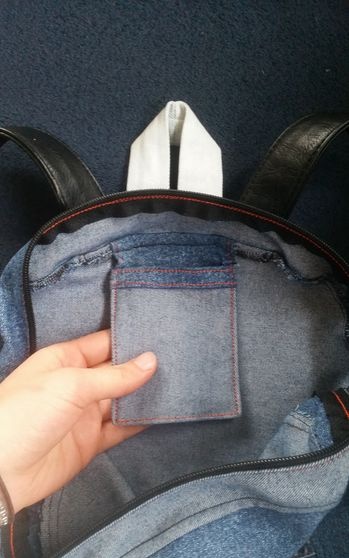
The third photo shows how it should look when the backpack is completely ready. The key pocket should be located near the top edge of the backrest.
Sew the backpack pieces together

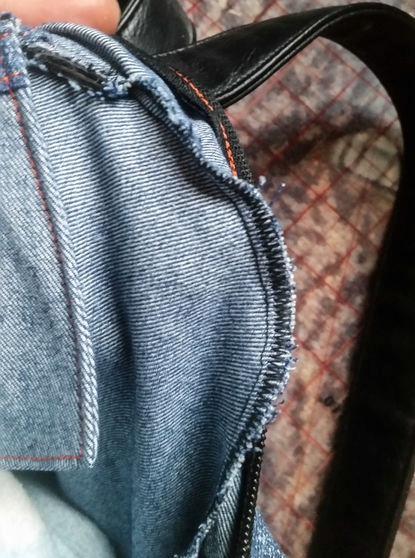
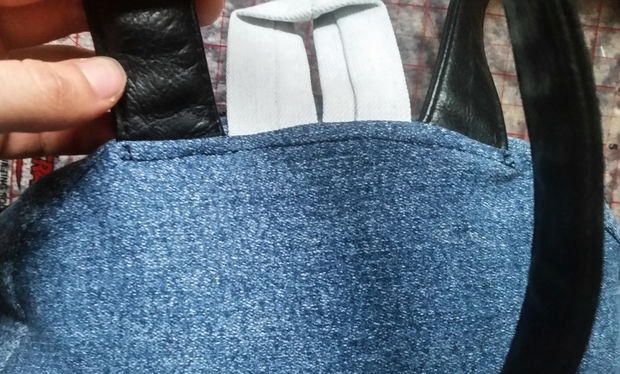
Find the middle of the top and bottom edges of the back and zipper placket. First, align them and secure them with pins.
Continue straightening the fabric and pinning the back and side pieces along the entire edge.
Carefully stitch the pieces together in a circle.
Turn the bag right side out and make sure you're happy with it. If everything looks good, zigzag stitch along the first seam from the inside to prevent the fabric from fraying.
Sew again on the top edge, where the straps begin, since this is where the main load falls.
Front part
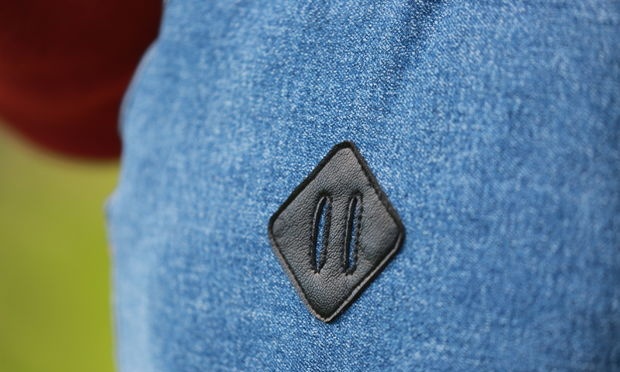
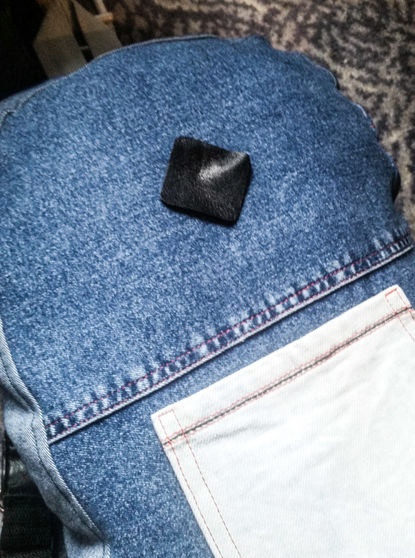
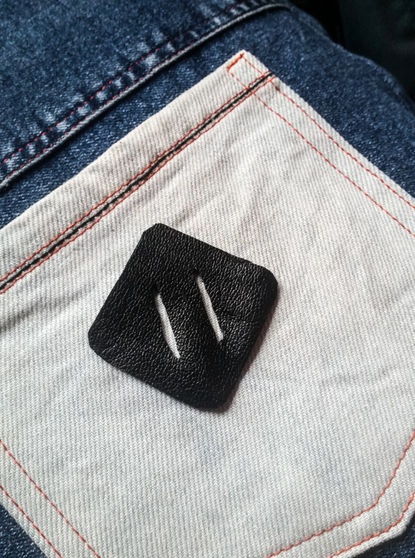
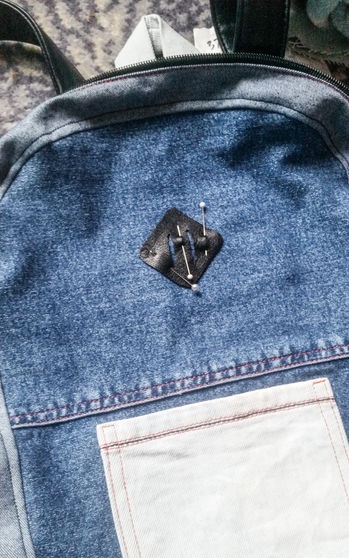
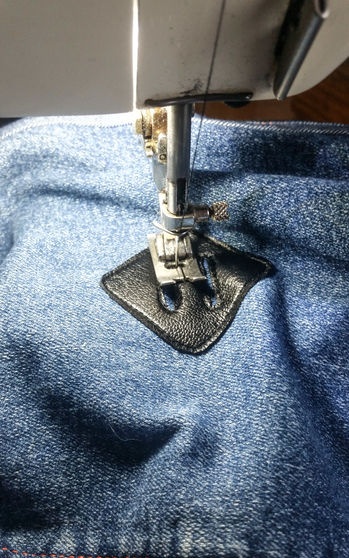
Cut a small square of leather 4 by 4 cm.Fold it in half and round the corners with scissors.
Mark two parallel lines along the diagonal on the back of the fabric, then carefully cut all the way through.
Place the square on the front of the backpack, equidistant from the top and side edges, and pin in place.
Carefully sew the piece with a straight seam in a circle.
All is ready!
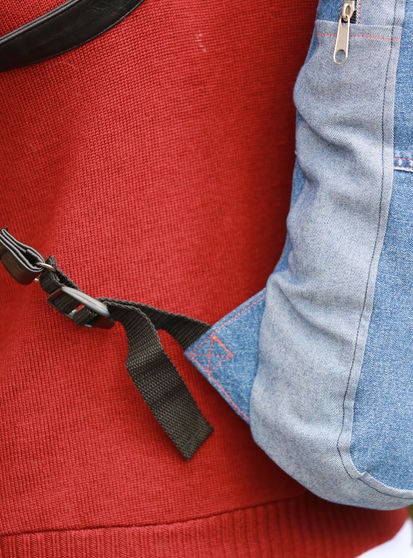
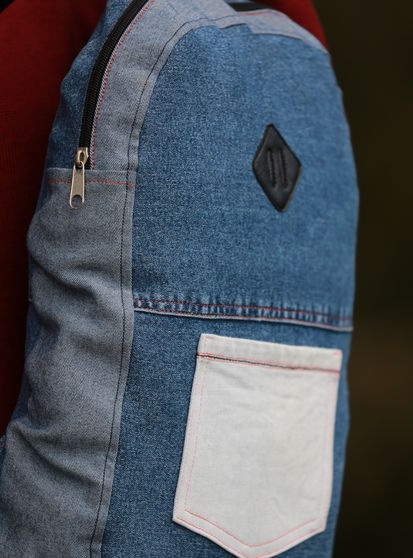
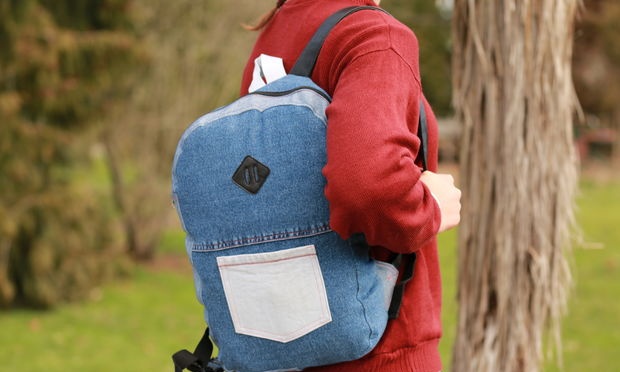
Connect the strap halves by passing the bottom short straps through the adjusters.
Once done, fold the short straps and stitch the two pieces together to prevent them from slipping out of the adjuster.
Zip up and admire the end result.
Now you can go on adventures with a great new backpack!
Original article in English
Similar master classes
Particularly interesting
Comments (2)


