Miniature Popsicle Stick Box
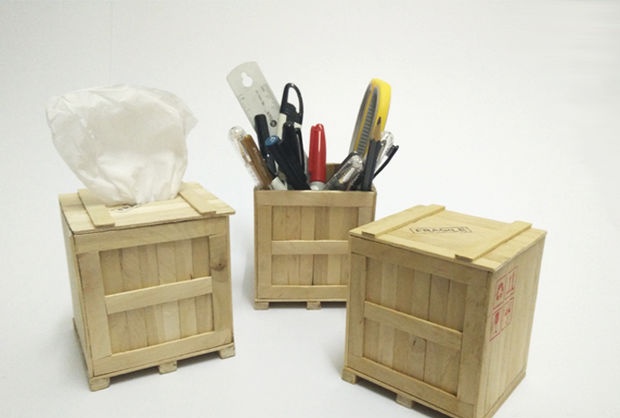
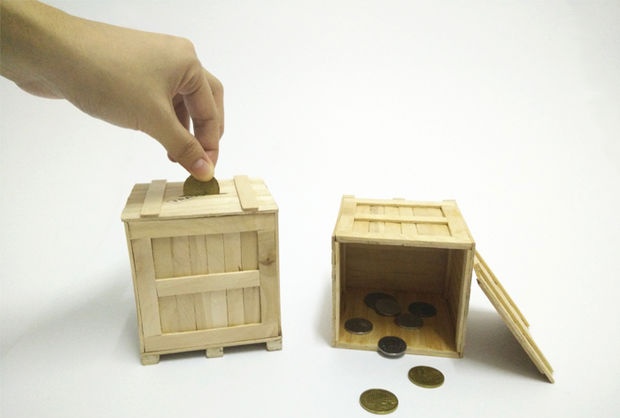
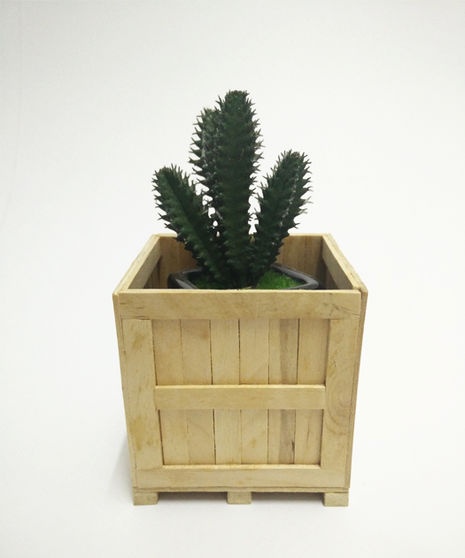
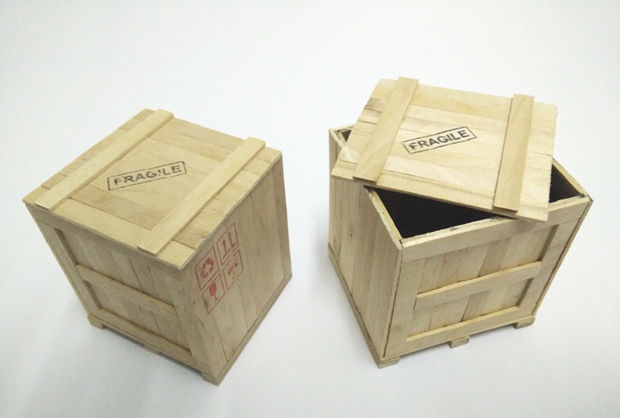
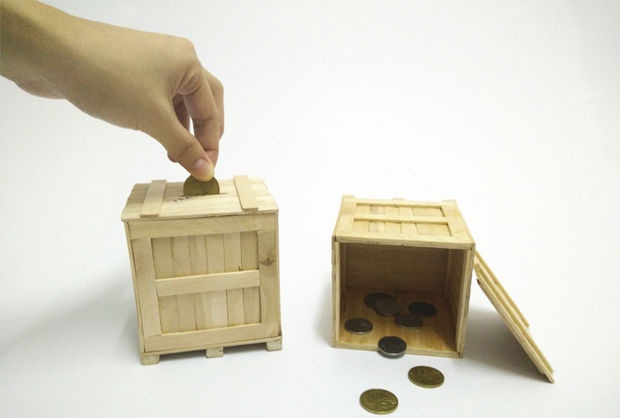
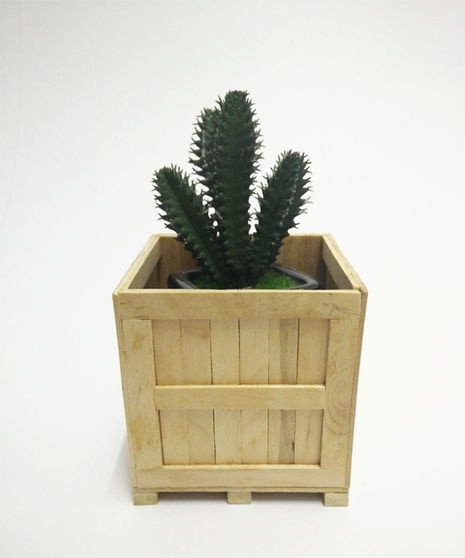
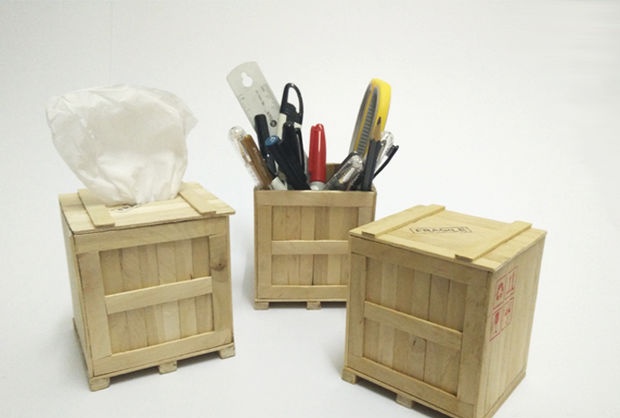
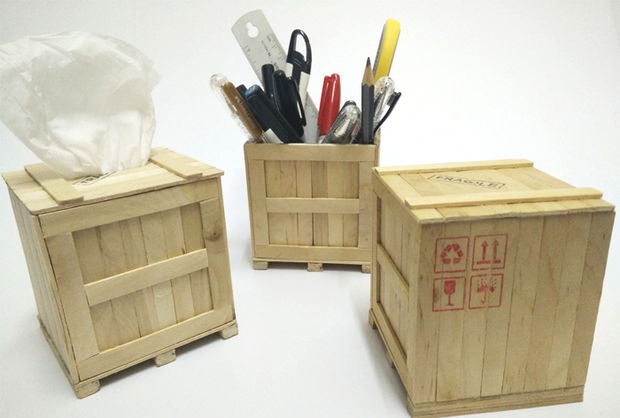
This mini box is quite easy to repeat, and the material - ice cream sticks - can be found in any store that sells ice cream. You can use this box as a piggy bank, a stand for pencils or pens, a gossip box, or as a decoration for a mini pot for a mini flower.
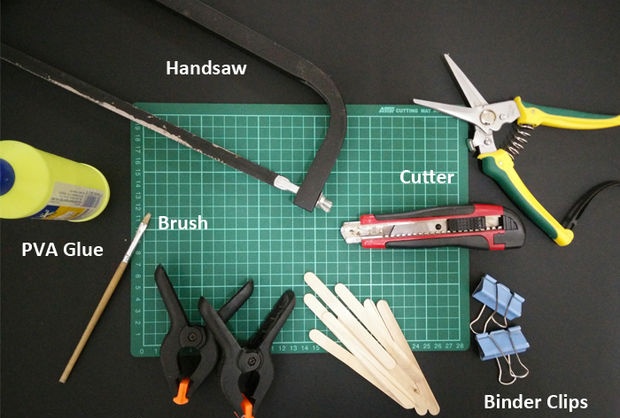
The necessary tools that we need to make this little miracle.
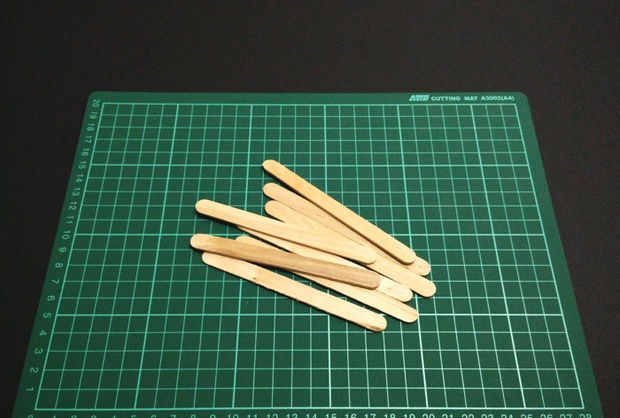
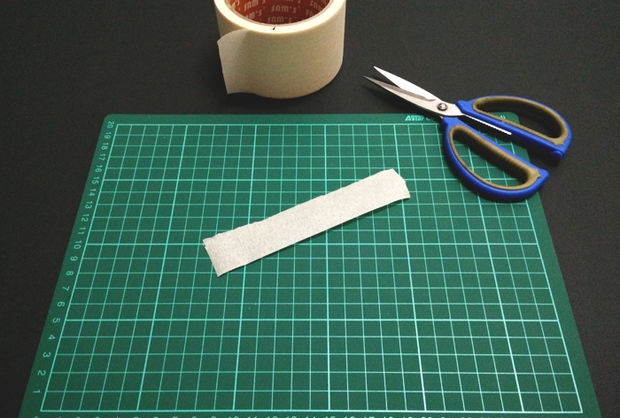
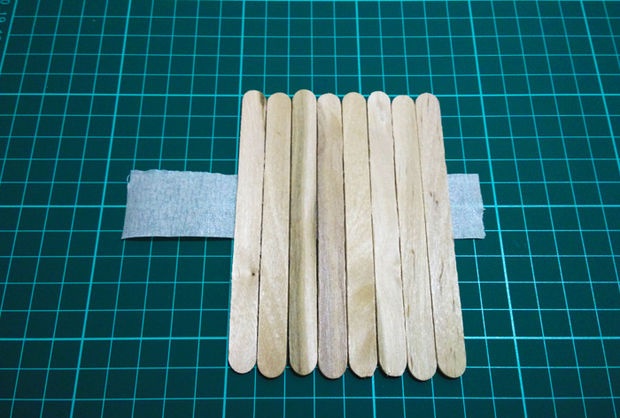
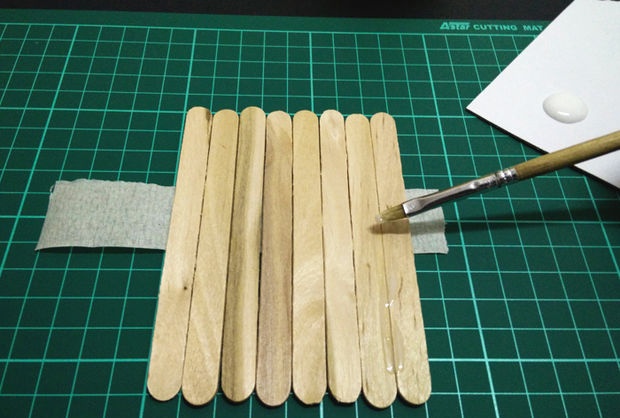
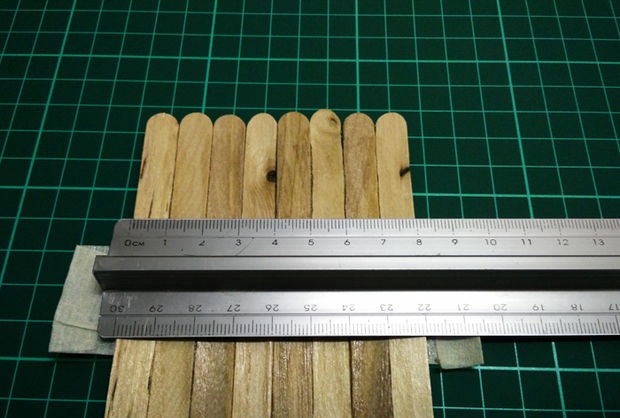
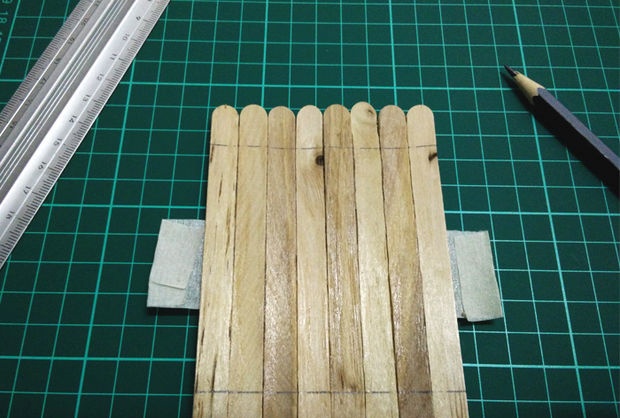
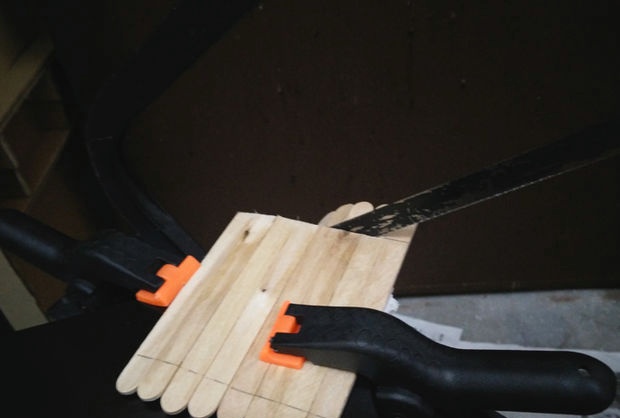
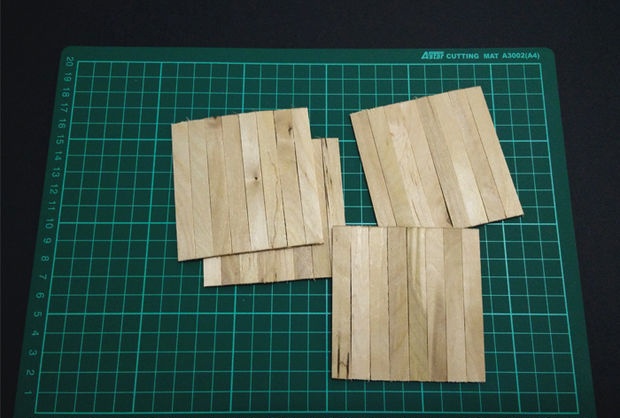
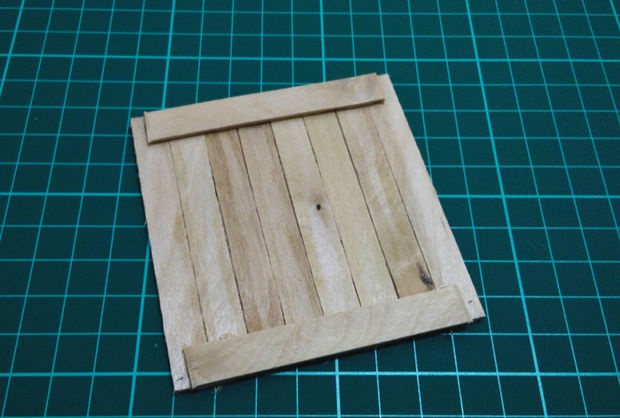
Let's take the sticks. Cut a strip of masking tape. We put the sticks in a row, as if we were making a fence. We draw strips on each side that we will saw off. We smear the gaps between the sticks with PVA glue so that the sticks stick together into a single whole. Then carefully cut along the line. As a result, a square of sticks will be encroached upon. We make several such squares. The squares should be approximately 80 x 80 mm.
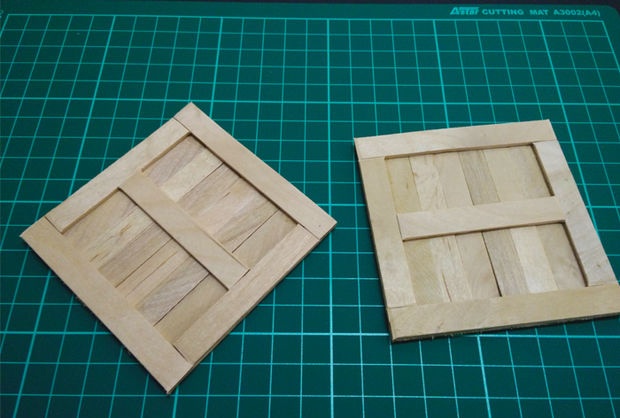
We continue to make the walls of the box, strengthening them with stiffening ribs, also made from the same ice cream sticks.
The walls will vary as follows: two side walls and two front/back walls. The front/back walls have additional ribs.In the side walls, the stick-rib is shorter than the side of the box by four thicknesses of the stick, that is, two for each side. See photo. This is necessary for a strong assembly of the box.
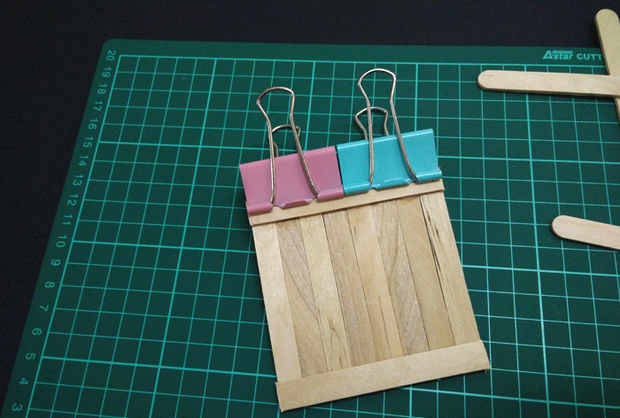
We glue our box with PVA glue, using masking tape to fix the structure.
First, glue all 4 sides together.

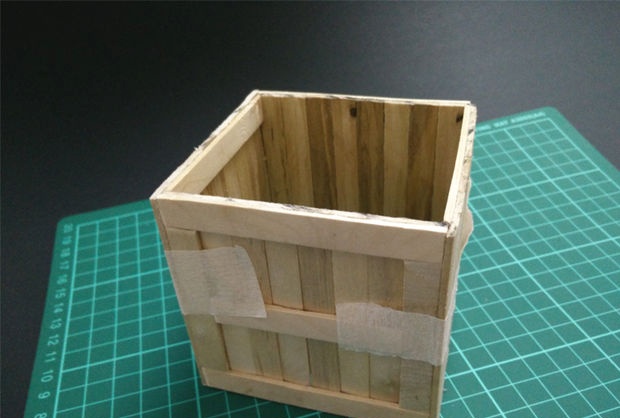
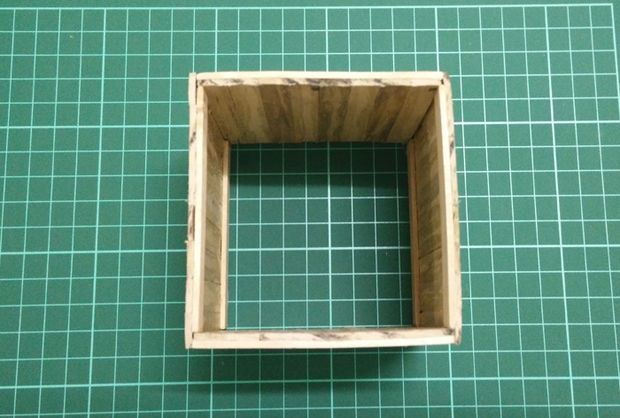
We make the bottom cover from sticks simply by gluing it to the box and then sawing off the protruding sticks.
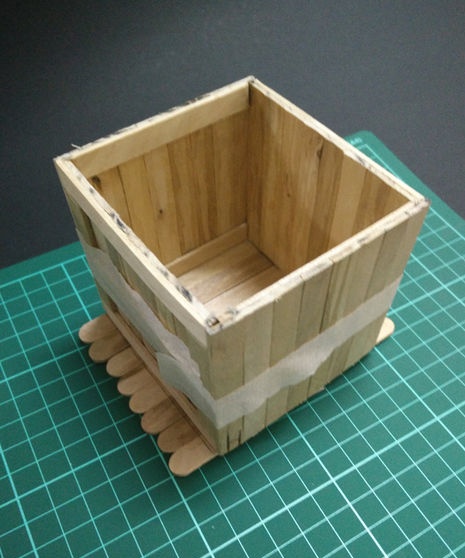
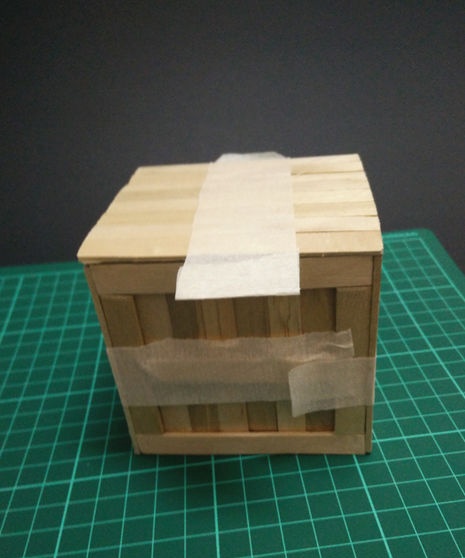
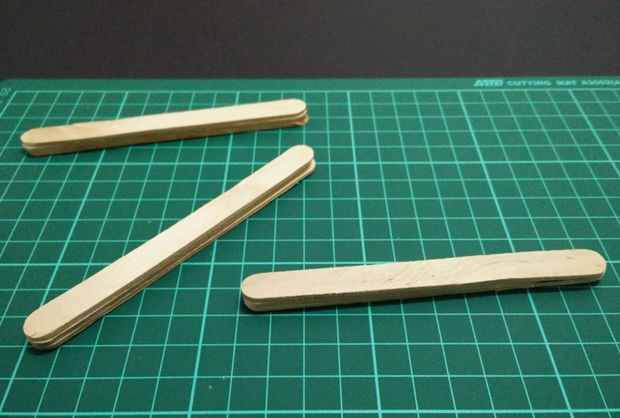
For realism, we make a pallet for the box. To do this, glue three sticks together and cut out three identical logs. Glue to the bottom of the box.
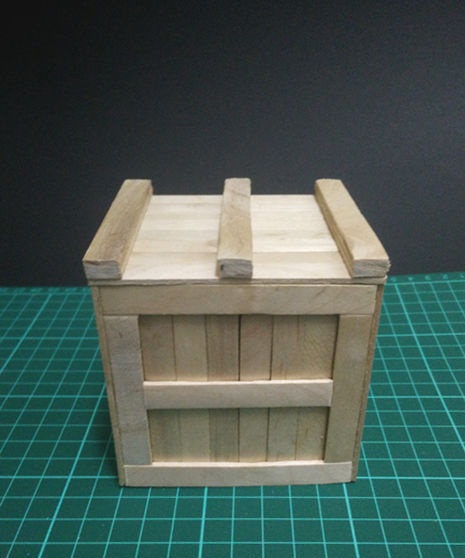
The box lid is made using the same technology, except that it has 4 ribs. Two not full on the inside, and two equal to the length of the box on the outside.
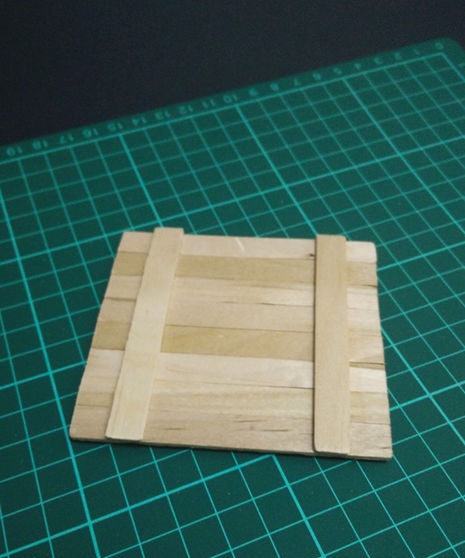
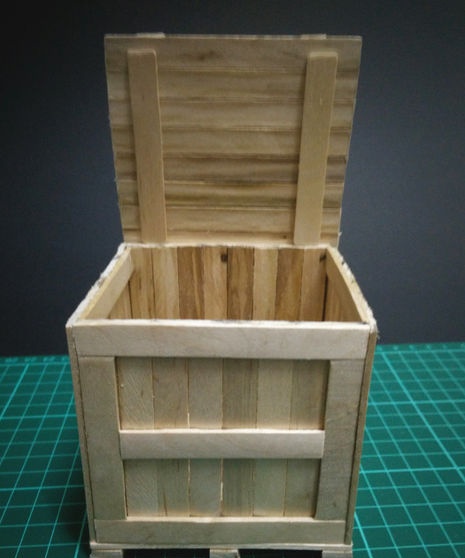
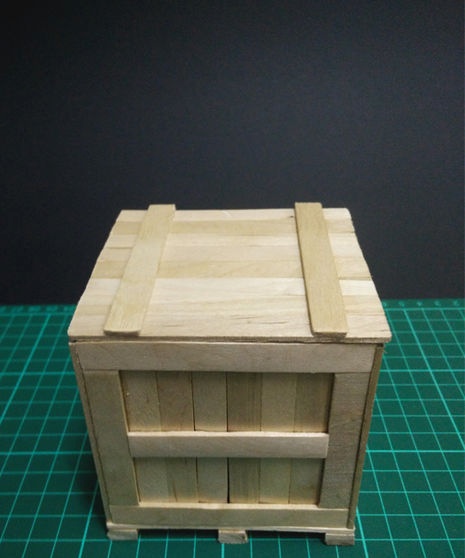
Our box looks almost finished.
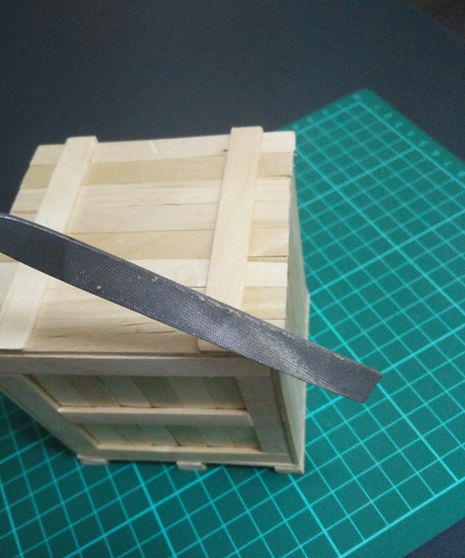
To remove all unnecessary burrs and update the box, we will go through it with a file or fine sandpaper.
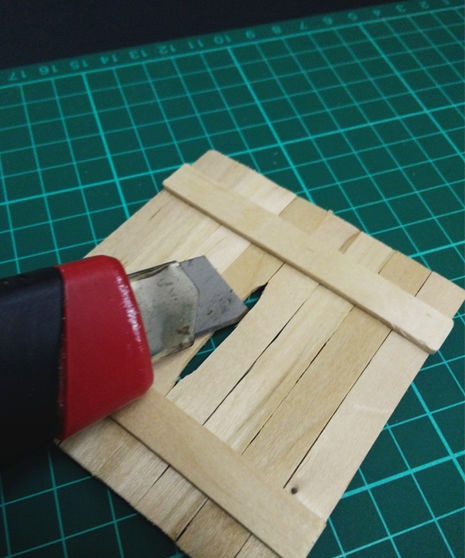
If you decide to make a piggy bank, then use a stationery knife to make a cut between the sticks. Remember to take into account the thickness of the thickest coin.
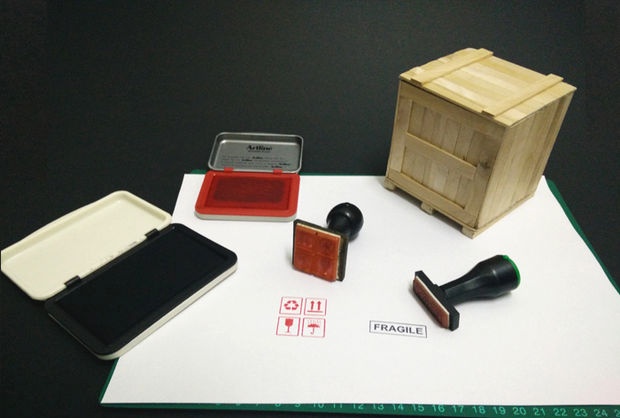
To make it more realistic, you can make a stamp and mark the box with this stamp. It will be very beautiful.
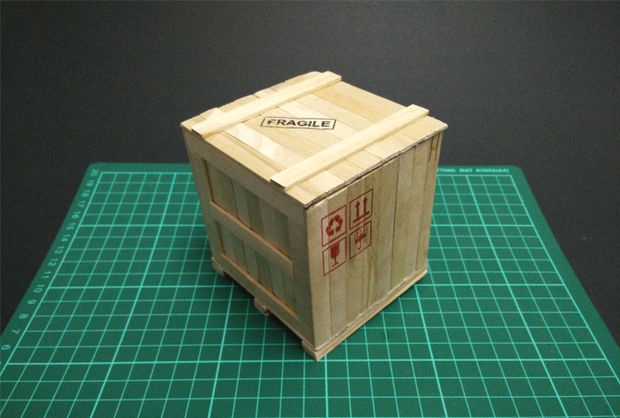
For decoration, you can also paint it with stain and varnish.
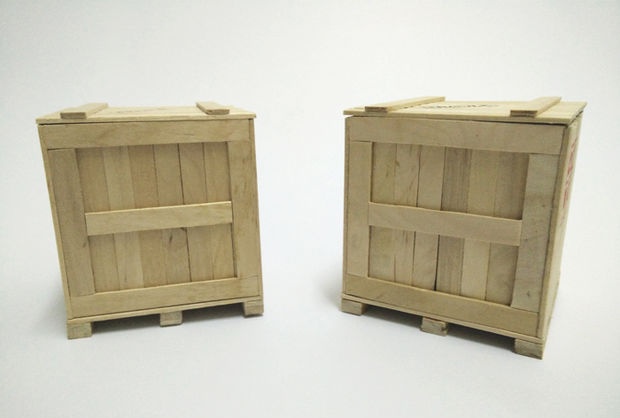
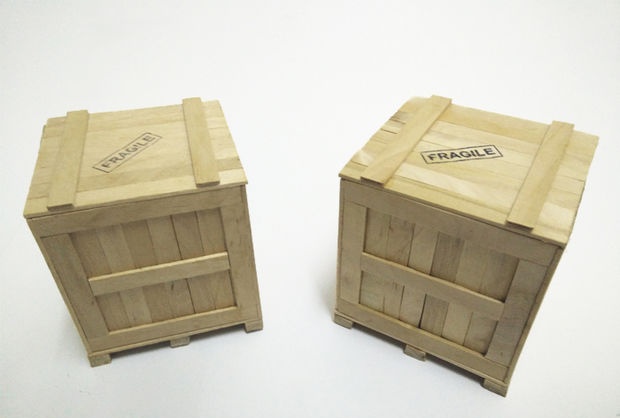
That's all - our exclusive and souvenir box is ready. Now you can store small items in a very original way. And it’s even better if you find someone to give it to. This will definitely please the person who will receive one. present!
All the best and happy crafts to you!
Original article in English


The necessary tools that we need to make this little miracle.

Assembling a mini box
Let's take the sticks. Cut a strip of masking tape. We put the sticks in a row, as if we were making a fence. We draw strips on each side that we will saw off. We smear the gaps between the sticks with PVA glue so that the sticks stick together into a single whole. Then carefully cut along the line. As a result, a square of sticks will be encroached upon. We make several such squares. The squares should be approximately 80 x 80 mm.


Forming the walls of the box
We continue to make the walls of the box, strengthening them with stiffening ribs, also made from the same ice cream sticks.
The walls will vary as follows: two side walls and two front/back walls. The front/back walls have additional ribs.In the side walls, the stick-rib is shorter than the side of the box by four thicknesses of the stick, that is, two for each side. See photo. This is necessary for a strong assembly of the box.


Gluing the drawer
We glue our box with PVA glue, using masking tape to fix the structure.
First, glue all 4 sides together.


Adding a lower roof
We make the bottom cover from sticks simply by gluing it to the box and then sawing off the protruding sticks.


Making a pallet
For realism, we make a pallet for the box. To do this, glue three sticks together and cut out three identical logs. Glue to the bottom of the box.


Making the top lid of the box
The box lid is made using the same technology, except that it has 4 ribs. Two not full on the inside, and two equal to the length of the box on the outside.


Our box looks almost finished.
Sanding the edges
To remove all unnecessary burrs and update the box, we will go through it with a file or fine sandpaper.

Making a piggy bank (optional)
If you decide to make a piggy bank, then use a stationery knife to make a cut between the sticks. Remember to take into account the thickness of the thickest coin.

Labeling (optional)
To make it more realistic, you can make a stamp and mark the box with this stamp. It will be very beautiful.


For decoration, you can also paint it with stain and varnish.
That's all - our exclusive and souvenir box is ready. Now you can store small items in a very original way. And it’s even better if you find someone to give it to. This will definitely please the person who will receive one. present!


All the best and happy crafts to you!
Original article in English
Similar master classes
Particularly interesting
Comments (0)


