Folding table
When there is little space in the workshop, but you need to work somewhere, a small table is needed.
But a folding or folding table is best suited for compactness. It can be made lowered or, as in my case, raised.
For the table we need:
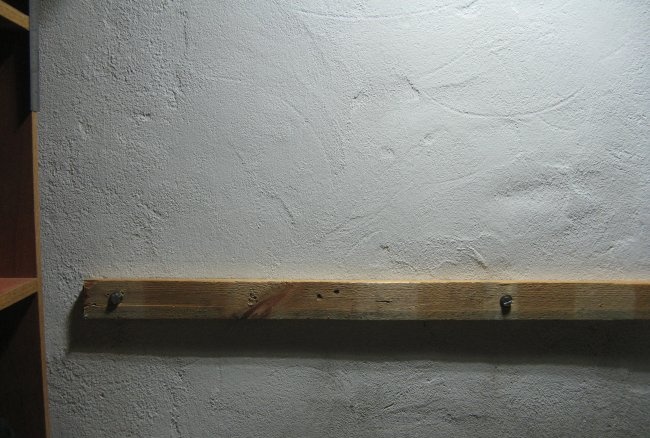
Mark the level of the table on the wall. Drill holes for dowels.
We screw the block to the wall using self-tapping screws, having previously installed the washers.
My block burst, but not badly. I glued it with PVA glue.
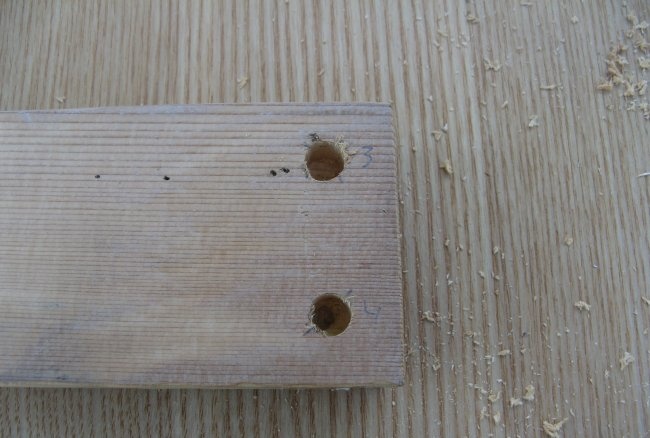
In the leg blanks we drill non-through holes for mortise furniture nuts. I unscrewed the nuts from the old cabinet and not only them. But more on that later. Leg length 720 mm.
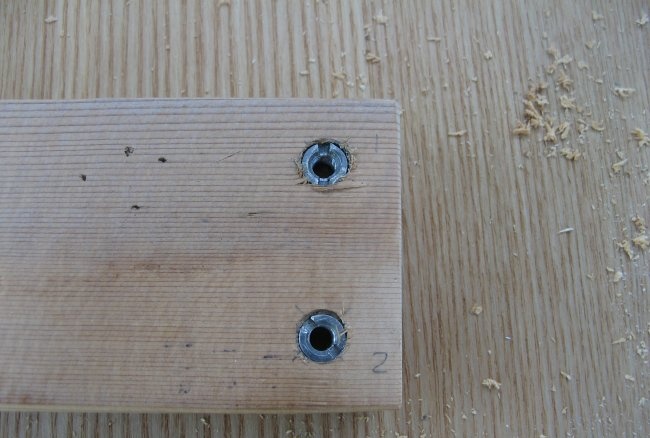
We screw furniture nuts into the drilled holes. In principle, there are other types of nuts, but you need to go to the store for them.
A little about marking holes. The nut has a diameter of 11.5 mm, drill with a 10.5 mm drill. To tighten the nuts, you need a screwdriver with a wide blade.
At this stage you can screw the corners. The corners are also from an old cabinet.This closet is a treasure trove of useful things. This is not the last thing I learned from it.
Now let's get to the tabletop.
Its role will be played by one of the walls of the same closet.
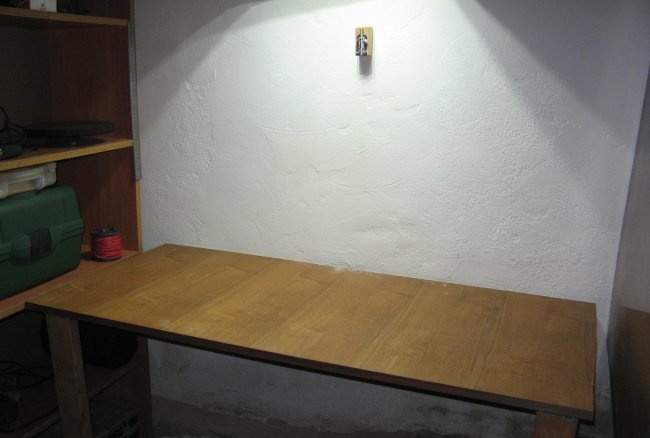
The size of the table (tabletop) was 1200*560 mm.
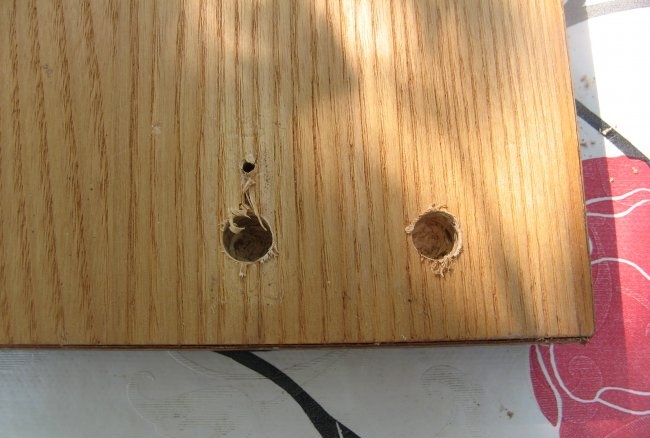
We drill holes in it for the nuts. Also not end-to-end. You need to be careful in this procedure. The legs of the table are thick and it’s easier to drill into them, but here you can speed up and make a hole in the tabletop.
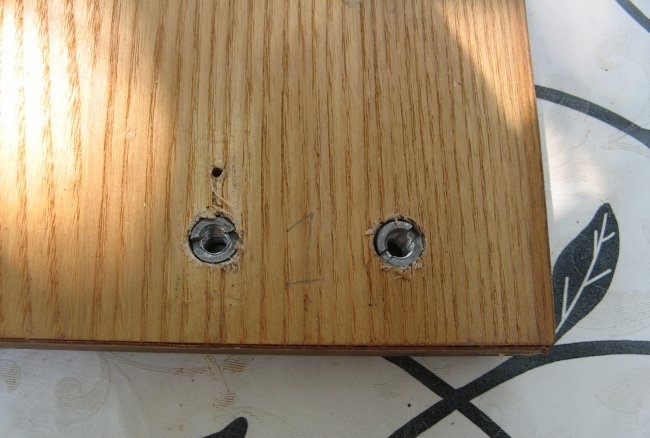
Screw in the nuts. They fit tighter into chipboard than into wood.
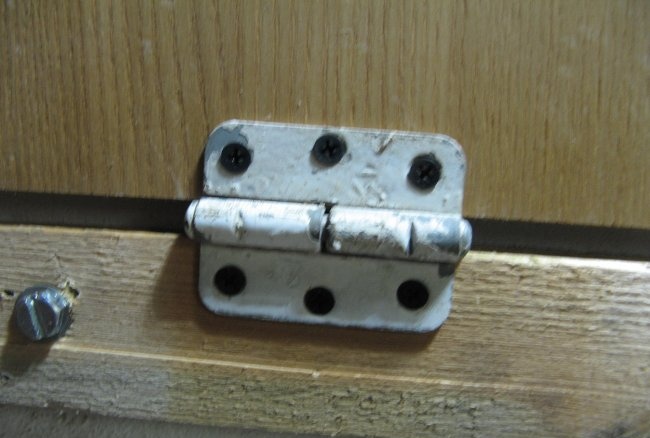
We attach the tabletop to the installation site and install the hinges. I have them used, like everything else in the design.
Place the legs on the tabletop and tighten them. Since our legs are removable, we tighten the screws until they stop. When we remove them, we simply loosen the screws and the legs come off easily.
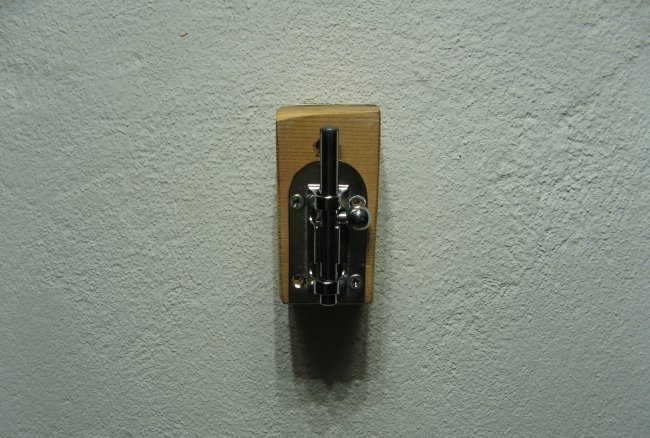
We take the block and attach it to the wall. We screw the latch onto the block.
In principle, the fastening may be different.
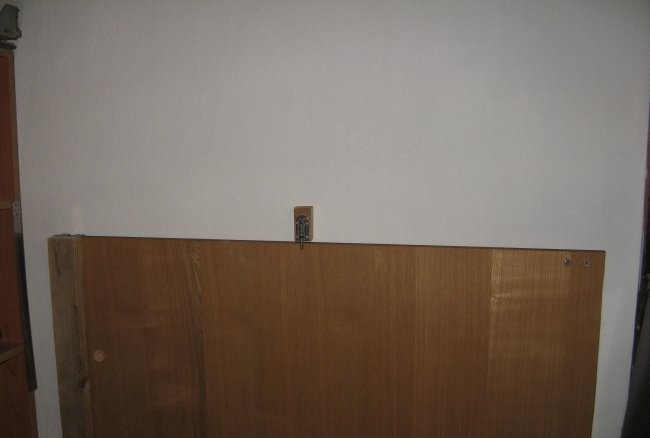
The latch holds our tabletop when it is raised into the folded state.
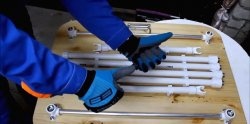
When folded, the table does not take up space. The legs can be hung on the table itself, as in the photo on the right.
When unfolded, we have room for creativity. The table turned out to be stable and can easily withstand 80 kg.
In conclusion, I will note. An old cabinet, and after its main work it is useful.
But a folding or folding table is best suited for compactness. It can be made lowered or, as in my case, raised.
For the table we need:
- - chipboard or thick plywood;
- - bars for legs;
- - two loops;
- - wood screws;
- - three powerful self-tapping screws with dowels;
- - three 8 mm washers;
- - block for support;
- - four corners;
- - latch;
- - 8 mortise furniture nuts.
Mark the level of the table on the wall. Drill holes for dowels.
We screw the block to the wall using self-tapping screws, having previously installed the washers.
My block burst, but not badly. I glued it with PVA glue.
In the leg blanks we drill non-through holes for mortise furniture nuts. I unscrewed the nuts from the old cabinet and not only them. But more on that later. Leg length 720 mm.
We screw furniture nuts into the drilled holes. In principle, there are other types of nuts, but you need to go to the store for them.
A little about marking holes. The nut has a diameter of 11.5 mm, drill with a 10.5 mm drill. To tighten the nuts, you need a screwdriver with a wide blade.
At this stage you can screw the corners. The corners are also from an old cabinet.This closet is a treasure trove of useful things. This is not the last thing I learned from it.
Now let's get to the tabletop.
Its role will be played by one of the walls of the same closet.
The size of the table (tabletop) was 1200*560 mm.
We drill holes in it for the nuts. Also not end-to-end. You need to be careful in this procedure. The legs of the table are thick and it’s easier to drill into them, but here you can speed up and make a hole in the tabletop.
Screw in the nuts. They fit tighter into chipboard than into wood.
We attach the tabletop to the installation site and install the hinges. I have them used, like everything else in the design.
Place the legs on the tabletop and tighten them. Since our legs are removable, we tighten the screws until they stop. When we remove them, we simply loosen the screws and the legs come off easily.
We take the block and attach it to the wall. We screw the latch onto the block.
In principle, the fastening may be different.
The latch holds our tabletop when it is raised into the folded state.
When folded, the table does not take up space. The legs can be hung on the table itself, as in the photo on the right.
When unfolded, we have room for creativity. The table turned out to be stable and can easily withstand 80 kg.
In conclusion, I will note. An old cabinet, and after its main work it is useful.
Similar master classes
Particularly interesting
Comments (6)

