Rotary table
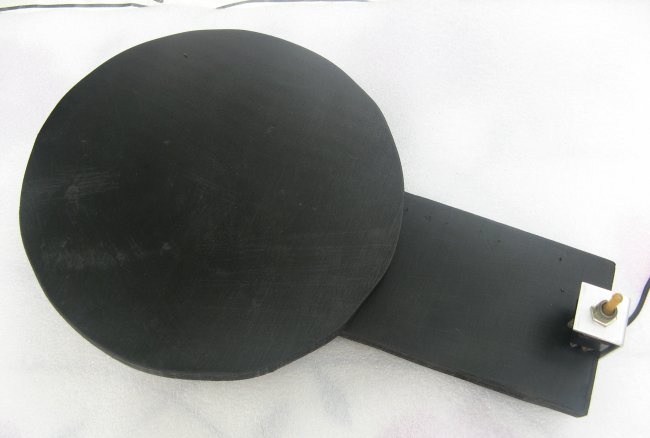
It’s probably no secret to many that presenting your work, and even in 3D, is the key to success. The simplest solution in this matter is a rotating presentation table. You can use it to scroll through Netske’s works, or you can use it in the confectionery industry as an auxiliary device when applying cream.
I need this table to display my homemade products.
And it's very easy to do.
For the design we will need:
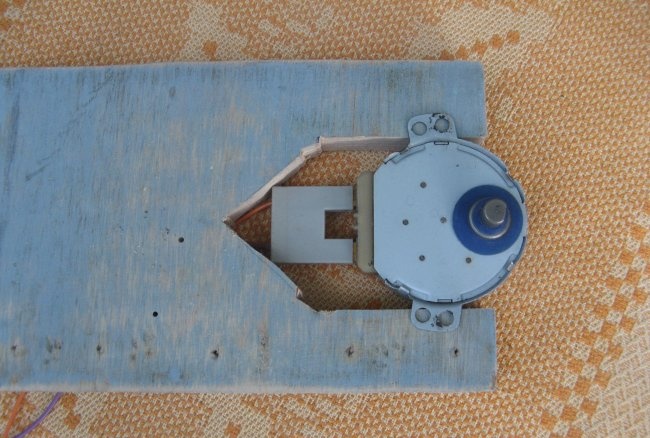
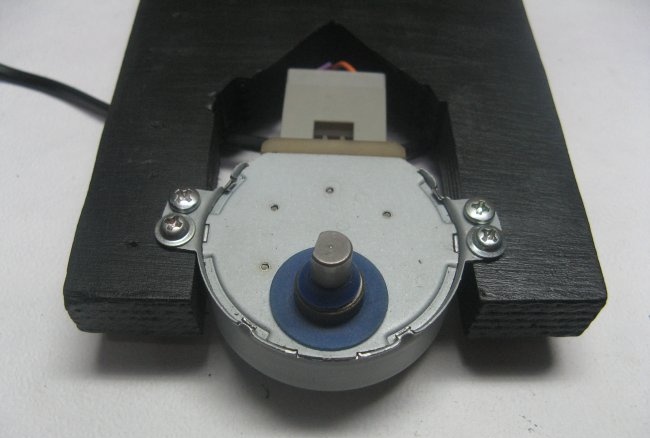
First, we cut out a cutout in the base for the motor. I decided to leave the original connector and cut out a little more.
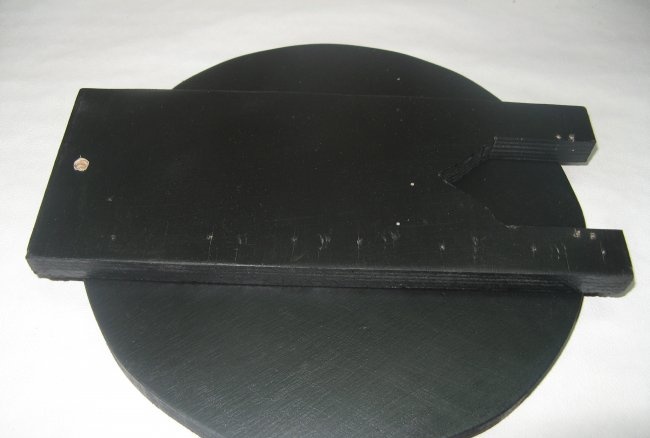
Base dimensions 250*100 mm. Plywood 18 mm thick.
Table plate with a diameter of 230 mm.
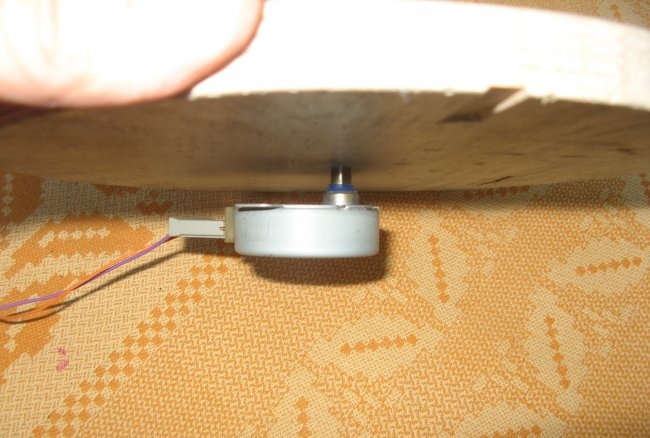
In the center we drill a hole for the motor, so that the axis fits tightly into the table pancake.
My plywood has scuffs because it was used. At first I thought about sanding it, which I did, but then I decided to paint it black. Once everything was dry, I drilled a hole for the wires.
Further.
We mark the place for the motor. We drill a hole half as thin as the screws so that the plywood does not split. We screw on the motor.
Now let's install the switch.
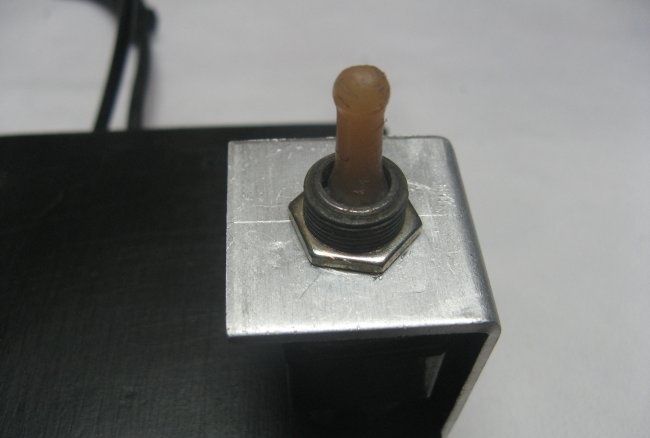
As the latter, I have a TP 1-2 toggle switch. What was, is applicable. I installed it on an aluminum corner. There was already a hole in the corner, but I finished it with a needle file until it was needed.
We run the wires into the pre-made hole and connect them to the toggle switch.
We screw the corner onto self-tapping screws. Any corner can be used for your switch.
By motor. I have it at 220 volts. If there are microwave ovens that have 21 volt motors (I’ve come across these). In this case, you need a transformer or you can power it from the microwave board. In the latter case, the structure becomes larger in size.
Although the motor speed is only about 3 revolutions per minute, I decided to screw the legs.
To ensure that the table does not crawl on the surface.
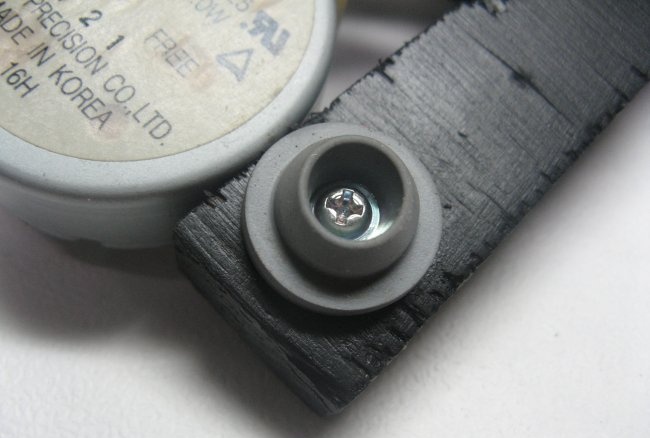
In the role of legs, rubber stoppers from the medicine.
The finished design will look decent. There was an idea to paint the pancake white, but the paint was only water-based and was not suitable for its intended purpose.
ATTENTION! The device is powered from a household network. Take measures to insulate the wires at the point of connection to the switch.
Thank you for your attention!
I need this table to display my homemade products.
And it's very easy to do.
For the design we will need:
- - microwave motor;
- - switch;
- - network cable;
- - chipboard or plywood;
- - self-tapping screws;
- - corner.
First, we cut out a cutout in the base for the motor. I decided to leave the original connector and cut out a little more.
Base dimensions 250*100 mm. Plywood 18 mm thick.
Table plate with a diameter of 230 mm.
In the center we drill a hole for the motor, so that the axis fits tightly into the table pancake.
My plywood has scuffs because it was used. At first I thought about sanding it, which I did, but then I decided to paint it black. Once everything was dry, I drilled a hole for the wires.
Further.
We mark the place for the motor. We drill a hole half as thin as the screws so that the plywood does not split. We screw on the motor.
Now let's install the switch.
As the latter, I have a TP 1-2 toggle switch. What was, is applicable. I installed it on an aluminum corner. There was already a hole in the corner, but I finished it with a needle file until it was needed.
We run the wires into the pre-made hole and connect them to the toggle switch.
We screw the corner onto self-tapping screws. Any corner can be used for your switch.
By motor. I have it at 220 volts. If there are microwave ovens that have 21 volt motors (I’ve come across these). In this case, you need a transformer or you can power it from the microwave board. In the latter case, the structure becomes larger in size.
Although the motor speed is only about 3 revolutions per minute, I decided to screw the legs.
To ensure that the table does not crawl on the surface.
In the role of legs, rubber stoppers from the medicine.
The finished design will look decent. There was an idea to paint the pancake white, but the paint was only water-based and was not suitable for its intended purpose.
ATTENTION! The device is powered from a household network. Take measures to insulate the wires at the point of connection to the switch.
Thank you for your attention!
Watch the video:
The design was developed by Mastyrkin.
Similar master classes
Particularly interesting
Comments (0)

