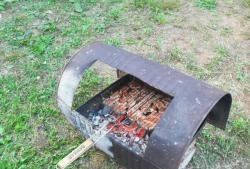
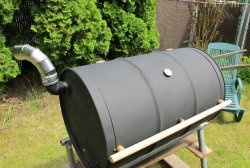
How to make a smokehouse from barrels
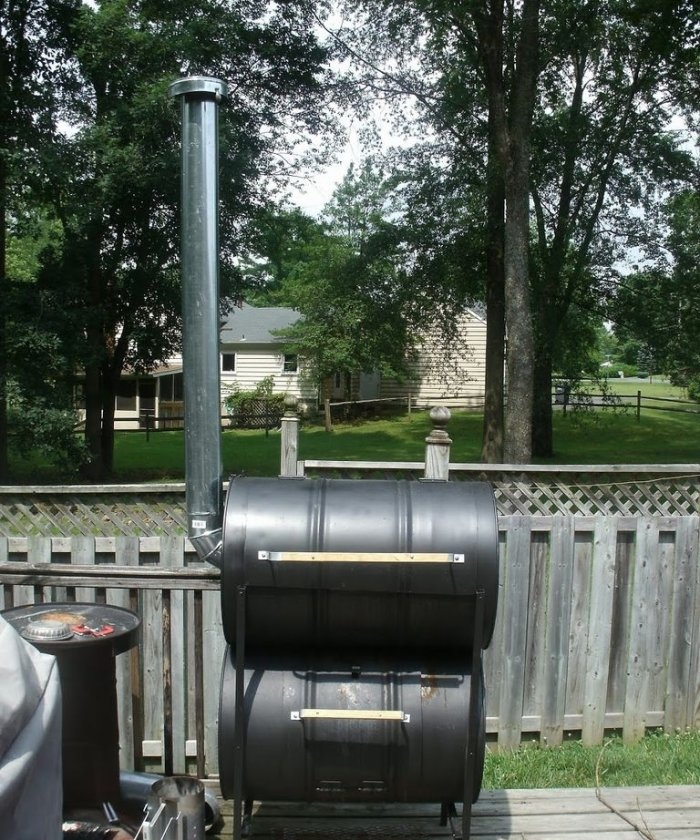
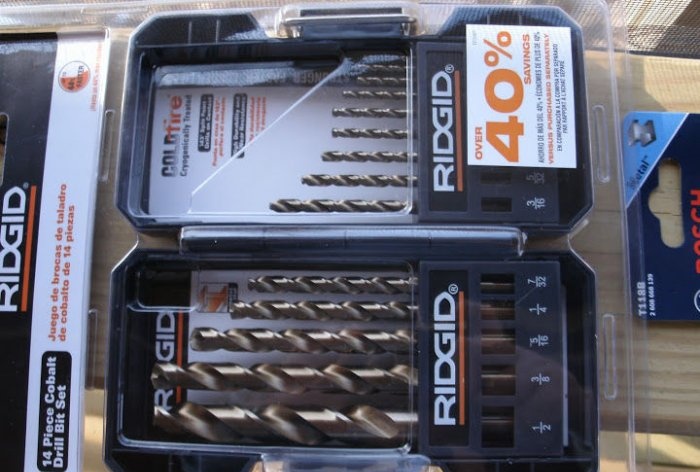
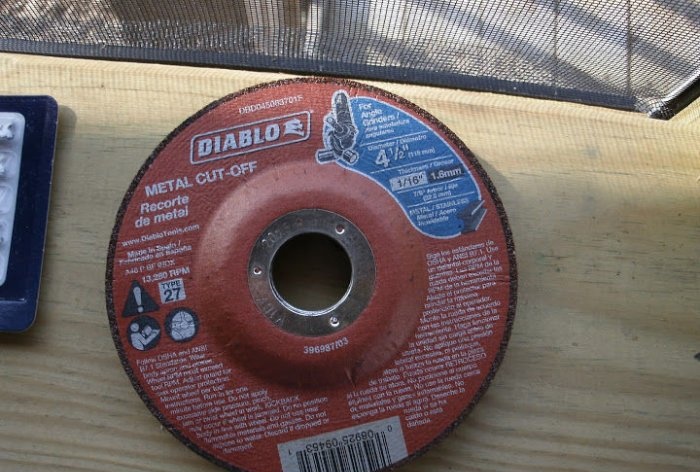
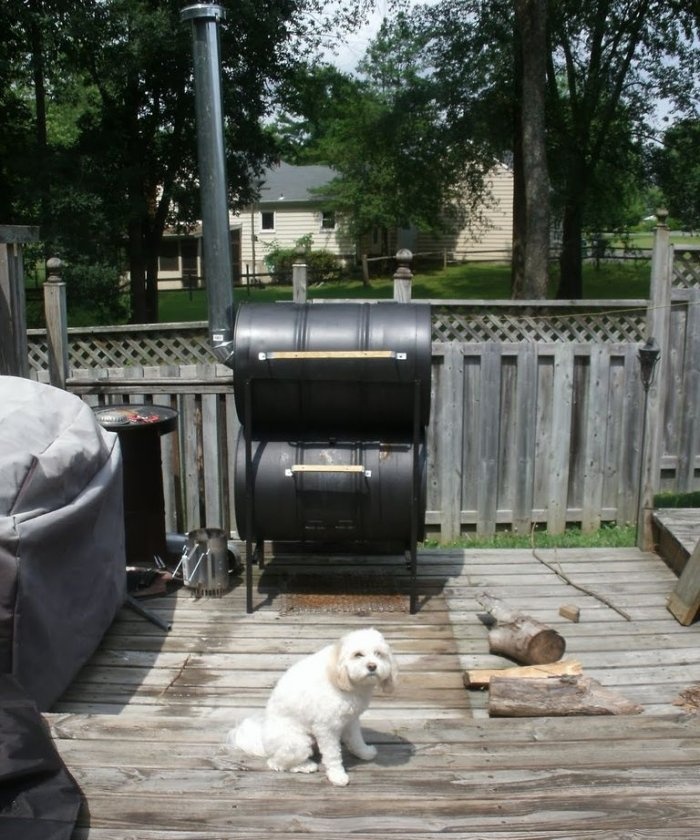
The presented smokehouse model is quite simple to manufacture. The necessary tools are a grinder with a metal disc, a drill or screwdriver, a standard set of pliers and screwdrivers. The use of a welding machine is not required. The service life of such a smokehouse, if used correctly, can be more than a dozen years.
Finding and purchasing the necessary materials will not take much time. You will need:
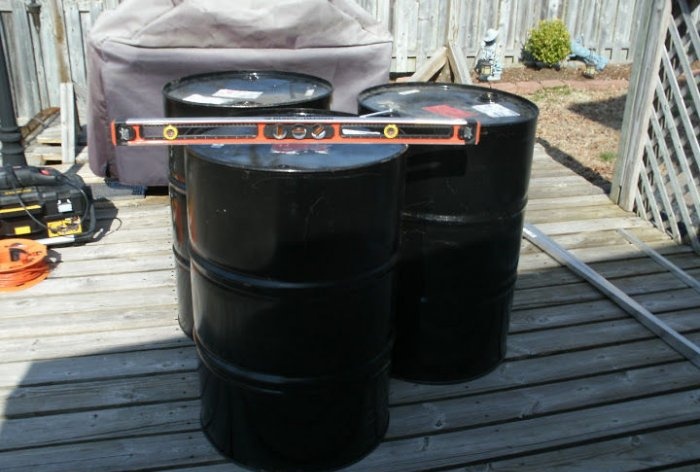
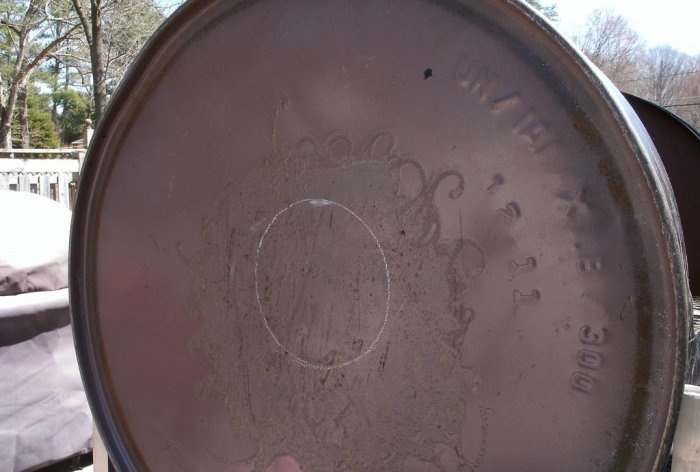
1. Three metal barrels. You need to choose barrels that have not previously been used for storing any chemicals. We will look at making a smokehouse using 200 liter barrels as an example. The two barrels must have a tight-fitting lid without holes, or it will have to be cut from the same material and welded. Ideally, the barrels should not be painted, but if there are no other options, the paint can be burned, but this must be done at the preparation stage, and not when the smokehouse is assembled.
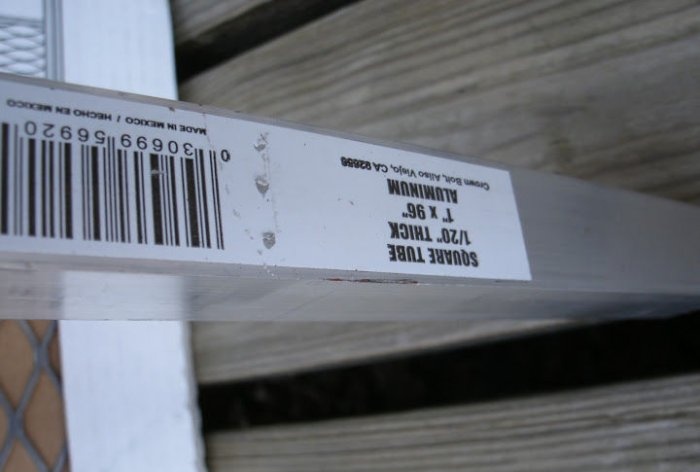
2. Standard square-shaped aluminum tubes - from these we will make a stand for our smokehouse.
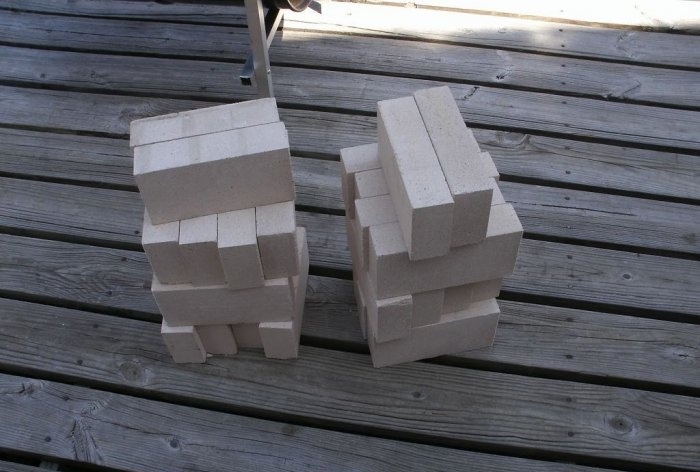
3. Fire bricks – 28 pieces. With their help, the smoking temperature and the intensity of the supply of smoke from the lower barrel to the upper one will be regulated.Ordinary bricks will not work.
4. Grids. One large or several small ones. This is where the meat will sit while smoking.
5. Galvanized pipeline for smoke exit to the outside.
6. Metal pipe (easy to make with your own hands) for connecting two barrels.
7. Bolts, screws, nuts, washers and angles for them made of stainless materials.
8. Special silicone sealant for metal, not afraid of high temperatures.
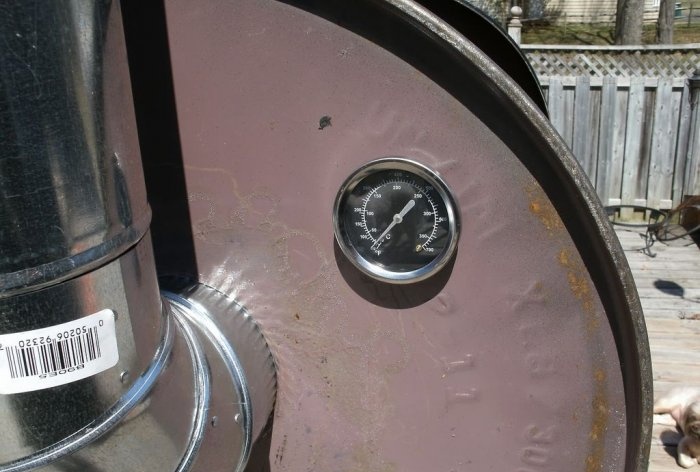
9. Fireproof thermometer. If desired, it can be installed on the smokehouse next to the grill. It will provide control over the smoking temperature.
After preparing the materials and tools, you can proceed directly to work.
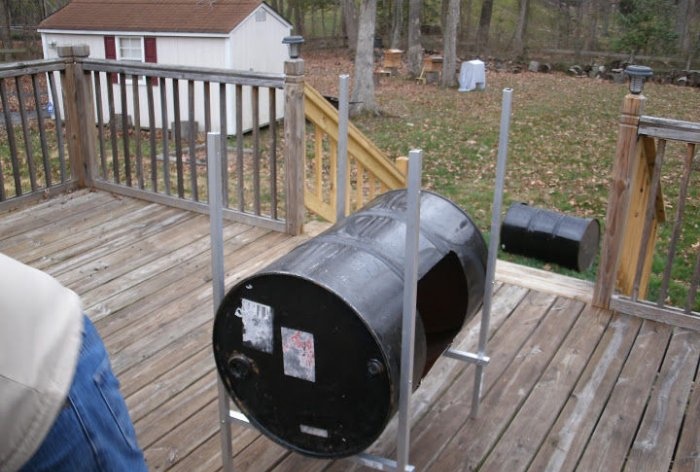
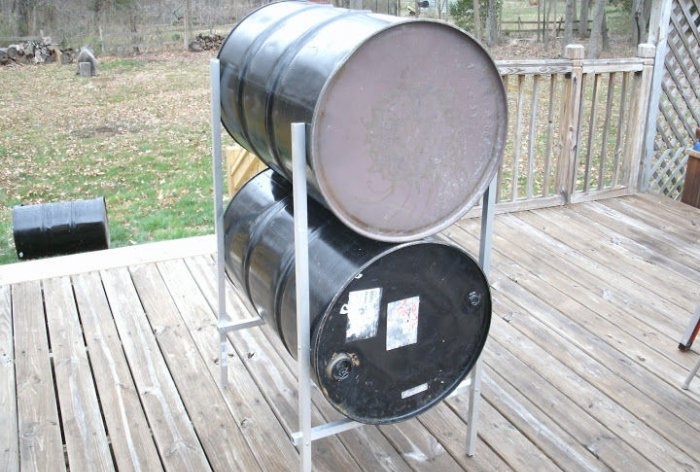
The stand will be used to place the bottom barrel of the smoker on it. To find out the dimensions of the frame, you need to measure the cross-sectional diameter of the barrels. The finished stand should consist of four tubes 120–140 cm long, fastened together by two tubes at a height of 20–30 cm from the ground.
Aluminum tubes are fastened to each other using screws or bolts. To ensure a strong fixation, you need to use washers and metal corners. You can additionally attach stainless steel squares to the legs of the frame - this will give more stability to the structure.
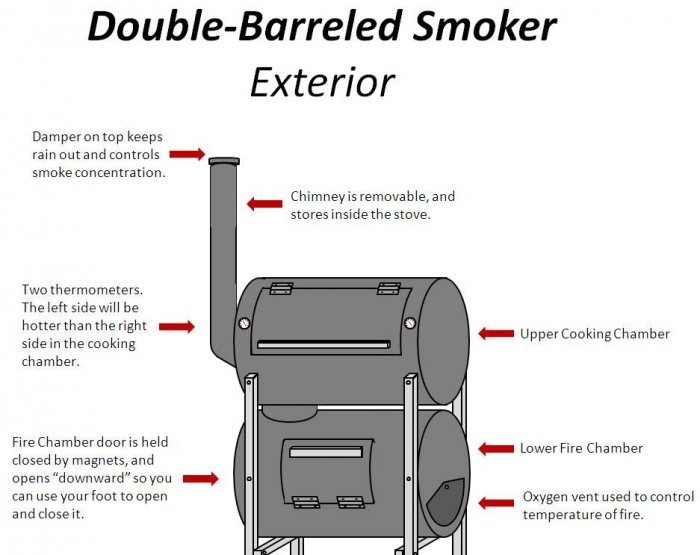
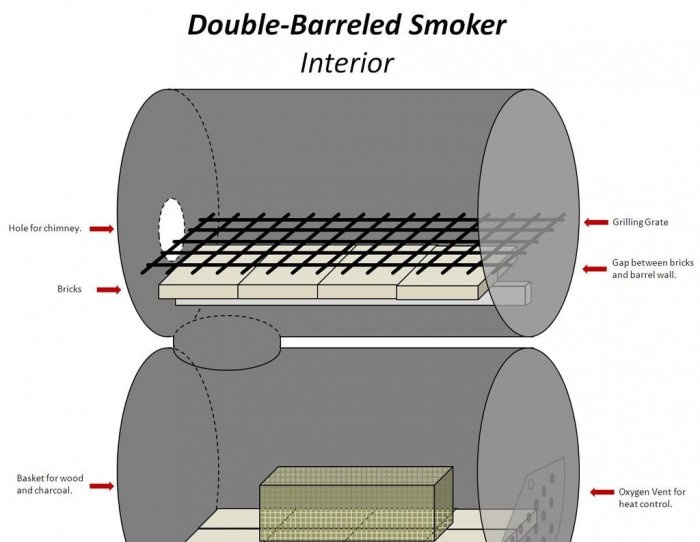
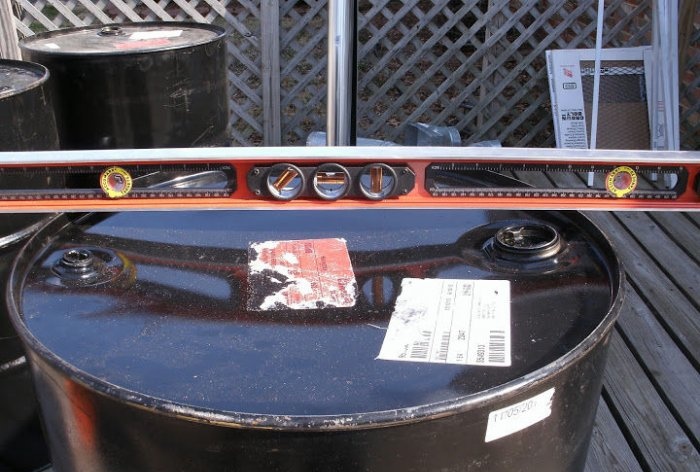
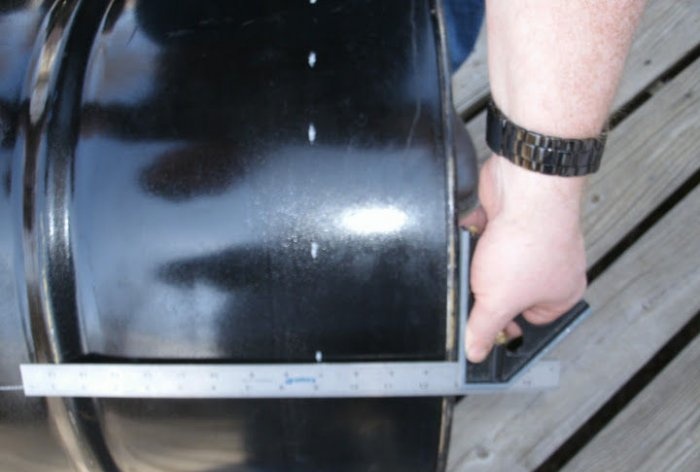
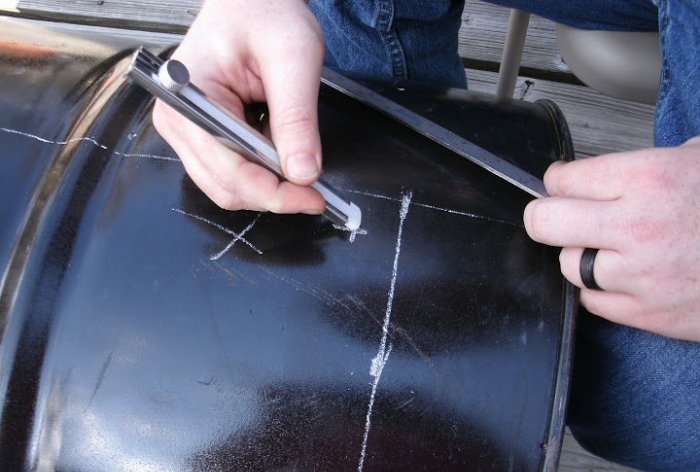
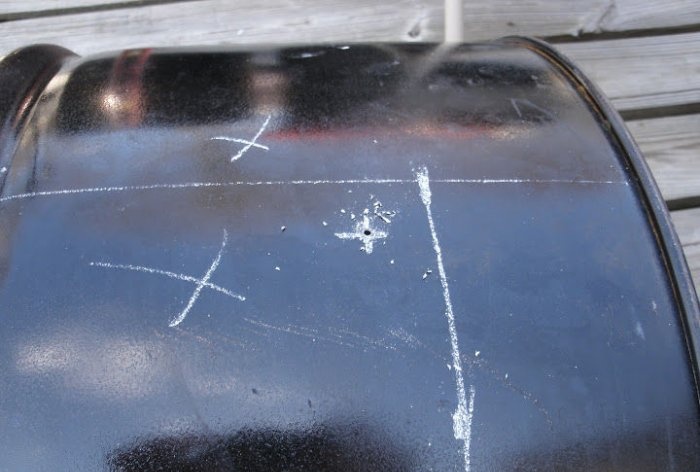
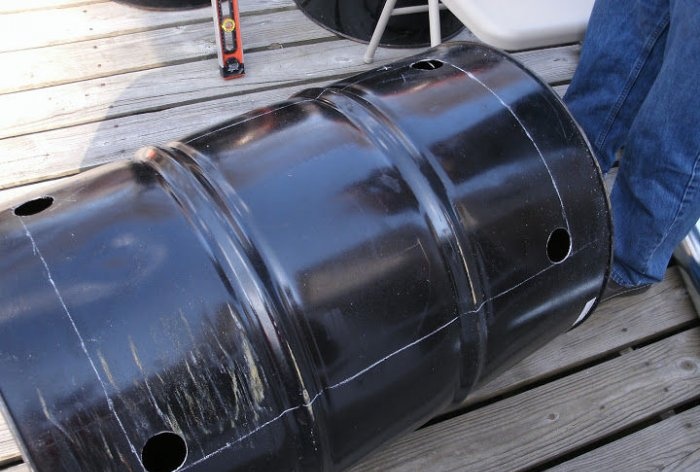
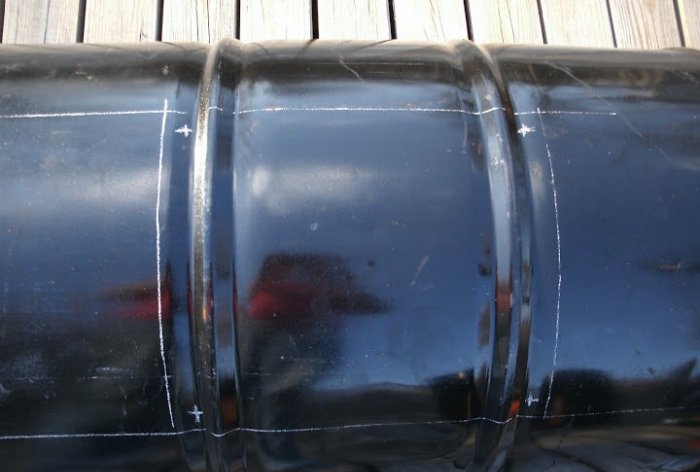
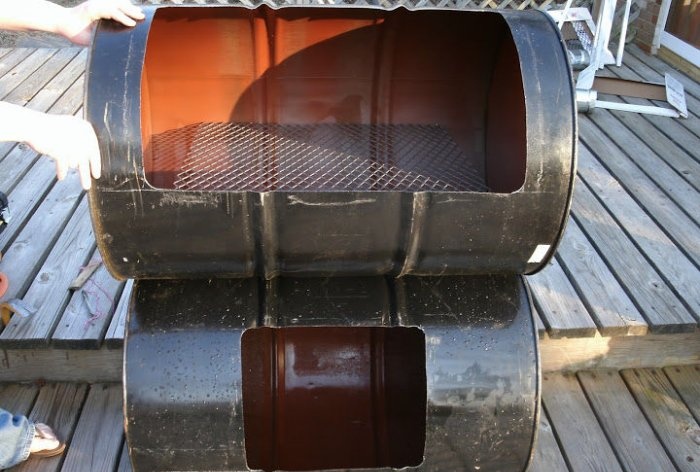
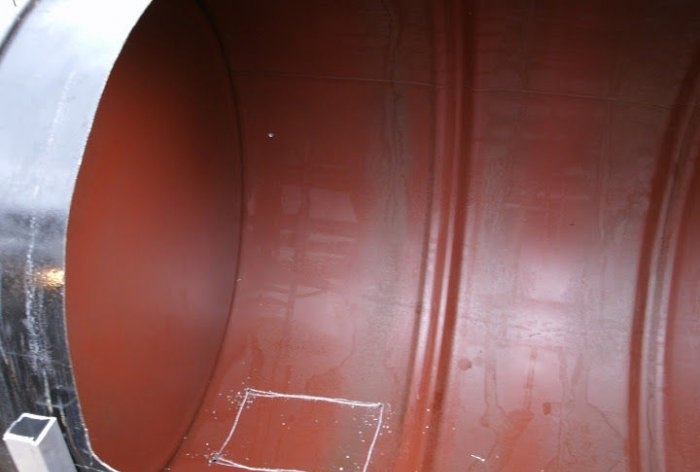
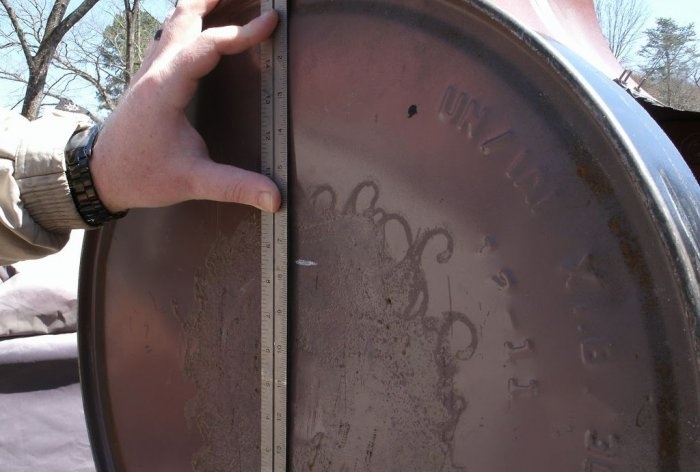
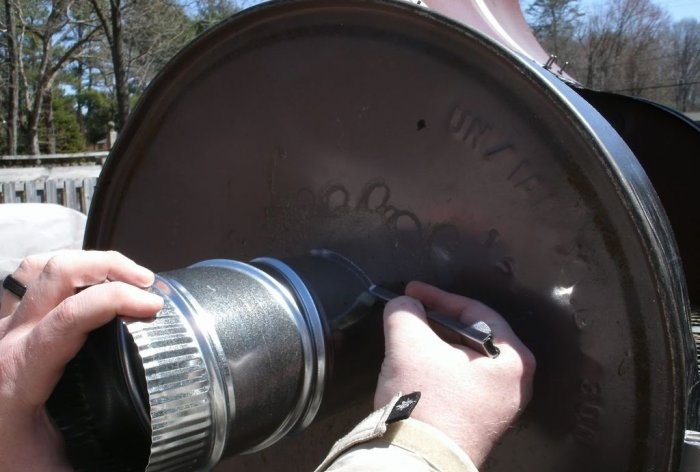
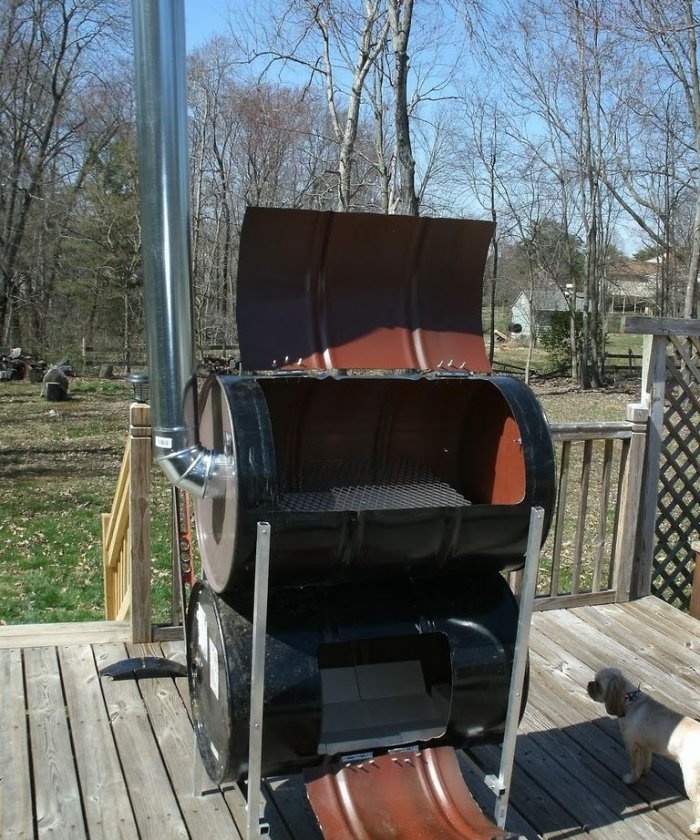
One of the barrels will serve as the “bottom pan”. Place the barrel on the prepared frame and place marks in two places on the frame where it will be attached to the stand. Then on the “front part” you need to mark the future door through which you will put smoke material inside and clean the stove from soot.In the upper left part, draw a round hole with a diameter of 25 - 30 cm - for a short pipe that will connect both barrels and will be used as a channel for transferring heat and smoke from the bottom of the smokehouse to the top.
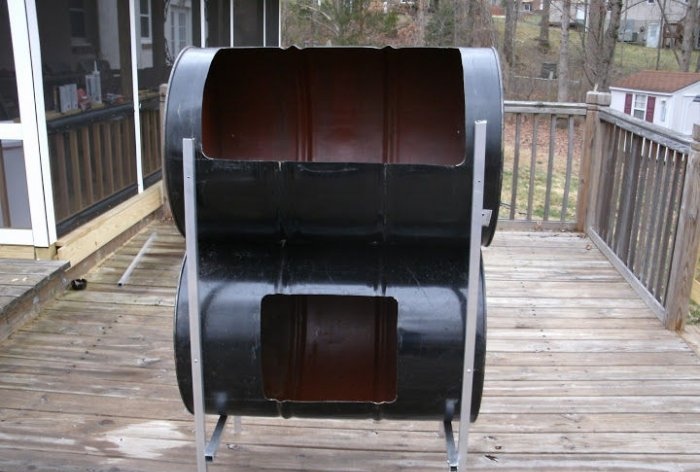
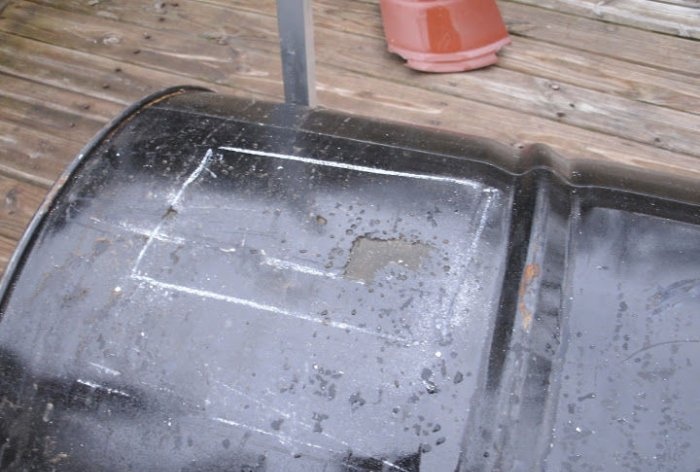
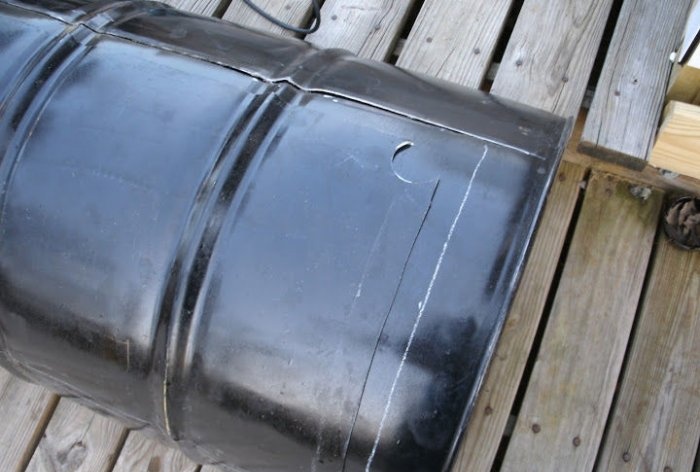
The second barrel will be located above the first. First, just lay it horizontally on a flat surface. On the side edge you need to mark a rectangular door, the area of which should provide convenient placement of meat on the grill.
On the left side of the upper barrel, it remains to mark the hole for the chimney, but we will do this later, after installing the fireproof bricks and grate.
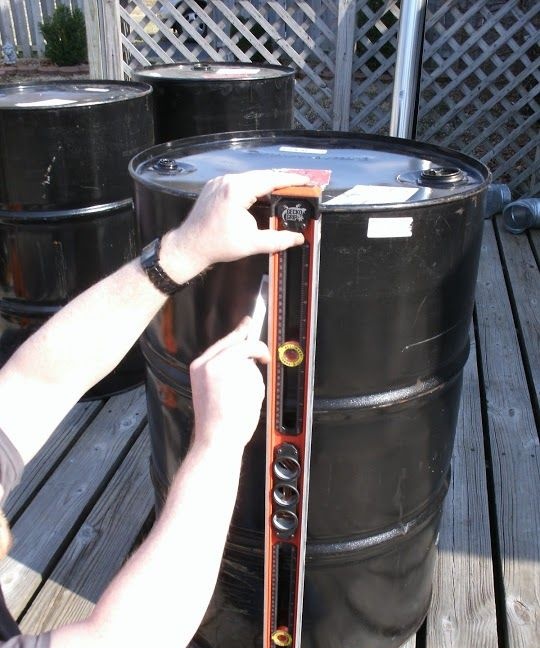
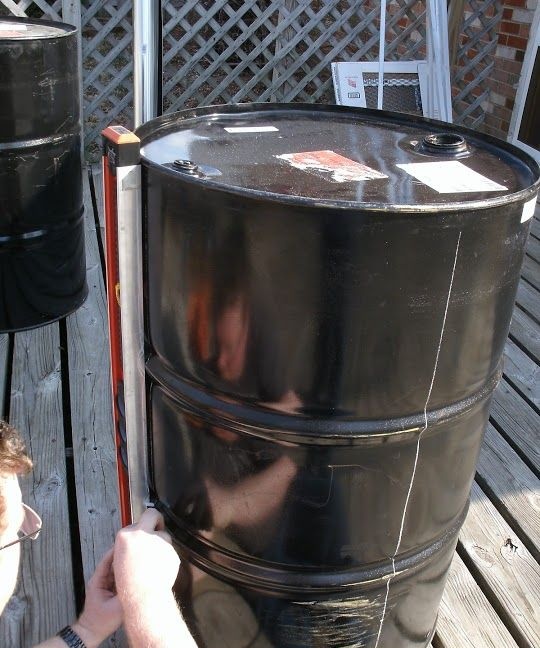
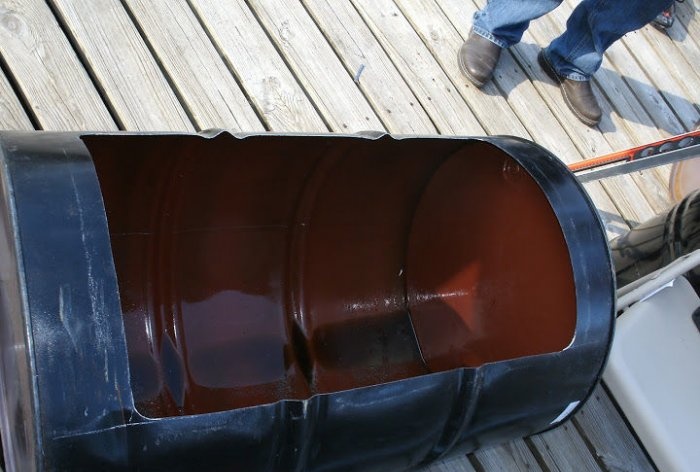
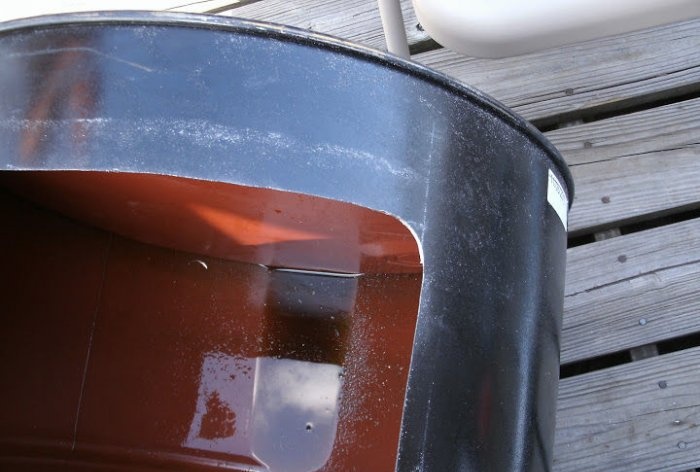
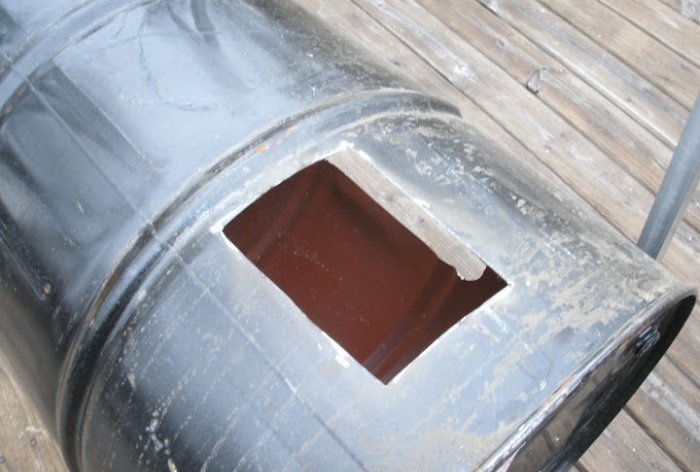
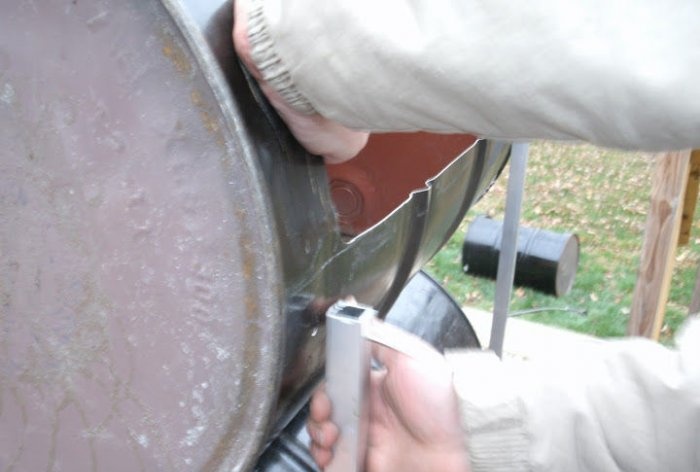
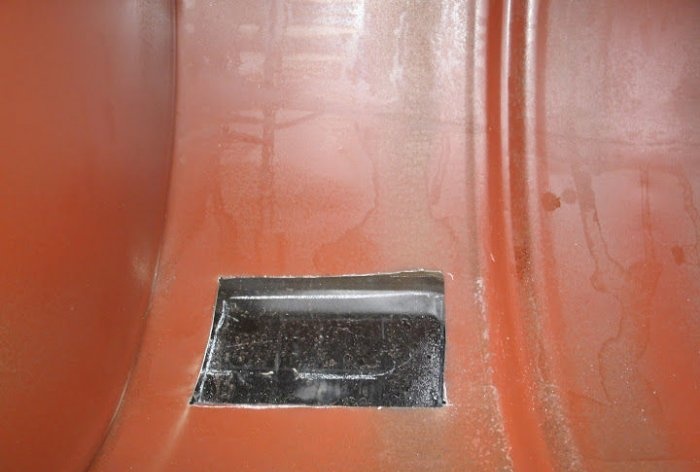
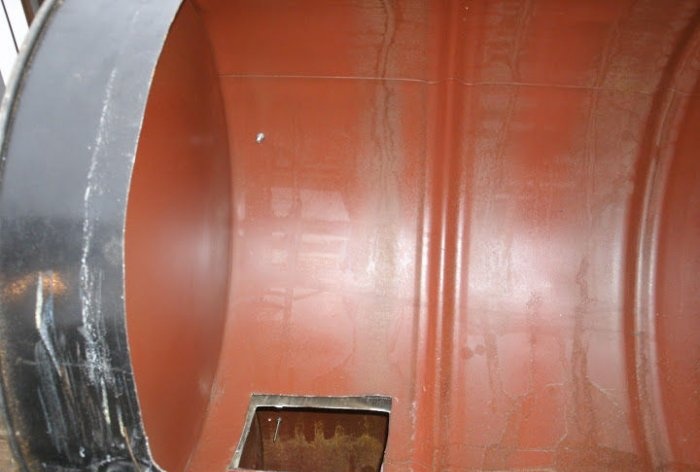
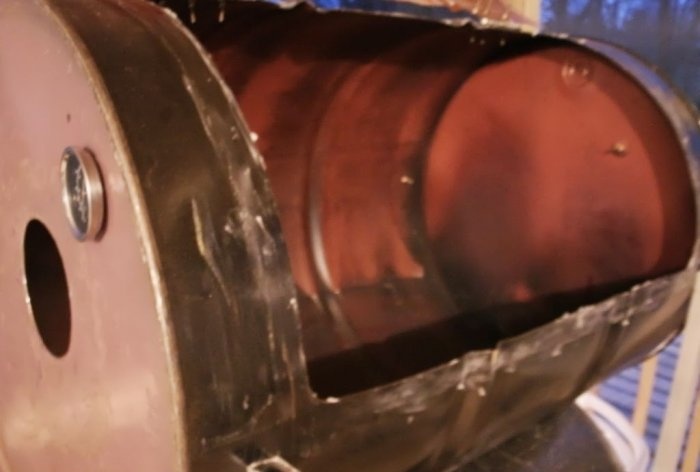
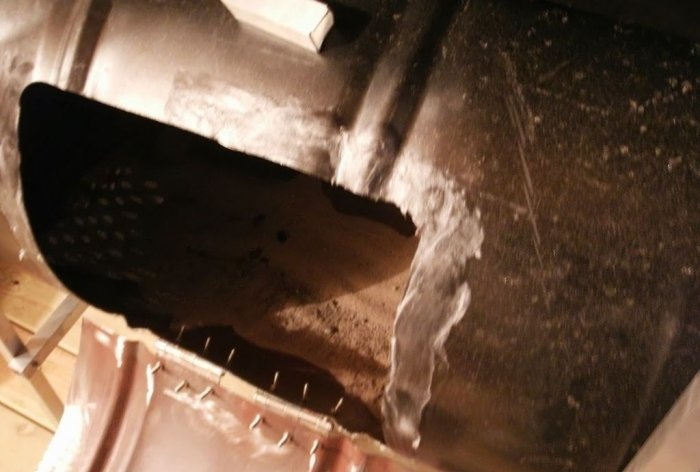
After making sure that the markings on both barrels are done correctly, you will need to cut all the holes using a metal grinder. First, we make neat cuts on three sides of each rectangle, then lightly push the door inward and make a control cut. The hole for the connecting pipe is made in the same way. If you drilled any holes by mistake, they need to be sealed with sealant.
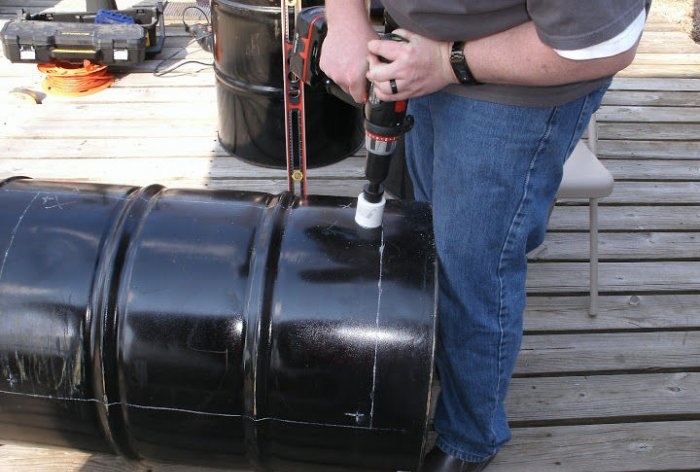
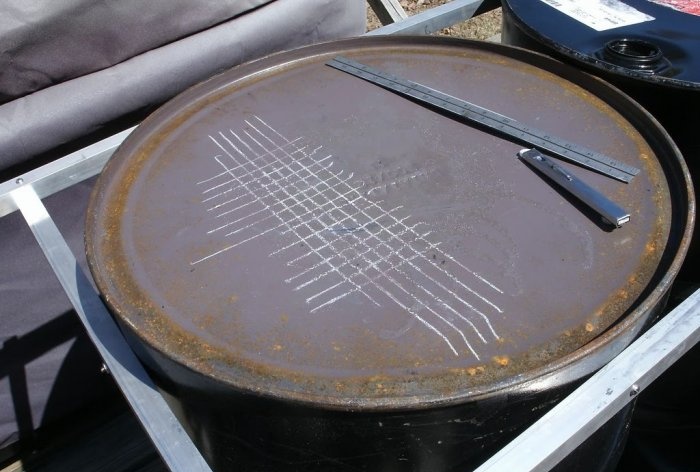
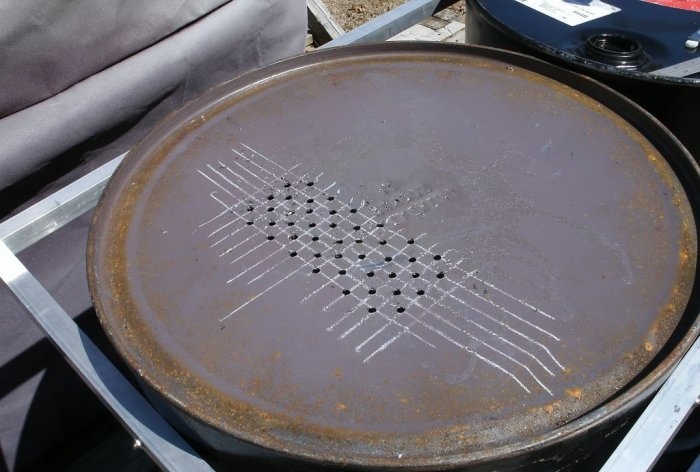
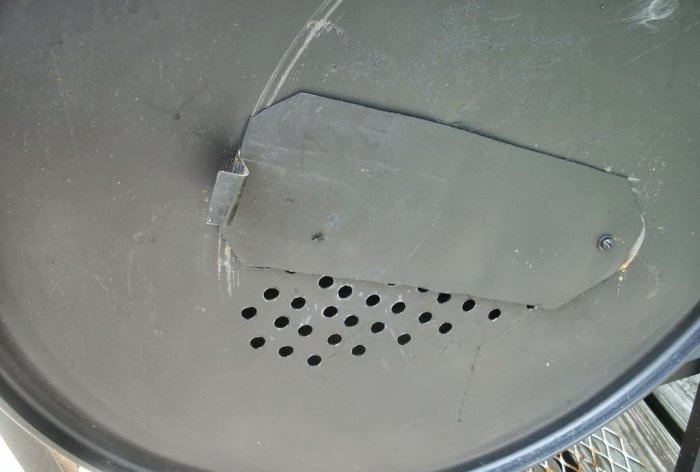
On the right side edge of the lower barrel, it is necessary to drill several dozen holes 2–3 mm in size in the form of a mesh with a drill. They are needed for oxygen to enter the smokehouse. Cut a metal lid that fits the size of the holes. Using one screw and washer, secure the cover so that you can fully control the ventilation. During operation of the smokehouse, the lid will become very hot, so it is worthwhile to provide it with a handle in advance.
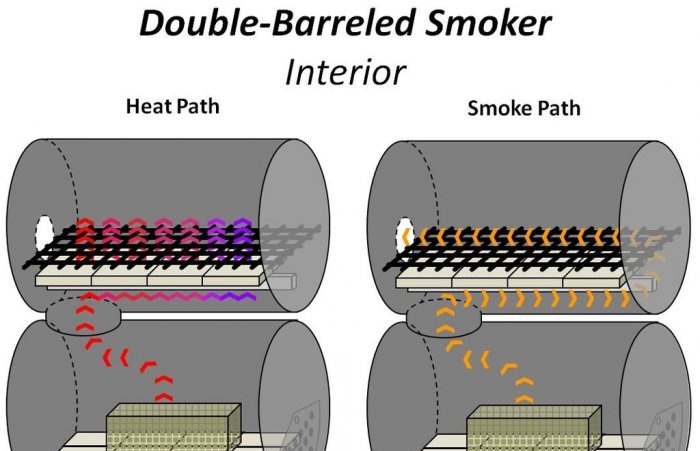
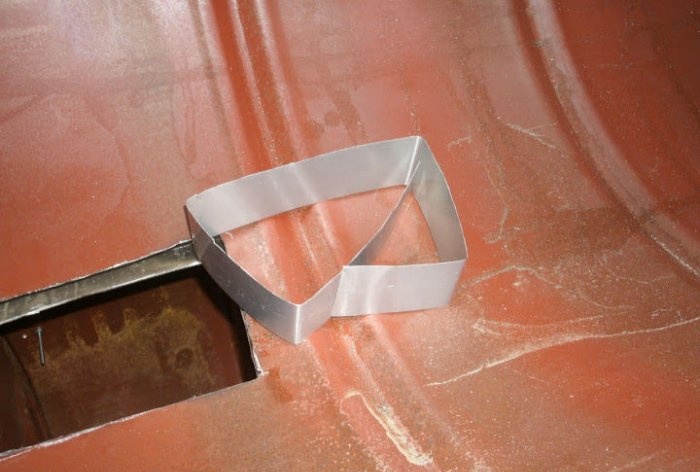
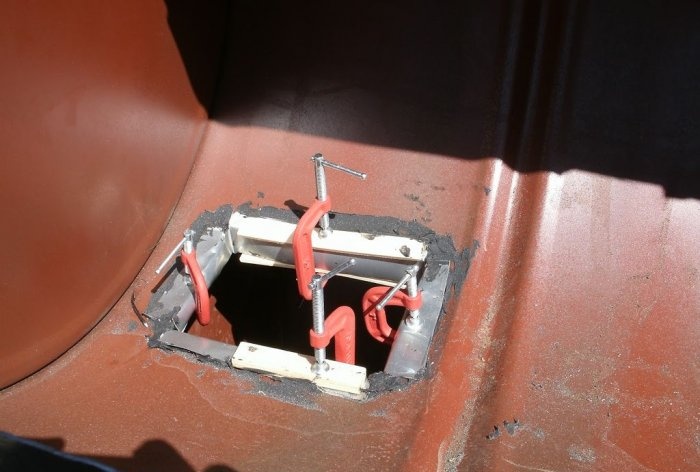
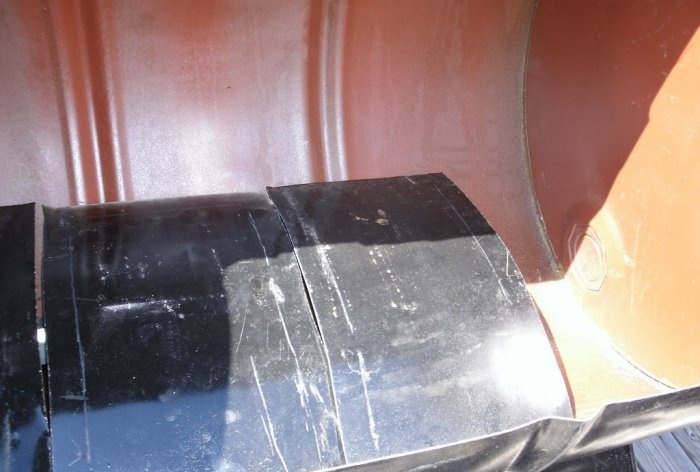
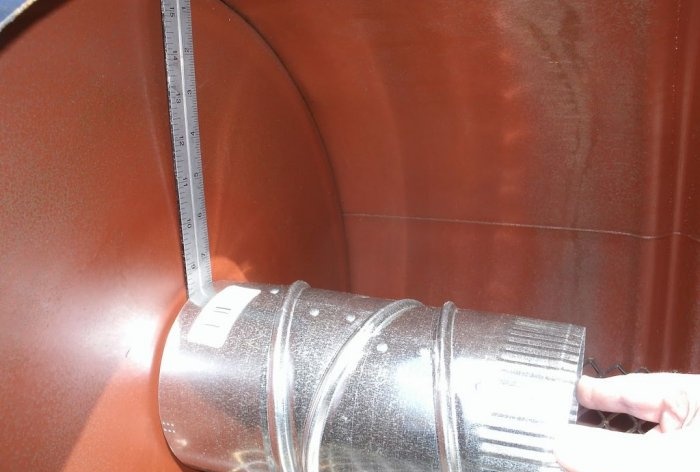
To make a pipe, you need a piece of suitable metal, which must be adjusted to the size of the holes.An important point when installing the pipe is to achieve a tight, completely airtight seal at the points of contact with the material of the barrels. To do this, you need to bend the rim of the pipe as much as possible inside the upper and lower barrels and use a special sealant.
If the junction of the pipe and the walls of the barrels are not sufficiently fixed, then a significant part of the heat and smoke will go to waste, and the products placed on the grate will, at best, simply be cooked, but not smoked.
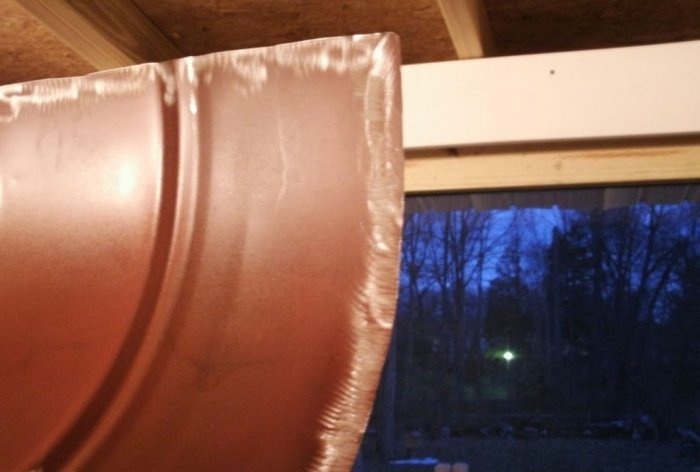
It will not be possible to use cut-out sections of barrels as doors; the lids should be 2 - 3 cm wider than the holes - this is necessary to prevent excess air from getting inside. We use the third barrel to make the doors. The sections of metal cut out in the previous stage will serve as a good model - just attach them to the surface of the barrel and outline the outline, adding a couple of centimeters on each side.
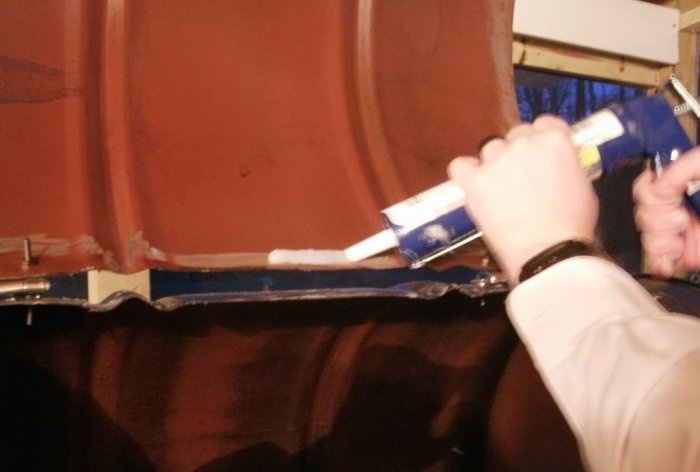
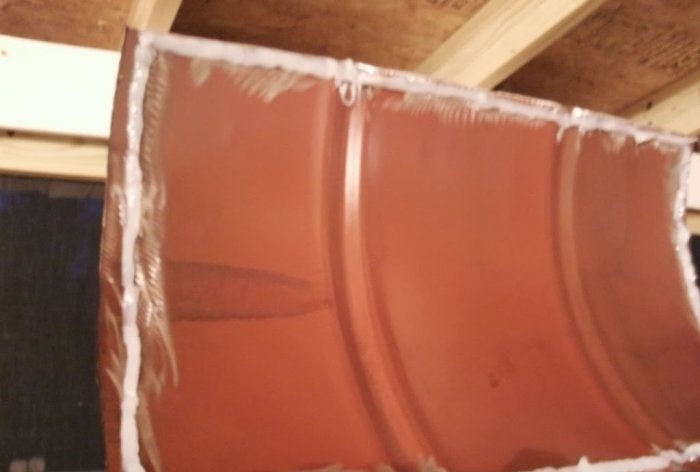
Then all that remains is to cut out the metal using a grinder, sand the edges of the workpieces from jagged edges and apply a layer of high-temperature silicone along the entire internal perimeter. It must completely seal the doors where they come into contact with the edges of the barrel. Leave it for two days to completely harden.
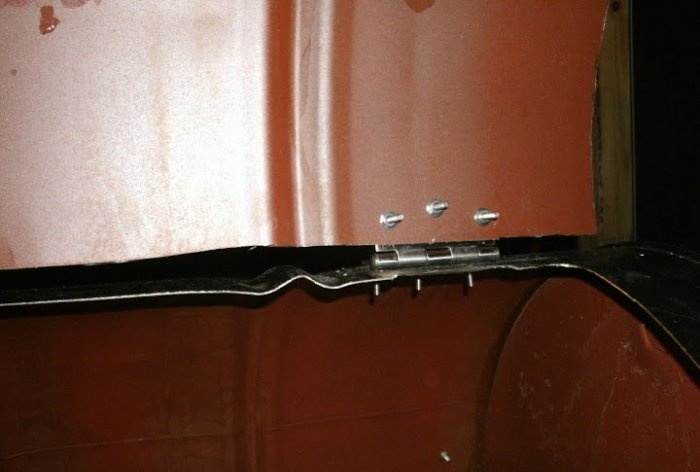
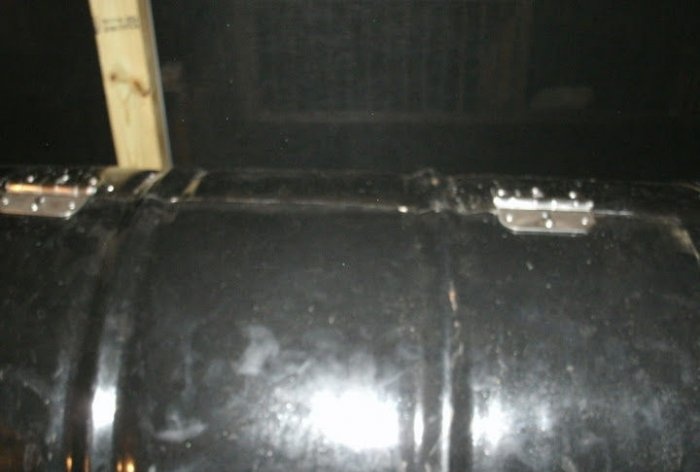
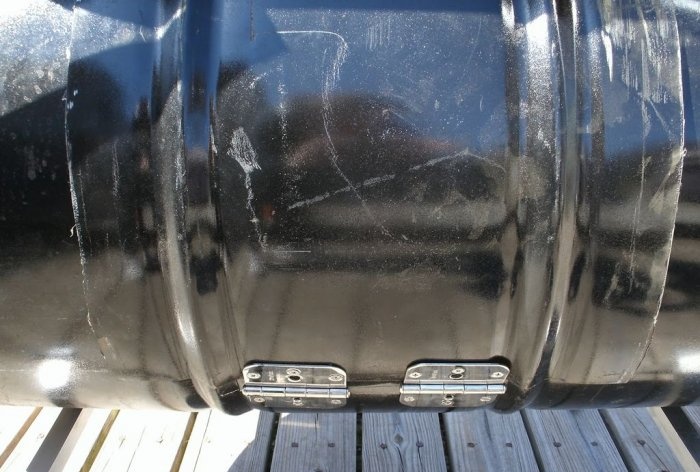
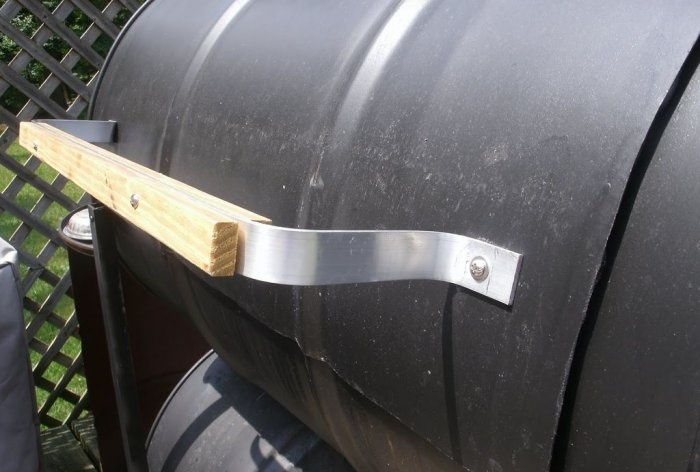
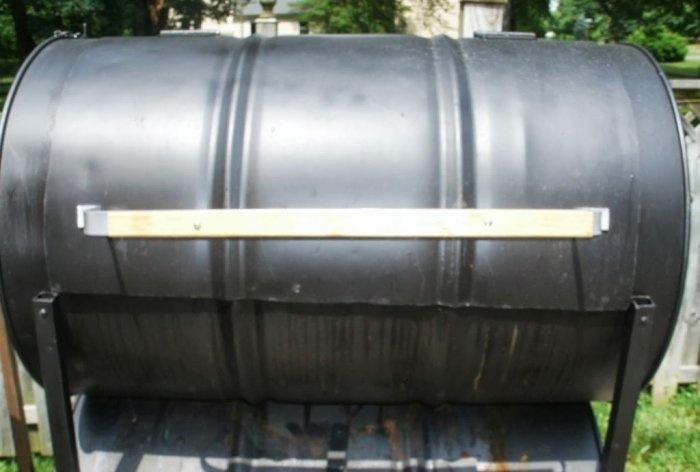
Handles with wooden holders must be attached to each door, which should not come into contact with the metal surface. Using hinges, bolts and washers, attach the cut out flaps to the desired locations.
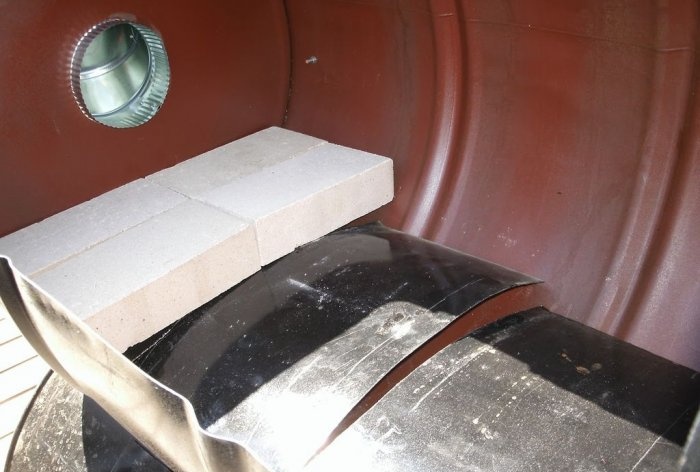
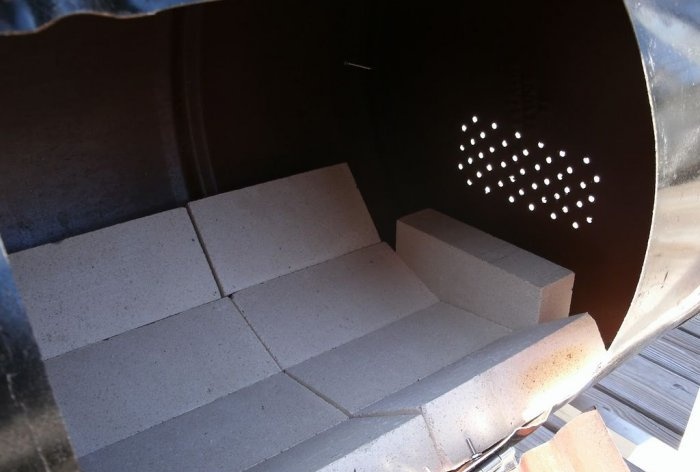
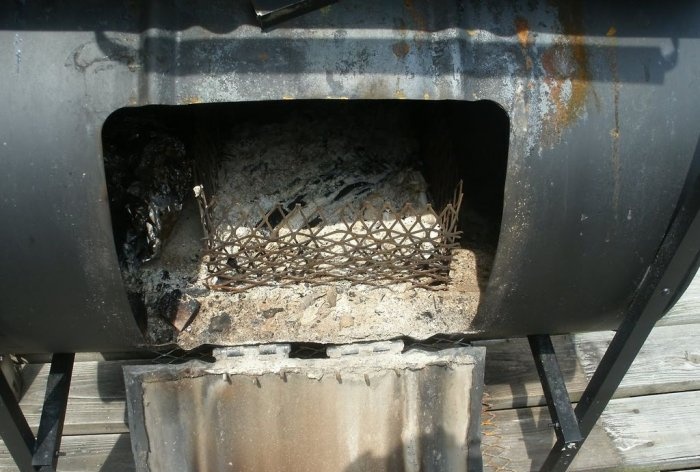
Support ribs for bricks need to be installed in the bottom parts of the barrels. They can be conveniently and quickly made from previously cut metal sections. You will need at least 10 ribs, each 2–3 cm thick.We lay fire bricks on the ribs. If the barrel is a standard 200-liter, then it will contain three horizontal rows of four bricks each, and one brick at the side walls.
They should fit tightly to each other, without noticeable gaps or irregularities. In this case, there should be a gap of 3 - 4 cm between the rightmost brick and the side wall - it is needed for free circulation of smoke and access to oxygen from the ventilation holes.
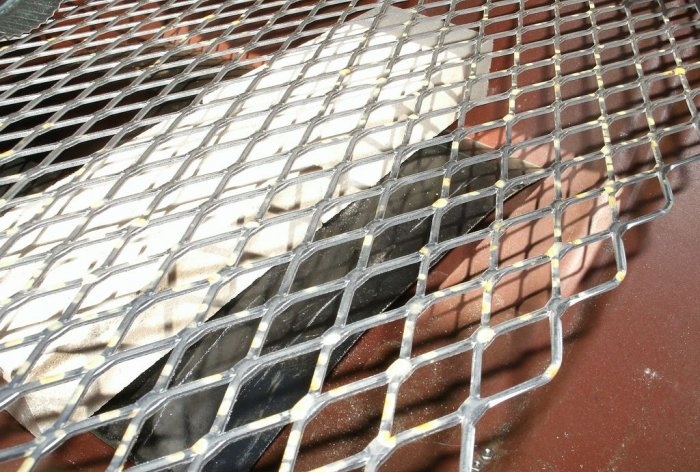
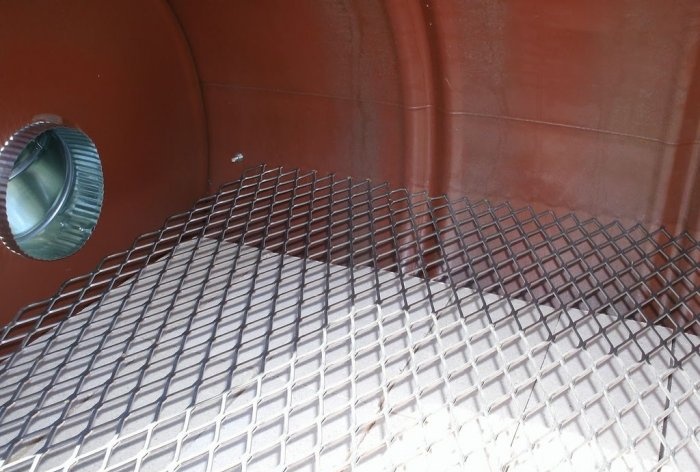
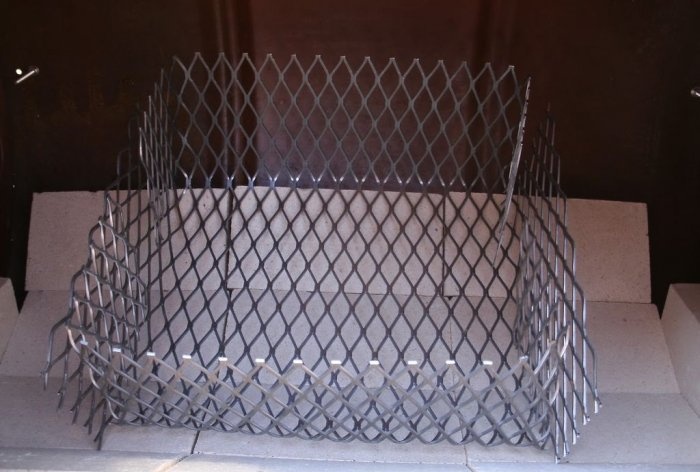
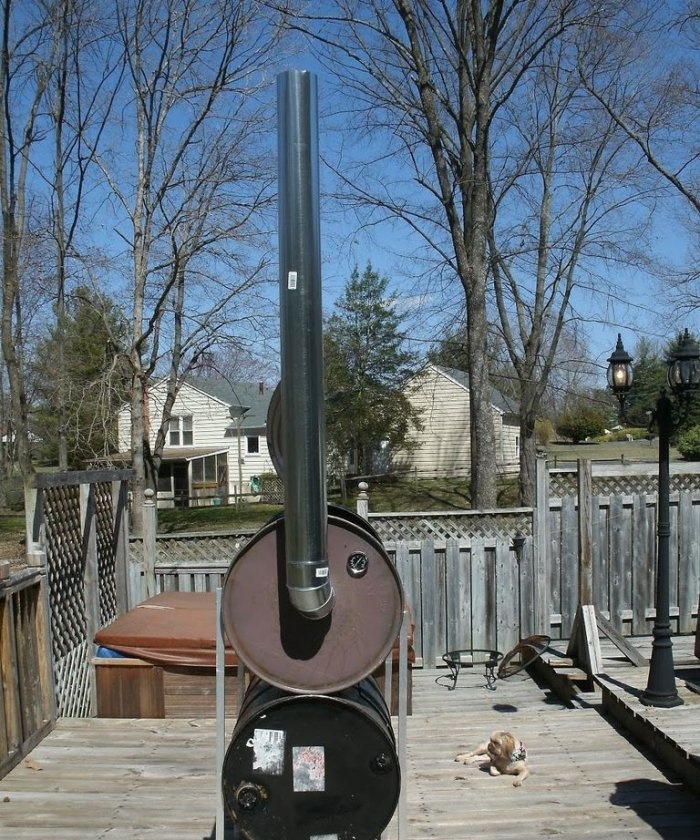
Place the grill grate on the bricks in the top barrel. If the grill is large, it can be cut into several parts. The hole for the chimney pipe must be made in the right side edge of the barrel, at a height of 1 - 2 cm from the surface of the grate. The optimal pipe diameter for a chimney is considered to be 12 - 13 cm - such a pipe will provide a balance between the intensity of smoldering coals and the speed of smoke removal to the outside.
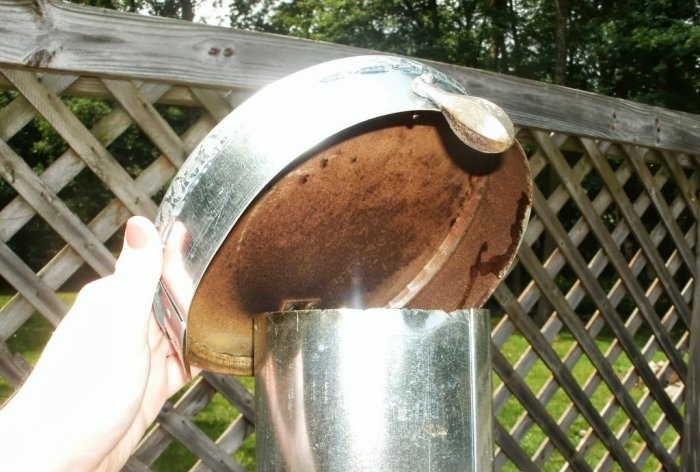
A standard stove chimney is quite suitable for a smokehouse, the main thing is to fix it firmly and fill the joints with heat-resistant sealant so that not the slightest crack remains. A canopy should be installed at the top of the chimney in advance to prevent rain from entering the structure.
Immediately after assembling the smokehouse, it will not be possible to use it for its intended purpose. First you will have to do a little preparation: place a few kilograms of coal in each firebox, light it and leave the vent open - let it flare up with maximum intensity.
With this procedure you will achieve several results at once:
You will see all the extra cracks - if there are any, smoke will come out of them. After the smokehouse has cooled, seal them with sealant, and repeat the test after two days.
And most importantly, you will be able to understand whether the ventilation holes on the left side of the lower barrel are made correctly. If the temperature on the “top floor” does not reach 180 °C, then this means that the barrel is not receiving enough external oxygen. In this case, increase the number of ventilation holes or make their diameter larger until the upper chamber becomes really hot.
Original article in English
Smokehouse materials
Finding and purchasing the necessary materials will not take much time. You will need:
1. Three metal barrels. You need to choose barrels that have not previously been used for storing any chemicals. We will look at making a smokehouse using 200 liter barrels as an example. The two barrels must have a tight-fitting lid without holes, or it will have to be cut from the same material and welded. Ideally, the barrels should not be painted, but if there are no other options, the paint can be burned, but this must be done at the preparation stage, and not when the smokehouse is assembled.
2. Standard square-shaped aluminum tubes - from these we will make a stand for our smokehouse.
3. Fire bricks – 28 pieces. With their help, the smoking temperature and the intensity of the supply of smoke from the lower barrel to the upper one will be regulated.Ordinary bricks will not work.
4. Grids. One large or several small ones. This is where the meat will sit while smoking.
5. Galvanized pipeline for smoke exit to the outside.
6. Metal pipe (easy to make with your own hands) for connecting two barrels.
7. Bolts, screws, nuts, washers and angles for them made of stainless materials.
8. Special silicone sealant for metal, not afraid of high temperatures.
9. Fireproof thermometer. If desired, it can be installed on the smokehouse next to the grill. It will provide control over the smoking temperature.
After preparing the materials and tools, you can proceed directly to work.
We make a stand for the smokehouse
The stand will be used to place the bottom barrel of the smoker on it. To find out the dimensions of the frame, you need to measure the cross-sectional diameter of the barrels. The finished stand should consist of four tubes 120–140 cm long, fastened together by two tubes at a height of 20–30 cm from the ground.
Aluminum tubes are fastened to each other using screws or bolts. To ensure a strong fixation, you need to use washers and metal corners. You can additionally attach stainless steel squares to the legs of the frame - this will give more stability to the structure.
Barrel marking
One of the barrels will serve as the “bottom pan”. Place the barrel on the prepared frame and place marks in two places on the frame where it will be attached to the stand. Then on the “front part” you need to mark the future door through which you will put smoke material inside and clean the stove from soot.In the upper left part, draw a round hole with a diameter of 25 - 30 cm - for a short pipe that will connect both barrels and will be used as a channel for transferring heat and smoke from the bottom of the smokehouse to the top.
The second barrel will be located above the first. First, just lay it horizontally on a flat surface. On the side edge you need to mark a rectangular door, the area of which should provide convenient placement of meat on the grill.
On the left side of the upper barrel, it remains to mark the hole for the chimney, but we will do this later, after installing the fireproof bricks and grate.


We cut and drill
After making sure that the markings on both barrels are done correctly, you will need to cut all the holes using a metal grinder. First, we make neat cuts on three sides of each rectangle, then lightly push the door inward and make a control cut. The hole for the connecting pipe is made in the same way. If you drilled any holes by mistake, they need to be sealed with sealant.
On the right side edge of the lower barrel, it is necessary to drill several dozen holes 2–3 mm in size in the form of a mesh with a drill. They are needed for oxygen to enter the smokehouse. Cut a metal lid that fits the size of the holes. Using one screw and washer, secure the cover so that you can fully control the ventilation. During operation of the smokehouse, the lid will become very hot, so it is worthwhile to provide it with a handle in advance.
We connect the barrels with a pipe
To make a pipe, you need a piece of suitable metal, which must be adjusted to the size of the holes.An important point when installing the pipe is to achieve a tight, completely airtight seal at the points of contact with the material of the barrels. To do this, you need to bend the rim of the pipe as much as possible inside the upper and lower barrels and use a special sealant.
If the junction of the pipe and the walls of the barrels are not sufficiently fixed, then a significant part of the heat and smoke will go to waste, and the products placed on the grate will, at best, simply be cooked, but not smoked.
Installing doors
It will not be possible to use cut-out sections of barrels as doors; the lids should be 2 - 3 cm wider than the holes - this is necessary to prevent excess air from getting inside. We use the third barrel to make the doors. The sections of metal cut out in the previous stage will serve as a good model - just attach them to the surface of the barrel and outline the outline, adding a couple of centimeters on each side.
Then all that remains is to cut out the metal using a grinder, sand the edges of the workpieces from jagged edges and apply a layer of high-temperature silicone along the entire internal perimeter. It must completely seal the doors where they come into contact with the edges of the barrel. Leave it for two days to completely harden.
Handles with wooden holders must be attached to each door, which should not come into contact with the metal surface. Using hinges, bolts and washers, attach the cut out flaps to the desired locations.
Installing fire bricks
Support ribs for bricks need to be installed in the bottom parts of the barrels. They can be conveniently and quickly made from previously cut metal sections. You will need at least 10 ribs, each 2–3 cm thick.We lay fire bricks on the ribs. If the barrel is a standard 200-liter, then it will contain three horizontal rows of four bricks each, and one brick at the side walls.
They should fit tightly to each other, without noticeable gaps or irregularities. In this case, there should be a gap of 3 - 4 cm between the rightmost brick and the side wall - it is needed for free circulation of smoke and access to oxygen from the ventilation holes.
Installing a chimney
Place the grill grate on the bricks in the top barrel. If the grill is large, it can be cut into several parts. The hole for the chimney pipe must be made in the right side edge of the barrel, at a height of 1 - 2 cm from the surface of the grate. The optimal pipe diameter for a chimney is considered to be 12 - 13 cm - such a pipe will provide a balance between the intensity of smoldering coals and the speed of smoke removal to the outside.
A standard stove chimney is quite suitable for a smokehouse, the main thing is to fix it firmly and fill the joints with heat-resistant sealant so that not the slightest crack remains. A canopy should be installed at the top of the chimney in advance to prevent rain from entering the structure.
Smokehouse test firing
Immediately after assembling the smokehouse, it will not be possible to use it for its intended purpose. First you will have to do a little preparation: place a few kilograms of coal in each firebox, light it and leave the vent open - let it flare up with maximum intensity.
With this procedure you will achieve several results at once:
You will see all the extra cracks - if there are any, smoke will come out of them. After the smokehouse has cooled, seal them with sealant, and repeat the test after two days.
And most importantly, you will be able to understand whether the ventilation holes on the left side of the lower barrel are made correctly. If the temperature on the “top floor” does not reach 180 °C, then this means that the barrel is not receiving enough external oxygen. In this case, increase the number of ventilation holes or make their diameter larger until the upper chamber becomes really hot.
Original article in English
Similar master classes
Particularly interesting
Comments (0)

