How to make a mini-cellar from a barrel in a garage or country house
Not every owner of a country plot has free refrigerators for storing vegetables and fruits. At room temperature, they are quickly affected by putrefactive bacteria and become unfit for consumption. Another problem is drying out. If air exchange is not limited, the fruits lose a lot of moisture, their appearance becomes unattractive, they are difficult to prepare, vitamins are lost, etc. There is an easy way to make a small cellar within a few hours.
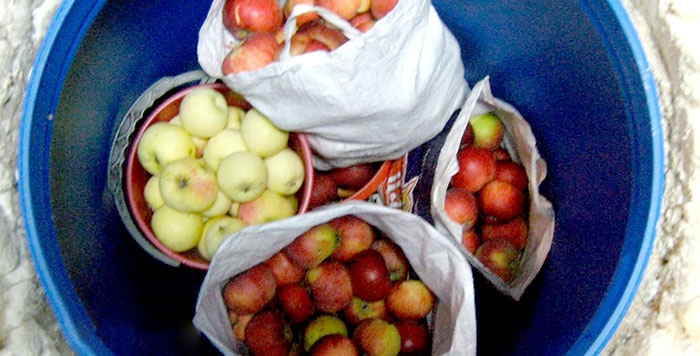
The main element of the design is a plastic barrel (euro drum), preferably with a volume of 227 liters, but this requirement is not critical. It is very important that the container is intended for storing food; this parameter is indicated in the technical specifications. The perimeter is insulated with polyurethane foam; to dig a hole you need a bayonet shovel. Measurements are made with simple measuring instruments.

Measure and dig a hole for the barrel. In our case, the height of the container is 930 mm, diameter 565 mm. The depth of the hole should be approximately 5 cm less than the height, and the diameter, on the contrary, should be slightly larger than the container. Make the walls smooth and vertical.
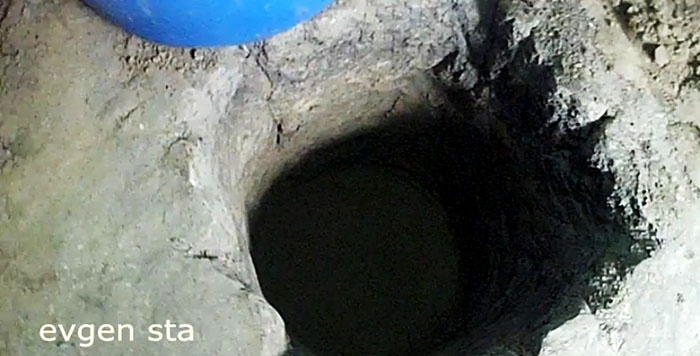
Compare the depth of the hole with the height of the barrel with any straight stick. Lower the barrel into place, if necessary, remove it and trim the recess.
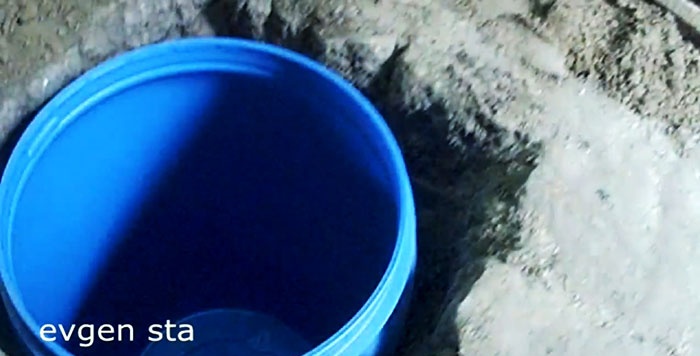
Fill the gaps between the barrel and the ground with foam. Try to make the foaming depth as deep as possible.
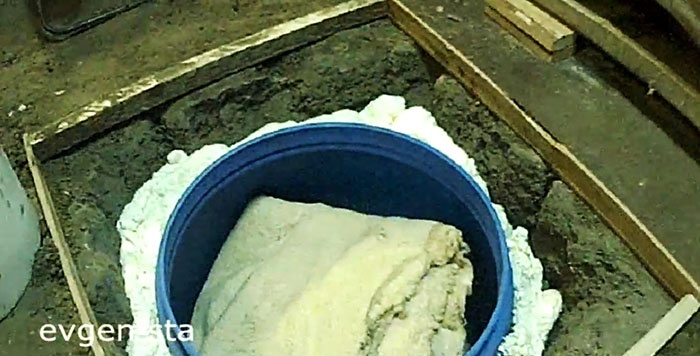
If in the future the floor in the room will be filled with concrete, then the level of the neck must be positioned in the same plane with it. Make formwork around the perimeter of the pit and set the dimensions.
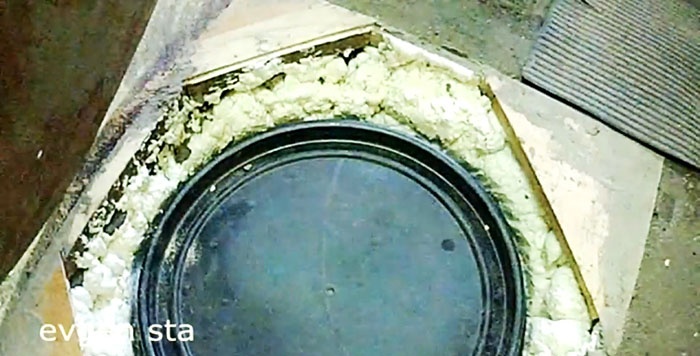
Fill all free space of the internal formwork with foam. Due to the fact that the thickness of the foam is large, it is necessary to work in several stages. Allow each layer to harden for approximately 12 hours. Otherwise, the liquid material will not hold its shape, and this complicates the work.
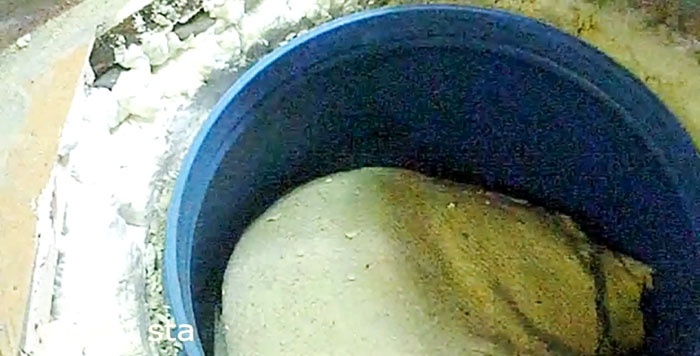
Before foaming, be sure to cover the barrel with a lid and prevent soil and material from getting inside. After complete hardening, the mini-cellar is ready for use. Place vegetables and fruits in it; to prevent freezing, you can cover them with a thick warm cloth on top.
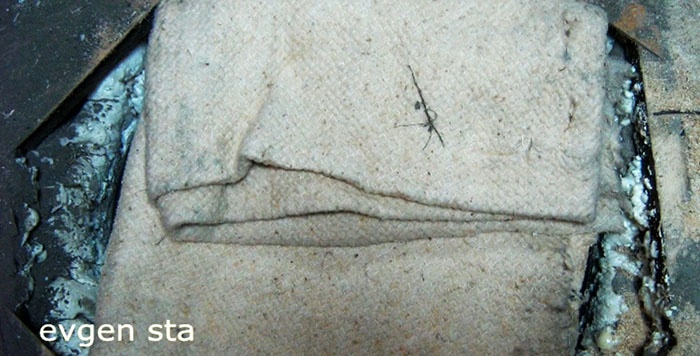
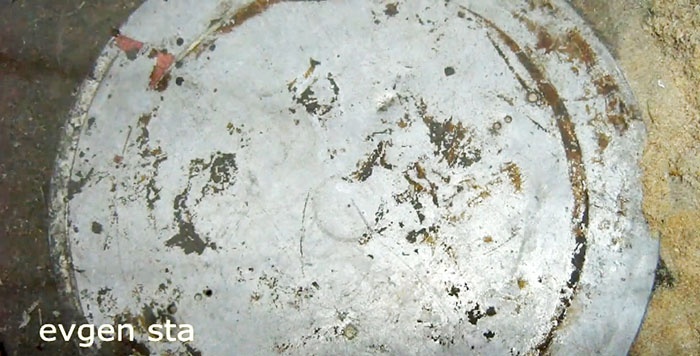
After this closing of the barrel, another metal lid is placed on top so that the cellar area can be walked on.
Before adding vegetables and fruits, discard problematic ones; in a confined space they will quickly ruin the entire batch.

Depending on the storage period, such a cellar can be done both outdoors and in a closed heated room.

What is needed
The main element of the design is a plastic barrel (euro drum), preferably with a volume of 227 liters, but this requirement is not critical. It is very important that the container is intended for storing food; this parameter is indicated in the technical specifications. The perimeter is insulated with polyurethane foam; to dig a hole you need a bayonet shovel. Measurements are made with simple measuring instruments.

Work order
Measure and dig a hole for the barrel. In our case, the height of the container is 930 mm, diameter 565 mm. The depth of the hole should be approximately 5 cm less than the height, and the diameter, on the contrary, should be slightly larger than the container. Make the walls smooth and vertical.

Compare the depth of the hole with the height of the barrel with any straight stick. Lower the barrel into place, if necessary, remove it and trim the recess.

Fill the gaps between the barrel and the ground with foam. Try to make the foaming depth as deep as possible.

If in the future the floor in the room will be filled with concrete, then the level of the neck must be positioned in the same plane with it. Make formwork around the perimeter of the pit and set the dimensions.

Fill all free space of the internal formwork with foam. Due to the fact that the thickness of the foam is large, it is necessary to work in several stages. Allow each layer to harden for approximately 12 hours. Otherwise, the liquid material will not hold its shape, and this complicates the work.

Before foaming, be sure to cover the barrel with a lid and prevent soil and material from getting inside. After complete hardening, the mini-cellar is ready for use. Place vegetables and fruits in it; to prevent freezing, you can cover them with a thick warm cloth on top.

After this closing of the barrel, another metal lid is placed on top so that the cellar area can be walked on.

Before adding vegetables and fruits, discard problematic ones; in a confined space they will quickly ruin the entire batch.

Conclusion
Depending on the storage period, such a cellar can be done both outdoors and in a closed heated room.
Watch the video
Similar master classes
Particularly interesting
Comments (0)

