How to install a socket yourself
To install an outlet indoors, you need to prepare special tools. It is also necessary to prepare a workplace, namely the wall. If there are tiles glued to the wall, they must be removed in the place where the outlet is supposed to be installed. If there is wallpaper on the wall, it must also be removed. Once the wall is prepared, you can begin to work.
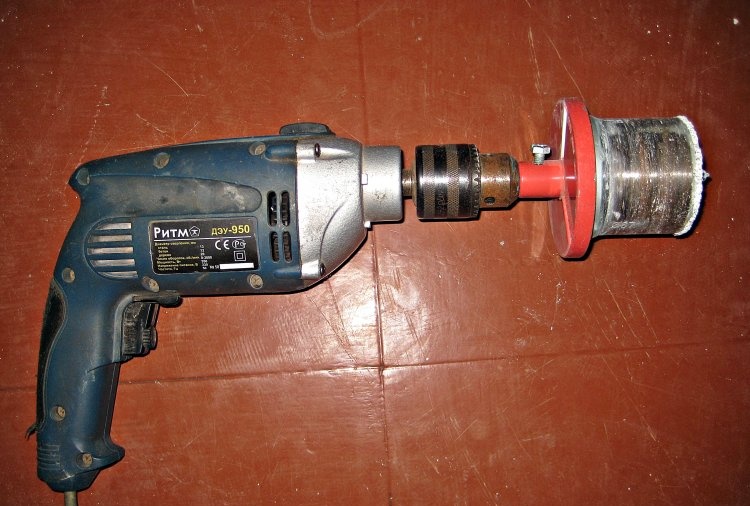
1. The first step is to prepare a working tool. To do this, you should put a special cylindrical attachment on the drill - a concrete bit.
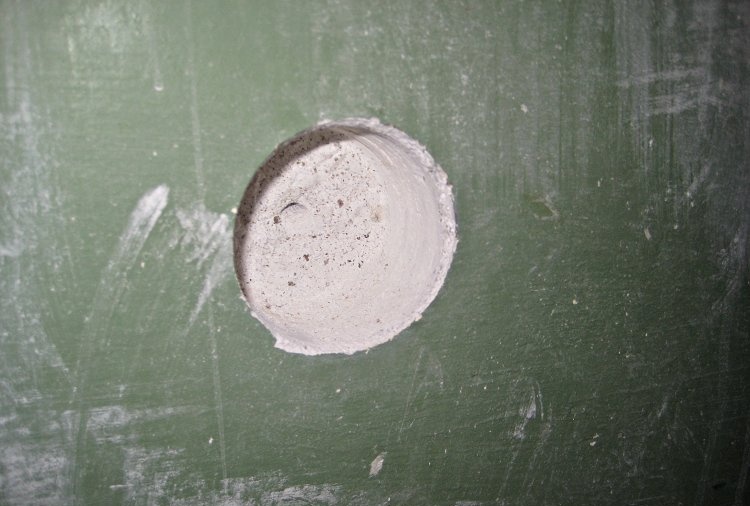
2. We mark the place where the new outlet will be located. Using a drill, we make a recess in the wall of the required diameter. The depth of the hole should correspond to the box in which the wires will be located.
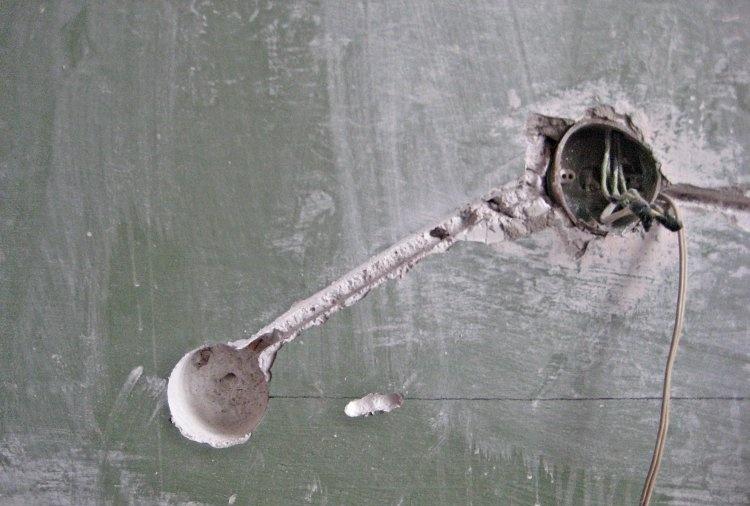
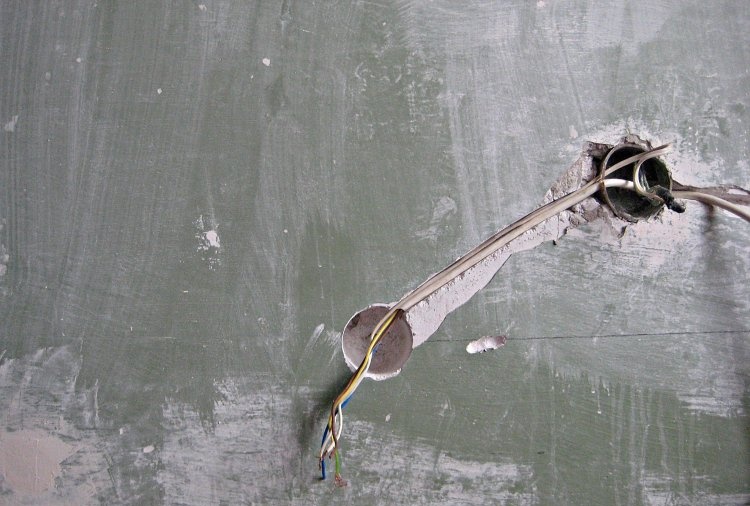
3. Next, you need to supply wires with electricity to the existing hole for the socket. To do this, select a nearby working outlet. We remove the protective casing from the working outlet (at the same time, we turn off the switch in the distribution panel in advance). Then we make a recess for the wires from the working outlet to the future one.
4. Connect the wires of the required length to the working socket.And then we lay the wires along the gutter to the future outlet.
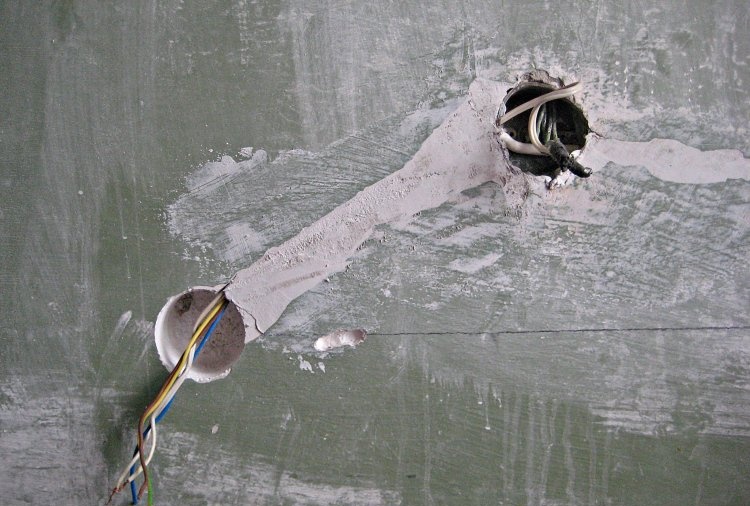
5. Seal the wires in the gutter using putty.
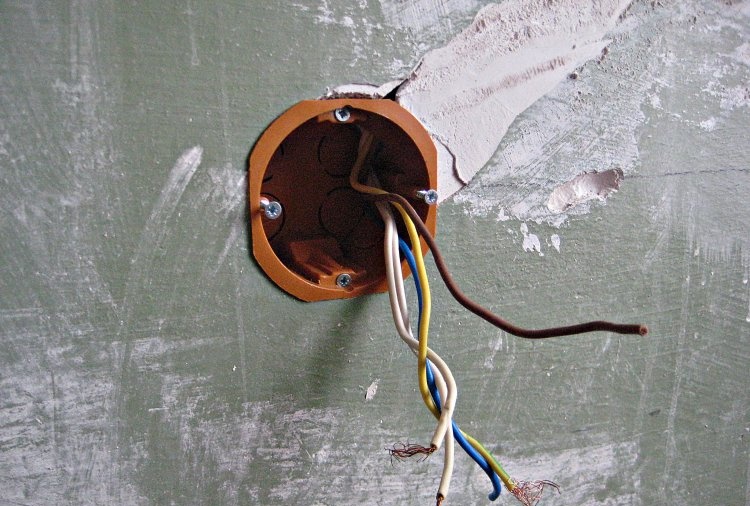
6. Install a plastic junction box into the hole located in the wall. We bring the wires out through the box.
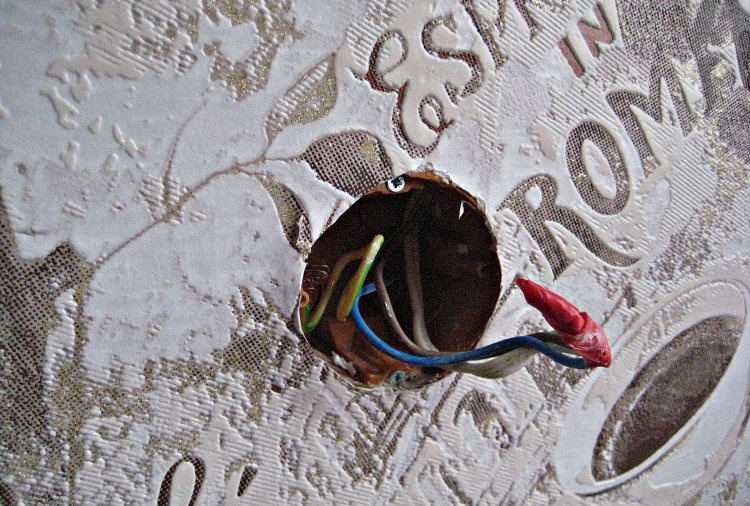
7. The space for the outlet has been prepared, so you need to think about designing the space around the outlet. In this case, wallpaper will be pasted on the wall. Therefore, already at this stage you should paste wallpaper around the outlet so that in the future everything will look beautiful and harmonious. When wallpapering, the ends of the wiring must be insulated to prevent the possibility of electric current.
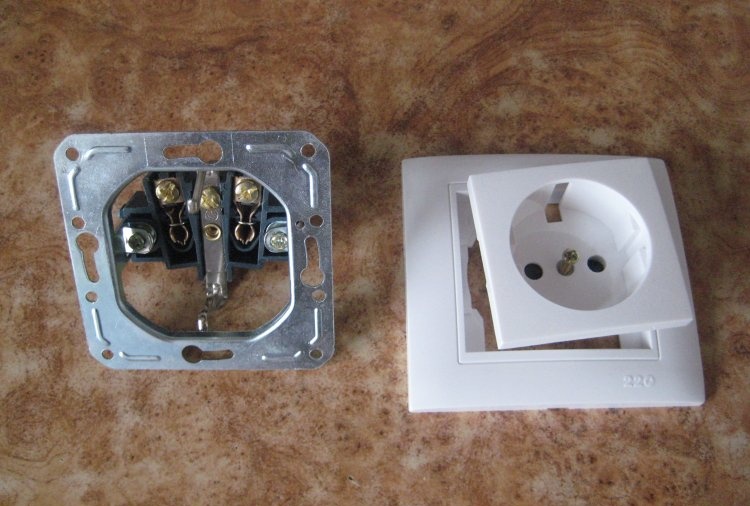
8. To carry out further work, the socket must be completely disassembled. To do this, remove the top cover of the socket by unscrewing the bolt in the middle. After this, we disassemble the socket into parts.
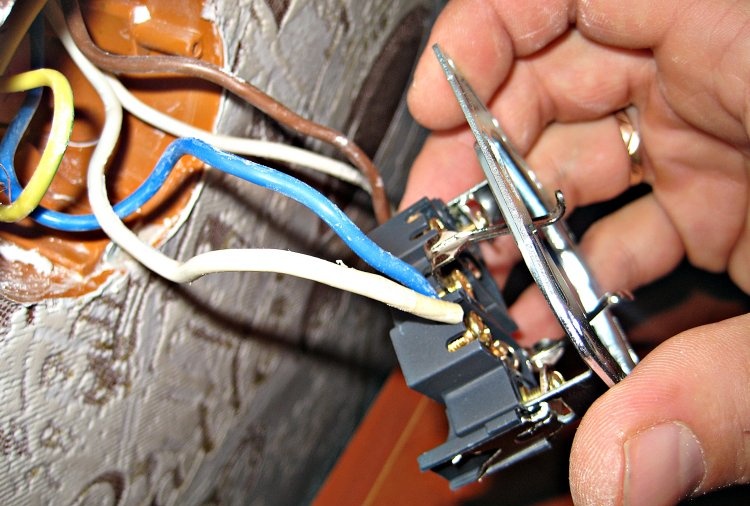
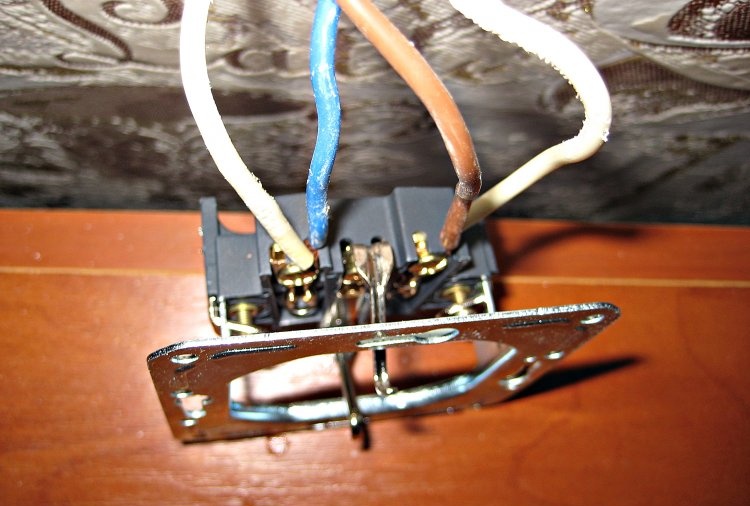
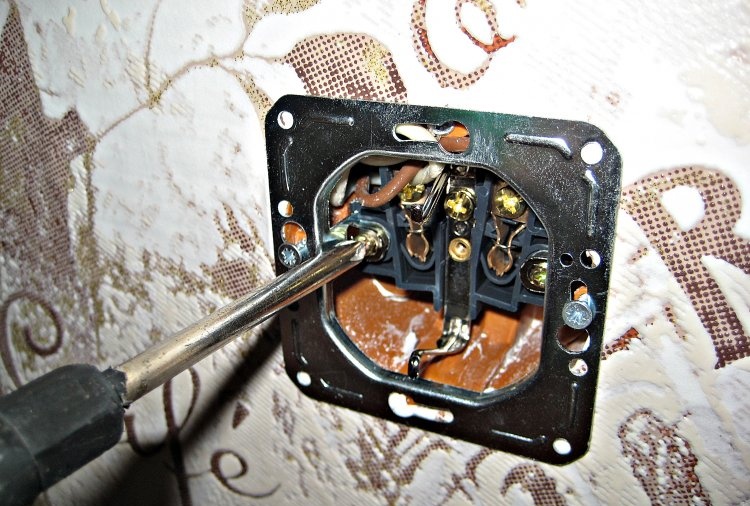
9. We clean the ends of the power wires for better contact. Then we connect the power wires to the corresponding terminals of the socket.
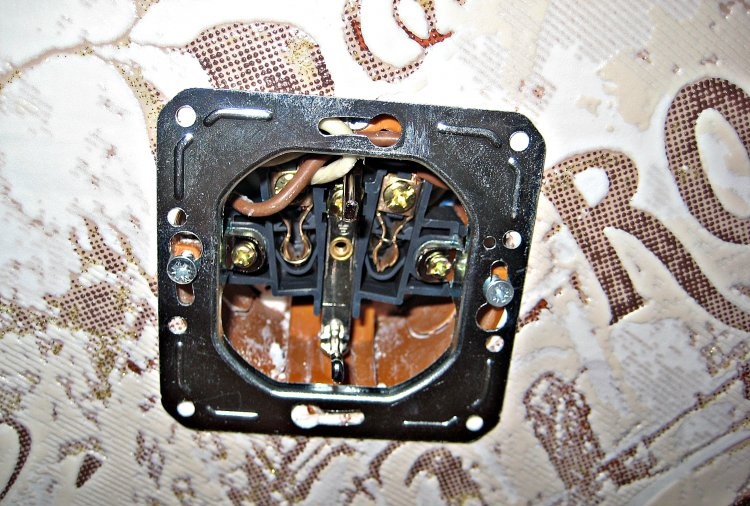
10. Install the socket in the box.
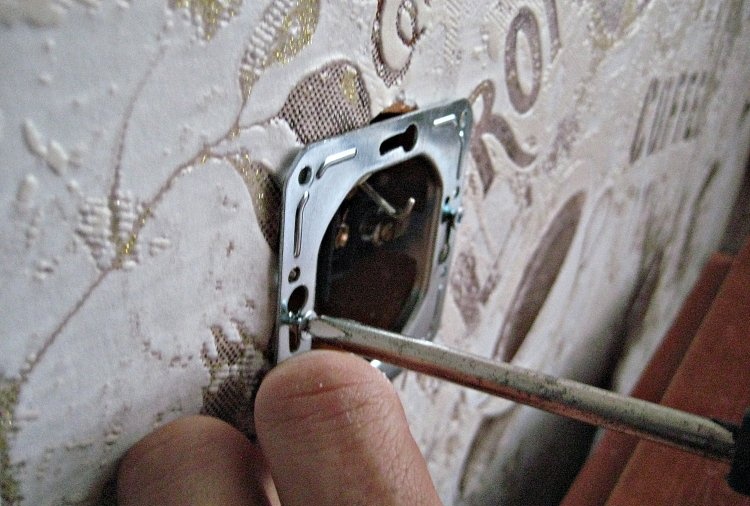
11. Fix the socket body from the inside and outside.
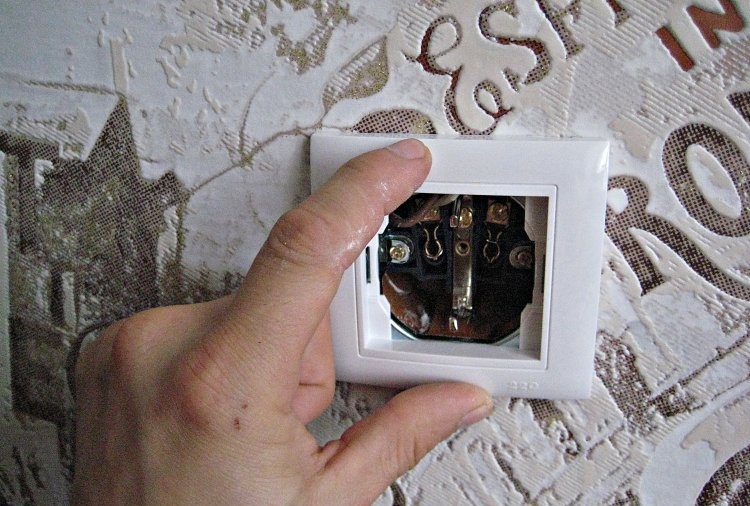
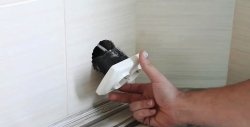
12. All that remains is to put the plastic decorative edging on the body. To do this, first put on the base of the edging and hold it with your hand.
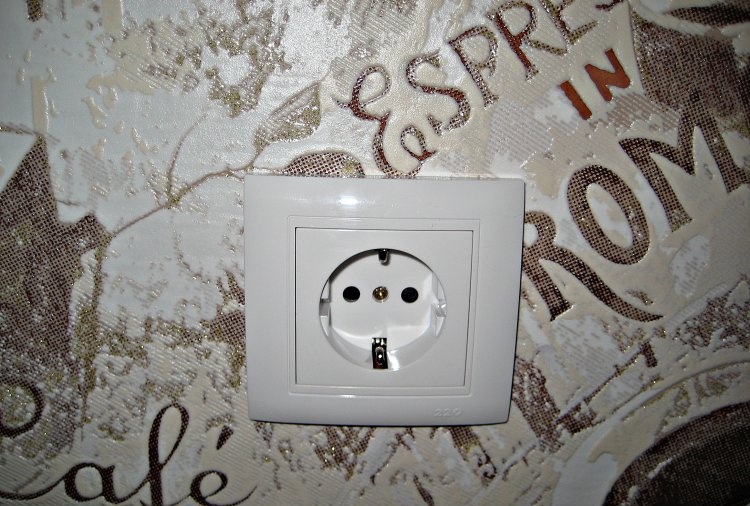
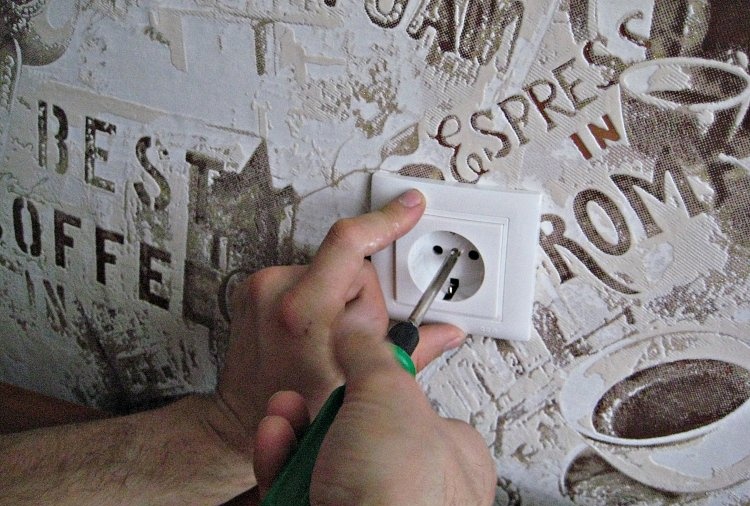
13. Then install the core and secure the entire socket structure using the central bolt.
14. The work on installing the socket is ready, you can connect electricity and use this socket.
Socket installation process
1. The first step is to prepare a working tool. To do this, you should put a special cylindrical attachment on the drill - a concrete bit.
2. We mark the place where the new outlet will be located. Using a drill, we make a recess in the wall of the required diameter. The depth of the hole should correspond to the box in which the wires will be located.
3. Next, you need to supply wires with electricity to the existing hole for the socket. To do this, select a nearby working outlet. We remove the protective casing from the working outlet (at the same time, we turn off the switch in the distribution panel in advance). Then we make a recess for the wires from the working outlet to the future one.
4. Connect the wires of the required length to the working socket.And then we lay the wires along the gutter to the future outlet.
5. Seal the wires in the gutter using putty.
6. Install a plastic junction box into the hole located in the wall. We bring the wires out through the box.
7. The space for the outlet has been prepared, so you need to think about designing the space around the outlet. In this case, wallpaper will be pasted on the wall. Therefore, already at this stage you should paste wallpaper around the outlet so that in the future everything will look beautiful and harmonious. When wallpapering, the ends of the wiring must be insulated to prevent the possibility of electric current.
8. To carry out further work, the socket must be completely disassembled. To do this, remove the top cover of the socket by unscrewing the bolt in the middle. After this, we disassemble the socket into parts.
9. We clean the ends of the power wires for better contact. Then we connect the power wires to the corresponding terminals of the socket.
10. Install the socket in the box.
11. Fix the socket body from the inside and outside.
12. All that remains is to put the plastic decorative edging on the body. To do this, first put on the base of the edging and hold it with your hand.
13. Then install the core and secure the entire socket structure using the central bolt.
14. The work on installing the socket is ready, you can connect electricity and use this socket.
Similar master classes
Particularly interesting

How to install a socket if there are short wires left

How to eliminate gaps between the chimney and slate

How to mix an ultra-reliable solution for the oven that does not give

There will be no more cracks: What to add to concrete to make it

Never buy ball valves without checking with me

New technology for floor insulation with penoplex
Comments (2)

