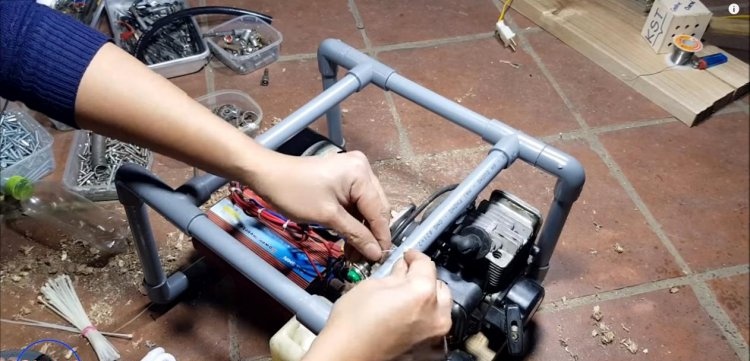
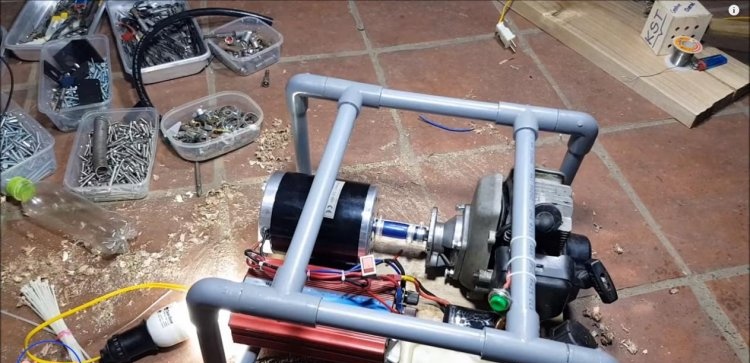
How to make a 220V generator using a 2-stroke engine
Today, autonomous technologies are increasingly attracting interest. And this is no coincidence, because for lovers of travel and recreation outside the city, this is a real find, and sometimes salvation. The popularity of such gadgets is also due to the fact that they can be made, if not from improvised materials, then certainly not from expensive materials.
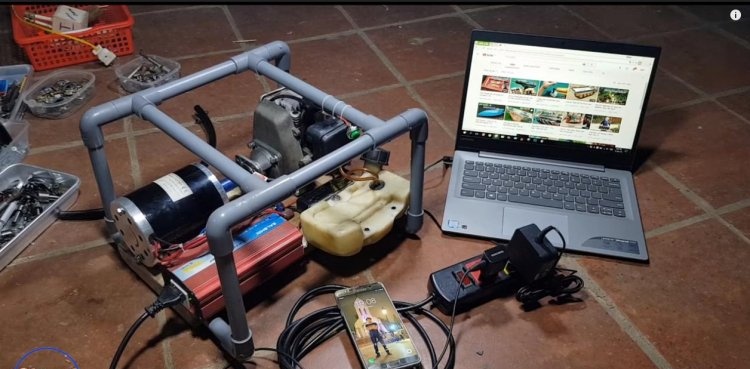
Our dynamo generator is as unique as it is simple. However, with its help you can, for example, adjust lighting in a house or tent on a lake, or even connect a small heater. Well, if your phone or tablet is dead, you can easily charge any of these devices.
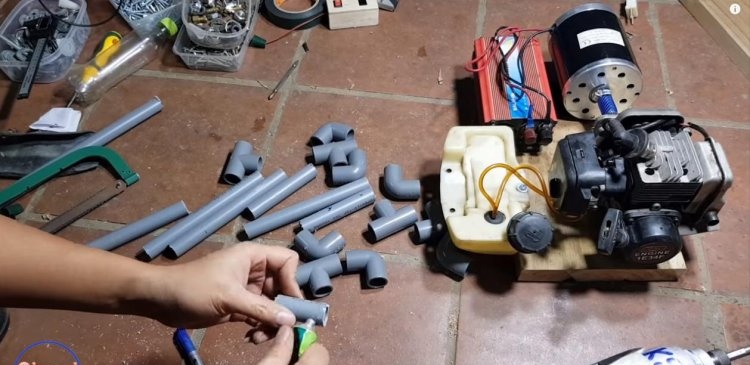
This unit consists of the following parts:
The tools we will need are:
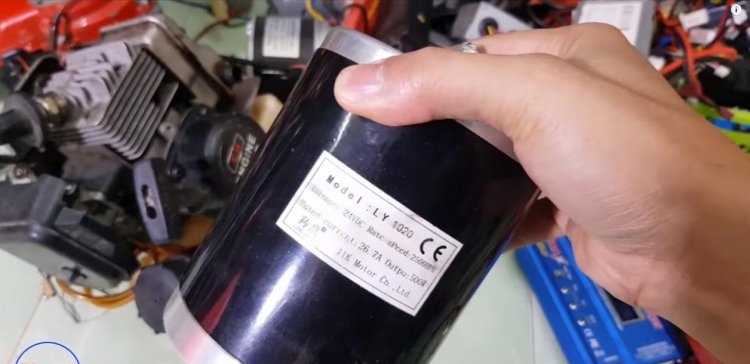
The basis of our generator is a DC motor, which is capable of operating in generator mode by converting mechanical energy into electrical energy through the phenomenon of electromagnetic induction. The rotation of the armature in the magnetic field of the primary winding of a DC motor is ensured by the motor from the brush cutter. When a DC motor rotates in generator mode, an alternating EMF is generated, which is converted into a DC voltage through the brush commutator.
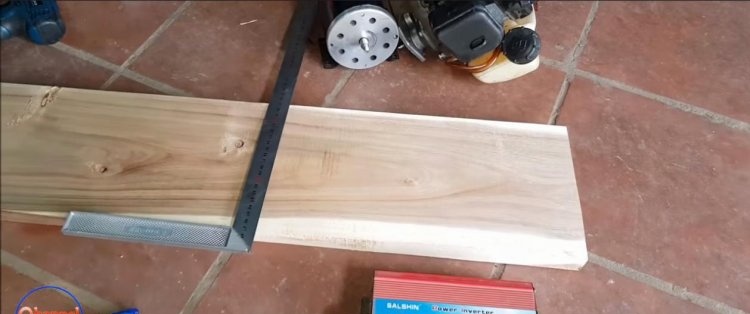
To begin with, we take a piece of board and pre-cut it to the size of our bed. It is advisable to take weighty material so that our equipment has a strong and reliable base.
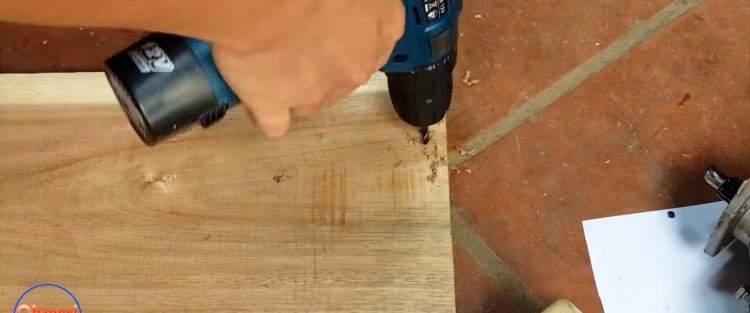
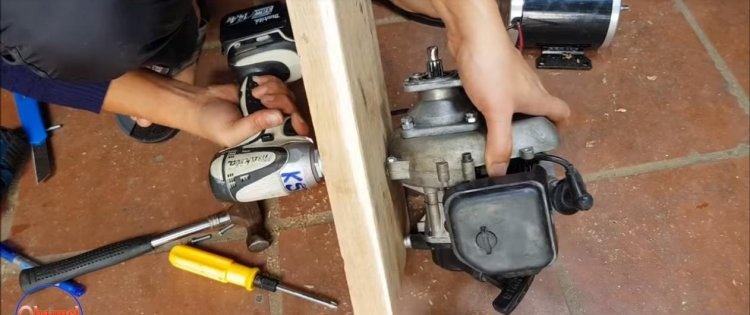
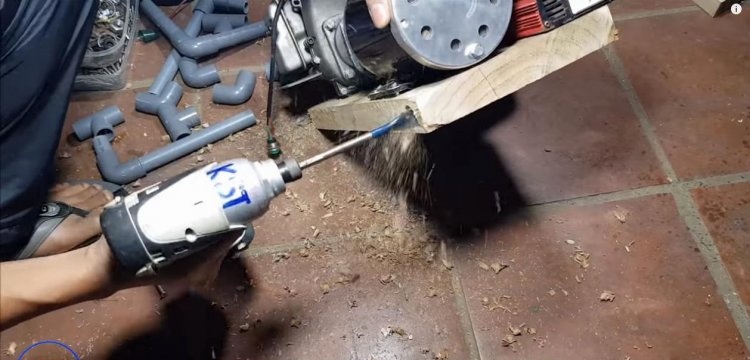
We mark the position of the engine from the brush cutter. Using a paper template, we mark the holes exactly, drilling them with a drill or screwdriver.
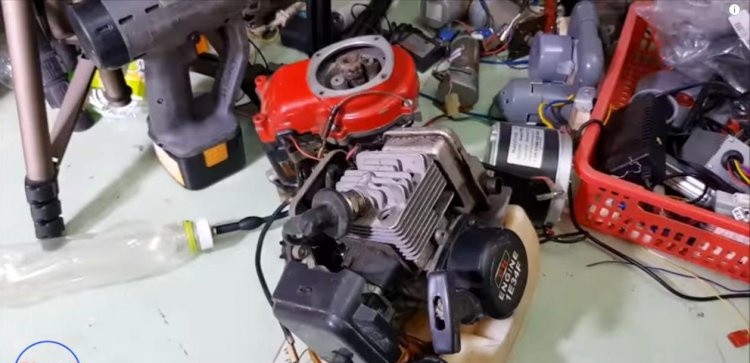
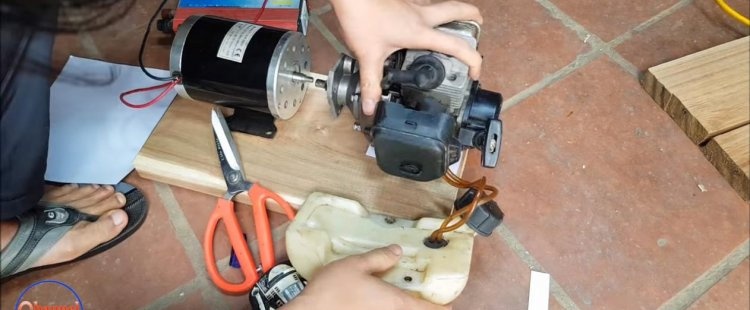
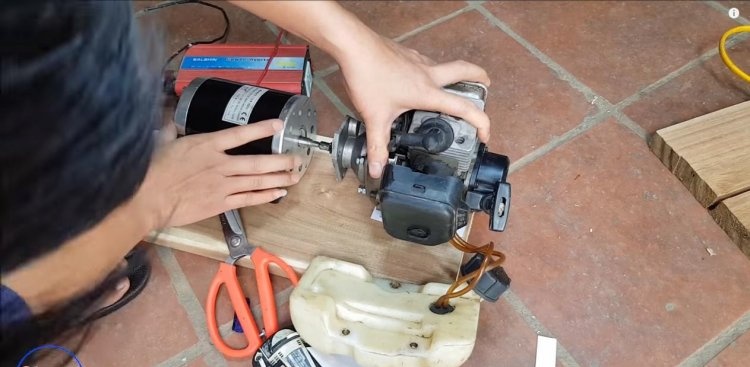
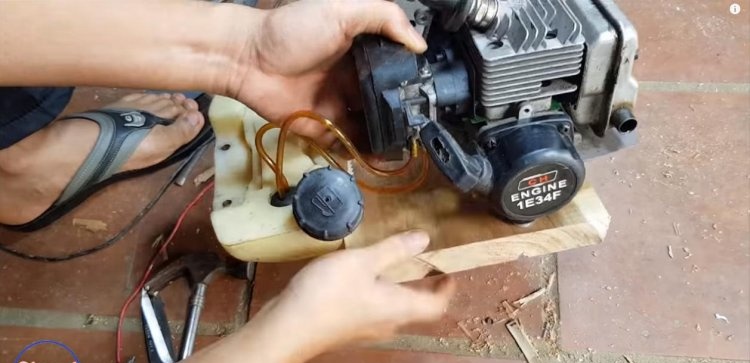
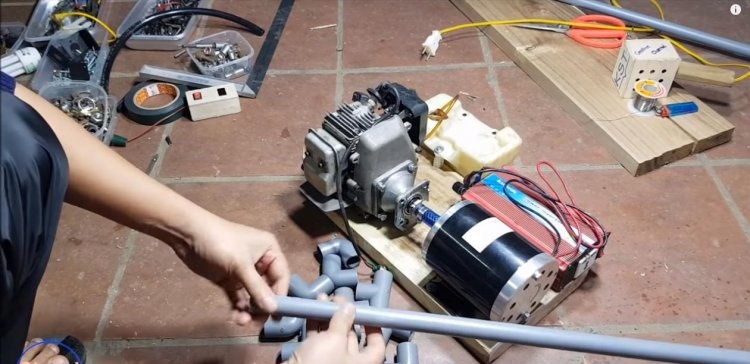
Let's try both engines on the bed. We disconnect the fuel tank and attach the engine from the brush cutter to the seats.
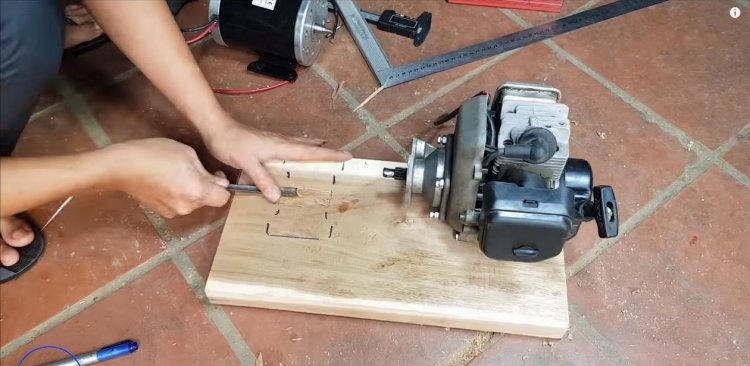
Mark the position of the engine. The distance from both motor shafts should be a few centimeters to avoid friction between them.
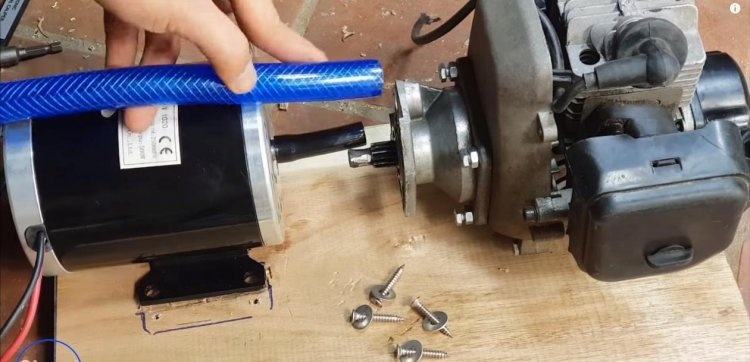
We center the shafts of our engines. The easiest way to correct the discrepancy between the centers is to use some spacers, or simply adjust the seat on the wooden frame. This can be done with an ordinary chisel. The less play between the shafts, the less vibration from the unit and wear of the moving part.
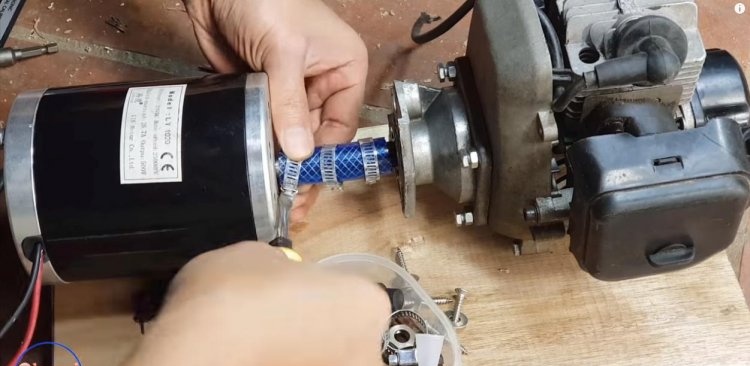
We mark the pipes.Most often, engine shafts differ in diameter. This can also be corrected if PVC hoses of different diameters are used as connecting pipes. Their flexibility will help smooth out the slightest inaccuracy in the alignment of the shafts. In our case, the author used two hoses of different diameters, inserting one into the other.
Having cut off the pipes to the length we need, we attach three clamps on both sides, pressing them with a screwdriver.
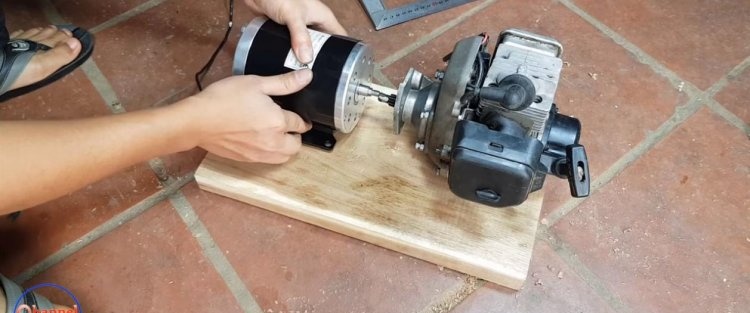
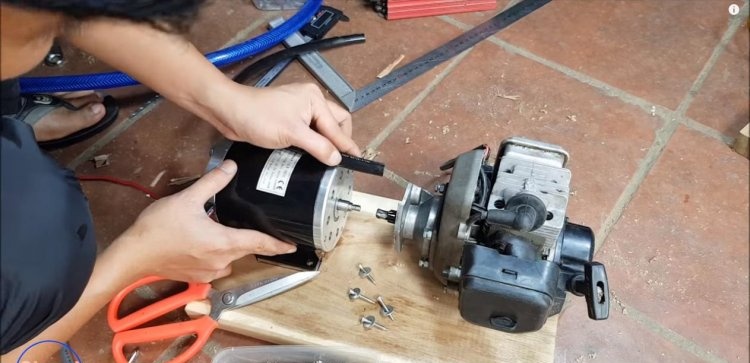
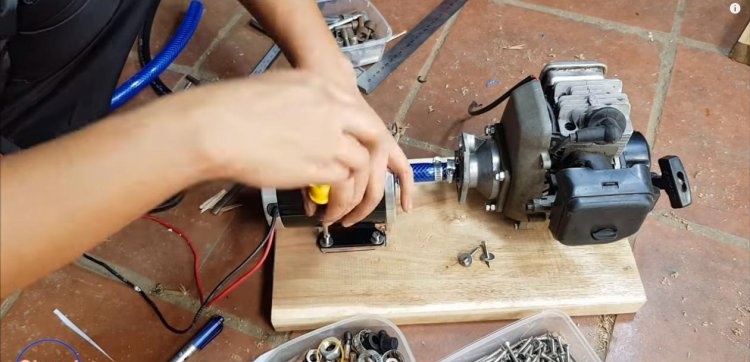
We fix the DC motor with self-tapping screws, having previously laid them with washers. We connect the shafts by hand and tighten the clamps with a screwdriver.
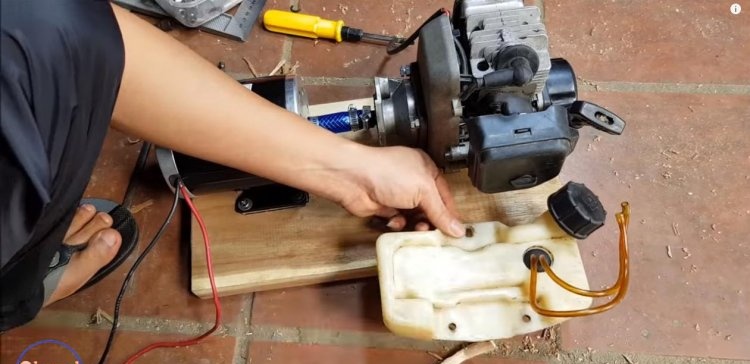
Now you can attach the fuel tank. It is not difficult to cope with this task using a long self-tapping screw and a cut cap from a dowel-nail. Don't forget to connect the fuel pipes.
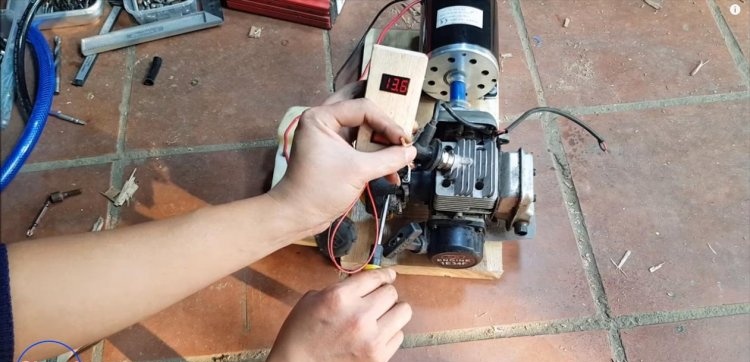
Having started the fuel engine with the starter, we measure the output voltage with a voltmeter. Using a screwdriver, we adjust the fuel supply and the number of revolutions, on which the voltage depends. Based on the inverter rating, we set the output voltage with a small margin.
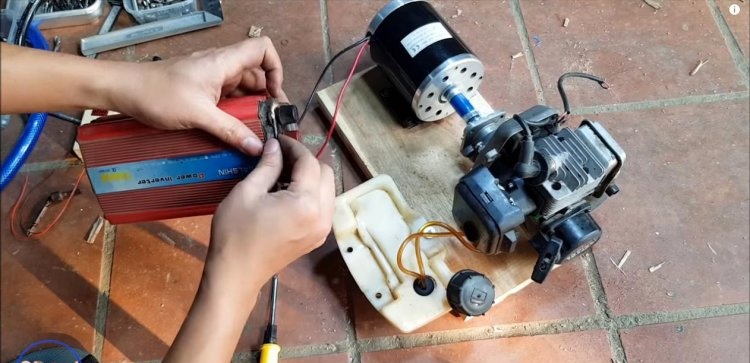
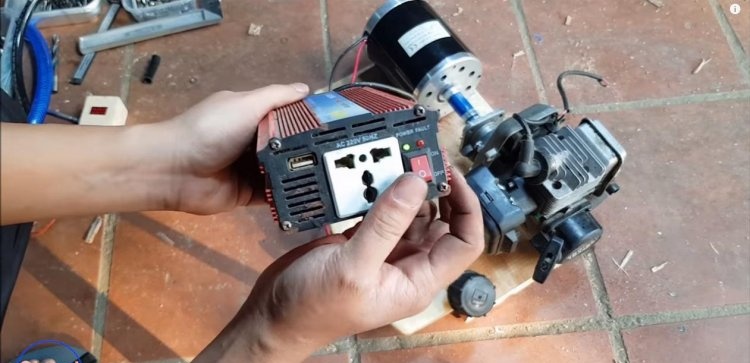
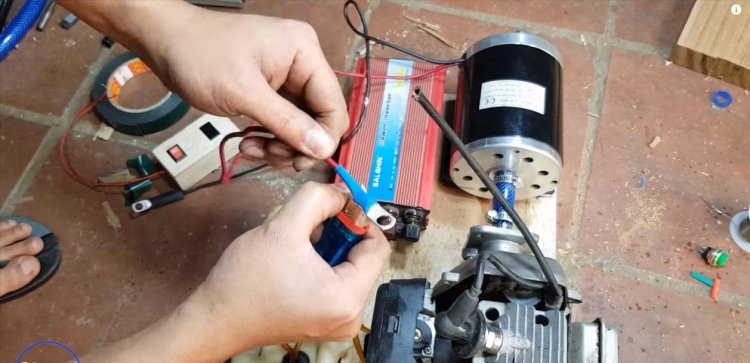
We fix the pre-stripped ends of the cables from the DC motor to the inverter terminals. The power indicator will immediately show the activity of the device.
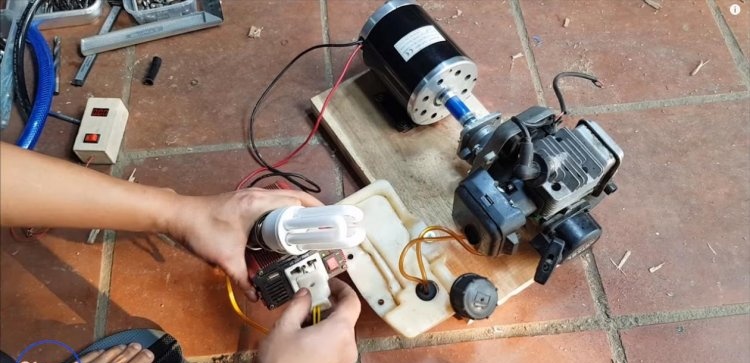
With a simple test (a light bulb with a piece of cable and a plug at the end) we check the operation of our miracle generator.
To connect the electric motor to the inverter we use terminals.
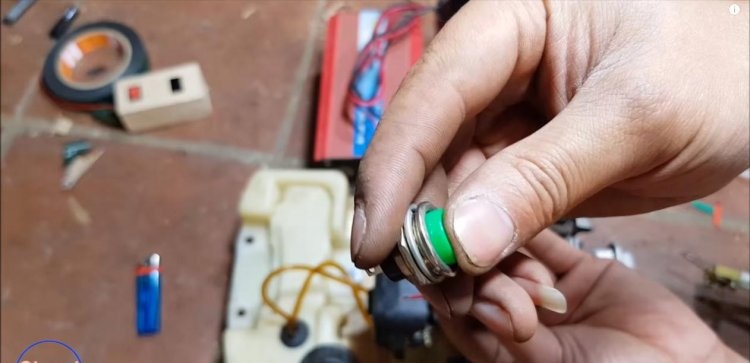
Since we have a driving motor that creates mechanical rotation, it needs a switch. The shutdown button comes with the device, so you just need to find a convenient place for it.
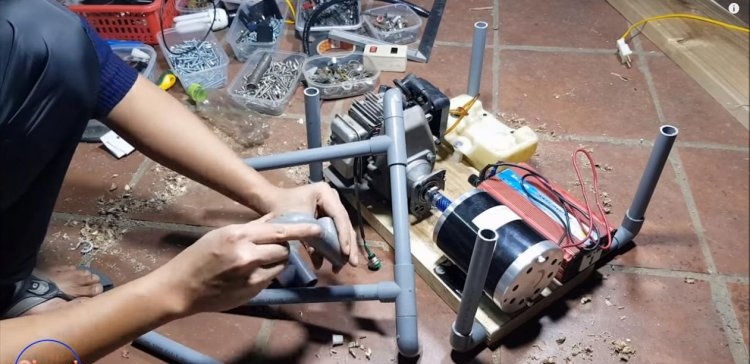
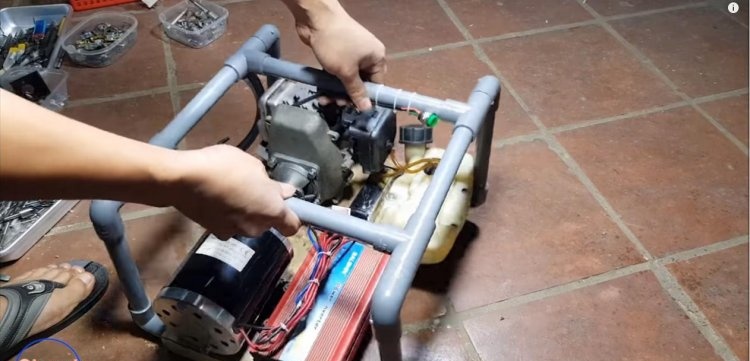
We make a protective frame from polypropylene pipes with a diameter of 25-32mm, making holes in the frame with a feather drill.
We connect it at the corners using fittings.
If you don’t have a plumber’s soldering iron, the structure can be joined using specialized glue for PP pipes.
This frame will also help in carrying the device.
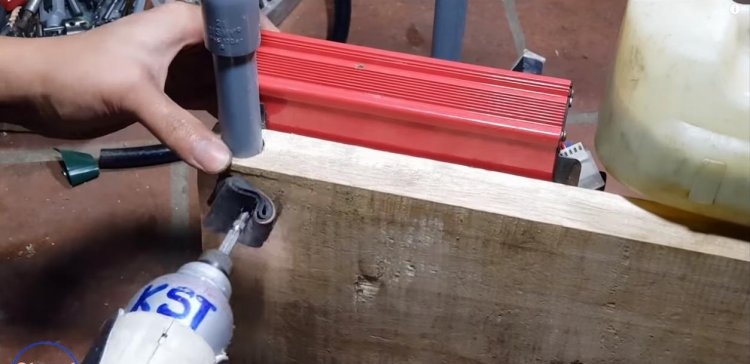
Well, to eliminate the noise from vibration of our device, you can attach 4 thrust bearings to the back side of the frame, making them as shown in the photo, from pieces of an old bicycle inner tube.
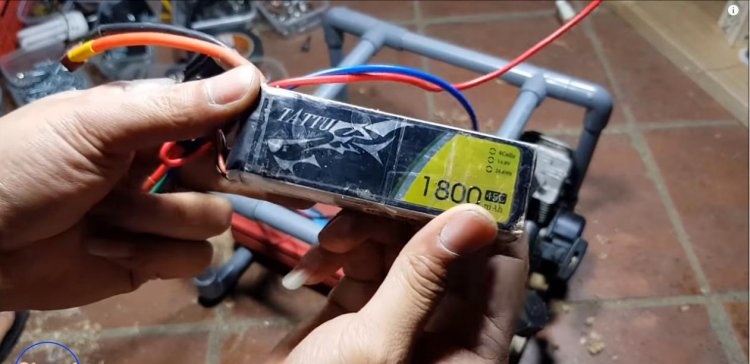
To avoid having to pull the fuel engine starter once again, the author of the video used a lithium polymer battery (LiPo) to briefly start the DC motor. This comparative new device can indeed be powerful and withstand a large number of duty cycles with minimal loss of capacitive power. In this way, the fuel engine is started electrically, while its starter remains as a backup option.
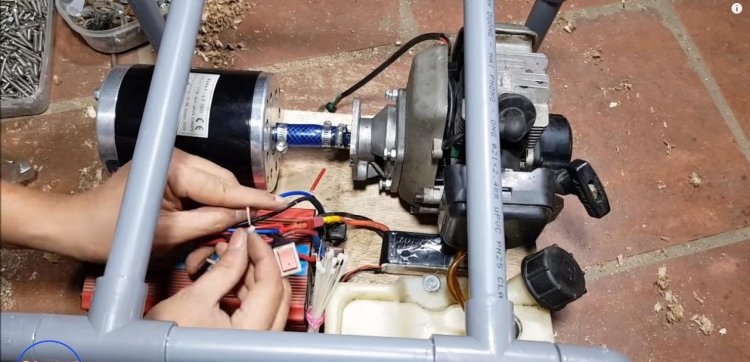
We connect the outgoing contacts of the battery to the inverter terminals through the starting toggle switch, tying the cable of wires with nylon ties. The charging socket can be located on the side to make it convenient to connect it for charging.
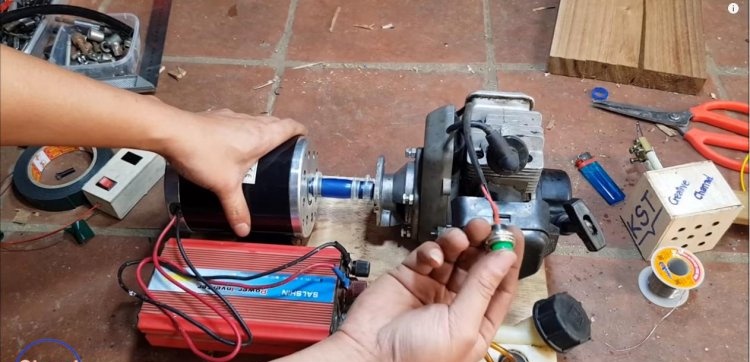
We also attach the fuel engine shutdown button.
After checking all contact groups and fastenings of prefabricated elements, we start the unit. The engine start and stop buttons must work flawlessly. It is worth noting that the starting battery is only used for a few seconds and then turns off.
For long-term and safe operation of the DC motor and inverter, no special conditions are required, except perhaps protection from moisture and voltage surges.
As for the lithium-polymer battery, it is unacceptable to deeply discharge it (less than 3.3 V) and in no case allow it to overheat above 60 degrees Celsius. Such devices are also charged using specialized devices that do not allow overcharging, and before using in the cold, be sure to warm them up at room temperature.
Fuel engines also require compliance with operating rules: correct selection of the combustible mixture, cleaning of air and fuel filters, preventing engine overheating, etc. In an enclosed area, exhaust gases from such an engine must be ventilated.
As for the rest, such equipment, assembled with your own hands, can last for a long time, supplying precious electricity in the country, fishing, or just on vacation outside the city!
Our dynamo generator is as unique as it is simple. However, with its help you can, for example, adjust lighting in a house or tent on a lake, or even connect a small heater. Well, if your phone or tablet is dead, you can easily charge any of these devices.
We collect the necessary components and tools
This unit consists of the following parts:
- Motor from a brush cutter;
- DC motor – 12-24V;
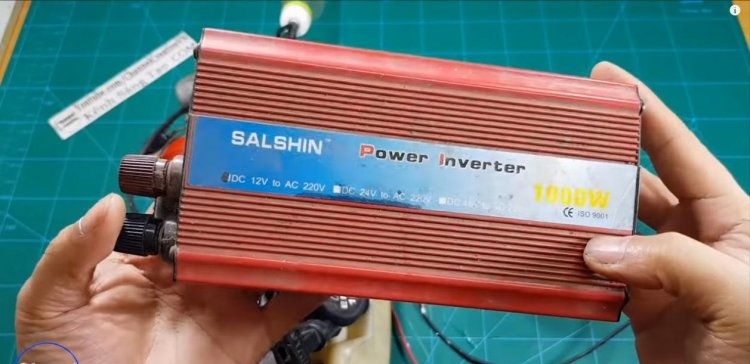
- Inverter 12-220V;
- Pipes (pieces of flexible PVC pipe of different diameters)
- A piece of board for the frame (thickness 35-40mm);
- Hardware – self-tapping screws, screws, bolts, nuts, clamps, terminals;
- Insulating tape.
The tools we will need are:
- Drill or screwdriver + drill bits and Phillips bit for self-tapping screws;
- Circular saw or jigsaw (for lovers of manual labor, a hacksaw is suitable);
- Voltmeter;
- Screwdrivers, pliers, paint knife or scissors;
- Square, tape measure.
Operating principle of a dynamo generator
The basis of our generator is a DC motor, which is capable of operating in generator mode by converting mechanical energy into electrical energy through the phenomenon of electromagnetic induction. The rotation of the armature in the magnetic field of the primary winding of a DC motor is ensured by the motor from the brush cutter. When a DC motor rotates in generator mode, an alternating EMF is generated, which is converted into a DC voltage through the brush commutator.
Let's start assembling the unit
Stage one: fix the motor from the brush cutter
To begin with, we take a piece of board and pre-cut it to the size of our bed. It is advisable to take weighty material so that our equipment has a strong and reliable base.
We mark the position of the engine from the brush cutter. Using a paper template, we mark the holes exactly, drilling them with a drill or screwdriver.
Let's try both engines on the bed. We disconnect the fuel tank and attach the engine from the brush cutter to the seats.
Stage two: attaching the DC motor
Mark the position of the engine. The distance from both motor shafts should be a few centimeters to avoid friction between them.
We center the shafts of our engines. The easiest way to correct the discrepancy between the centers is to use some spacers, or simply adjust the seat on the wooden frame. This can be done with an ordinary chisel. The less play between the shafts, the less vibration from the unit and wear of the moving part.
We mark the pipes.Most often, engine shafts differ in diameter. This can also be corrected if PVC hoses of different diameters are used as connecting pipes. Their flexibility will help smooth out the slightest inaccuracy in the alignment of the shafts. In our case, the author used two hoses of different diameters, inserting one into the other.
Having cut off the pipes to the length we need, we attach three clamps on both sides, pressing them with a screwdriver.
We fix the DC motor with self-tapping screws, having previously laid them with washers. We connect the shafts by hand and tighten the clamps with a screwdriver.
Now you can attach the fuel tank. It is not difficult to cope with this task using a long self-tapping screw and a cut cap from a dowel-nail. Don't forget to connect the fuel pipes.
Having started the fuel engine with the starter, we measure the output voltage with a voltmeter. Using a screwdriver, we adjust the fuel supply and the number of revolutions, on which the voltage depends. Based on the inverter rating, we set the output voltage with a small margin.
Stage three: connect the inverter
We fix the pre-stripped ends of the cables from the DC motor to the inverter terminals. The power indicator will immediately show the activity of the device.
With a simple test (a light bulb with a piece of cable and a plug at the end) we check the operation of our miracle generator.
To connect the electric motor to the inverter we use terminals.
Stage four: engine shutdown button
Since we have a driving motor that creates mechanical rotation, it needs a switch. The shutdown button comes with the device, so you just need to find a convenient place for it.
Stage five: making the casing-frame
We make a protective frame from polypropylene pipes with a diameter of 25-32mm, making holes in the frame with a feather drill.
We connect it at the corners using fittings.
If you don’t have a plumber’s soldering iron, the structure can be joined using specialized glue for PP pipes.
This frame will also help in carrying the device.
Well, to eliminate the noise from vibration of our device, you can attach 4 thrust bearings to the back side of the frame, making them as shown in the photo, from pieces of an old bicycle inner tube.
Stage six: starting battery
To avoid having to pull the fuel engine starter once again, the author of the video used a lithium polymer battery (LiPo) to briefly start the DC motor. This comparative new device can indeed be powerful and withstand a large number of duty cycles with minimal loss of capacitive power. In this way, the fuel engine is started electrically, while its starter remains as a backup option.
We connect the outgoing contacts of the battery to the inverter terminals through the starting toggle switch, tying the cable of wires with nylon ties. The charging socket can be located on the side to make it convenient to connect it for charging.
We also attach the fuel engine shutdown button.
Stage seven: test run of the unit
After checking all contact groups and fastenings of prefabricated elements, we start the unit. The engine start and stop buttons must work flawlessly. It is worth noting that the starting battery is only used for a few seconds and then turns off.
Tips for use
For long-term and safe operation of the DC motor and inverter, no special conditions are required, except perhaps protection from moisture and voltage surges.
As for the lithium-polymer battery, it is unacceptable to deeply discharge it (less than 3.3 V) and in no case allow it to overheat above 60 degrees Celsius. Such devices are also charged using specialized devices that do not allow overcharging, and before using in the cold, be sure to warm them up at room temperature.
Fuel engines also require compliance with operating rules: correct selection of the combustible mixture, cleaning of air and fuel filters, preventing engine overheating, etc. In an enclosed area, exhaust gases from such an engine must be ventilated.
As for the rest, such equipment, assembled with your own hands, can last for a long time, supplying precious electricity in the country, fishing, or just on vacation outside the city!
Watch the video
Similar master classes

Dynamo flashlight from stepper motor

How to convert any asynchronous motor into a generator
Manual generator with ionistors for starting the engine
How to make a 220 V generator from a trimmer engine
Generator from an asynchronous motor
A simple do-it-yourself gasoline generator made from available parts
Particularly interesting
Comments (10)

