Manual generator with ionistors for starting the engine
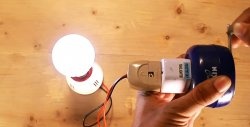
This manually rechargeable battery can be used to start your vehicle's engine when the main battery is low. In addition, this device can power various inverters with loads, LED lamps, charge smartphones, etc. It requires no maintenance and is always ready for use.
This drive has two huge advantages:
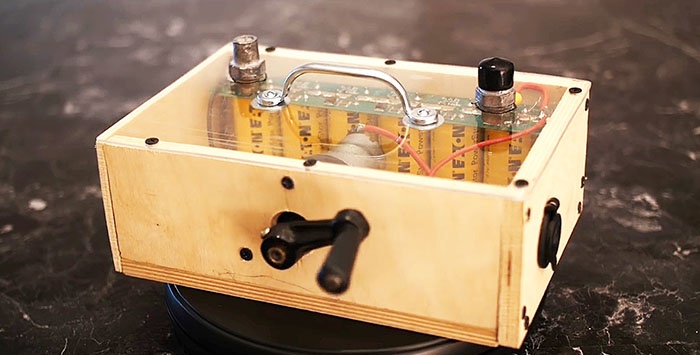
In general, it can, of course, be assembled separately by first purchasing supercapacitors and a protection board.
Thick plywood is used for the body, fastened with self-tapping screws.
So let's get started. Based on the size of the board, we determine the dimensions of the future case.
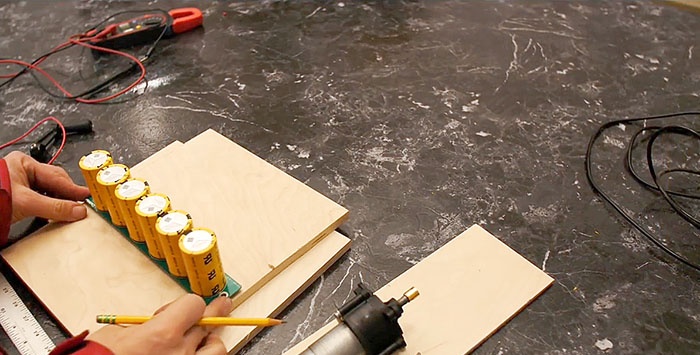
Next, we cut out all the parts on a machine or manually with a hacksaw.

We drill a hole for the generator and secure it.
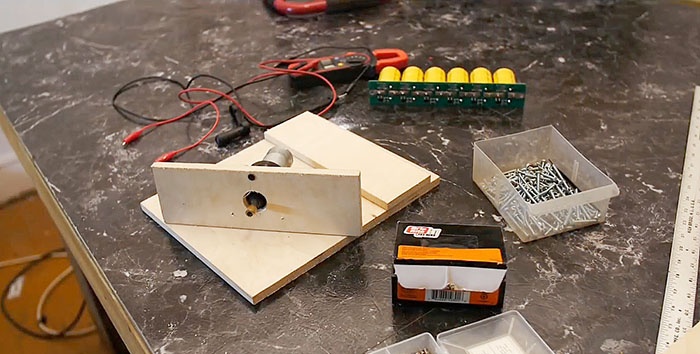
We assemble the side parts of the body.
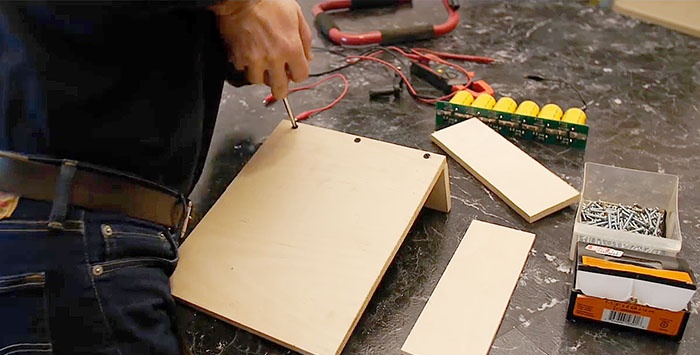
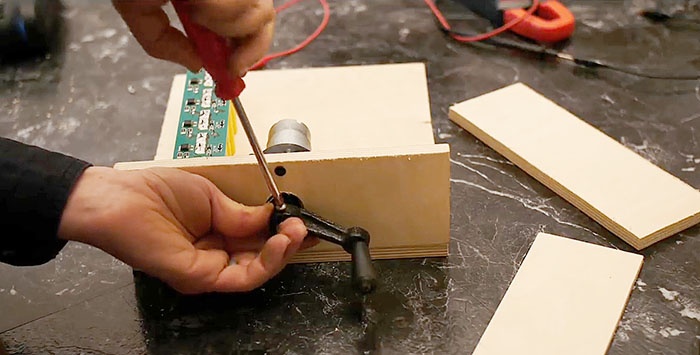
The handle was included in the kit, we will screw it onto the shaft.
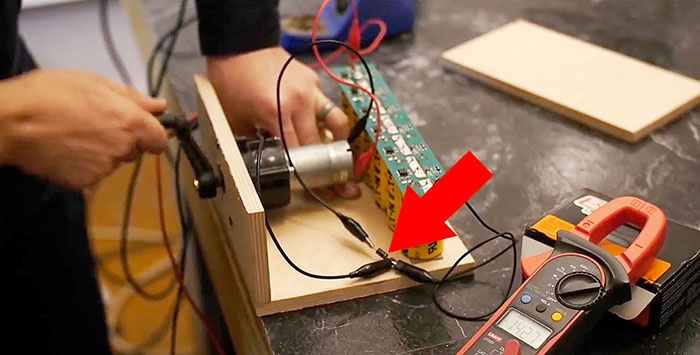
Be sure to connect the generator to the ionistors via a diode and check whether charging is taking place. Don't get the polarity mixed up if you plan to do something like this again.
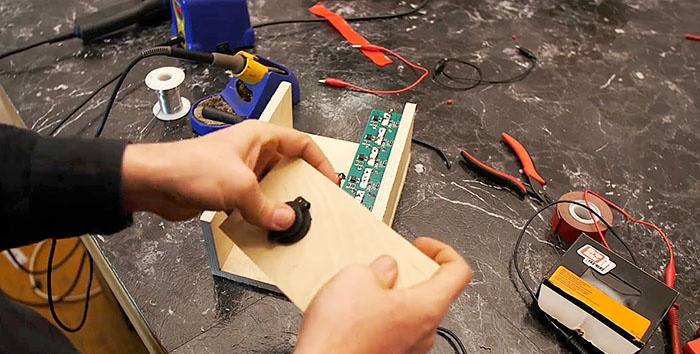
Charging is in progress. We will embed a cigarette lighter socket into the side wall so that other consumers can be powered.
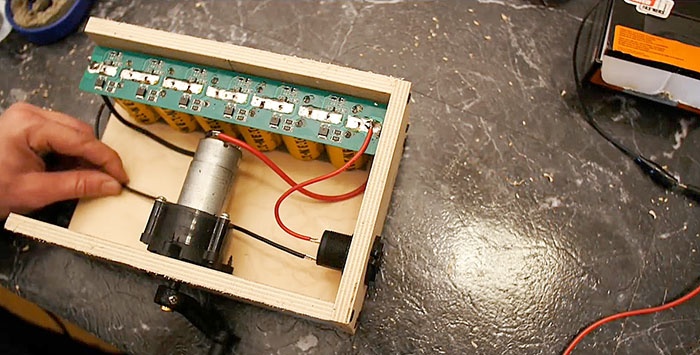
We turn on the cigarette lighter in parallel with the entire battery, also pay special attention to the polarity.
To check, insert the USB converter and a 5 Volt LED light bulb into the USB socket.
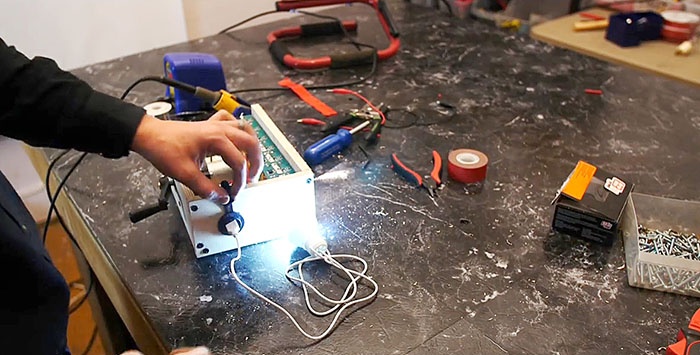
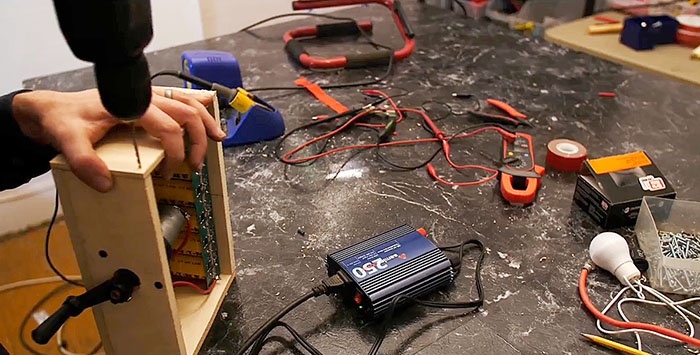
Everything works without problems. Now the input is a more capacious load: a connected inverter, which is loaded with an electric drill, with the help of which we drill holes for self-tapping screws in the same housing.
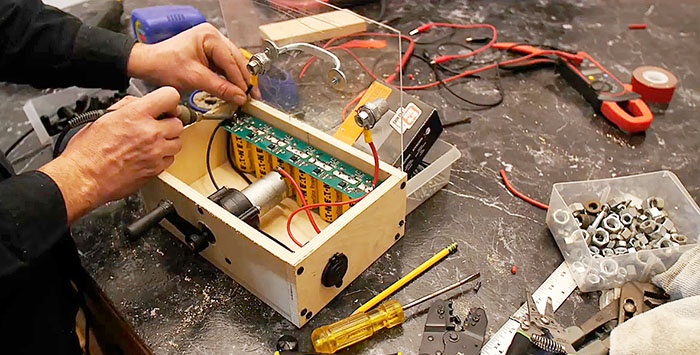
The top cover is made of transparent plexiglass. It has terminals screwed on like a car battery. We solder the wires from them to the supercapacitors.
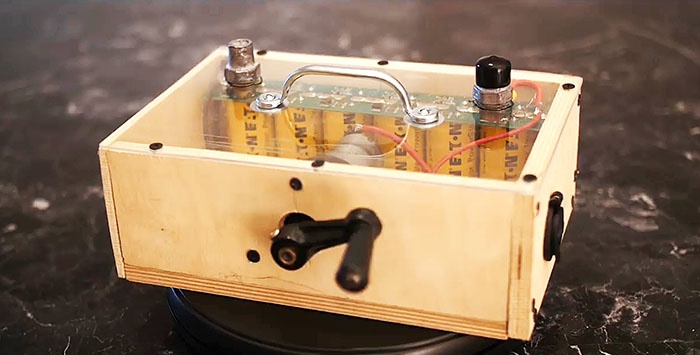
And close the lid, securing everything with self-tapping screws.
Charge the battery until full.
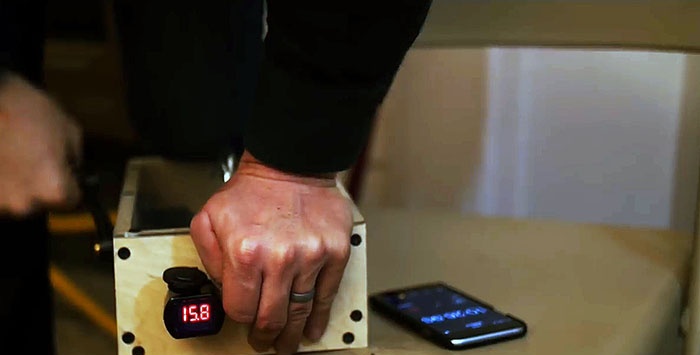
This will take approximately 3-7 minutes. The generator produces approximately 1.5 A load. By the way, it is not possible to charge capacitors with a voltage greater than 15.8 V, since the balanced protection board works well. At the same time, when one or another section is fully charged, then opposite it, on the board, lights up Light-emitting diode.
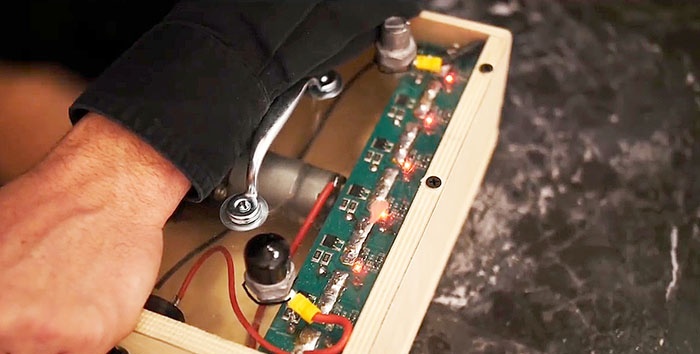
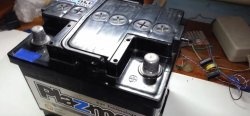
We remove the old battery from the car.
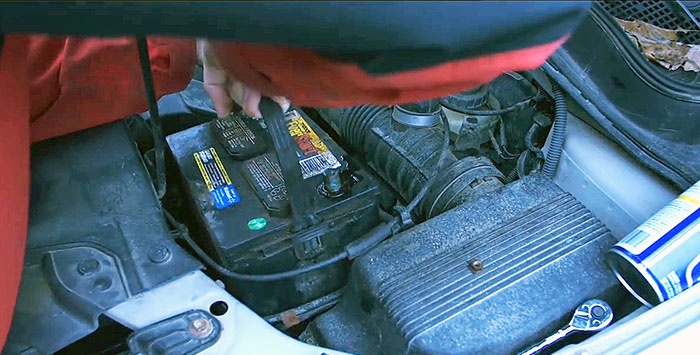
We install our drive.
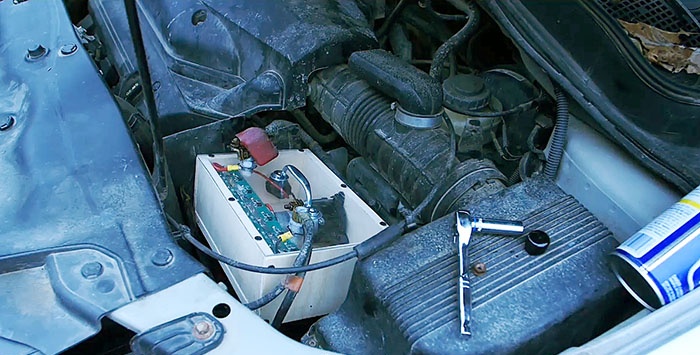
Starting the car is carried out without unnecessary difficulties. It is quite possible to drive with ionistors without re-installing the battery.
Now let's look at other applications. We have already talked about an inverter with a drill. About the 5 V light bulb too.
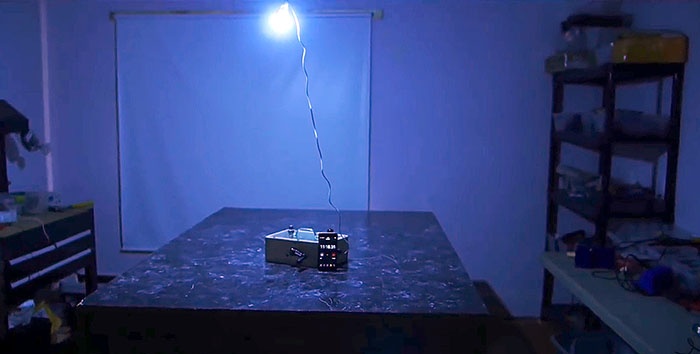
But how long will it burn?
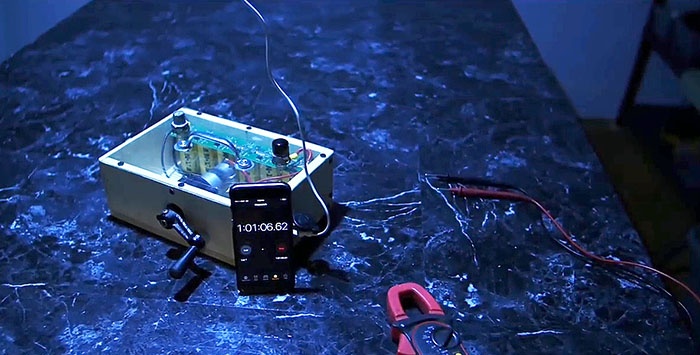
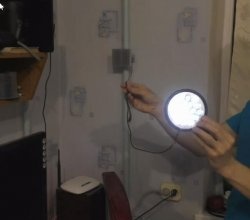
More than an hour! And it still shines well. You can charge your phone at the same time.
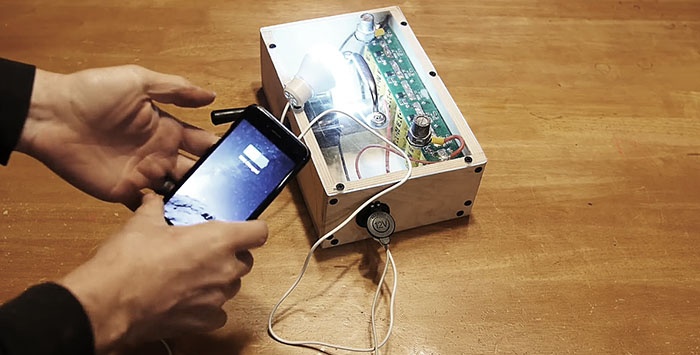
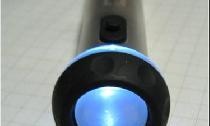
What if you insert a super bright 12 V flashlight into the socket?
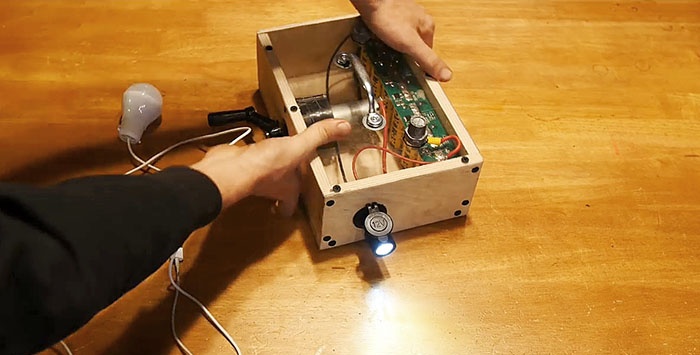
It will turn out to be a super flashlight.
This drive has two huge advantages:
- It is equipped with a hand-held generator that allows you to fully charge it anytime, anywhere.
- Secondly, the device is built on ionistors (supercapacitors), and they, unlike rechargeable batteries, do not require any maintenance, can be discharged to zero, and are tolerant of low temperatures. Therefore, such a thing can be thrown into a secluded place and it will lie there until needed, and when needed, it will be ready for loads.

Will need
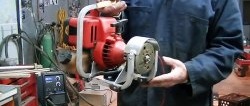
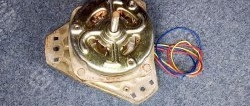
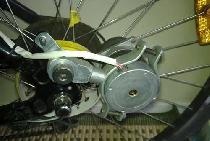
- Hand generator 1500 mA (20 W), purchased at AliExpress.
- A strip with 6 ionistors and a balanced protection strip, also purchased at AliExpress.
In general, it can, of course, be assembled separately by first purchasing supercapacitors and a protection board.
Thick plywood is used for the body, fastened with self-tapping screws.
Assembling a drive with manual recharging
So let's get started. Based on the size of the board, we determine the dimensions of the future case.

Next, we cut out all the parts on a machine or manually with a hacksaw.

We drill a hole for the generator and secure it.

We assemble the side parts of the body.

The handle was included in the kit, we will screw it onto the shaft.

Be sure to connect the generator to the ionistors via a diode and check whether charging is taking place. Don't get the polarity mixed up if you plan to do something like this again.

Charging is in progress. We will embed a cigarette lighter socket into the side wall so that other consumers can be powered.

We turn on the cigarette lighter in parallel with the entire battery, also pay special attention to the polarity.

To check, insert the USB converter and a 5 Volt LED light bulb into the USB socket.

Everything works without problems. Now the input is a more capacious load: a connected inverter, which is loaded with an electric drill, with the help of which we drill holes for self-tapping screws in the same housing.

The top cover is made of transparent plexiglass. It has terminals screwed on like a car battery. We solder the wires from them to the supercapacitors.

And close the lid, securing everything with self-tapping screws.

Tests
Charge the battery until full.

This will take approximately 3-7 minutes. The generator produces approximately 1.5 A load. By the way, it is not possible to charge capacitors with a voltage greater than 15.8 V, since the balanced protection board works well. At the same time, when one or another section is fully charged, then opposite it, on the board, lights up Light-emitting diode.

We remove the old battery from the car.

We install our drive.

Starting the car is carried out without unnecessary difficulties. It is quite possible to drive with ionistors without re-installing the battery.
Now let's look at other applications. We have already talked about an inverter with a drill. About the 5 V light bulb too.

But how long will it burn?

More than an hour! And it still shines well. You can charge your phone at the same time.

What if you insert a super bright 12 V flashlight into the socket?

It will turn out to be a super flashlight.

Watch the video
Similar master classes
Particularly interesting
Comments (7)

