How to cut tiles with a grinder without chipping
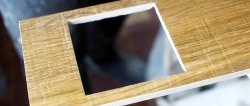
When laying tiles, it is impossible to make all the cuts using only a tile cutter. It cuts straight, but often L-shaped or U-shaped cuts are needed, which can only be done with a grinder. The problem is that its disc leaves chips along the edge of the cut, which looks sloppy. To make the cuts smooth, there is a little trick.
What you will need:
- Square or ruler;
- marker;
- grinder with diamond blade;
- tile cutter
The process of cutting tiles with a grinder
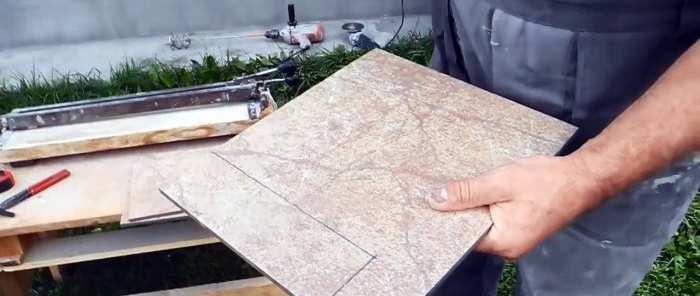
To perform trimming with a grinder, you must mark the contours of the cut on the front side of the tile. On a matte surface this can be done with a regular pencil, but it does not draw on glossy enamel, so a marker or cosmetic eyebrow pencil is used.
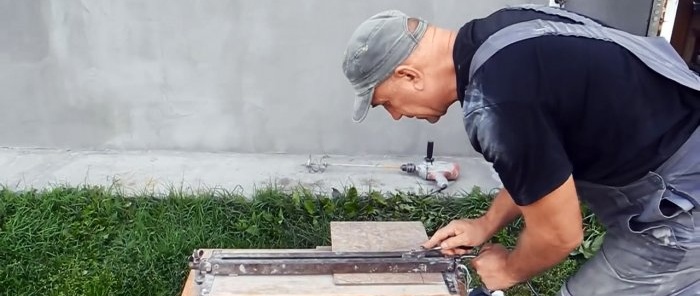
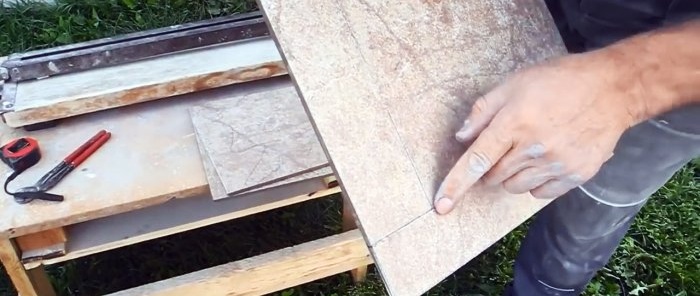
According to the markings, you need to make a scratch with a tile cutter to push through the enamel. But scrapping is not performed. The tile cutter roller should be rolled only along the marking, without going beyond it.
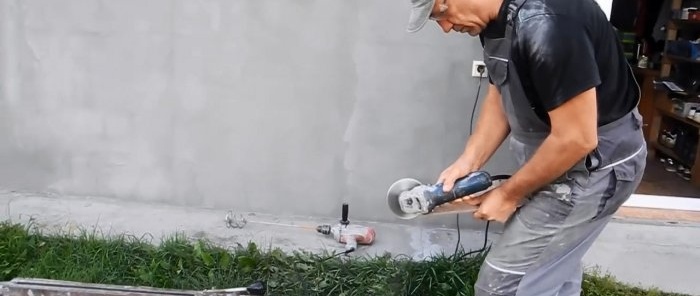
Then, on the short side of the marking, a cut is made with a grinder and a diamond blade.
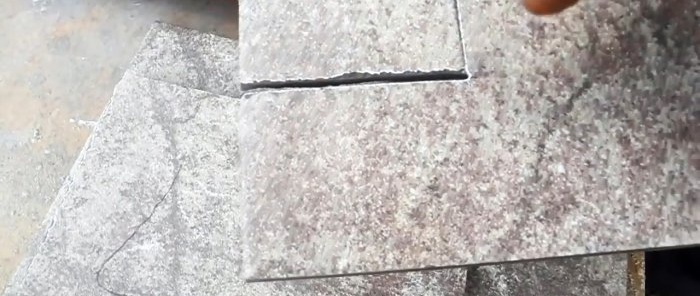
You need to cut from the side of the scratch, moving to the part that will be thrown away. The disc should cut almost flush against the track from the tile cutter roller.
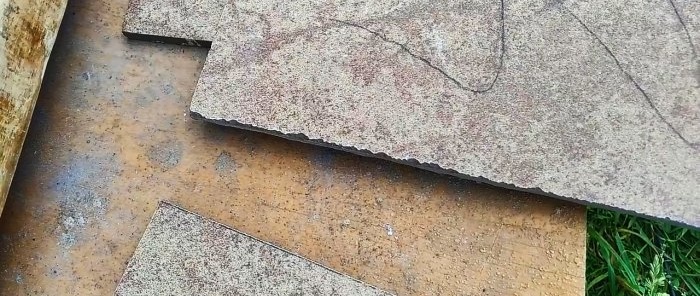
In this case, the resulting enamel chips will break off at the scratch. As a result, on the finishing side the cut will be smooth without defects.
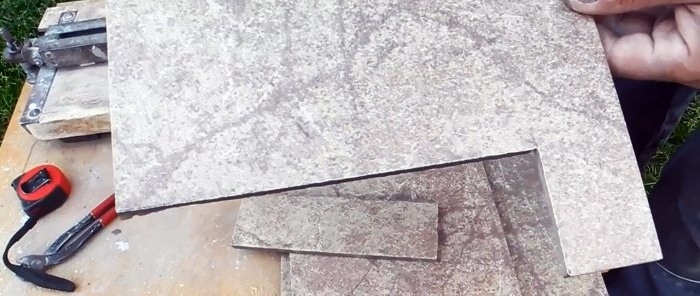
If this is an L-shaped cut, then the remaining long side can be broken along the scratch from the tile cutter. It will break along a cut perpendicular to it from the grinder. In U-shaped cuts, you will need to make cuts along the side lines, and make a break along the central one.
This method allows you to cut even tiles that have been overheated without chipping. This often happens with decors, as they undergo more complex heat treatment, so their enamel chips even when cutting with expensive branded diamond blades.
Watch the video
Similar master classes
Particularly interesting


