The simplest inverter without transistors
You only need two components to build a simple inverter that converts 12V DC to 220V AC.
Absolutely no expensive or scarce elements or parts. Everything can be assembled in 5 minutes! You don't even need to solder! I twisted it with wire and that was it.
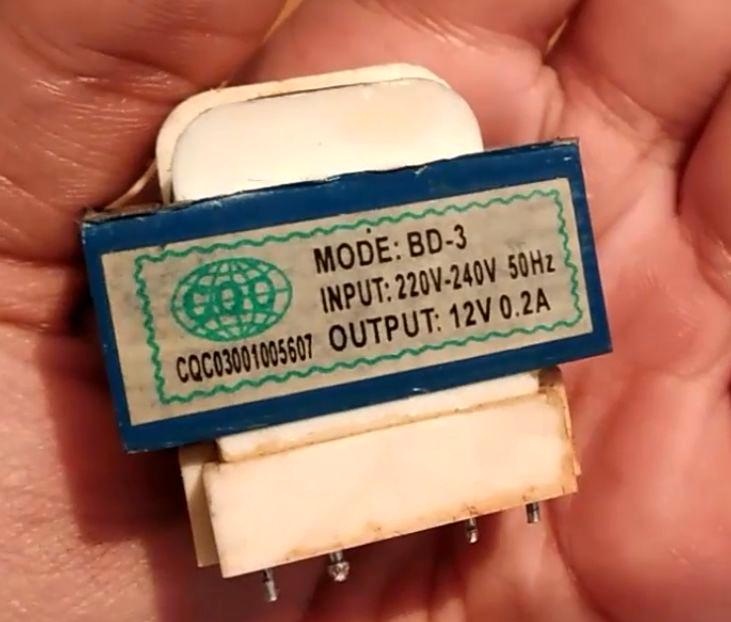
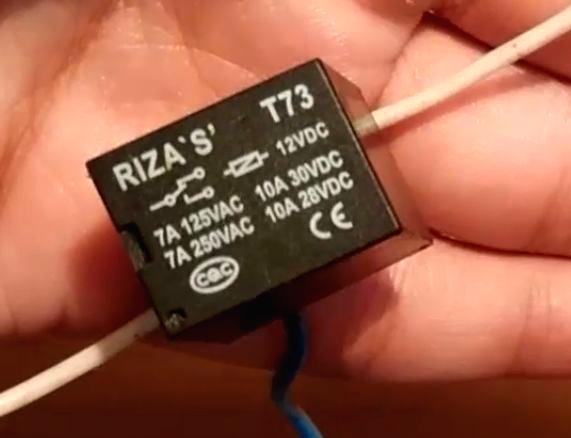
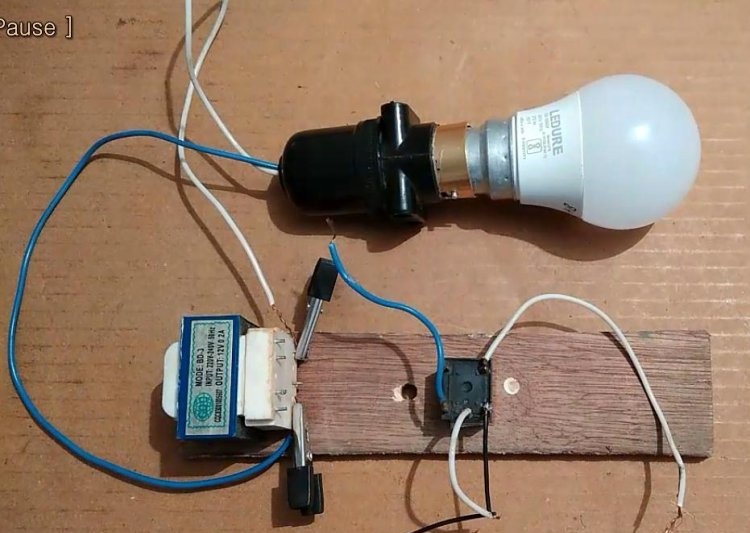
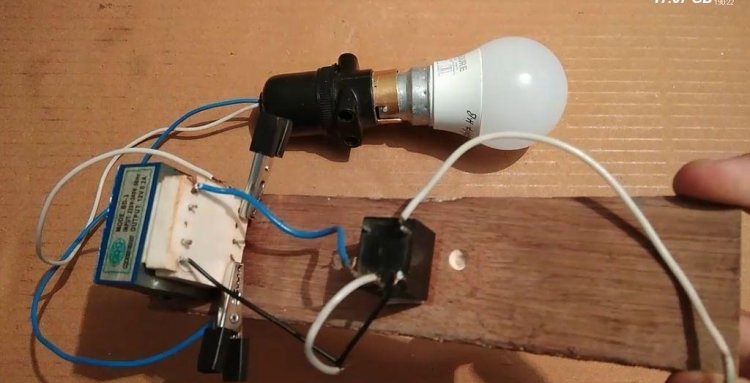
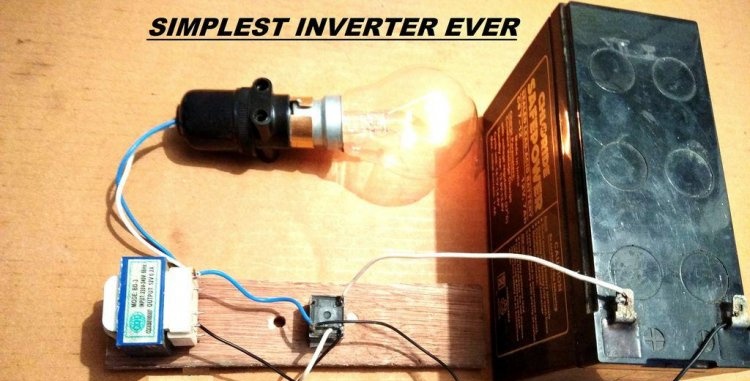
It all comes down to connecting the relay and transformer as follows. First of all, we put a load in the form of an LED light bulb on the network winding of the transformer - this will be the output of the inverter.
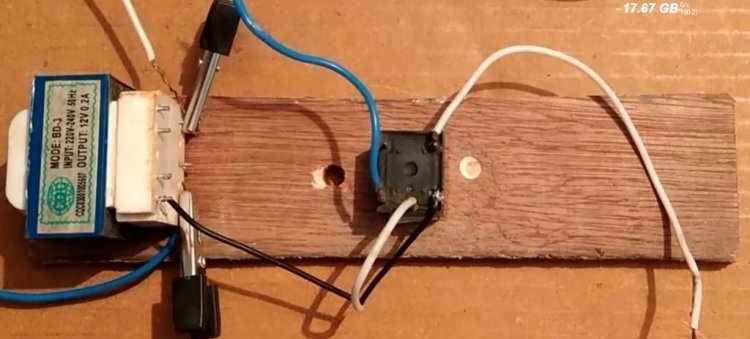
Then we connect the low-voltage winding in parallel with the relay. Now one contact goes to power the battery, and the second is connected to another contact of the battery, but only through a closed relay contact. Plus or minus doesn't matter.
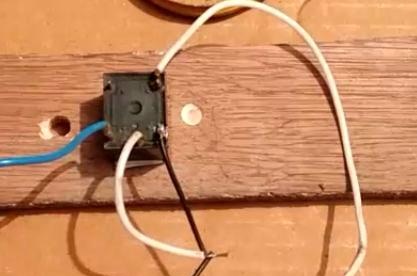
All! Your inverter is ready! Super easy!
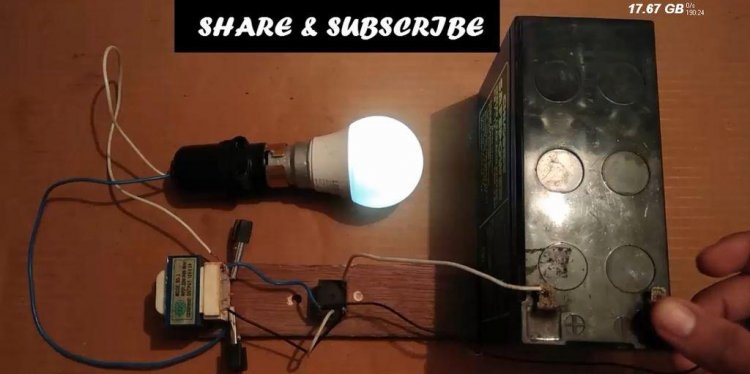
We connect it to the battery - we have it as a 12 V source and the 220 V lamp begins to glow. At the same time, you hear a squeak from the relay.
It's very simple: when you connect the power, all the voltage goes through the closed contacts on the relay. The relay operates and the contacts open. As a result, the power to the relay is turned off and it brings the contacts back to closed. As a result, the cycle repeats. And since a step-up transformer is connected in parallel to the relay, powerful pulses of constant on-off are supplied to it and converted into alternating high-voltage current. The frequency of such a converter ranges from 60-70 Hz.
Of course, such an inverter is not durable - sooner or later the relay will fail, but it’s not a pity - it costs a penny or is even free if you take the old one. And the output voltage in terms of the type of current and the spread is simply terrible. But this simple converter can help you out in some serious situation.
Absolutely no expensive or scarce elements or parts. Everything can be assembled in 5 minutes! You don't even need to solder! I twisted it with wire and that was it.
What do you need for an inverter?
- Transformer from a receiver, tape recorder, center, etc. One mains winding is 220 V, the other is 12 V.
- 12 V relays. These are used in many places.
- Wires for connection.
- Load in the form of a light bulb.


Inverter assembly
It all comes down to connecting the relay and transformer as follows. First of all, we put a load in the form of an LED light bulb on the network winding of the transformer - this will be the output of the inverter.
Then we connect the low-voltage winding in parallel with the relay. Now one contact goes to power the battery, and the second is connected to another contact of the battery, but only through a closed relay contact. Plus or minus doesn't matter.

All! Your inverter is ready! Super easy!
We connect it to the battery - we have it as a 12 V source and the 220 V lamp begins to glow. At the same time, you hear a squeak from the relay.
How does this inverter work?
It's very simple: when you connect the power, all the voltage goes through the closed contacts on the relay. The relay operates and the contacts open. As a result, the power to the relay is turned off and it brings the contacts back to closed. As a result, the cycle repeats. And since a step-up transformer is connected in parallel to the relay, powerful pulses of constant on-off are supplied to it and converted into alternating high-voltage current. The frequency of such a converter ranges from 60-70 Hz.
Of course, such an inverter is not durable - sooner or later the relay will fail, but it’s not a pity - it costs a penny or is even free if you take the old one. And the output voltage in terms of the type of current and the spread is simply terrible. But this simple converter can help you out in some serious situation.
Watch the video of making the inverter
Similar master classes
Particularly interesting
Comments (18)

