Electric generator - conversion of a washing machine engine
Clean energy derived from natural resources is one of the most popular topics today. Imagine that you have a generator at your dacha or country house that supplies all the resources of your household with free electricity. It could be a wind turbine or a hydro turbine - it doesn’t matter. Do you think these are all fairy tales? Not at all.
In fact, these are technical developments that are not so difficult and expensive to implement at home with your own hands.
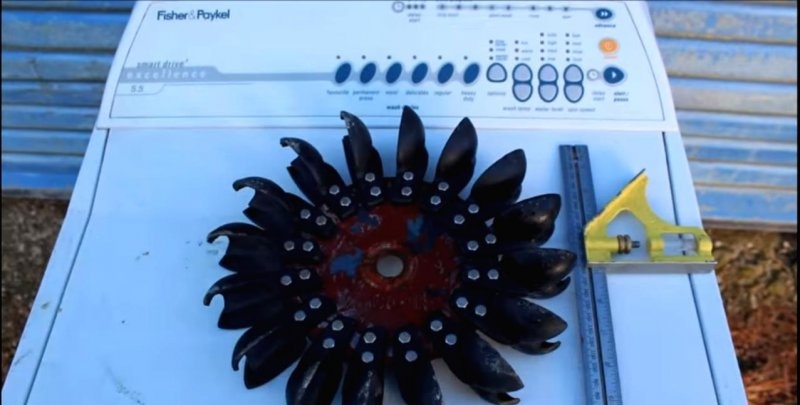
We would like to present one of these options based on a brushless DC motor today. The author proposes to remount such a motor from a washing machine into a generator by re-soldering the stator drive coils in a special way. After this modification, the engine can be used for a wind turbine. And if you equip it with a water intake device like a Pelton turbine, then you can build a hydroelectric generator.
As you probably already understood, today we only need the motor itself from the washing machine.The author used a DC inverter motor from an American Fisher & Paykel washing machine. LG, which is present in our domestic market, uses similar engines in its products.
We will also need:
Tools: wire cutters, pliers, paint knife.
To work, it will be necessary to remove the engine from the machine body. It consists of three main parts:
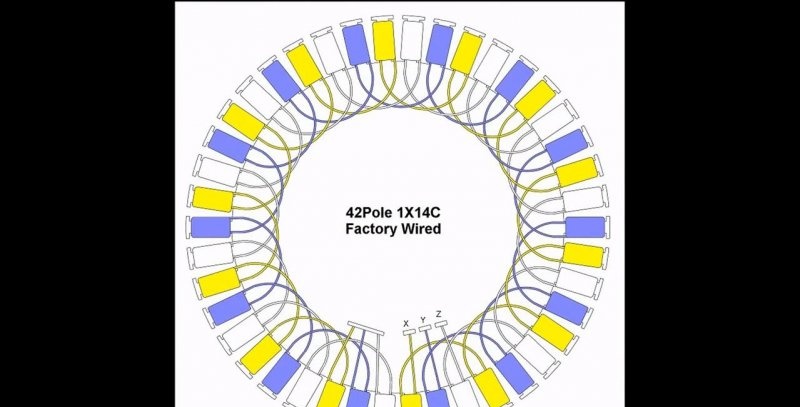
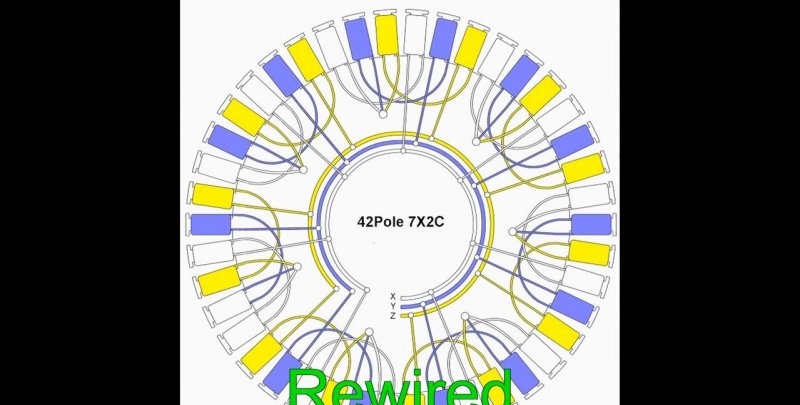
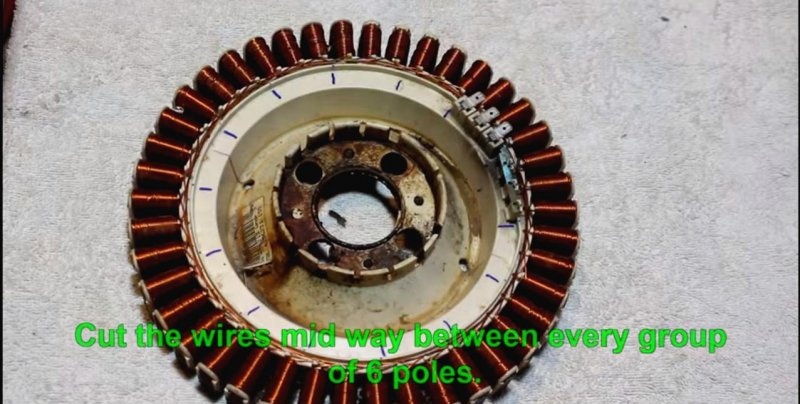
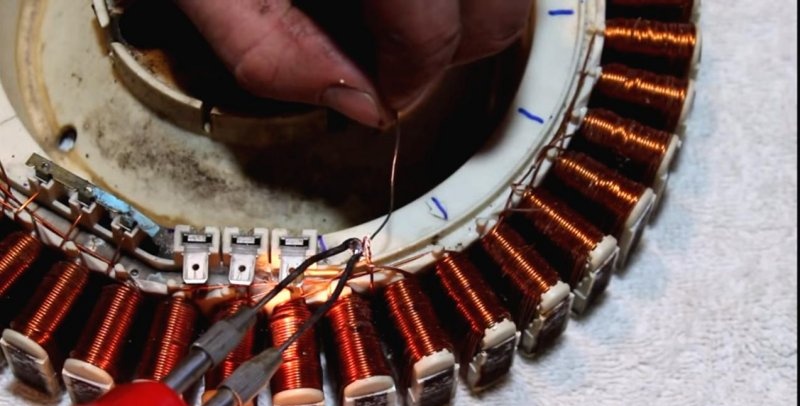
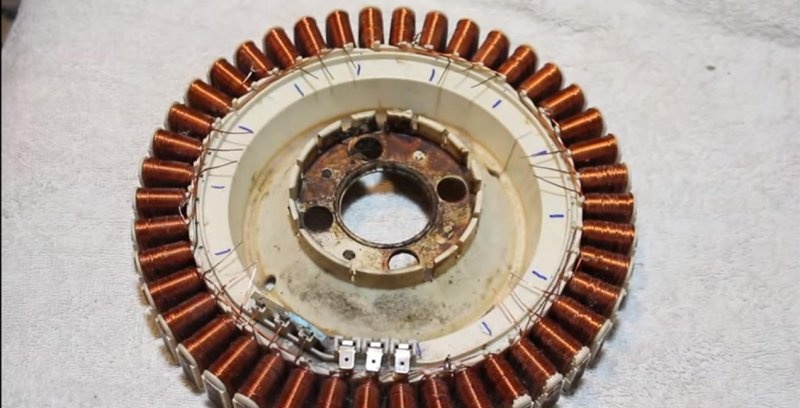
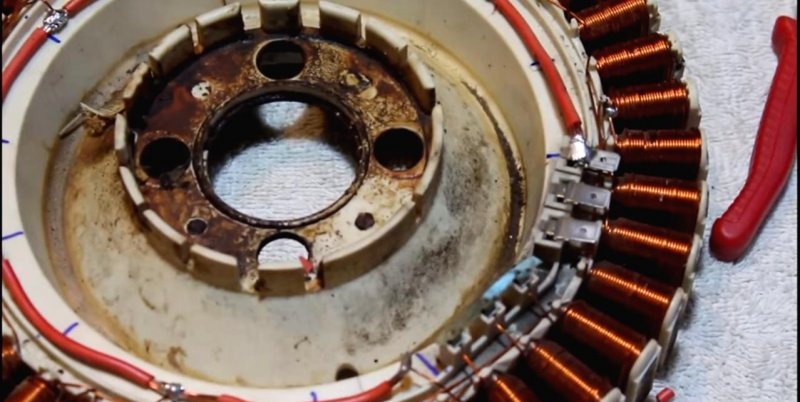
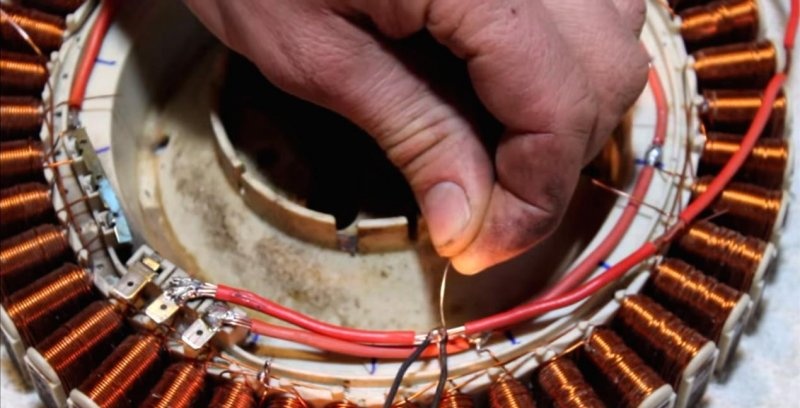
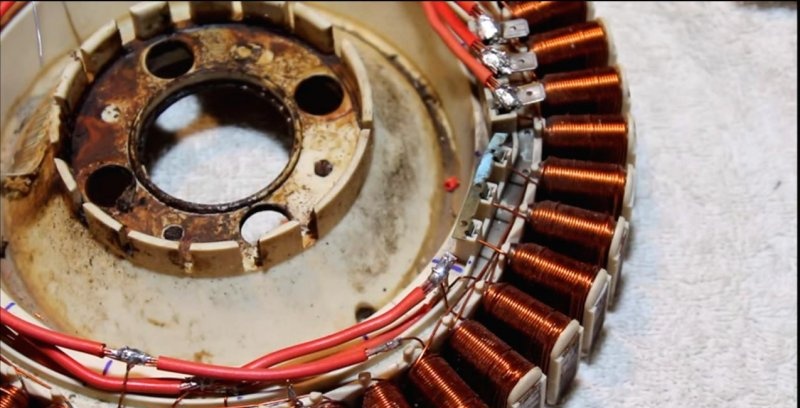
We place the engine platform on the table and get to work. Our goal is to re-solder the phase connections according to a different circuit, different from the original (photo).
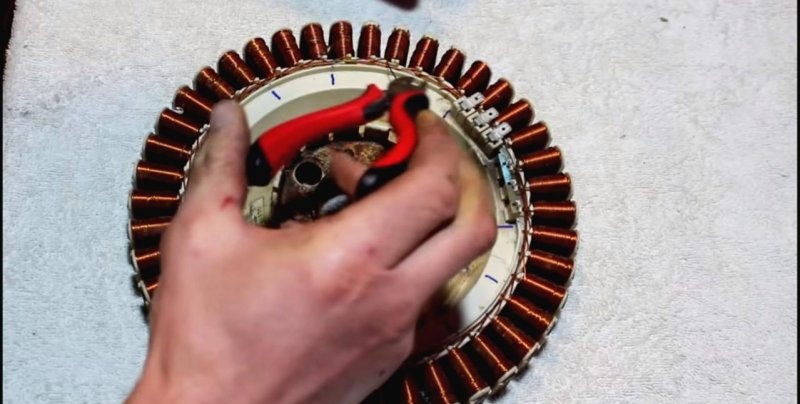
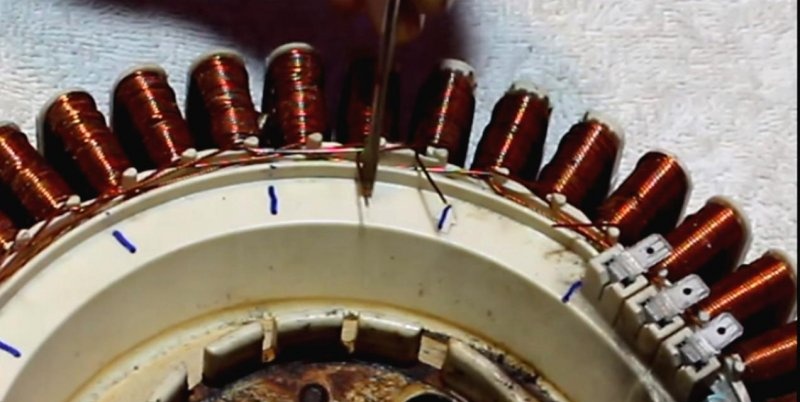
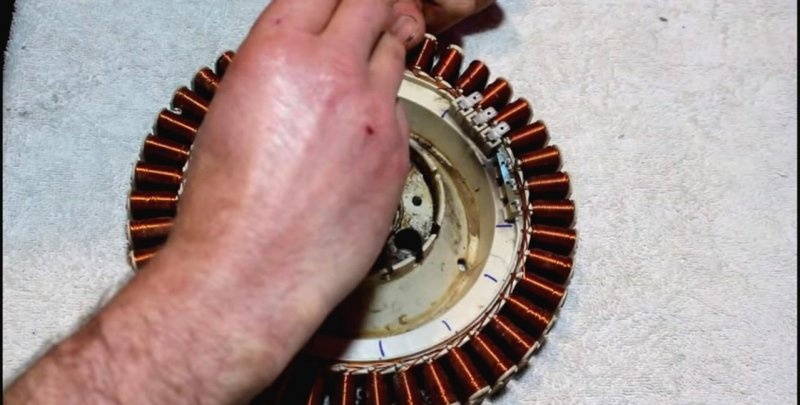
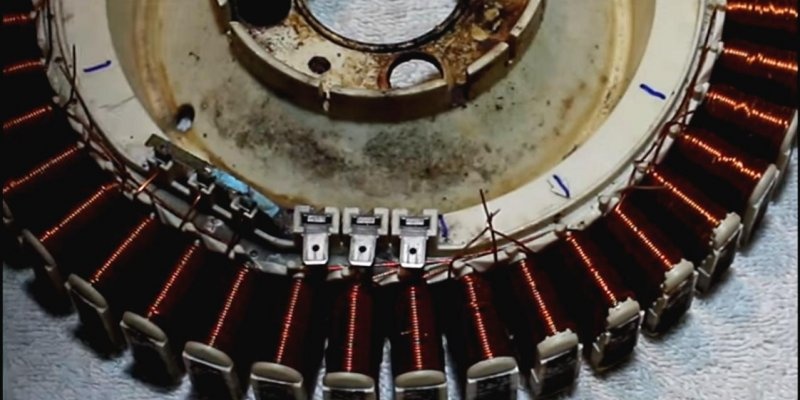
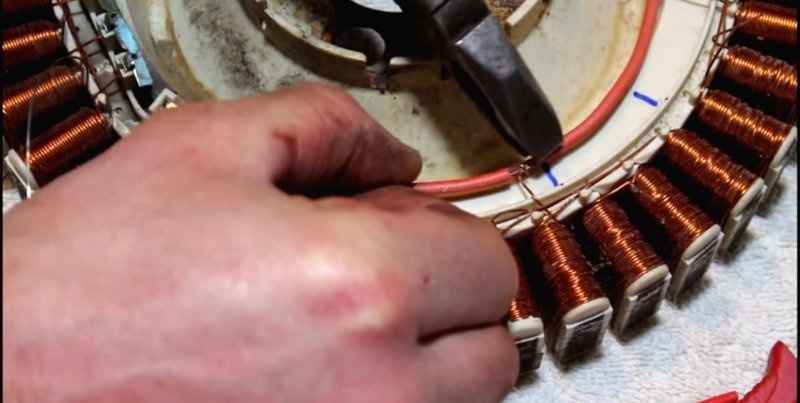
For convenience, you can mark groups of 3 coils with a marker. Using wire cutters we cut off each of the 6 coil outputs according to the diagram.
The cut edges must be bent with a screwdriver or by hand to make them easier to work with later.
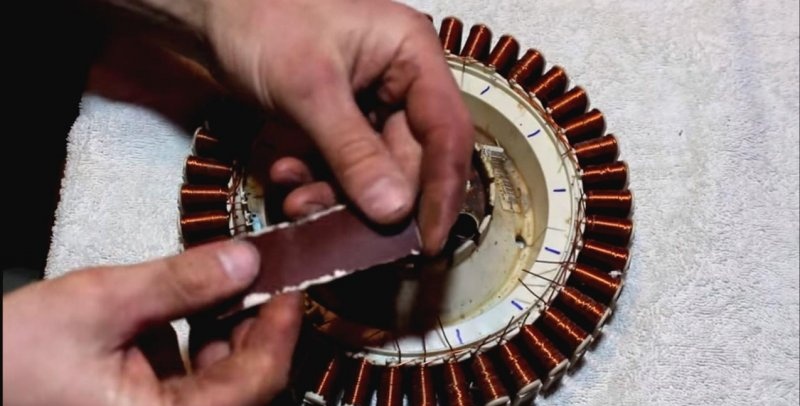
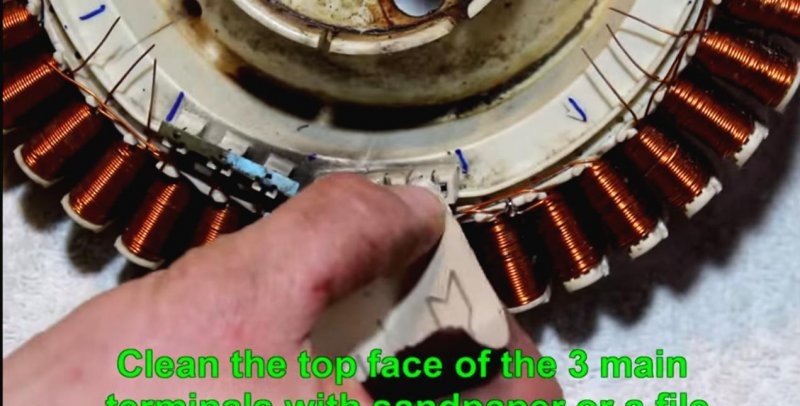
We clean each contact with fine-grained sandpaper to improve adhesion.
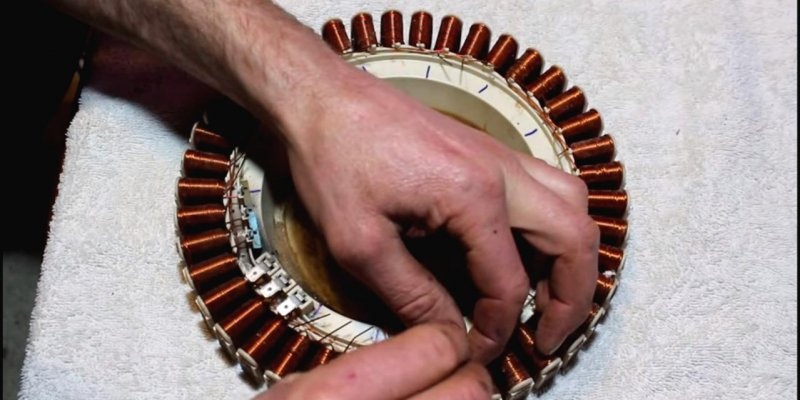
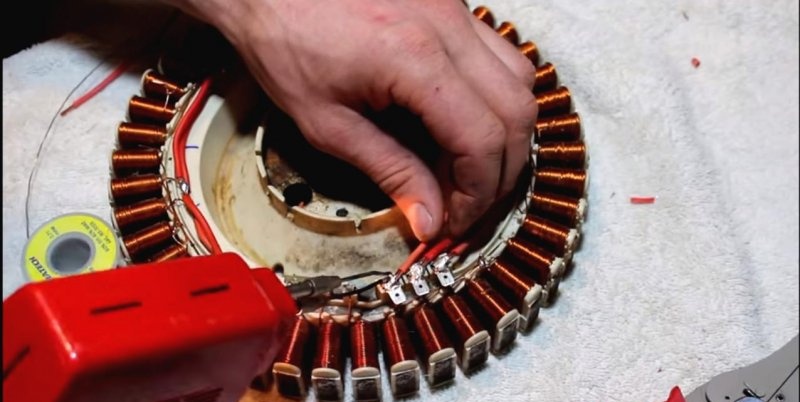
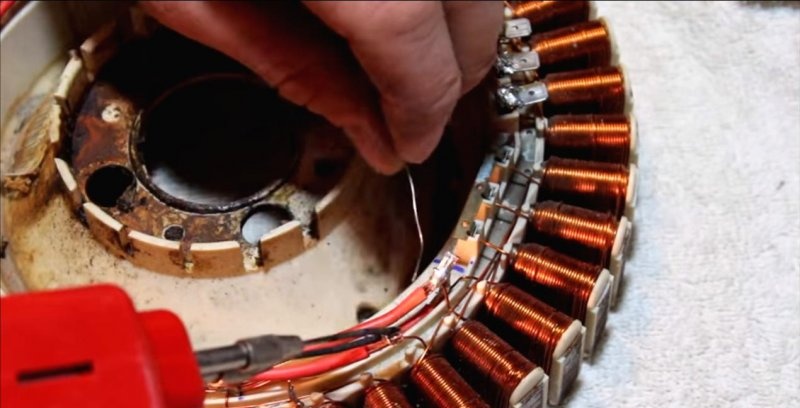
When everything is ready and cleared of debris, we connect together every second group of three contacts. We strengthen the hand twisting with pliers.
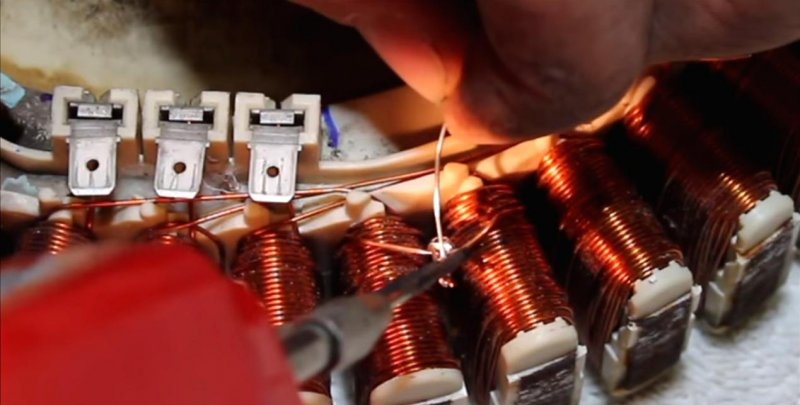
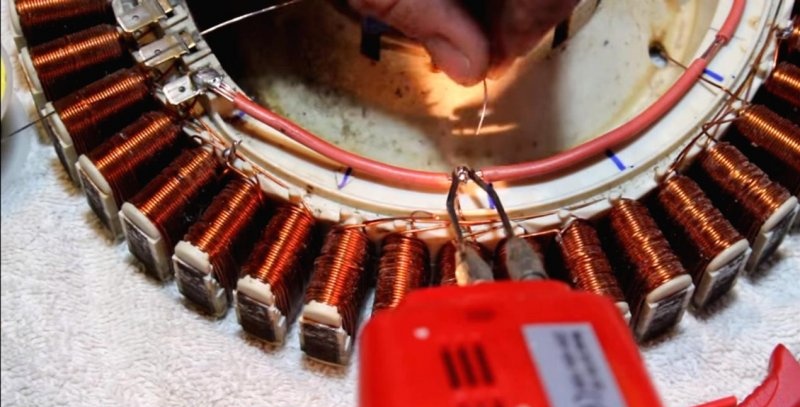
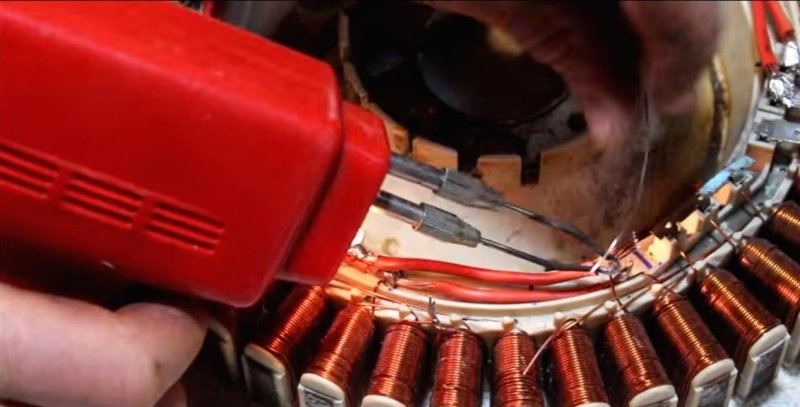
Using a soldering iron, we tin the twist using flux, and solder it with tin solder. We unlock the twist and solder it from the reverse side. We do the same with the rest of the contacts.As a result, we should have seven twists.
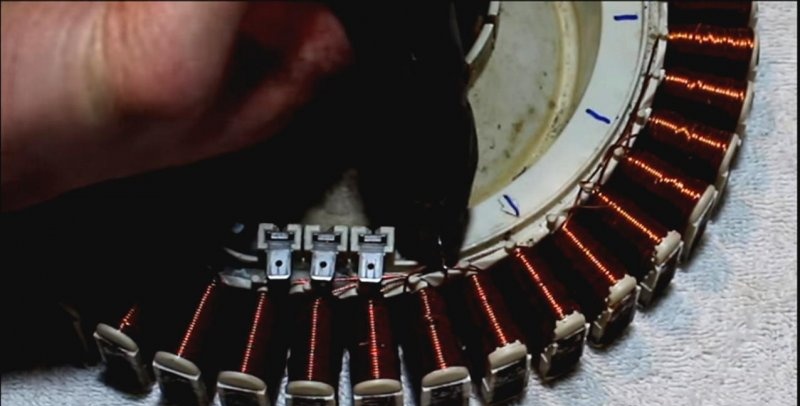
We clean the contact group used to supply power to the engine.
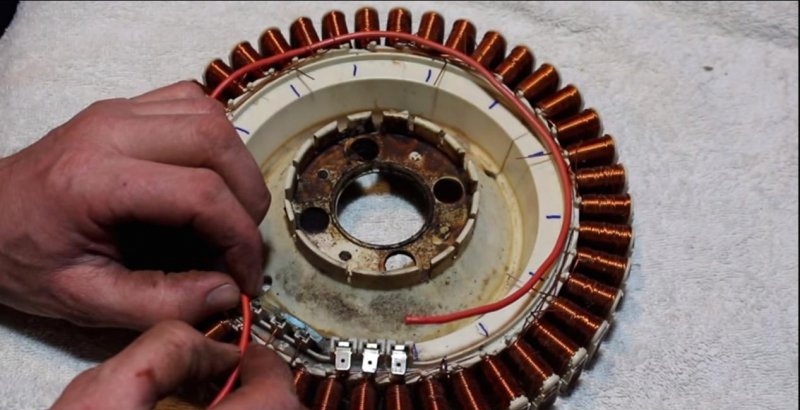
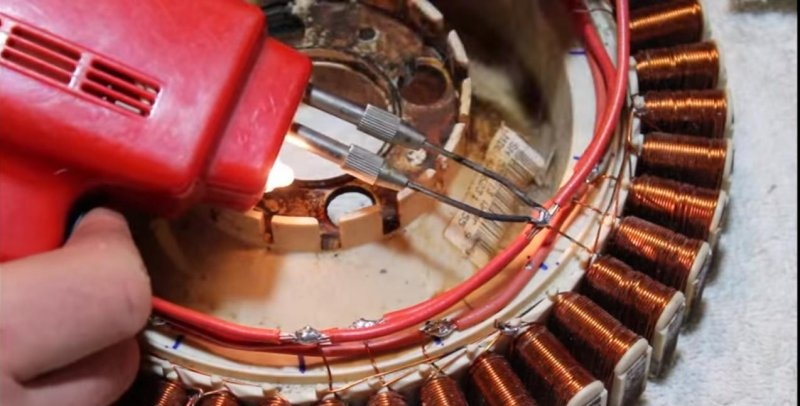
Now you need to loop the remaining 3 phases. We select a ring for the first phase. We make it from a piece of copper stranded cable. We mark and cut it to the size of the inner circumference of the platform.
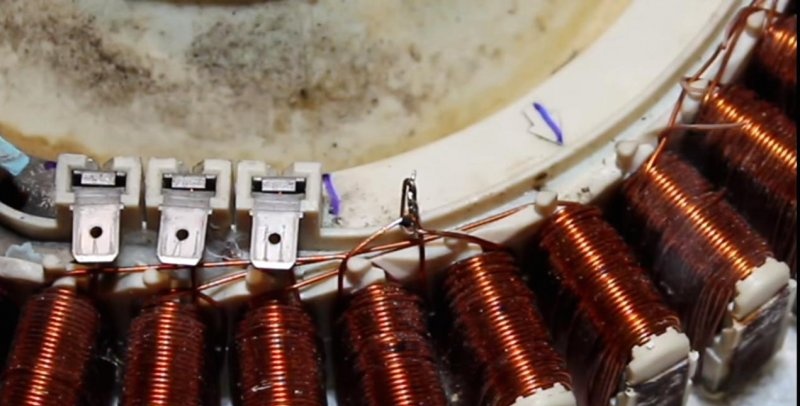
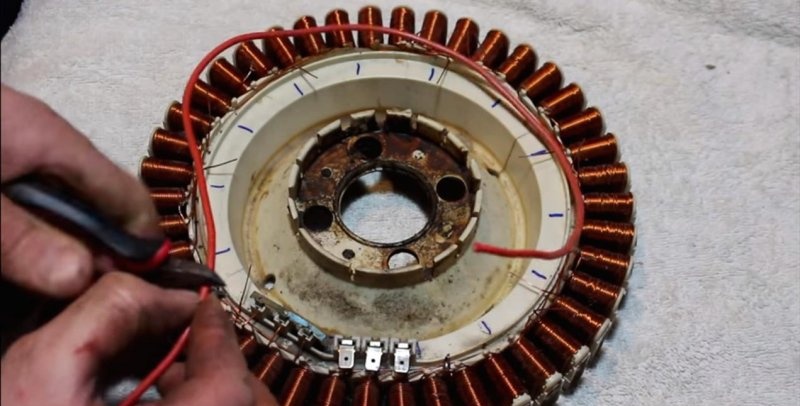
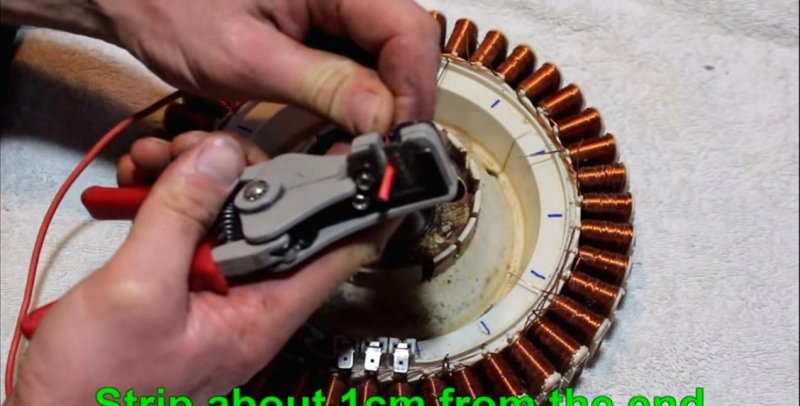
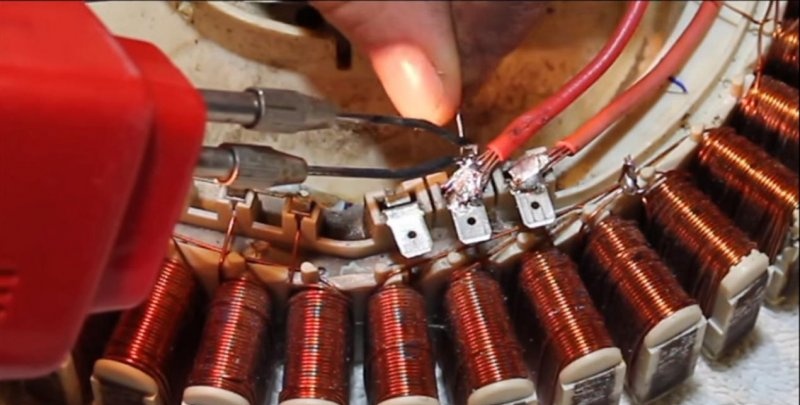
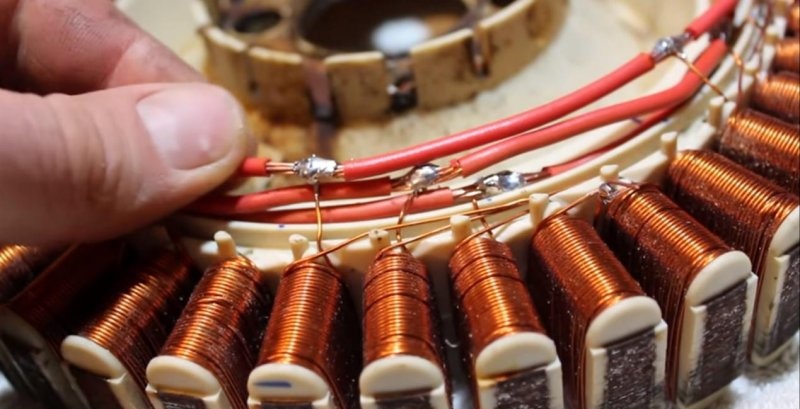
We expose the insulation at the junctions with the free contacts and clean them with sandpaper. We begin to solder the ring from the contact group, going through each of the seven, ending with the last contact. To secure the connection, we tie the end of the contact on a ring.
We loop the second and third phases by analogy with the first. Care must be taken not to solder adjacent contacts to each other.
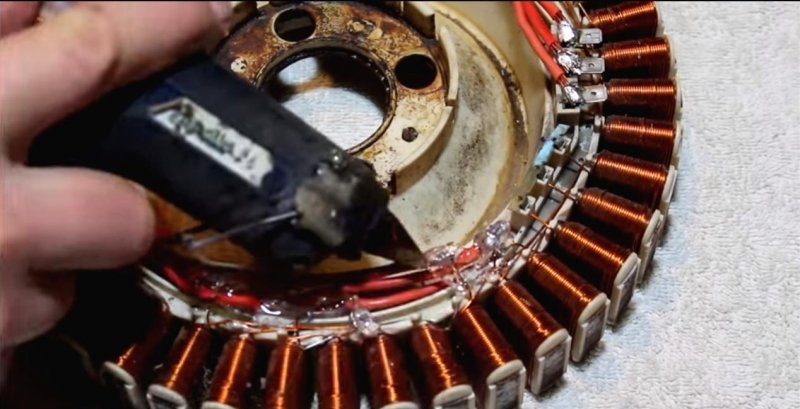
Our engine conversion for a generator is ready. All that remains is to isolate the solders on the ring and coils. The author of the invention used an alternative method, using hot glue as an insulator.
According to him, such isolation has never failed. However, for those who are not confident in this method, you should use electrical tape. Upon completion of the work, the engine is assembled and can be used in the prefabricated generator set structure.
In fact, these are technical developments that are not so difficult and expensive to implement at home with your own hands.
We would like to present one of these options based on a brushless DC motor today. The author proposes to remount such a motor from a washing machine into a generator by re-soldering the stator drive coils in a special way. After this modification, the engine can be used for a wind turbine. And if you equip it with a water intake device like a Pelton turbine, then you can build a hydroelectric generator.
Required materials and tools
As you probably already understood, today we only need the motor itself from the washing machine.The author used a DC inverter motor from an American Fisher & Paykel washing machine. LG, which is present in our domestic market, uses similar engines in its products.
We will also need:
- Soldering iron, flux and solder;
- Hot glue;
- Fine-grained sandpaper - zero.
Tools: wire cutters, pliers, paint knife.
Let's start remounting the engine
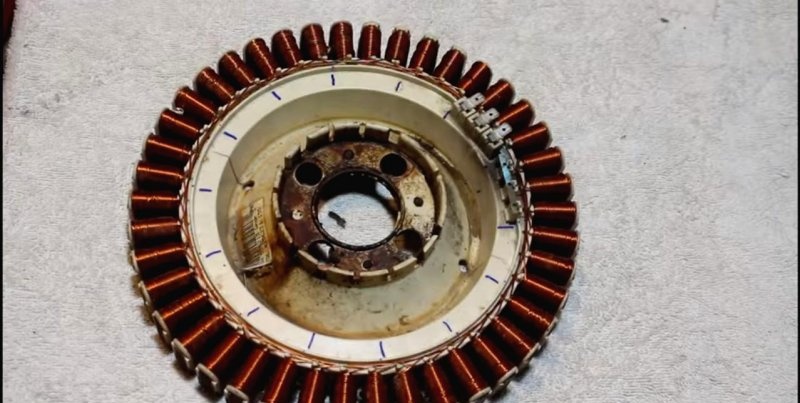
To work, it will be necessary to remove the engine from the machine body. It consists of three main parts:
- Stator – a round platform with driving winding coils located along the outer edge of the circle;
- The rotor is a plastic or metal cover with a plastic core. Permanent magnets are placed along the perimeter of its inner wall;
- The shaft is the central part of the motor, equipped with bearings to transfer kinetic energy to the drum of the washing machine.
We will work directly with the starter.
Stator preparation
We place the engine platform on the table and get to work. Our goal is to re-solder the phase connections according to a different circuit, different from the original (photo).
For convenience, you can mark groups of 3 coils with a marker. Using wire cutters we cut off each of the 6 coil outputs according to the diagram.
The cut edges must be bent with a screwdriver or by hand to make them easier to work with later.
We clean each contact with fine-grained sandpaper to improve adhesion.
When everything is ready and cleared of debris, we connect together every second group of three contacts. We strengthen the hand twisting with pliers.
Using a soldering iron, we tin the twist using flux, and solder it with tin solder. We unlock the twist and solder it from the reverse side. We do the same with the rest of the contacts.As a result, we should have seven twists.
Phase looping
We clean the contact group used to supply power to the engine.
Now you need to loop the remaining 3 phases. We select a ring for the first phase. We make it from a piece of copper stranded cable. We mark and cut it to the size of the inner circumference of the platform.
We expose the insulation at the junctions with the free contacts and clean them with sandpaper. We begin to solder the ring from the contact group, going through each of the seven, ending with the last contact. To secure the connection, we tie the end of the contact on a ring.
We loop the second and third phases by analogy with the first. Care must be taken not to solder adjacent contacts to each other.
Applying insulation
Our engine conversion for a generator is ready. All that remains is to isolate the solders on the ring and coils. The author of the invention used an alternative method, using hot glue as an insulator.
According to him, such isolation has never failed. However, for those who are not confident in this method, you should use electrical tape. Upon completion of the work, the engine is assembled and can be used in the prefabricated generator set structure.
Watch the video
Similar master classes
How to connect the motor from a washing machine to 220 V
Electric generator - hydraulic turbine from an old washing machine
Sharpener from a washing machine engine
How to convert any asynchronous motor into a generator
Generator from an asynchronous motor
Homemade hydroelectric power station from an old washing machine
Particularly interesting
Comments (1)

