Electric generator - hydraulic turbine from an old washing machine
The history of hydropower begins with a simple water wheel, which our ancestors came up with the idea of installing on the rapids of a river. At first it was used for the mill, thereby facilitating the work of the millstones. Later, people learned to use the power of water for a variety of purposes - making paper, sawing logs, blacksmithing, and even brewing. The crowning achievement of the creation was an electric generator that was connected to a turbine. This is how hydroelectric power stations appeared, the principle of which is used today for home inventions, including in today’s homemade products.
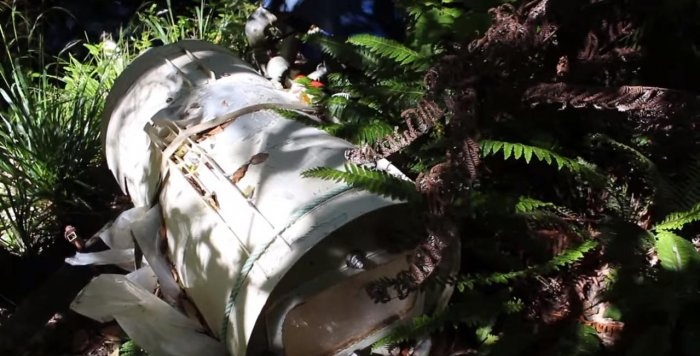
Its author managed to assemble it literally from an old washing machine, slightly modernizing it and wisely using the resources of the nearest river on his suburban property. He claims that he has been living without an electrical connection for several years and does not pay a penny for electricity. The power from the hydrogenerator is enough to supply electricity not only to all electrical appliances in the house, but also to support the work of the workshop with power tools. How is this possible? Let's take a look together.
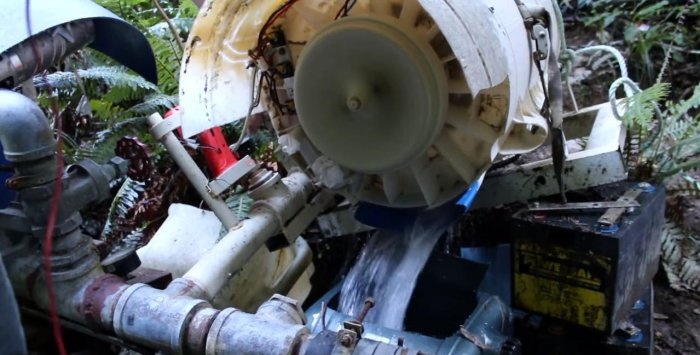
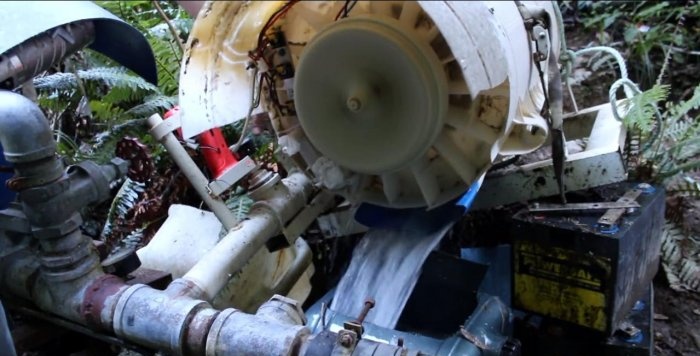
This home development uses the original washing machine body. The engine is remounted into generator mode and placed back in its seat. The Pelton wheel is used as a driving turbine that accumulates water flows and transfers kinetic energy to the generator. The alternating 3-phase current received at the output of the generator is passed through a rectifier consisting of three diode bridges. Direct current is supplied to charge the batteries through the controller, and from them to the 12V/220V inverter, again obtaining a variable frequency.
Materials:
Tool:
Preparatory dismantling work
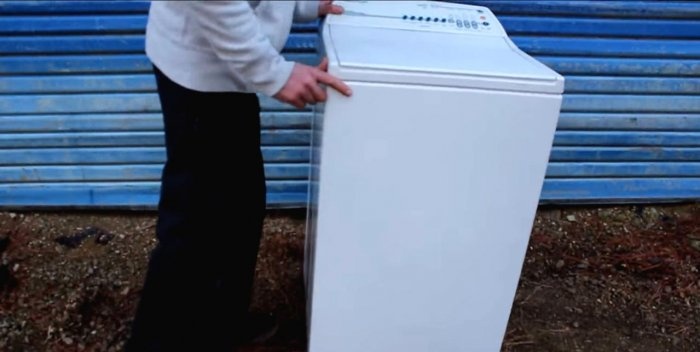
First, we need to disassemble the washing machine, leaving only the parts we need.
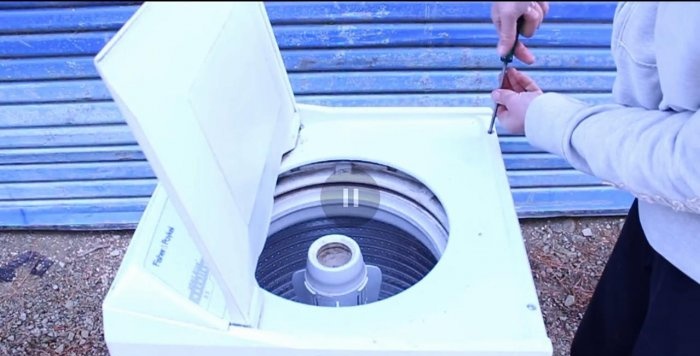
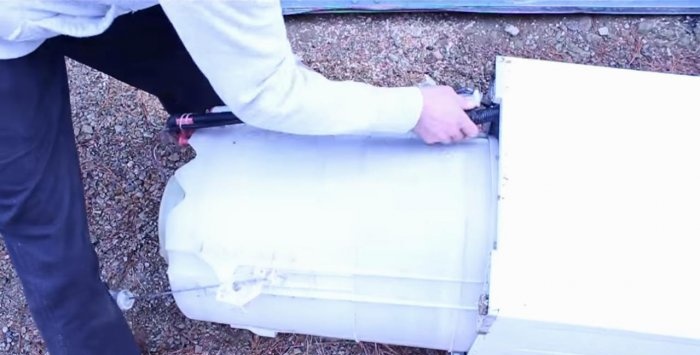
The machine is a vertical type, so we remove the end cover from the front side and dismantle the electronic control panel for washing modes.
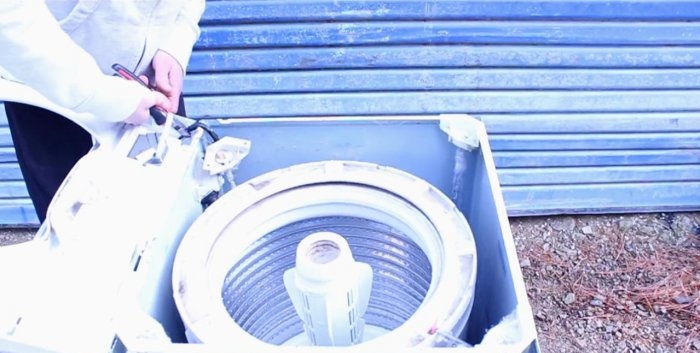
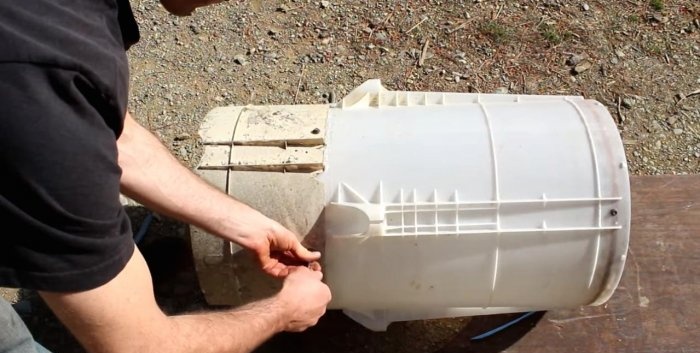
We take out the outer drum and dismantle the pump and excess water supply hoses.
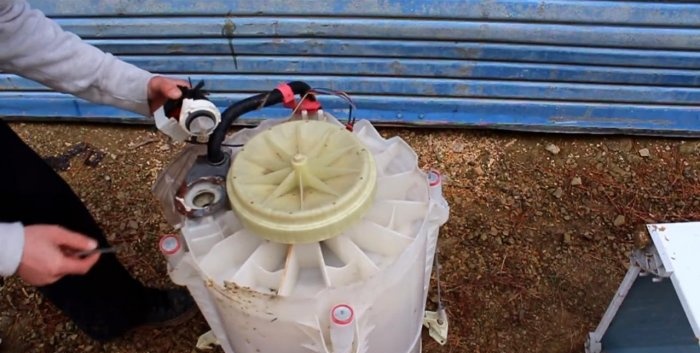
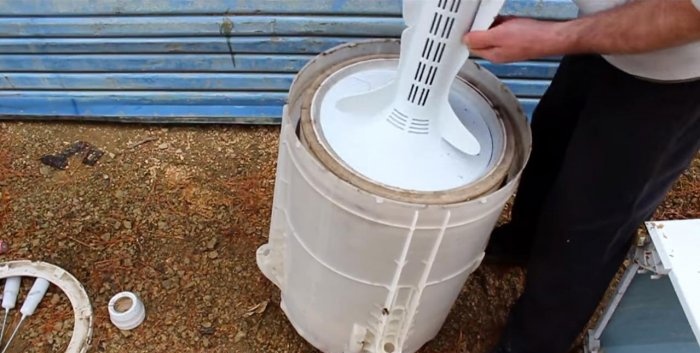
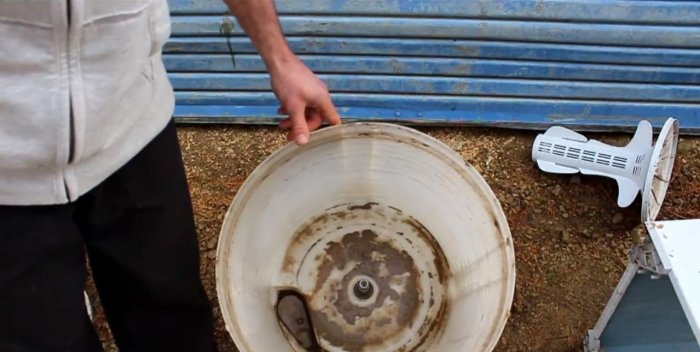
We don’t need a flywheel for washing, nor do we need an internal steel container for laundry.
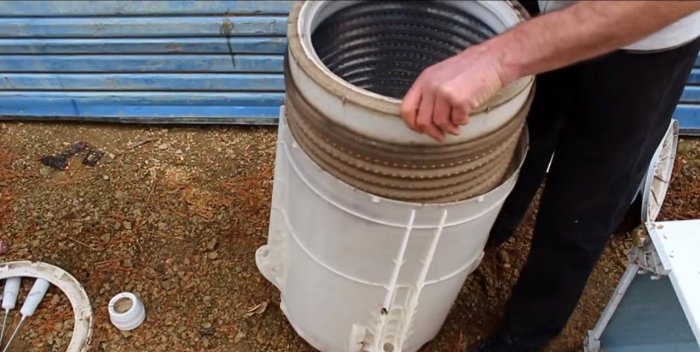
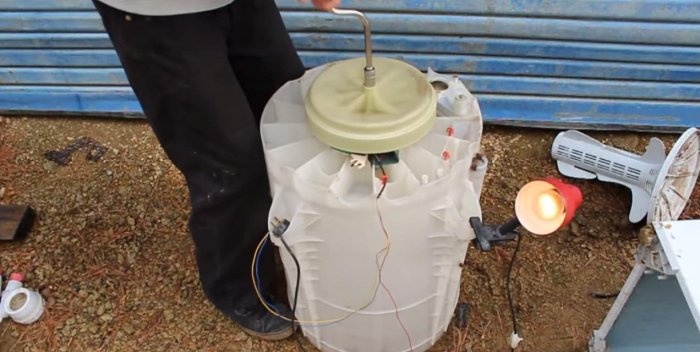
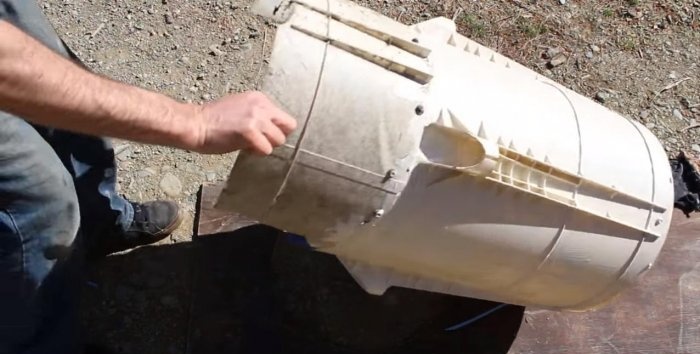
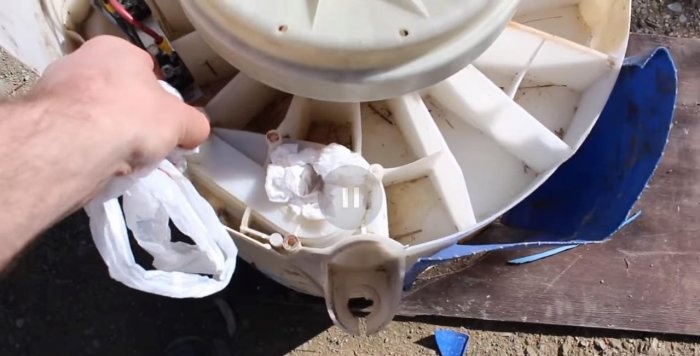
All that should remain is the outer plastic drum and the motor on the shaft.
As we can see, the remounted inverter motor already produces electricity when the shaft rotates.
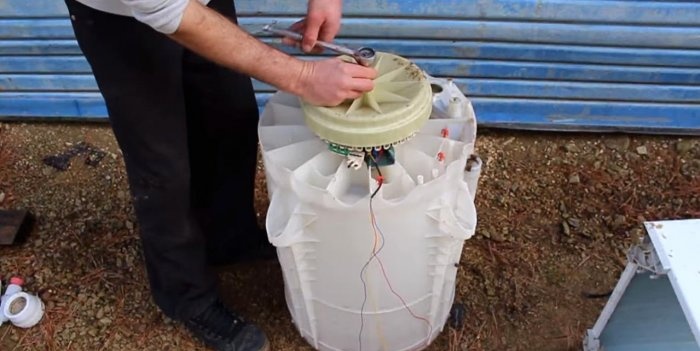
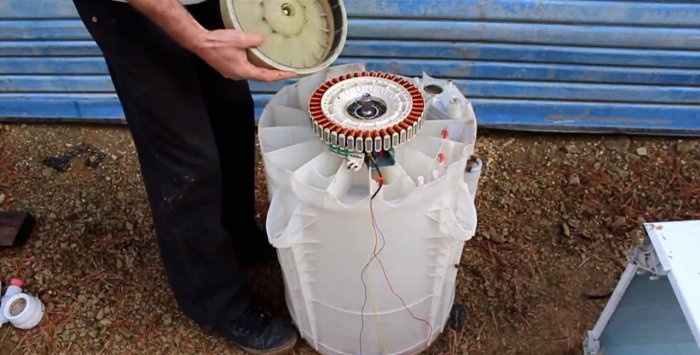
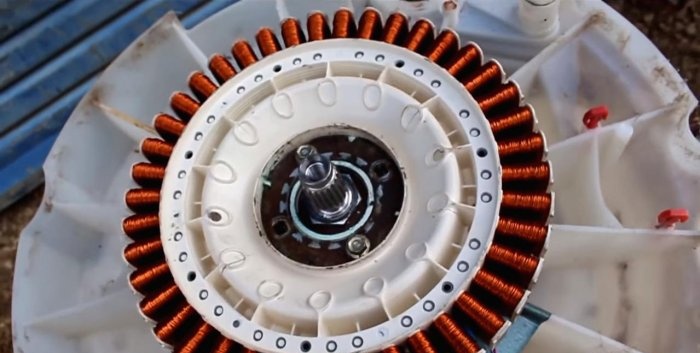
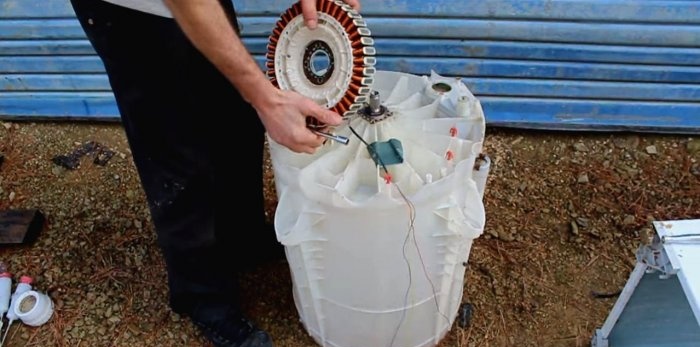
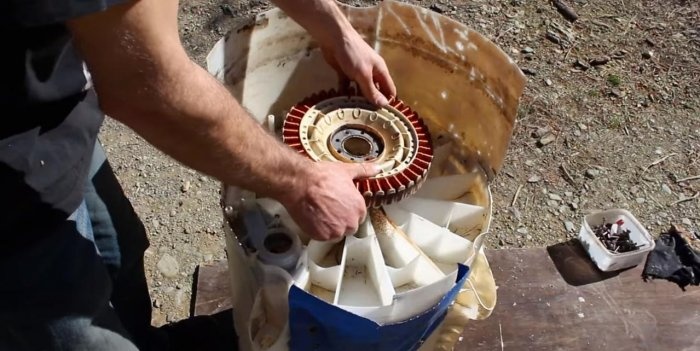
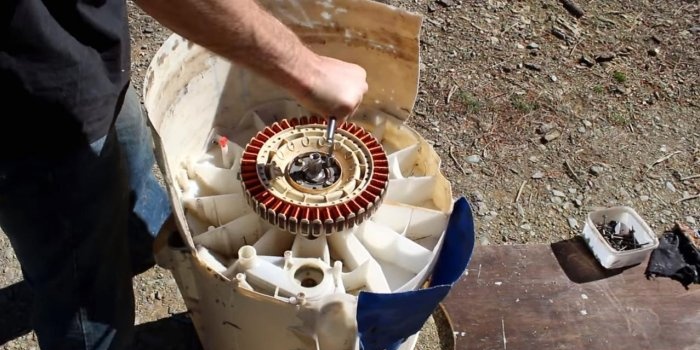
Now you need to disassemble the engine, leaving only the shaft with bearings on the housing.
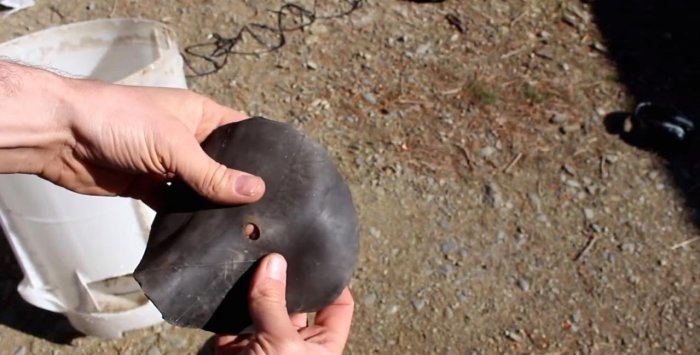
A rubber gasket cut from an old chamber will help seal our shaft. We make a hole in the middle and place it tightly on the shaft rod.
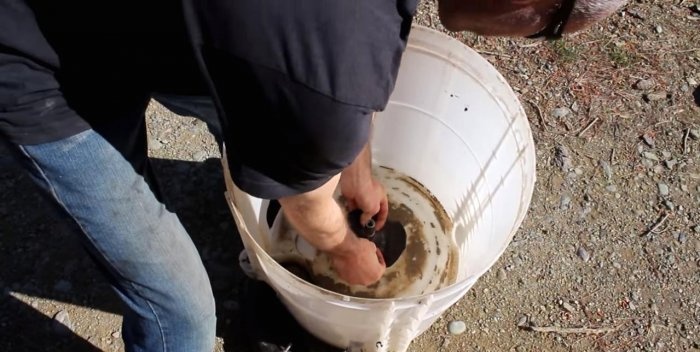
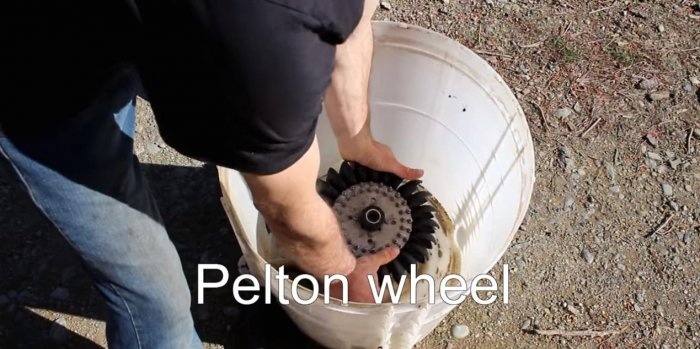
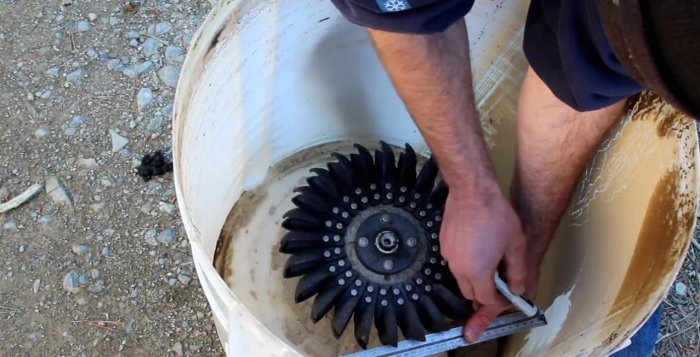
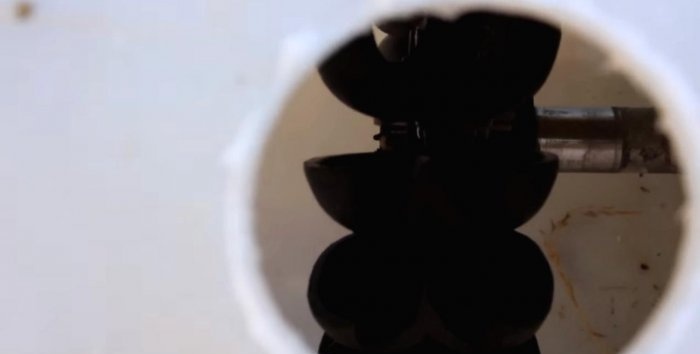
A small Pelton wheel will collect water. This invention is almost one and a half hundred years old, but it still remains relevant and is used even at some hydroelectric power stations. It must be secured to the shaft so that it can move freely and does not touch the housing.
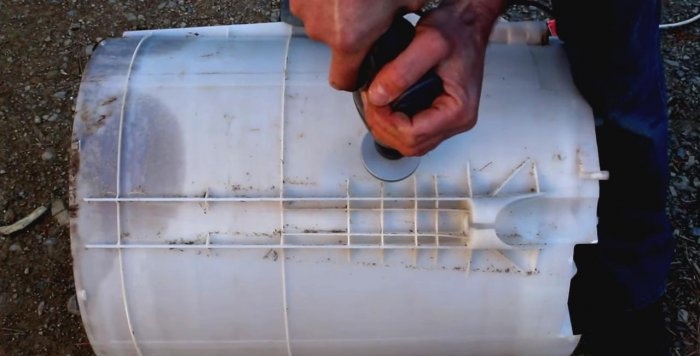
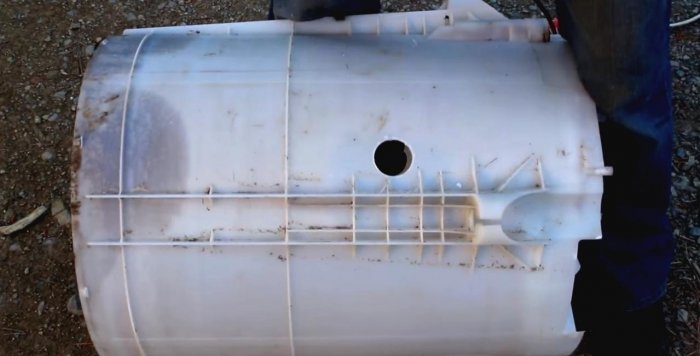
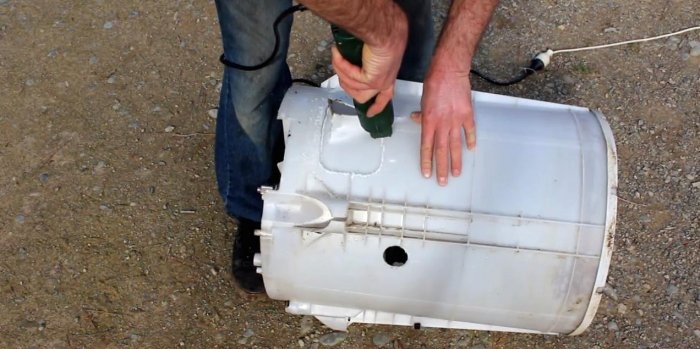
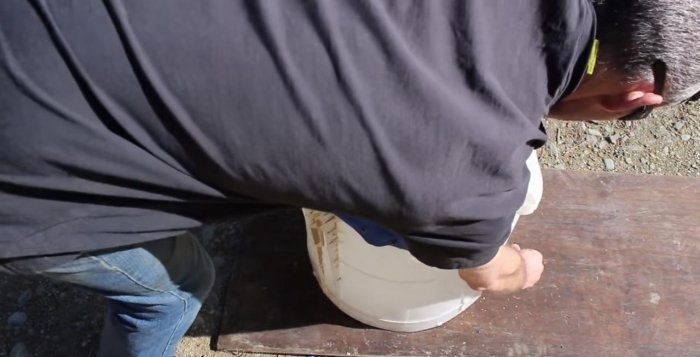
We mark a hole for it in the housing for water supply, and drill it with a hole saw.
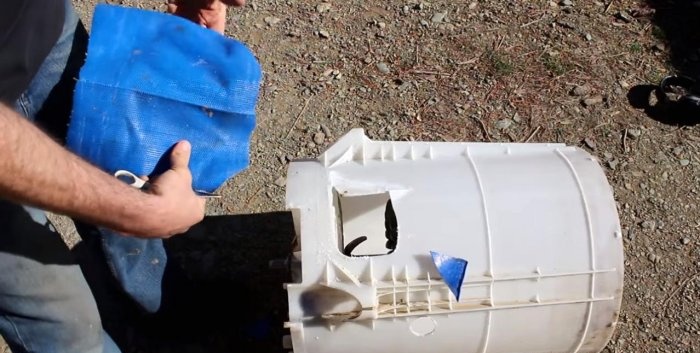
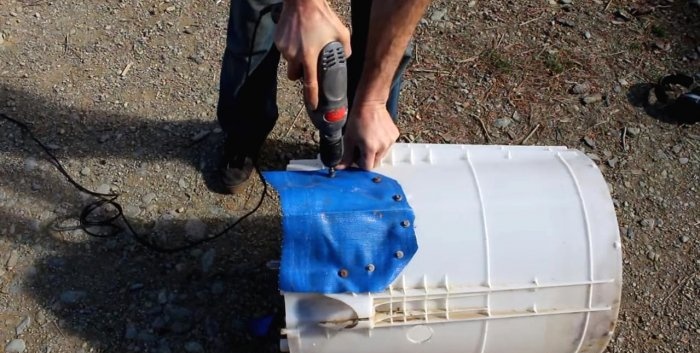
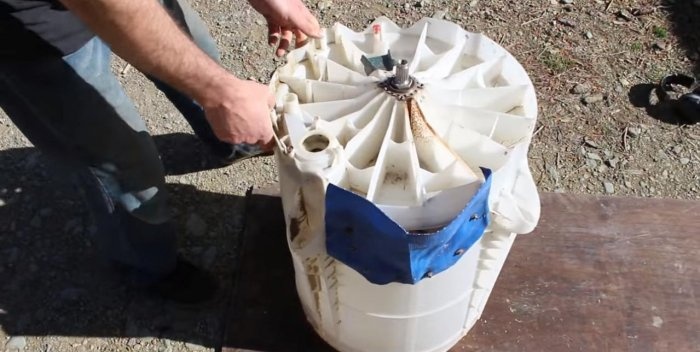
Using a jigsaw or reciprocating saw, we make a drain hole in the shape of a rectangle, and close it with self-tapping screws with a piece of waterproof awning. It should look like this (photo).
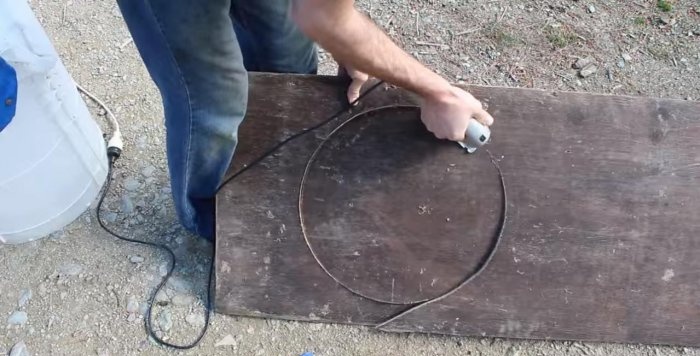
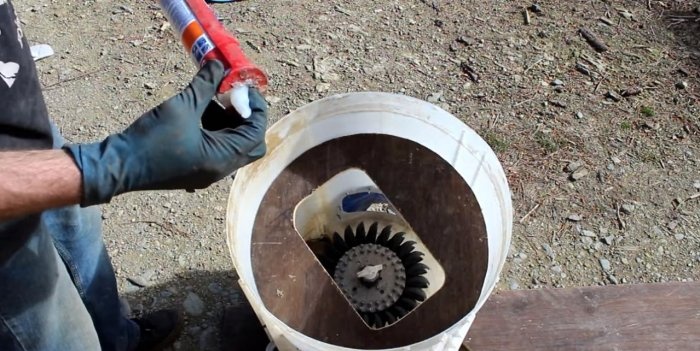
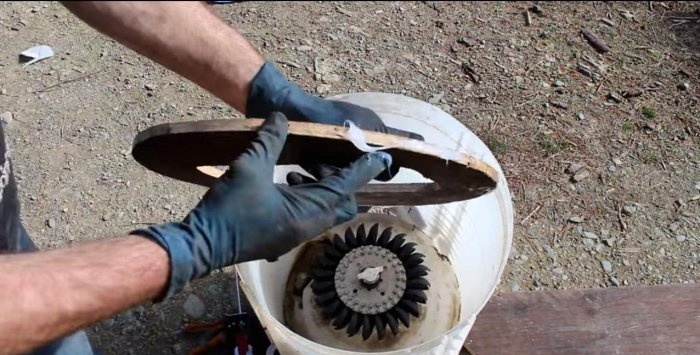
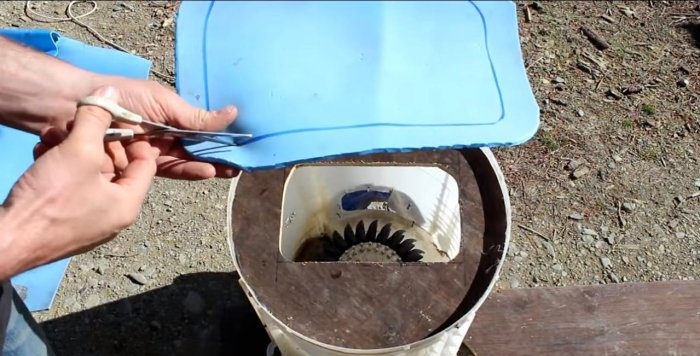
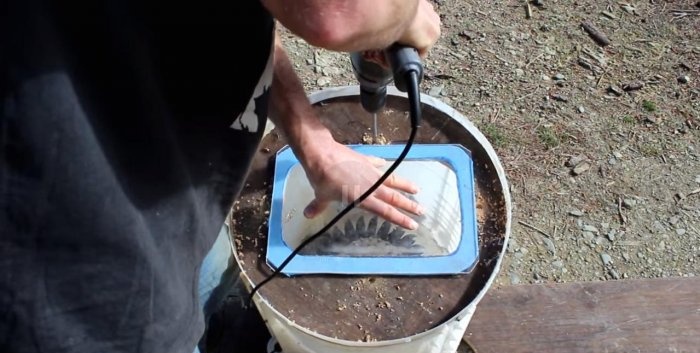
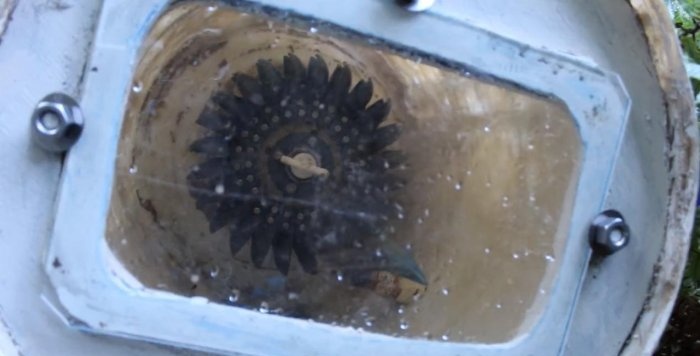
Next we need to make a plug for the tank of our hydraulic turbine. We make it from a piece of moisture-resistant plywood, cutting out a circle equal to the inner diameter of the drum with a jigsaw. We make an inspection hole in the plug itself to monitor the operation of the unit. Which will then be covered with plexiglass.
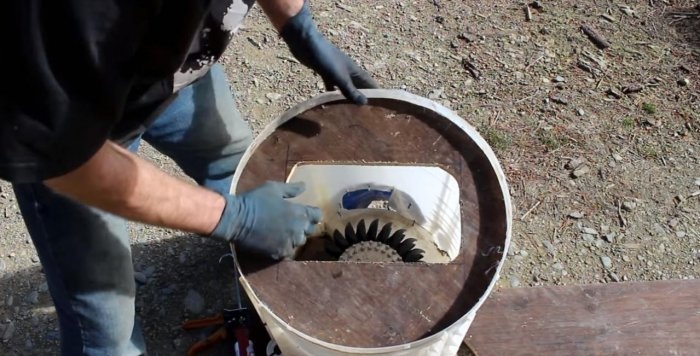
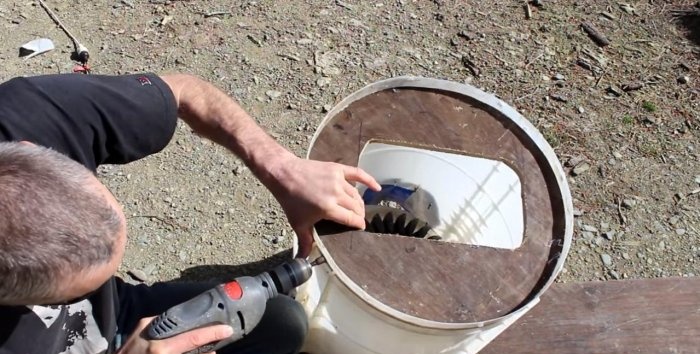
We coat the end of the plywood with silicone and push it inside. We secure it with self-tapping screws through the turbine housing.
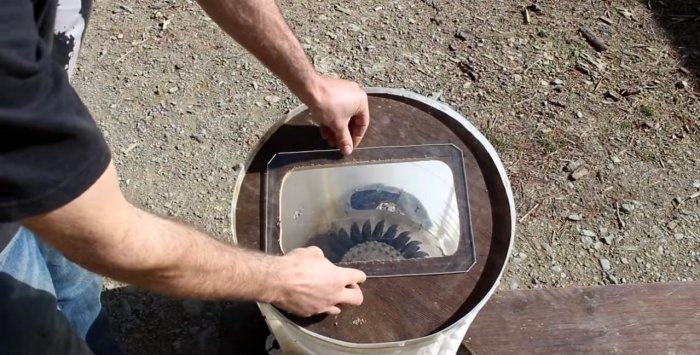
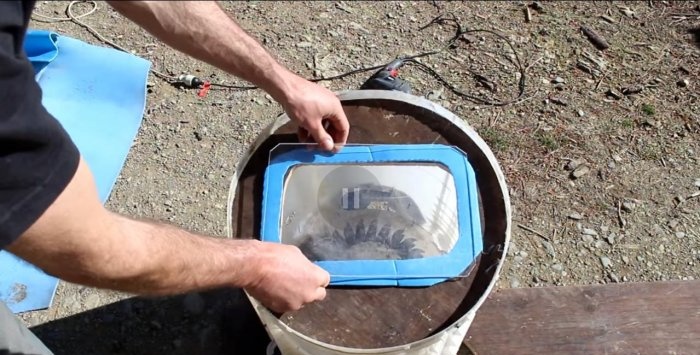
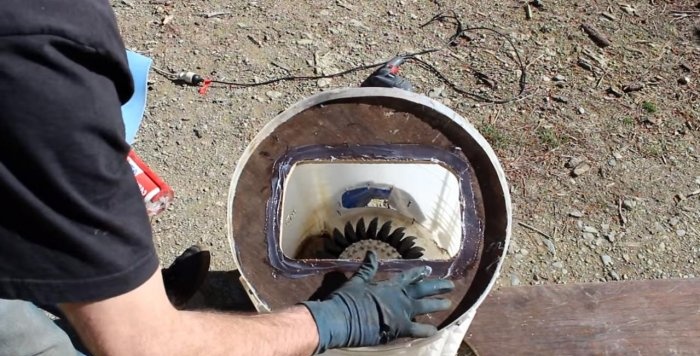
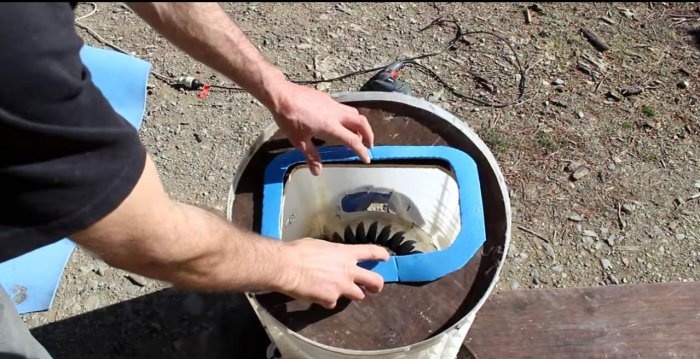
We cut out a gasket for plexiglass from a rubberized material and glue it to the plywood with silicone.
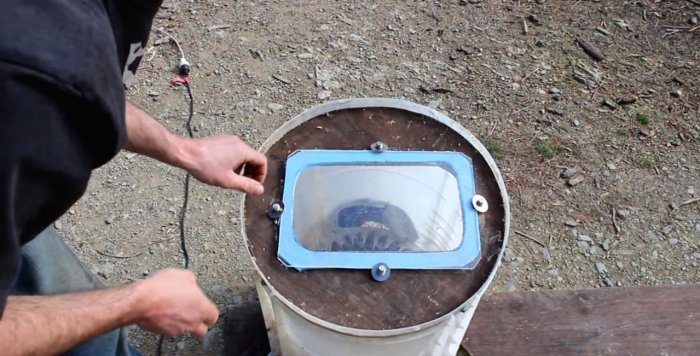
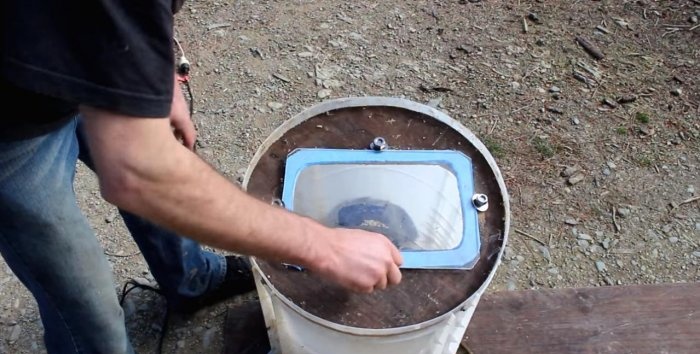
We drill four holes on the sides of the window rectangle, and place clamping bolts in them on the inside. We will attach plexiglass to them so that it is removable in case of unexpected breakdowns.
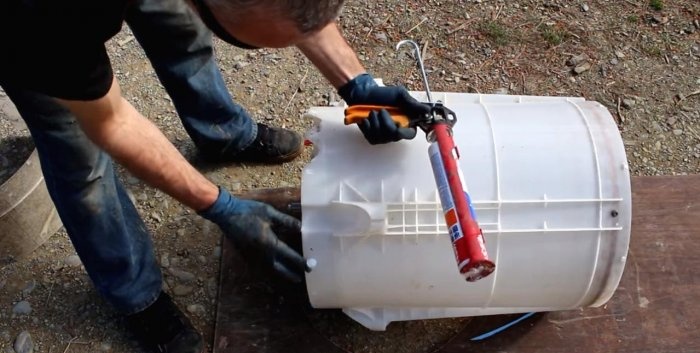
We seal the joint between our plug and the body with silicone.
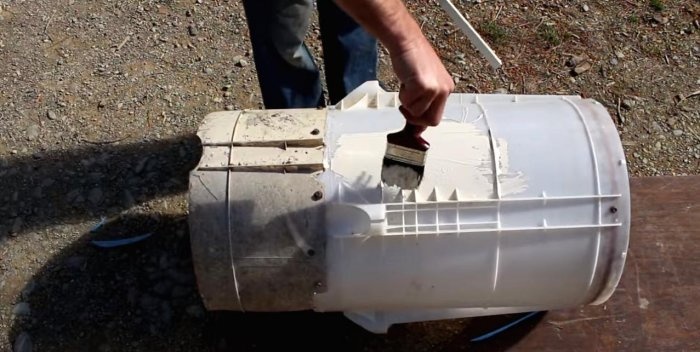
To protect the electrical part of the unit, the author installed an additional plastic casing on the edge of the turbine using self-tapping screws. The plastic case itself was painted with paint to protect the plastic from cracking.
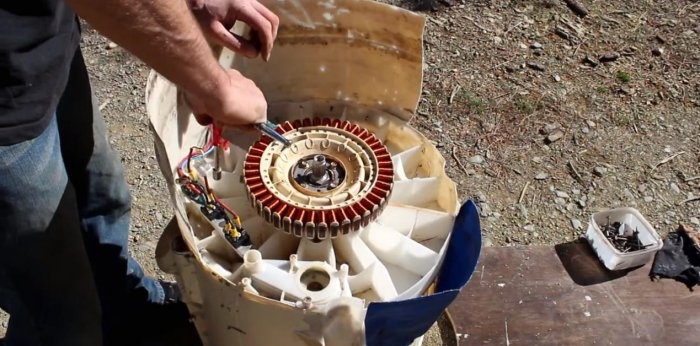
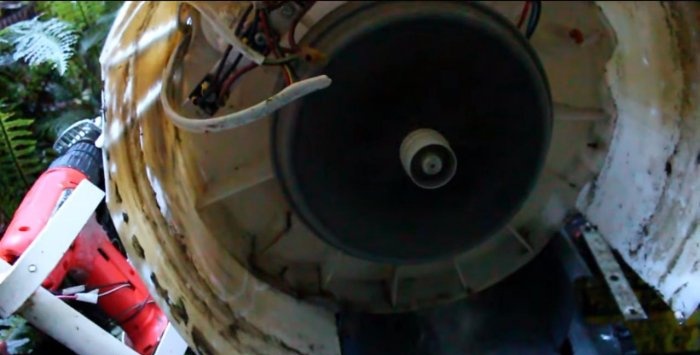
It’s time to assemble the engine and install it on the unit.We attach the stator to the mounting bolts.
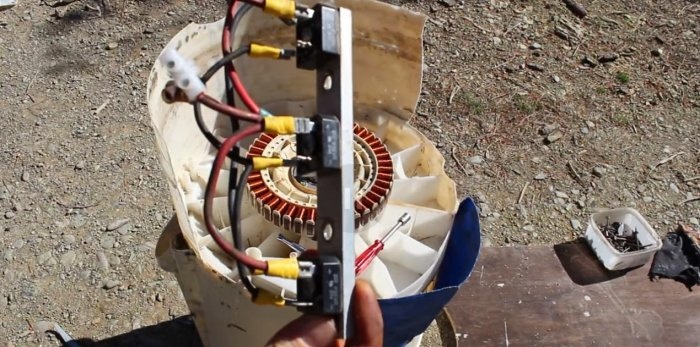
To obtain direct current for charging batteries, we attach a strip of three diode bridges, each per phase.
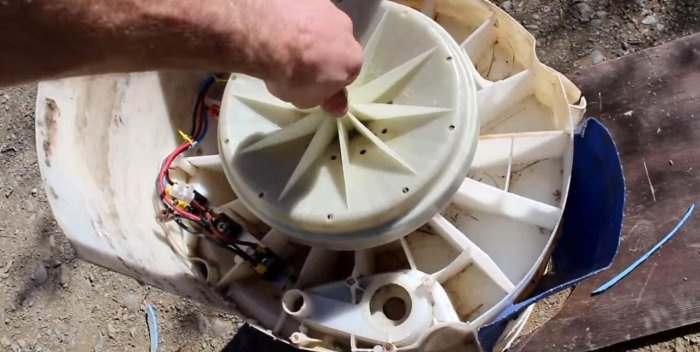
We cover the engine with the rotor cover and plug the excess drain holes for the hoses remaining in the housing.
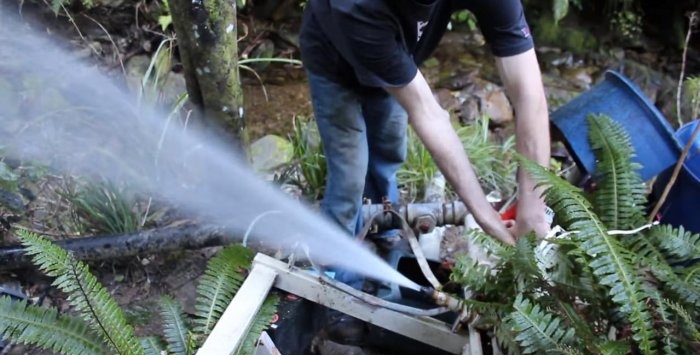
Our hydrogen generator is almost ready. All that remains is to fix it on a frame made of welded corners, and adapt the water supply using hydrants. The output power of the generator can be adjusted by the pressure force, or by the diameter of the hole in the faucet nozzle, which supplies water directly to the turbine itself. Directional drainage will also ensure that water is returned without harming the river.
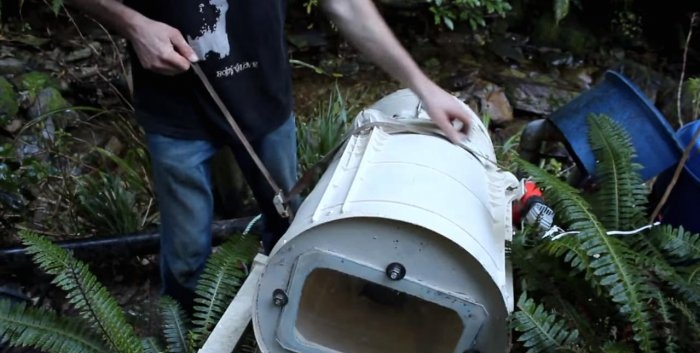
The turbine housing can be secured to a tightening belt to secure loads on vehicles.
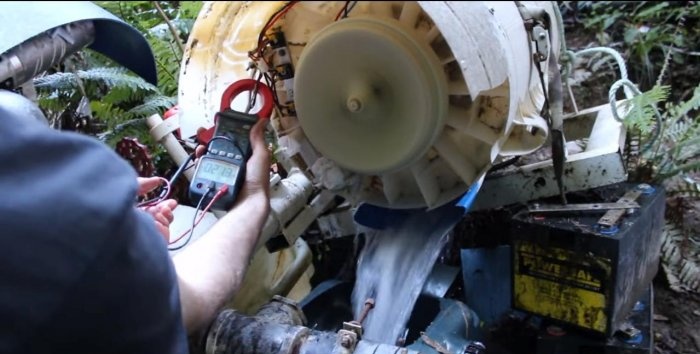
We check the operation of the generator and measure the current and output voltage with a tester. The author assures that with water pressure in his area, the unit produced 21A at 29V, which equals 600W. By increasing the tap nozzle, the power reached 900W.
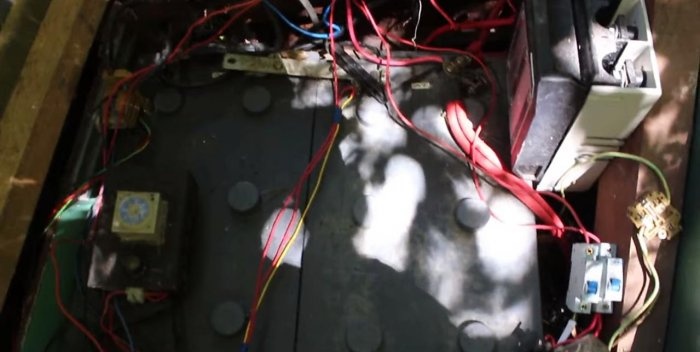
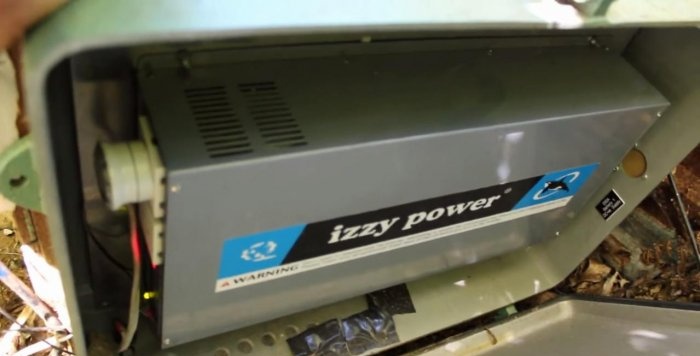
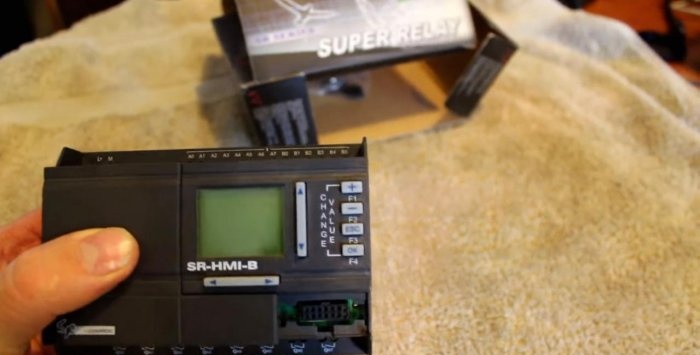
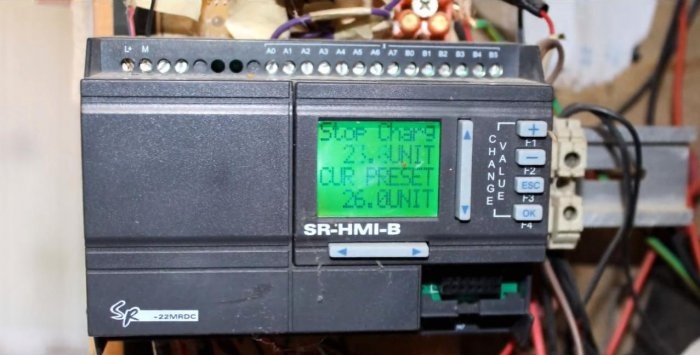
The electrical circuit proposed by the author of this homemade product is not limited to just a generator. For the smooth consumption of electricity in the network, a stable voltage and current are required, which can be supplied by storage tanks - batteries. By inverting a small voltage into one sufficient for household use, you can organize its supply and distribution through the house wiring to electrical appliances. The author also advises using an electronic controller that shows the battery charge level, current consumed and output, temperature conditions, etc.
The natural resources that are abundant around us can truly be used for good.All it takes is a little electrical knowledge and some old parts lying around in the backyard. And for the rest, the ingenuity and resourcefulness of a true lover of inventions will help, because it is precisely such people who drive the movement and development of technical progress.
Its author managed to assemble it literally from an old washing machine, slightly modernizing it and wisely using the resources of the nearest river on his suburban property. He claims that he has been living without an electrical connection for several years and does not pay a penny for electricity. The power from the hydrogenerator is enough to supply electricity not only to all electrical appliances in the house, but also to support the work of the workshop with power tools. How is this possible? Let's take a look together.
Operating principle of a hydroelectric generator
This home development uses the original washing machine body. The engine is remounted into generator mode and placed back in its seat. The Pelton wheel is used as a driving turbine that accumulates water flows and transfers kinetic energy to the generator. The alternating 3-phase current received at the output of the generator is passed through a rectifier consisting of three diode bridges. Direct current is supplied to charge the batteries through the controller, and from them to the 12V/220V inverter, again obtaining a variable frequency.
Materials, tools
Materials:
- Old washing machine with inverter motor;
- Pelton Wheel;
- A small piece of awning;
- Plywood;
- Plexiglas or plexiglass;
- Silicone;
- Waterproofing for plastic - paint or mastic;
- Self-tapping screws, nuts, washers, bolts and sandpaper.
Tool:
- Drill with a core cutter, drills and an attachment for self-tapping screws;
- Reciprocating saw or jigsaw;
- Hand tools: wrenches, pliers, paint knife and silicone gun.
Assembling a hydroelectric generator
Preparatory dismantling work
First, we need to disassemble the washing machine, leaving only the parts we need.
The machine is a vertical type, so we remove the end cover from the front side and dismantle the electronic control panel for washing modes.
We take out the outer drum and dismantle the pump and excess water supply hoses.
We don’t need a flywheel for washing, nor do we need an internal steel container for laundry.
All that should remain is the outer plastic drum and the motor on the shaft.
As we can see, the remounted inverter motor already produces electricity when the shaft rotates.
Now you need to disassemble the engine, leaving only the shaft with bearings on the housing.
Manufacturing of hydraulic turbine
A rubber gasket cut from an old chamber will help seal our shaft. We make a hole in the middle and place it tightly on the shaft rod.
A small Pelton wheel will collect water. This invention is almost one and a half hundred years old, but it still remains relevant and is used even at some hydroelectric power stations. It must be secured to the shaft so that it can move freely and does not touch the housing.
We mark a hole for it in the housing for water supply, and drill it with a hole saw.
Using a jigsaw or reciprocating saw, we make a drain hole in the shape of a rectangle, and close it with self-tapping screws with a piece of waterproof awning. It should look like this (photo).
Next we need to make a plug for the tank of our hydraulic turbine. We make it from a piece of moisture-resistant plywood, cutting out a circle equal to the inner diameter of the drum with a jigsaw. We make an inspection hole in the plug itself to monitor the operation of the unit. Which will then be covered with plexiglass.
We coat the end of the plywood with silicone and push it inside. We secure it with self-tapping screws through the turbine housing.
We cut out a gasket for plexiglass from a rubberized material and glue it to the plywood with silicone.
We drill four holes on the sides of the window rectangle, and place clamping bolts in them on the inside. We will attach plexiglass to them so that it is removable in case of unexpected breakdowns.
We seal the joint between our plug and the body with silicone.
To protect the electrical part of the unit, the author installed an additional plastic casing on the edge of the turbine using self-tapping screws. The plastic case itself was painted with paint to protect the plastic from cracking.
It’s time to assemble the engine and install it on the unit.We attach the stator to the mounting bolts.
To obtain direct current for charging batteries, we attach a strip of three diode bridges, each per phase.
We cover the engine with the rotor cover and plug the excess drain holes for the hoses remaining in the housing.
Installation and connection
Our hydrogen generator is almost ready. All that remains is to fix it on a frame made of welded corners, and adapt the water supply using hydrants. The output power of the generator can be adjusted by the pressure force, or by the diameter of the hole in the faucet nozzle, which supplies water directly to the turbine itself. Directional drainage will also ensure that water is returned without harming the river.
The turbine housing can be secured to a tightening belt to secure loads on vehicles.
We check the operation of the generator and measure the current and output voltage with a tester. The author assures that with water pressure in his area, the unit produced 21A at 29V, which equals 600W. By increasing the tap nozzle, the power reached 900W.
The electrical circuit proposed by the author of this homemade product is not limited to just a generator. For the smooth consumption of electricity in the network, a stable voltage and current are required, which can be supplied by storage tanks - batteries. By inverting a small voltage into one sufficient for household use, you can organize its supply and distribution through the house wiring to electrical appliances. The author also advises using an electronic controller that shows the battery charge level, current consumed and output, temperature conditions, etc.
The natural resources that are abundant around us can truly be used for good.All it takes is a little electrical knowledge and some old parts lying around in the backyard. And for the rest, the ingenuity and resourcefulness of a true lover of inventions will help, because it is precisely such people who drive the movement and development of technical progress.
Watch the video
Similar master classes
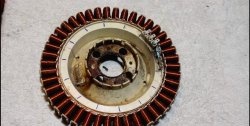
Electric generator - conversion of a washing machine engine

Homemade hydroelectric power station from an old washing machine
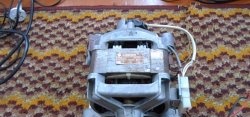
How to connect the motor from a washing machine to 220 V

Brazier from a washing machine drum
An electric generator based on a thermoacoustic engine is not

Wind generator from HDD and washing machine pumps
Particularly interesting

Cable antenna for digital TV in 5 minutes

A selection of simple and effective schemes.

Three-phase voltage from single-phase in 5 minutes

Starting a three-phase motor from a single-phase network without a capacitor

Eternal flashlight without batteries

How to make an inexpensive but very powerful LED lamp
Comments (1)

