How to make a directional Wi-Fi antenna
Wireless Internet networks are everywhere today. And most of our computers can perceive them. However, sometimes the signal strength is not enough to simply connect, not to mention fully surf the online space.
Antenna-feeder devices of various types come to the rescue. This direction is becoming more and more fashionable and in demand, because simple equipment can strengthen a weak Wi-Fi signal several, or even tens of times. What is the secret of technology? Let's take a look together.
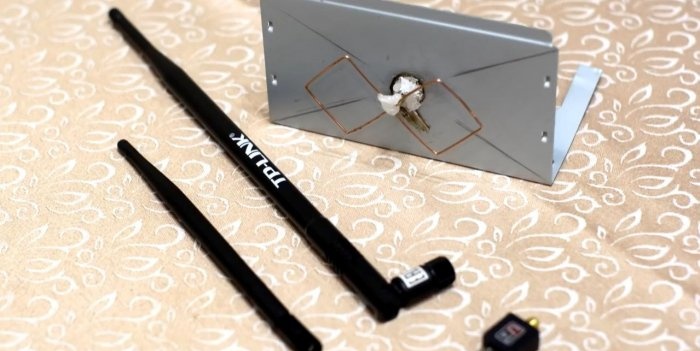
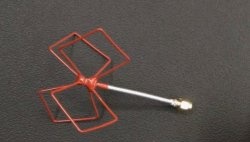
Some may be surprised, but there is nothing fundamentally new in this antenna. The original invention of the bipolar antenna was proposed by radio amateur engineer Kharchenko K.P. back in 1961. It was intended then to catch waves in the UHF range, when television and radio broadcasting appeared in it. The antenna consists of two squares connected at one of their vertices by separated sides.
Nowadays, this device has begun to be adapted to Wi-Fi modems and routers for receiving and transmitting Internet network signals. It consists of a reflector and a vibrator, which are capable of amplifying a signal of a certain frequency, and even being an access point, i.e.distribute it to several consumers.
Materials:
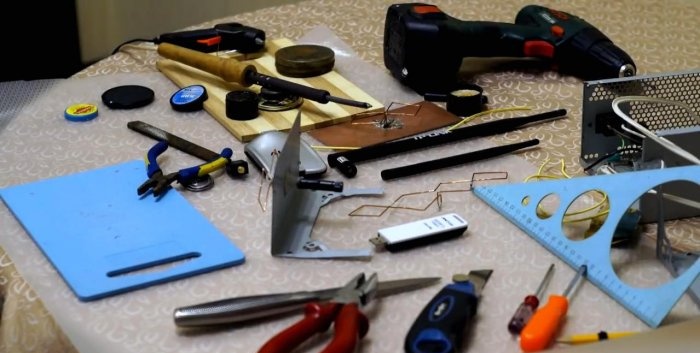
Power tools: screwdriver, soldering iron and glue gun.
Otherwise, for this homemade product you will need the usual tools of a home craftsman: pliers, wire cutters, a knife, a set of screwdrivers, a ruler and a pencil.
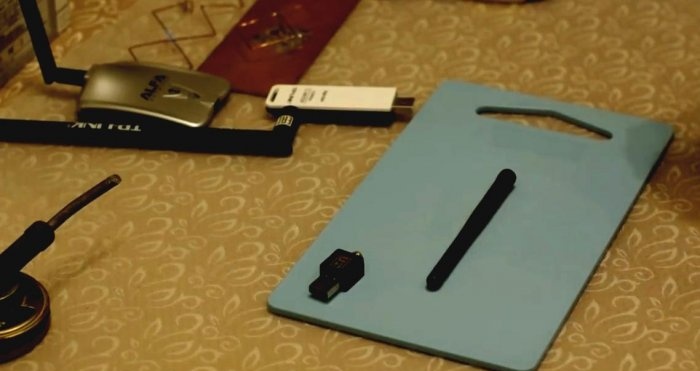
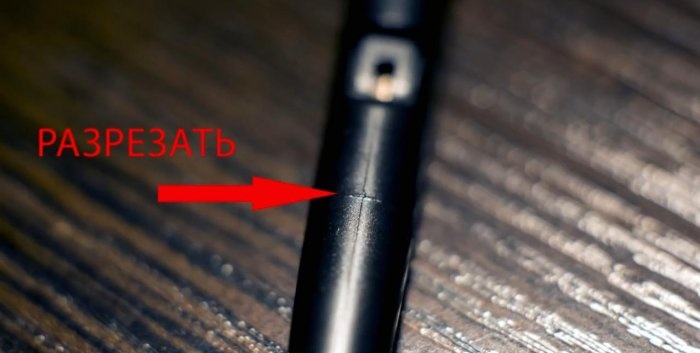
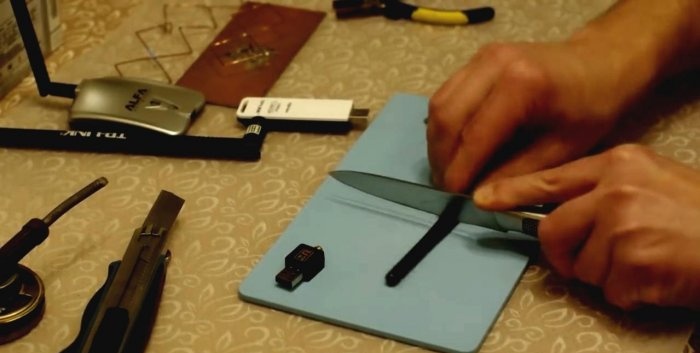
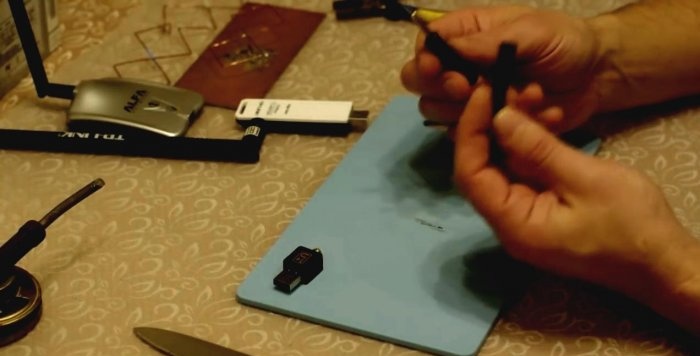
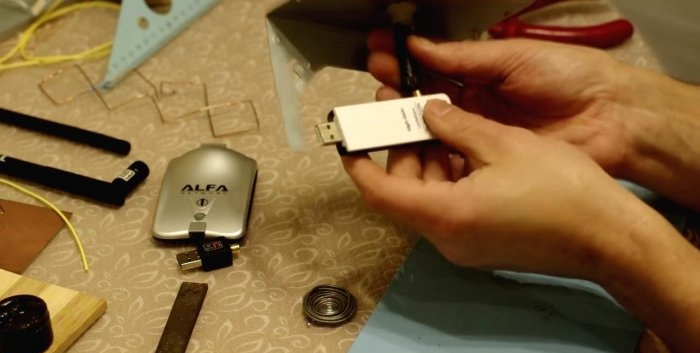
First, unscrew the antenna from the adapter body. We free the antenna from the rubber braid by cutting it off with a knife along the notch at the base.
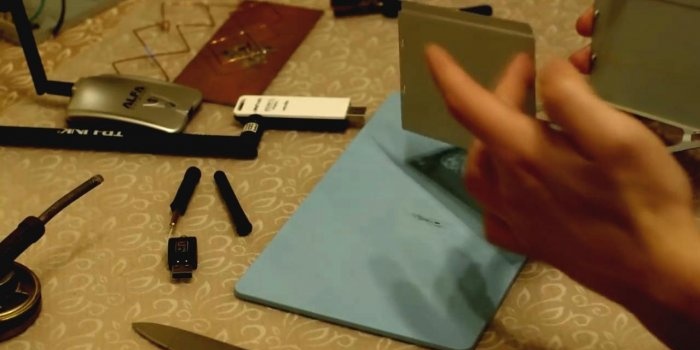
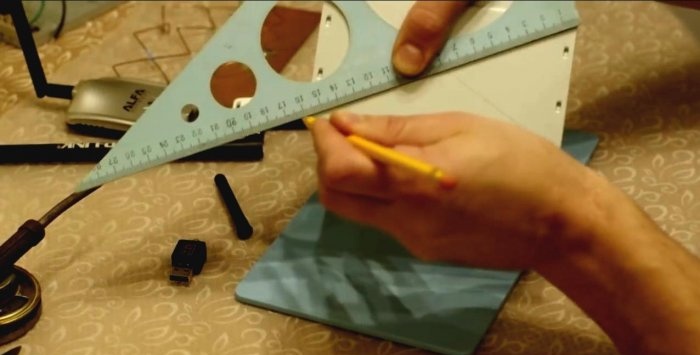
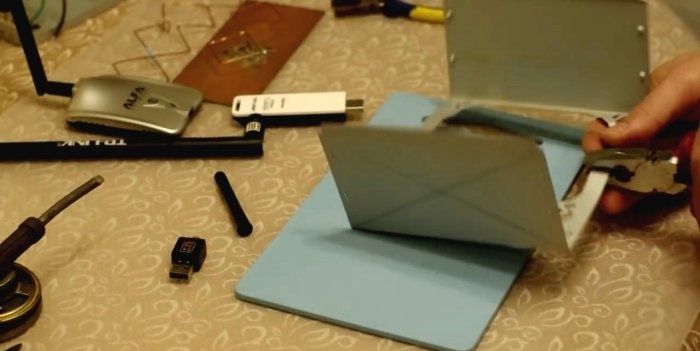
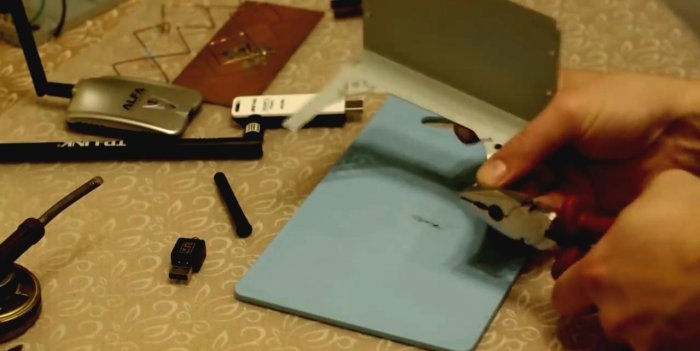
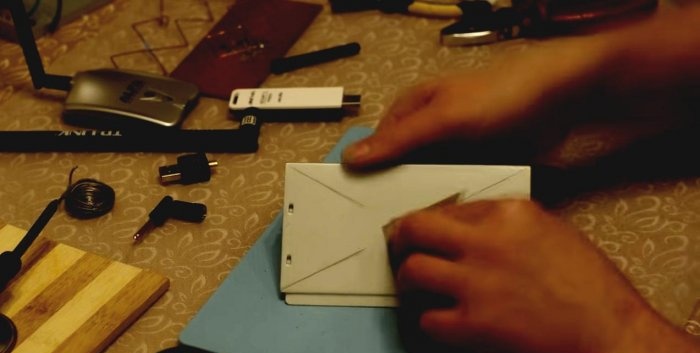
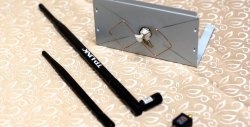
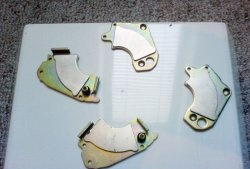
We will make the reflector from the side wall of the power supply case from a computer that has already served its purpose. We mark the middle on the tin rectangle using two diagonals. We leave part of the bottom of the body for the stand, and cut off a piece of tin.
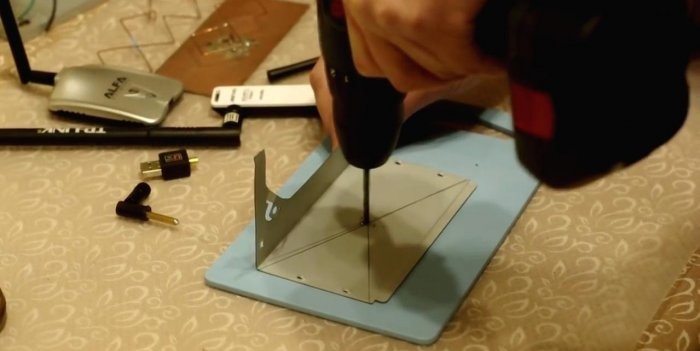
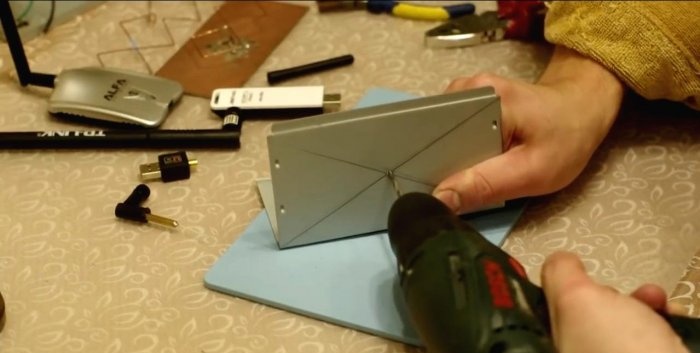
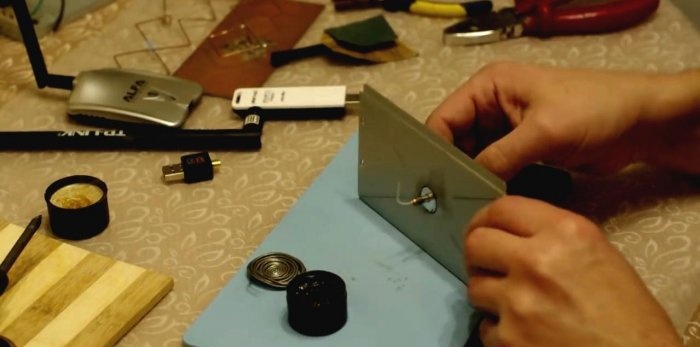
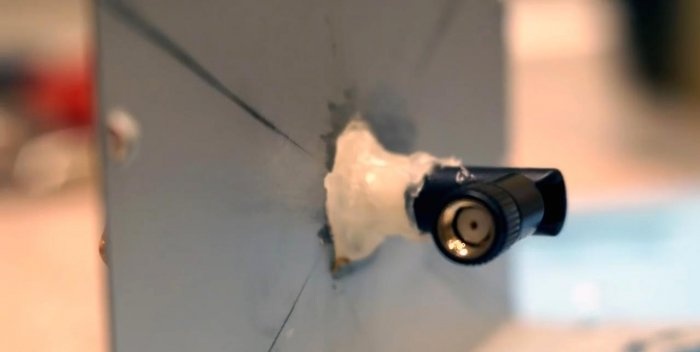
Drill a hole in the center of the reflector with a drill of suitable diameter. The antenna housing must fit freely into it.
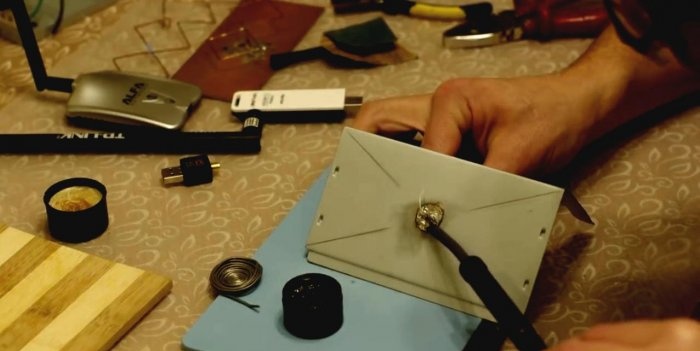
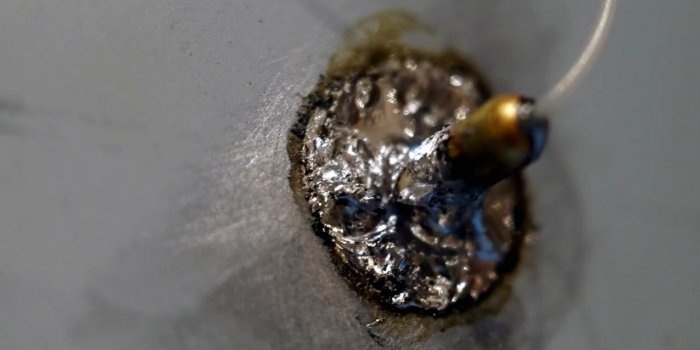
We sand the protective coating around the hole and tin it with solder and flux. This procedure must be done on both sides of the reflector.
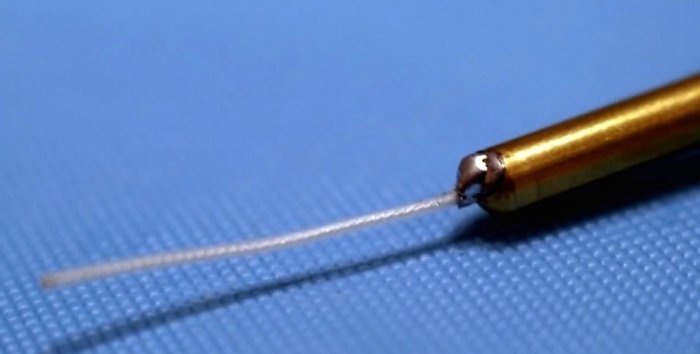
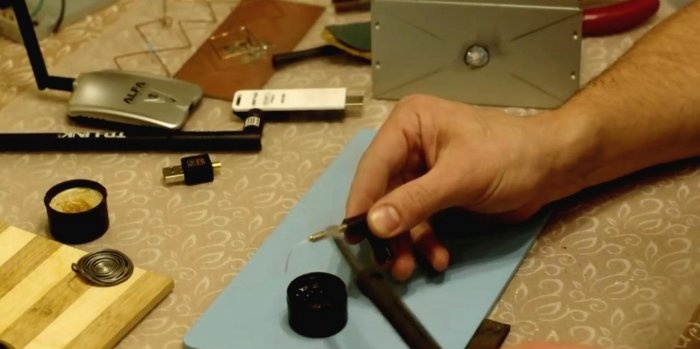
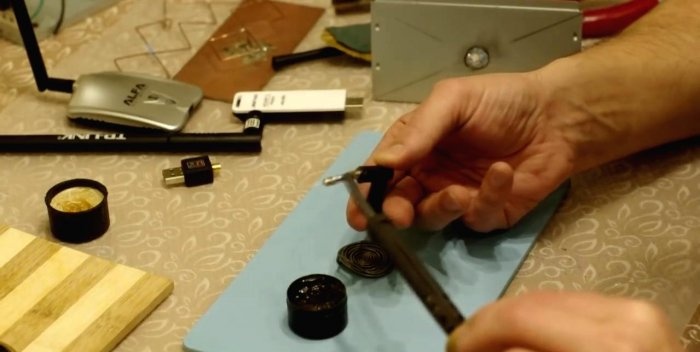
The rod of the disassembled antenna is metal. It also needs to be tinned in order to later be soldered to the reflector.
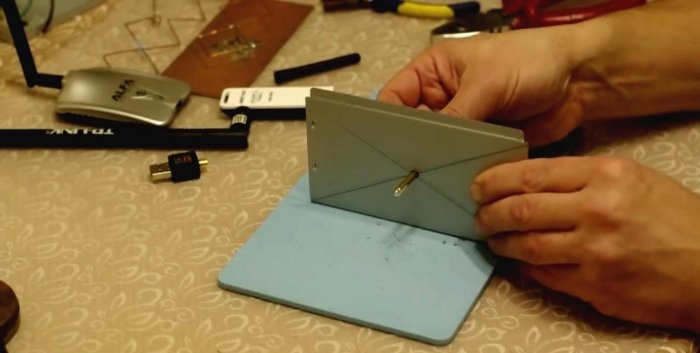
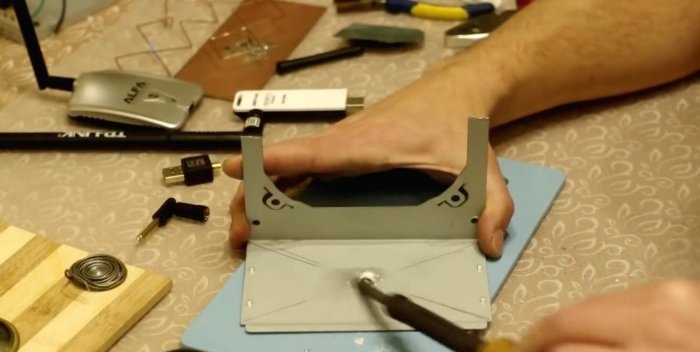
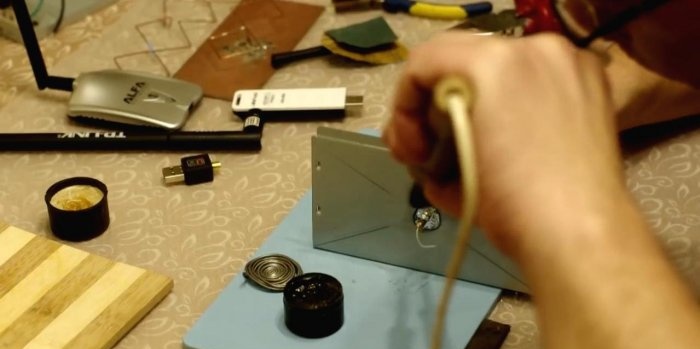
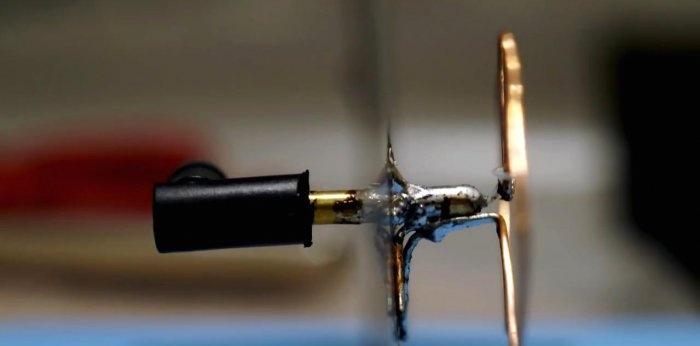
We insert the antenna rod into the central hole in the reflector and solder it on both sides.
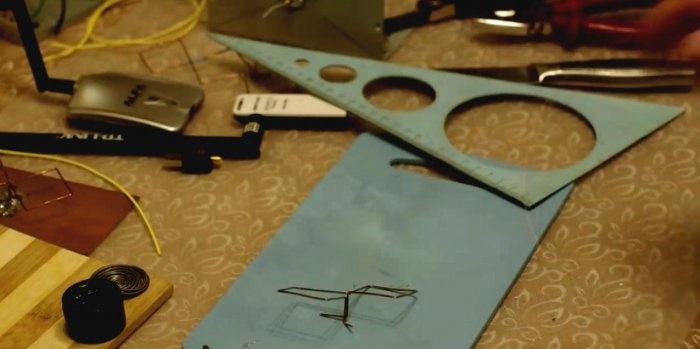
The frame for our antenna will consist of a single piece of copper wire. Its dimensions, according to the author, must be observed to the nearest millimeter.
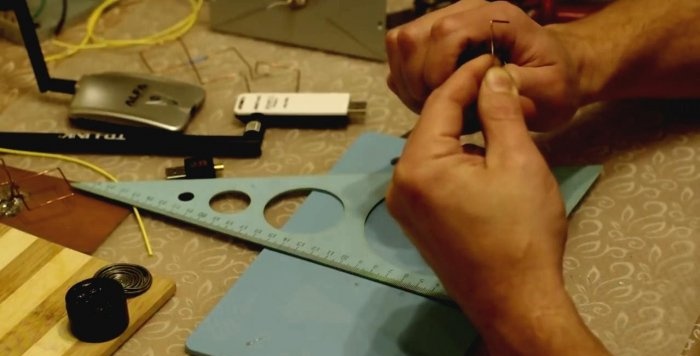
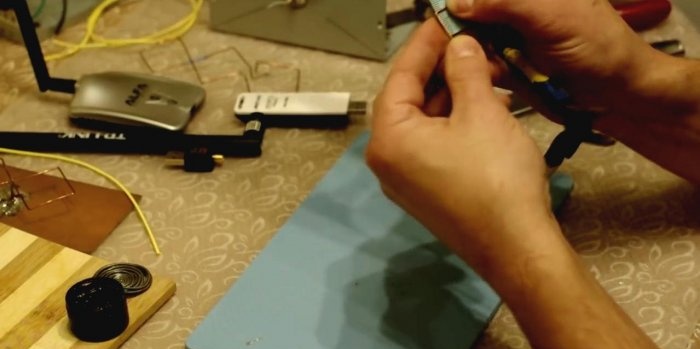
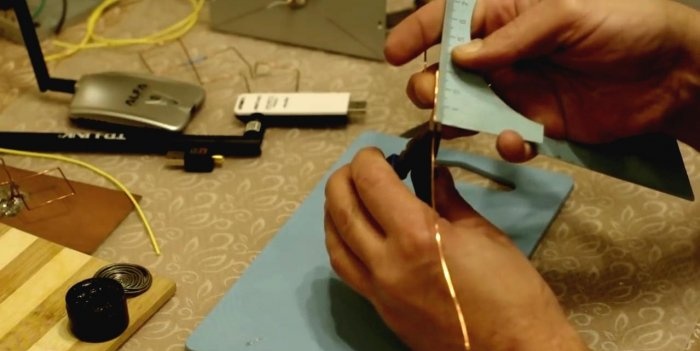
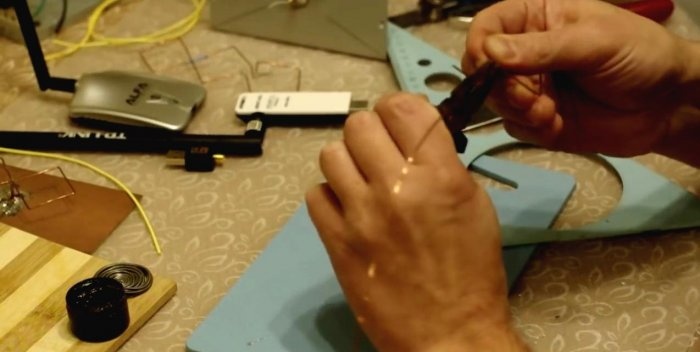
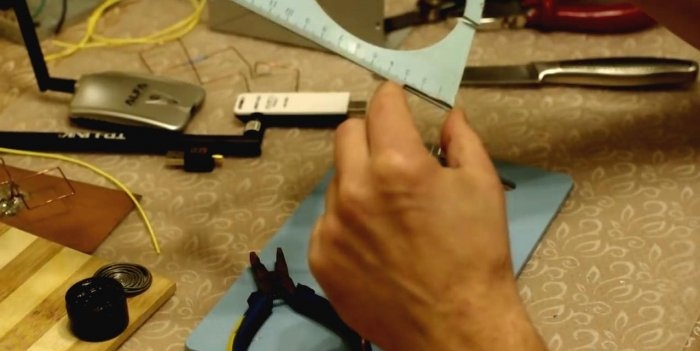
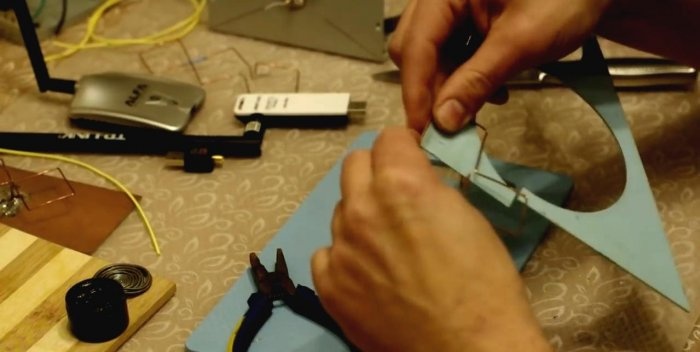
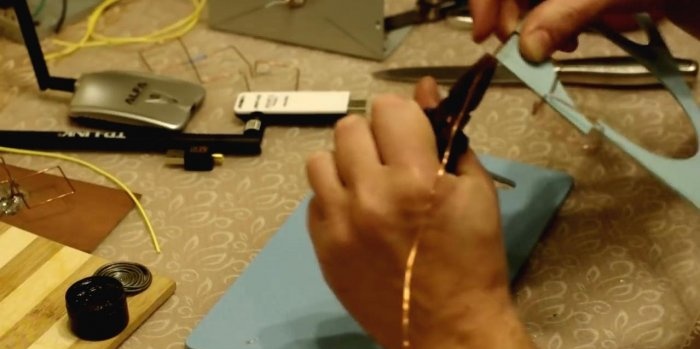
To begin, bend the base-leg of the frame. Its length is 16 mm.The sides of a square 30.5 mm long should also be the same. We bend them carefully with pliers, trimming the curvature of the bends.
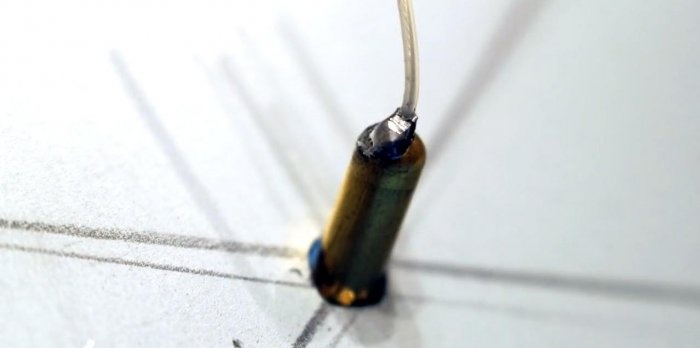
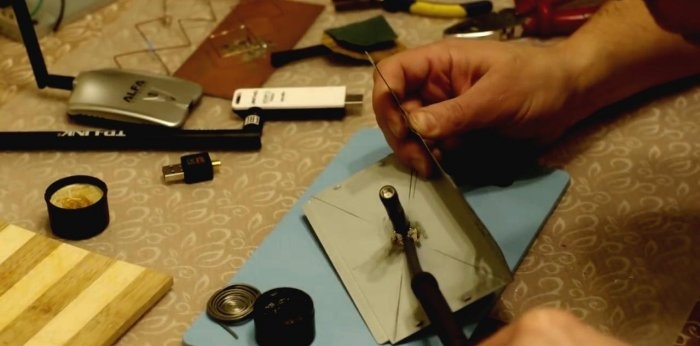
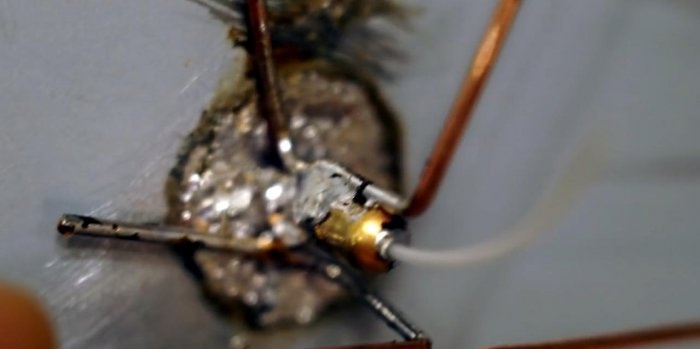
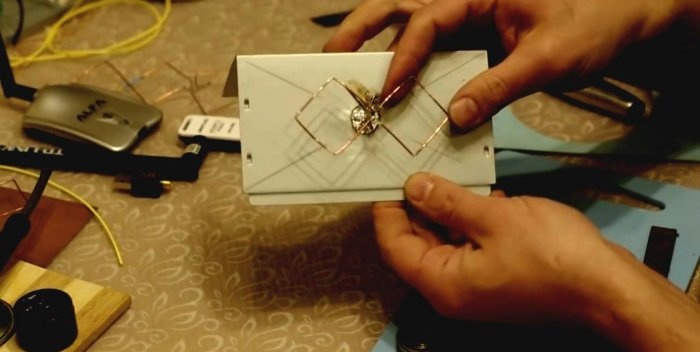
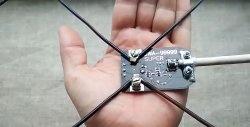
After the vibrator frame is ready, solder the antenna leg to the reflector and metal rod. We solder the antenna cable to the free end of the frame.
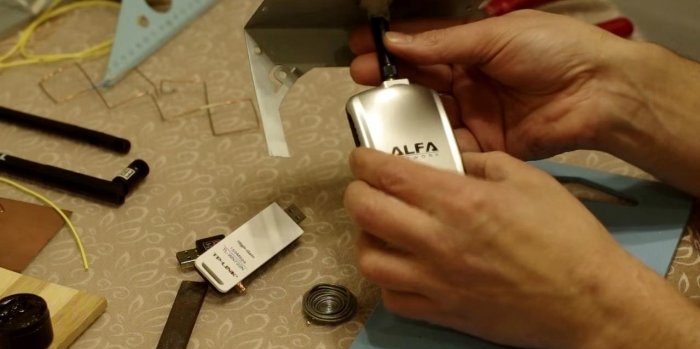
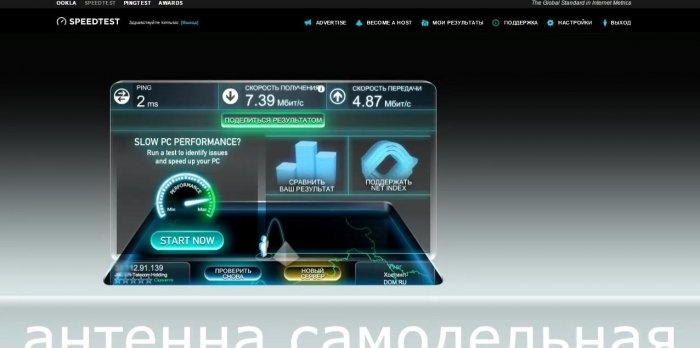
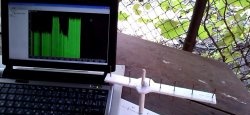
Upon completion of the work, you can screw any Wi-Fi modem to the antenna socket, since its connector is universal. All that remains is to place the antenna in a place convenient for receiving the signal, find a free access point and check the data reception/transmission speed.
The result of the work is excellent.
Antenna-feeder devices of various types come to the rescue. This direction is becoming more and more fashionable and in demand, because simple equipment can strengthen a weak Wi-Fi signal several, or even tens of times. What is the secret of technology? Let's take a look together.
How it works
Some may be surprised, but there is nothing fundamentally new in this antenna. The original invention of the bipolar antenna was proposed by radio amateur engineer Kharchenko K.P. back in 1961. It was intended then to catch waves in the UHF range, when television and radio broadcasting appeared in it. The antenna consists of two squares connected at one of their vertices by separated sides.
Nowadays, this device has begun to be adapted to Wi-Fi modems and routers for receiving and transmitting Internet network signals. It consists of a reflector and a vibrator, which are capable of amplifying a signal of a certain frequency, and even being an access point, i.e.distribute it to several consumers.
What you need for a homemade antenna
Materials:
- Antenna from Wi-Fi adapter;
- Case from an old computer power supply;
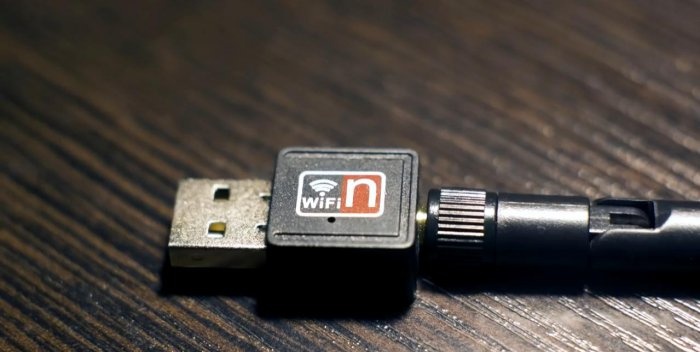
- Wi-Fi adapter with antenna and USB output;
- A piece of copper wire with a cross section of 2-2.5 mm;
Power tools: screwdriver, soldering iron and glue gun.
Otherwise, for this homemade product you will need the usual tools of a home craftsman: pliers, wire cutters, a knife, a set of screwdrivers, a ruler and a pencil.
Making an antenna
Step one - prepare the antenna, make a reflector
First, unscrew the antenna from the adapter body. We free the antenna from the rubber braid by cutting it off with a knife along the notch at the base.
We will make the reflector from the side wall of the power supply case from a computer that has already served its purpose. We mark the middle on the tin rectangle using two diagonals. We leave part of the bottom of the body for the stand, and cut off a piece of tin.
Drill a hole in the center of the reflector with a drill of suitable diameter. The antenna housing must fit freely into it.
We sand the protective coating around the hole and tin it with solder and flux. This procedure must be done on both sides of the reflector.
The rod of the disassembled antenna is metal. It also needs to be tinned in order to later be soldered to the reflector.
We insert the antenna rod into the central hole in the reflector and solder it on both sides.
Step two - make a frame vibrator for the antenna
The frame for our antenna will consist of a single piece of copper wire. Its dimensions, according to the author, must be observed to the nearest millimeter.
To begin, bend the base-leg of the frame. Its length is 16 mm.The sides of a square 30.5 mm long should also be the same. We bend them carefully with pliers, trimming the curvature of the bends.
After the vibrator frame is ready, solder the antenna leg to the reflector and metal rod. We solder the antenna cable to the free end of the frame.
Upon completion of the work, you can screw any Wi-Fi modem to the antenna socket, since its connector is universal. All that remains is to place the antenna in a place convenient for receiving the signal, find a free access point and check the data reception/transmission speed.
The result of the work is excellent.
Watch the video
Similar master classes
Particularly interesting
Comments (0)

