Device for soldering twisted wires
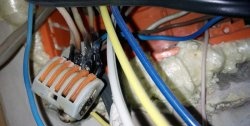
Anyone who has ever soldered twists in a distribution box at home knows perfectly well what it’s like to stand on a stool and try to solder a connection at height with a soldering iron. Covering the entire floor with solder is half the trouble; the main thing here is not to get burned, since soldering is very inconvenient.
It is for such purposes that I recommend making a simple device with which you can quickly and very efficiently make soldered twists at height.
Will need
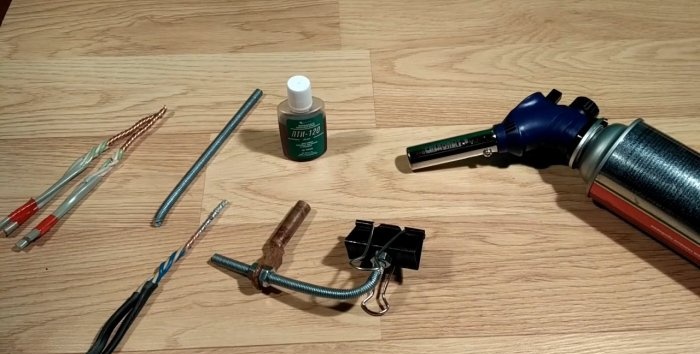
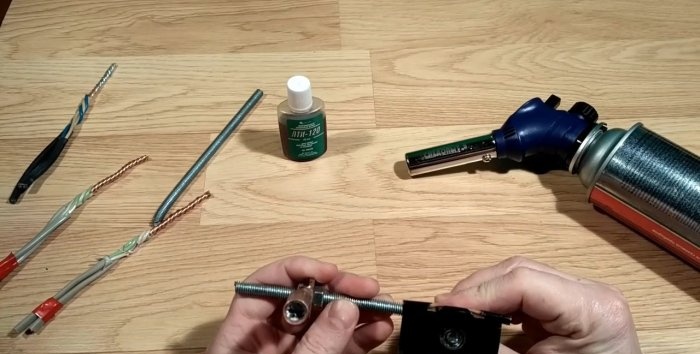
The design contains a minimum of parts. To build you need to take:
- Gas burner with gas cylinder.
- Stationery clip.
- Hairpin.
- Four nuts for the stud.
- Copper tip.
Making a quick soldering fixture
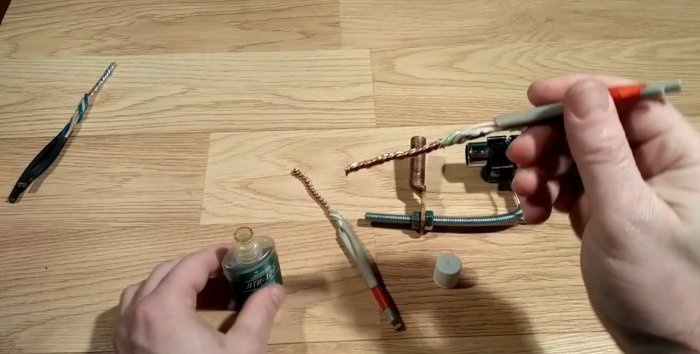
I show you a finished copy and tell you in words how to make it. It is not difficult to repeat it, so you will understand everything without difficulty.
Hairpins in stores are sold approximately one meter long, so you need to cut off a 15 cm long piece with a hacksaw.
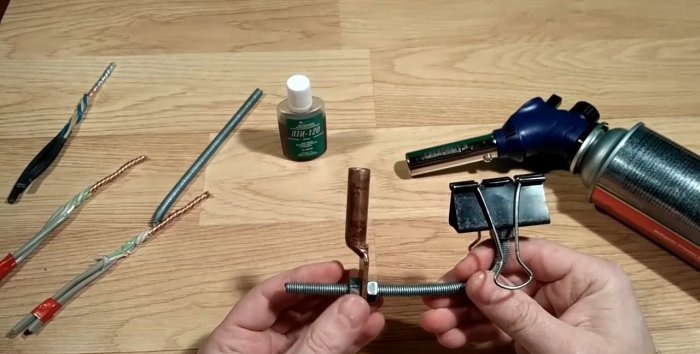
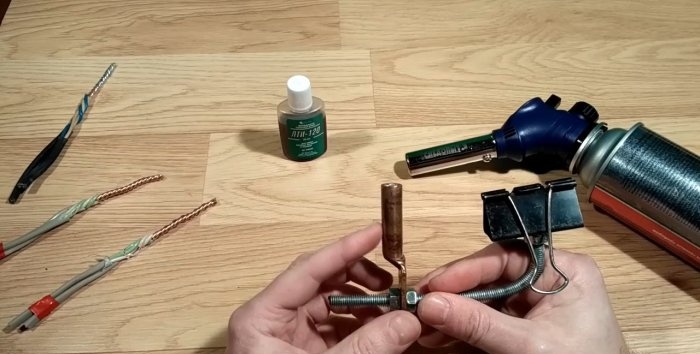
Next, drill a hole in the center of the office clip according to the diameter of the pin.
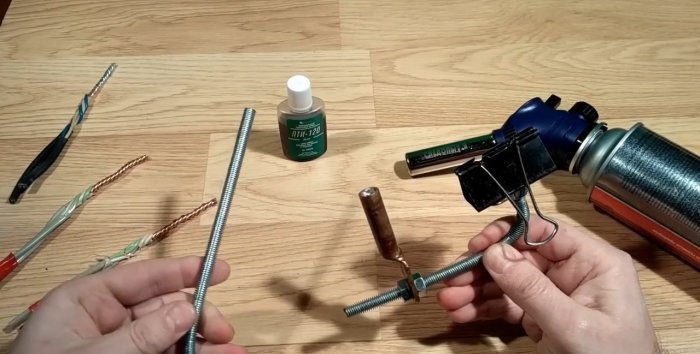
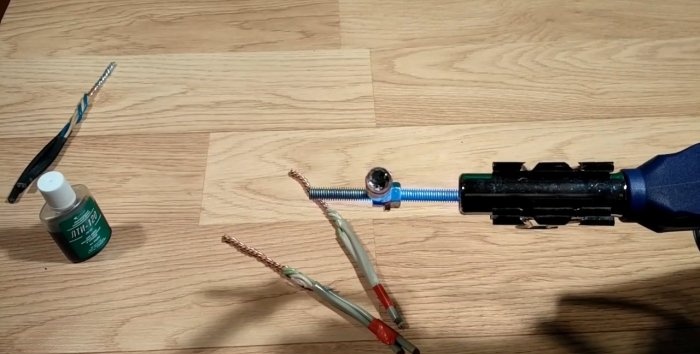
Bend the pin at an angle of 90 degrees; it is convenient to use a vice for this.And screw a nut onto one end, put on a clamp and secure with another nut on top.
We also screw the nut, tip, nut onto the other end.
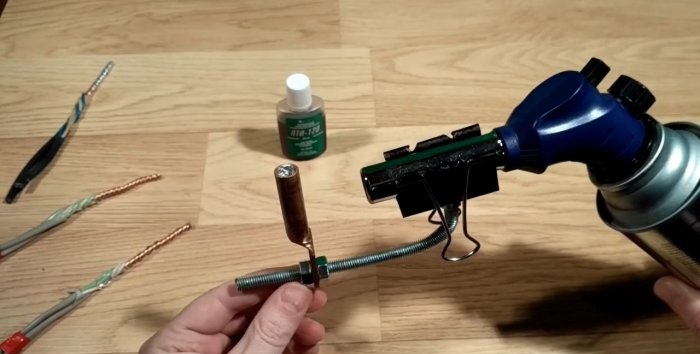
We put the device on the nozzle of the gas burner, already with the gas cylinder attached.
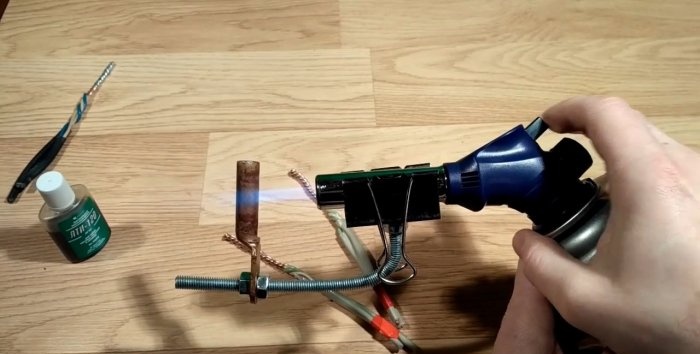
We light the burner and use the nuts to adjust the distance of the tip on the stud so that the flame optimally rests on the tip at a short distance. During operation, this distance can be adjusted by moving the clamp along the gas burner nozzle.
Soldering twisted wires
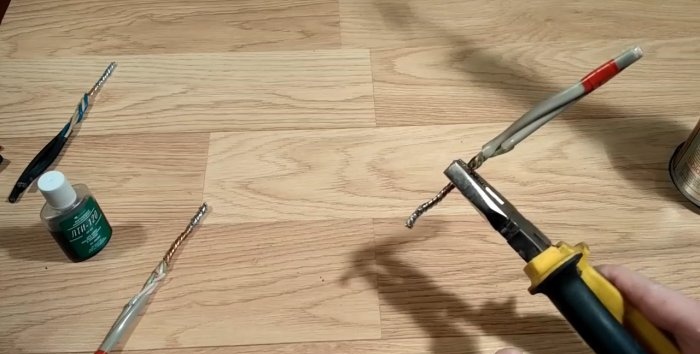
We take liquid flux. It can be LTI-120, alcohol-rosin, or any other active flux intended for soldering non-ferrous metals.
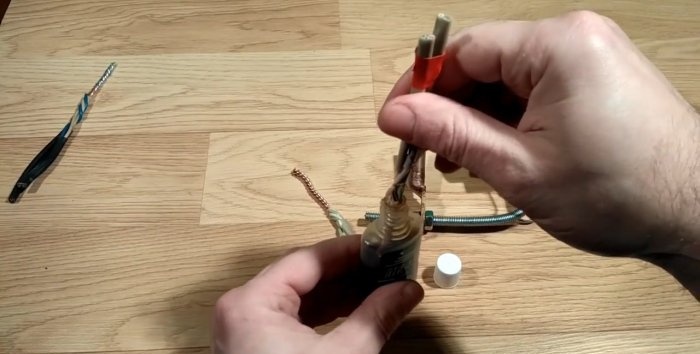
We dip the twist into it and hold it for 1-2 seconds for better penetration of the liquid into the cracks between the wires.
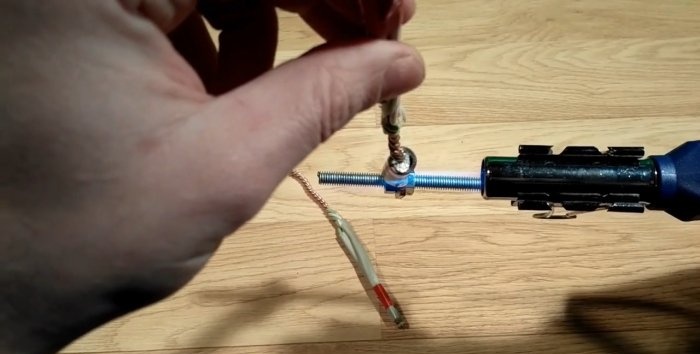
Next, wait for the tip to warm up and place a small amount of POS-61 type solder into it. I've soldered with a jig before, so I only need to wait until it warms up.
As soon as the solder begins to spread, we dip the twist into it and wait 1-2 seconds until the connection warms up and soldering occurs.
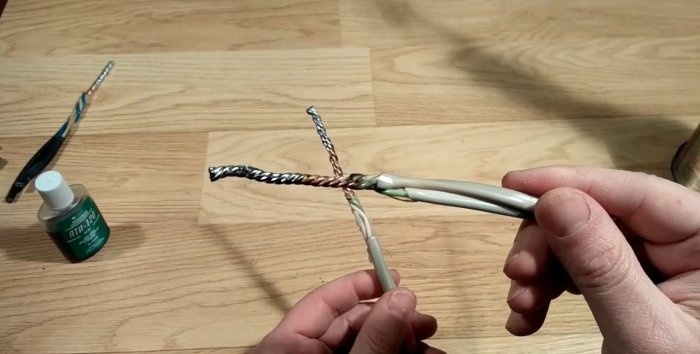
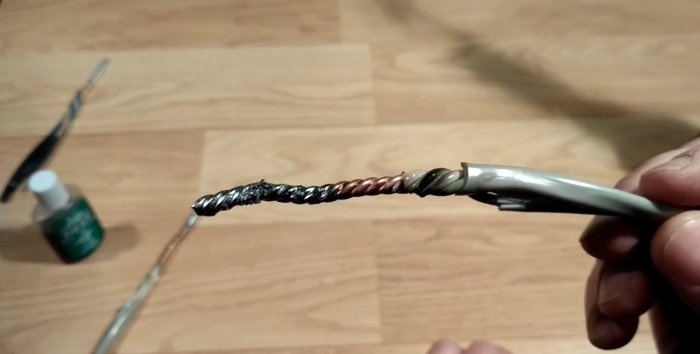
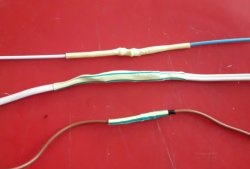
In the end it turned out like this:
As you can see, the edges of the wire braid have melted. And to prevent this from happening, it is necessary to hold the twist with pliers. They will serve as an excellent heat sink and this problem will not arise in the future.
In general, the soldering turned out to be of high quality and fast. Therefore, I recommend repeating this design and not suffering.
When finished, turn off the burner, but do not put the device down. It is necessary to place or hold the entire structure vertically for 10-15 minutes until the solder cools down. Otherwise it may spill.
Also be careful: the tip gets very hot - don't get burned.
Watch the video
Similar master classes
Particularly interesting

How to install a socket if there are short wires left

How to eliminate gaps between the chimney and slate

How to mix an ultra-reliable solution for the oven that does not give

There will be no more cracks: What to add to concrete to make it

Never buy ball valves without checking with me

New technology for floor insulation with penoplex
Comments (14)

