How to unscrew the base of a broken lamp from the socket
Sometimes something as bad as breaking a light bulb happens. For many people, removing the base from the socket is a real headache.
Today I want to give advice on this almost hopeless matter. The main thing in this matter is to make sure that the electrical appliance is disconnected from the network. You must be as careful as possible when repairing an electrical appliance so as not to receive an electric shock!
Any plastic bottle (preferably a smaller one for convenience).
A heating device (such as a stove burner).
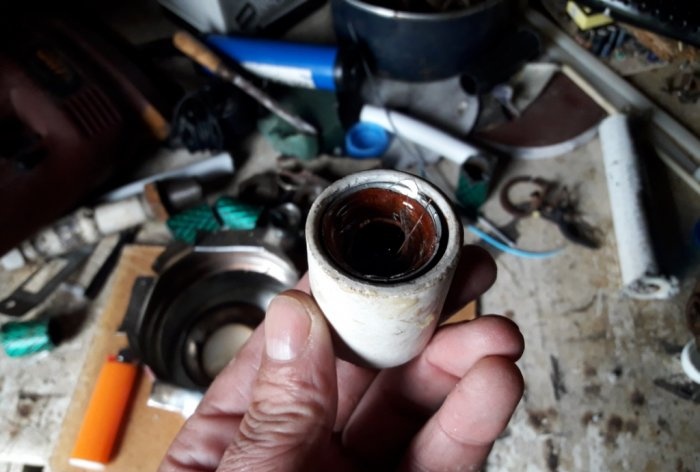
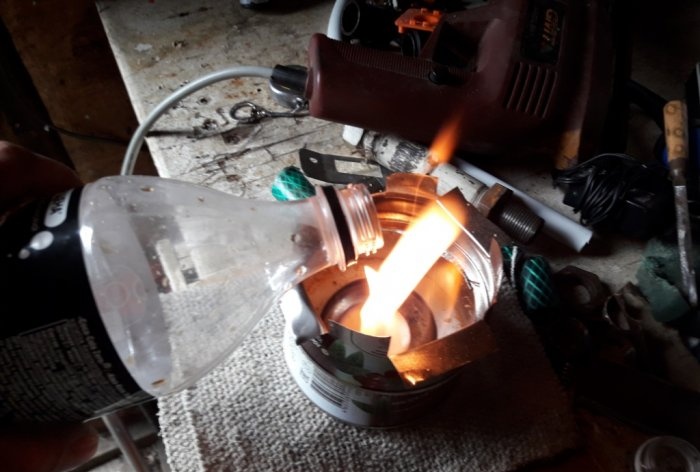
So, having taken all precautions and not forgetting to use rubber gloves, let’s get to work. It would be a good idea to first remove the cartridge from the device, for further convenience... First, let’s clear the stuck base from the glass shards remaining there, so as not to cut yourself while working. Now we heat the thread of the prepared bottle until the plastic begins to melt and, as quickly as possible, screw the thread straight into the broken base!
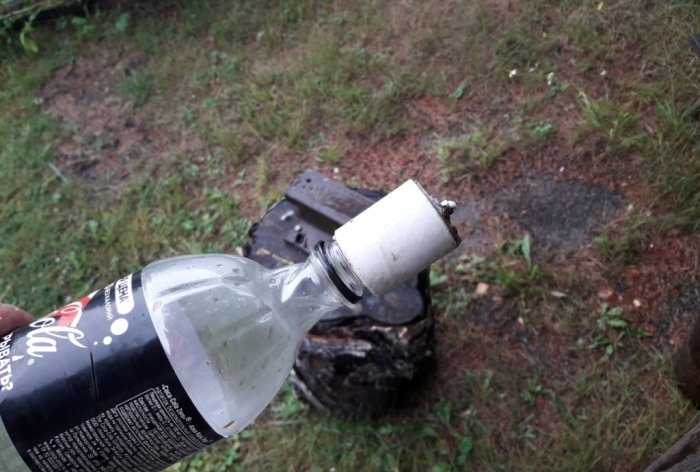
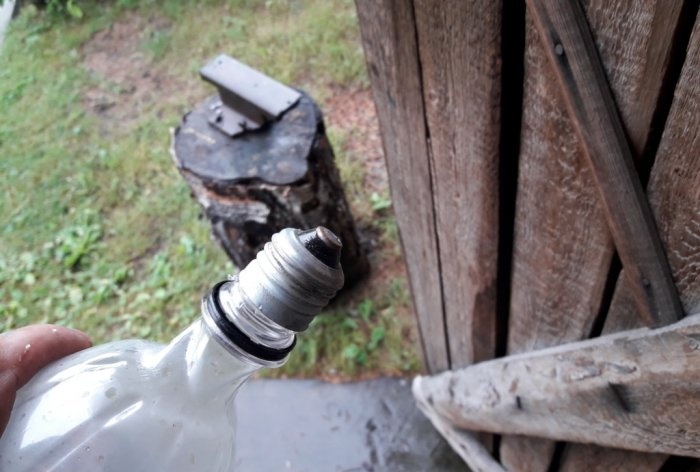
Now you need to wait a couple of minutes for the plastic to melt inside the base. After cooling, carefully turning the bottle in the desired direction, remove the base from the cartridge.
That's all! Next, screw in the new light bulb and continue using it, remembering to be careful!
Today I want to give advice on this almost hopeless matter. The main thing in this matter is to make sure that the electrical appliance is disconnected from the network. You must be as careful as possible when repairing an electrical appliance so as not to receive an electric shock!
Required
Any plastic bottle (preferably a smaller one for convenience).
A heating device (such as a stove burner).
Unscrewing the broken lamp socket
So, having taken all precautions and not forgetting to use rubber gloves, let’s get to work. It would be a good idea to first remove the cartridge from the device, for further convenience... First, let’s clear the stuck base from the glass shards remaining there, so as not to cut yourself while working. Now we heat the thread of the prepared bottle until the plastic begins to melt and, as quickly as possible, screw the thread straight into the broken base!
Now you need to wait a couple of minutes for the plastic to melt inside the base. After cooling, carefully turning the bottle in the desired direction, remove the base from the cartridge.
That's all! Next, screw in the new light bulb and continue using it, remembering to be careful!
Similar master classes
Particularly interesting
Comments (8)

