24 unusual ways to use plastic ties
A plastic tie, clamp or clamp is used during installation to secure various elements. It is practical and greatly simplifies the work. However, this product can also be used to solve various household problems.
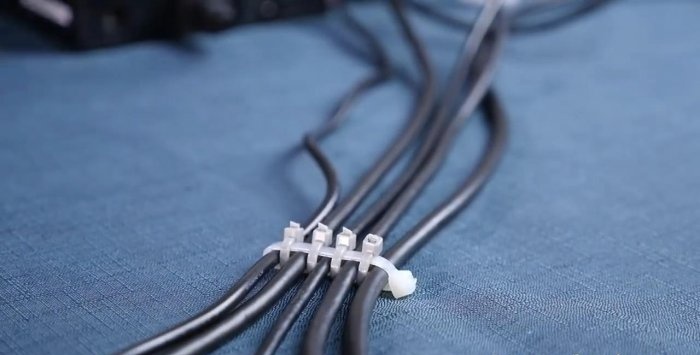
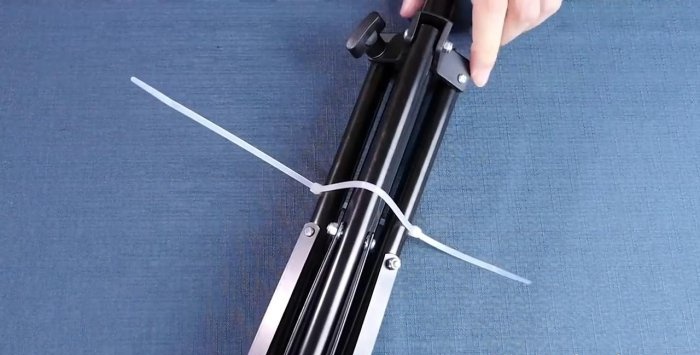
We make a standard clamp of several wires using a plastic tie, but do not tighten it. We distribute the conductors in one line. We also insert a tie between the wires, which will be located perpendicular to the first clamp. We do this with everything between all the wires. Excess ends must be cut off after tightening all the fasteners.
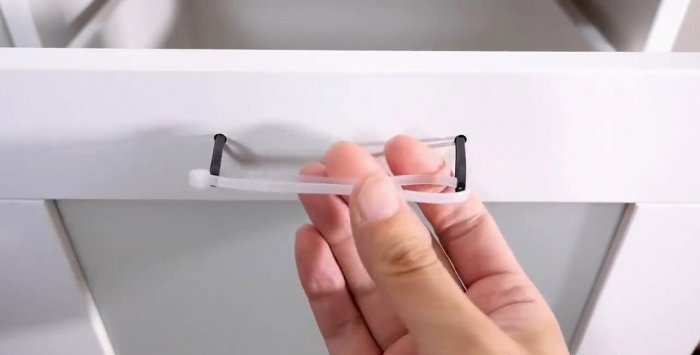
We fold the plastic tie into a loop, which we bend in half so that it can be inserted through the hole for the handle. Having installed two ties in the place of fixation in the box so that their locks remain inside, we connect the outer hinges with an additional clamp.
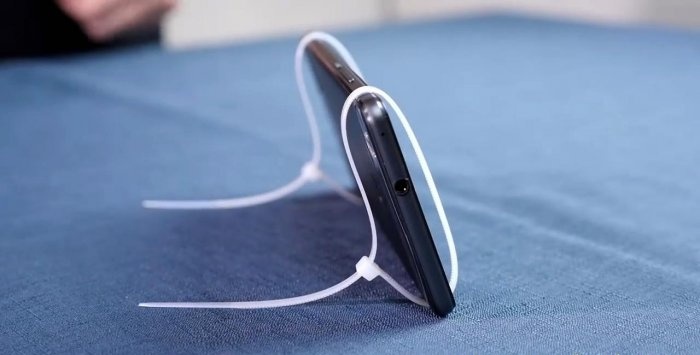
We make two loops from zip ties. Their diameter should be such that a mobile phone can be inserted into them.We put them on our device so that the ends after the lock remain behind and serve as a support.
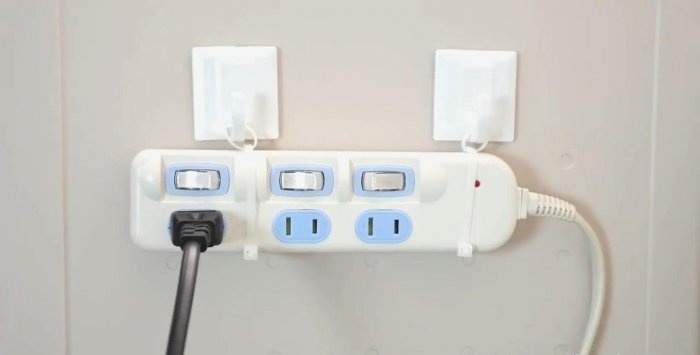
Tighten the two ties on the surge protector on both sides. We insert one more clip into them, making small loops. We will use them to hang the structure on hooks.
We make a sliding loop from a plastic tie, after cutting off the clamps at the end. It can be used as a reusable clip for convenient cable storage.
This way you can get a mug for cold drinks, but you need a glass that expands at the top. We tighten the two plastic clamps on the machine in places 3 cm away from the bottom and top. We stretch three puffs through the resulting rings, which we connect one at a time into a ring, making something like a handle. We cut off the excess elements, giving the product a good aesthetic appearance.
This is usually done using scissors or wire cutters. However, this will leave a small tip with sharp edges, which can cause injury. That is why this operation is best performed with pliers. To do this, they clamp the tip just under the lock and remove it with a rotational movement.
Most often they try to cut the puff in the middle. In this case, there is a high risk of damaging both the hands and the material being fixed. Also, after such cutting, you have to throw away the used fastener. If you cut the tie right under the lock, it can be reused. This method is safer, since there is always a supply of free space in this place.
All puffs have a certain length. Therefore, they are suitable for fixing strictly defined objects in volume. It is not recommended to use the tightening at the maximum possible diameter, since there is a high risk of it coming out of the lock joint. It's better to just use two clamps, inserting the end of one into the lock of the other.
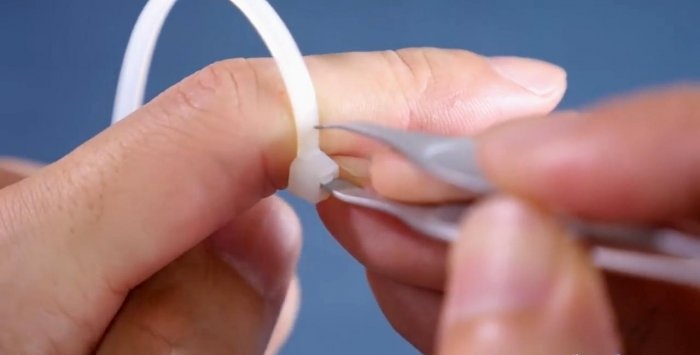
Quite often there are situations when such a clamp is tightened empty. Most people then throw away the puff. However, there is a way to open it without damaging it. To do this, use a thin metal object to bend the latch in the lock and pull the ends back.
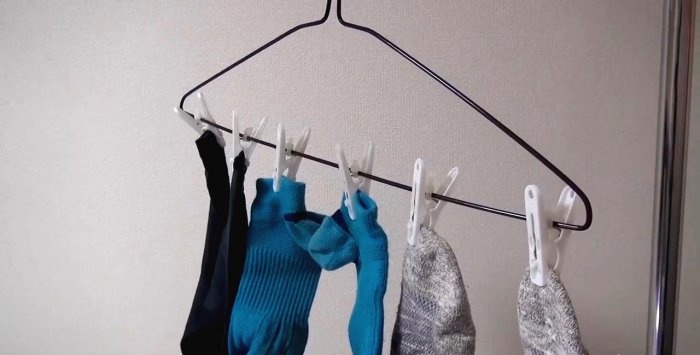
You will need a regular wire hanger, five plastic spring clothespins and five plastic zip ties. We insert a lock into each clothespin that will connect it to the bottom crossbar of the hanger. This will give us “hangers” with five clothespins, with which you can carefully secure delicate items.
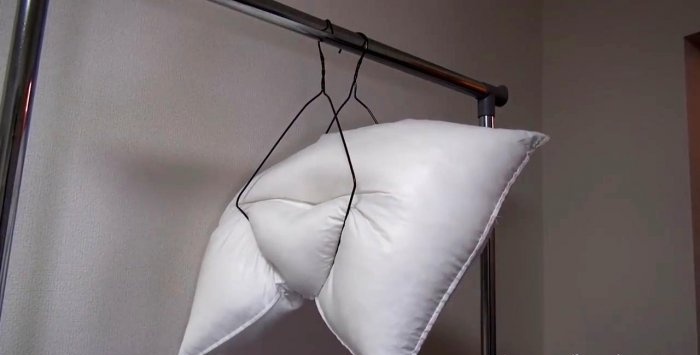
We connect the wire “hangers” together in the middle of the lower crossbar. Then we stretch the hangers, giving them a rhombic shape. The pillow is dried by pressing it between two folding “hangers” and hanging them.
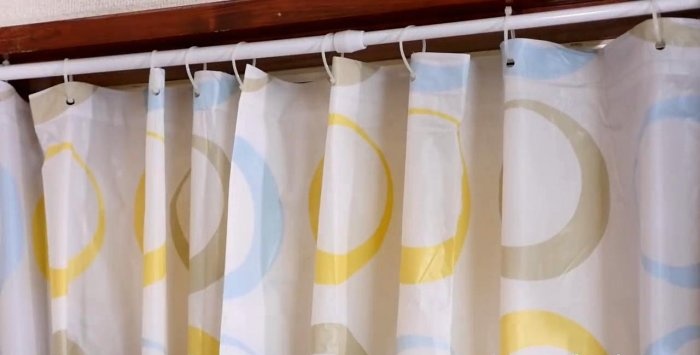
You can replace shower curtain rings with plastic clips. To do this, they are threaded through the eyelets, fastened with a lock, creating a kind of ring. All unnecessary elements must be removed so that they do not cling to the material during operation.
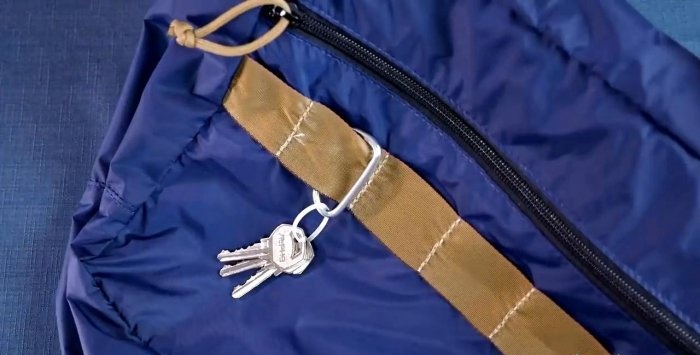
You can replace a regular key ring with a standard plastic clip. It is enough to fix it on the keys without tightening it too much.
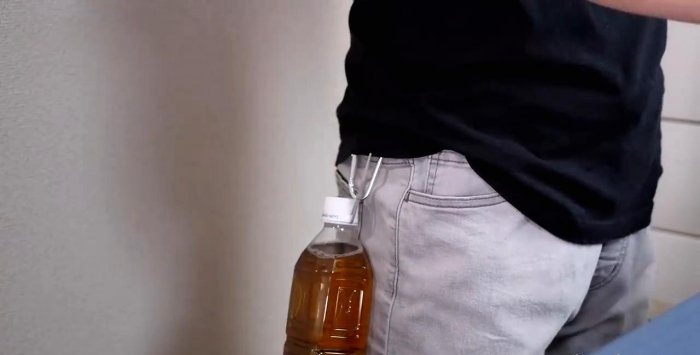
Using a small plastic bottle, a drawstring and a carabiner, you can make an inexpensive and practical flask. To do this, you will need to use the plastic ring left when opening the lid. If it is not there, then we create this element ourselves, using a tightening. We push the lock under the ring, closing it with a lock. This way we get a strong loop that can withstand a lot of weight. Using a carabiner, we attach the flask to the belt.
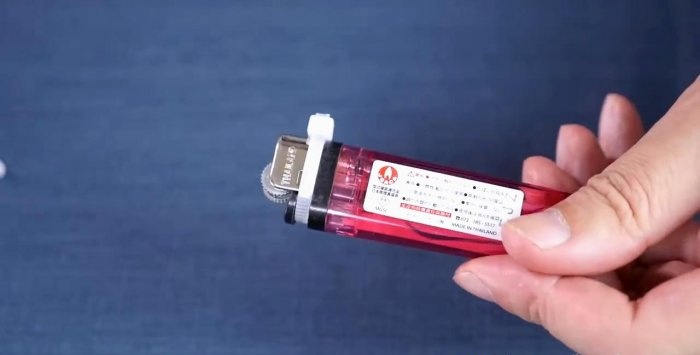
To prevent accidental pressing of the lighter button in your bag or backpack, you need to install a special lock on it. It is made from a plastic clip, which is used to encircle the lighter under the button itself, blocking both its arbitrary and deliberate pressing. The device can only be used after the lock is removed.
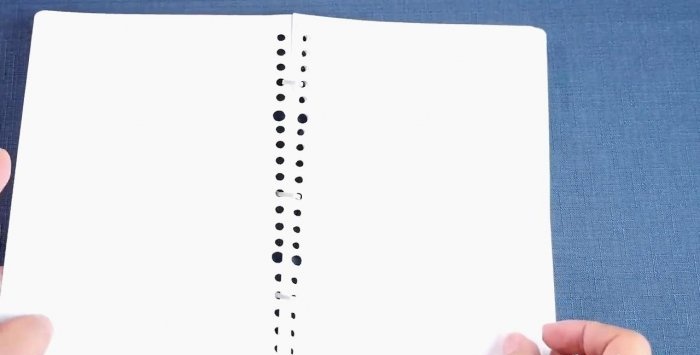
If you have sheets that are sewn together using a plastic spring, but there is no spring itself, then you can make the binding using puffs. The pages are connected by creating rings through holes in the paper. Usually three puffs are enough, which are placed symmetrically from each other.
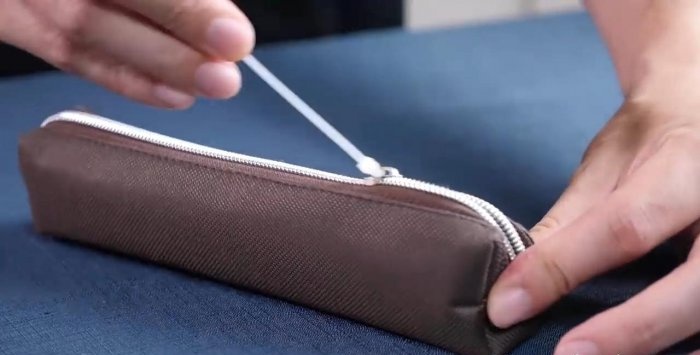
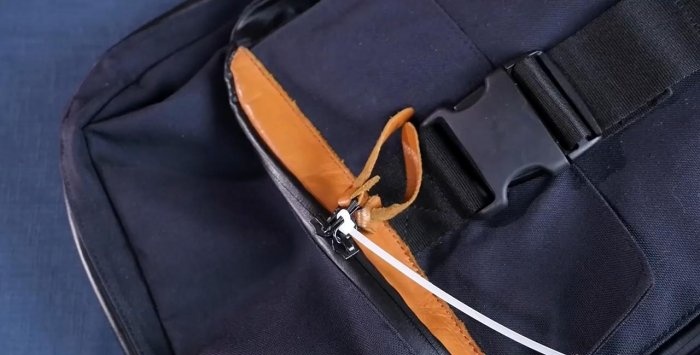
Very often the tongue on the slider in a snake fastener breaks or jumps out of the loop. At the same time, it is impossible to put it back, since the gap of the fastening element becomes too large, and physical impact on it can destroy this part. Therefore, it is better to insert a plastic tie into the slider, creating a ring. It is wider, stronger and does not make sounds when it hits the runner itself.
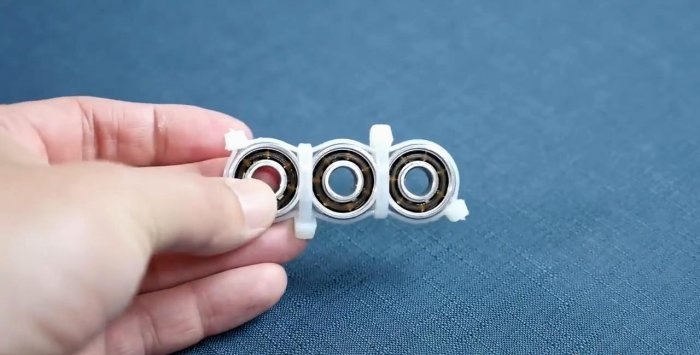
For manufacturing we need three bearings and three plastic ties. The bearings are lined up like three circles.They are fixed to each other, united with a plastic tie. The loop must be tightened very tightly. Next, in the places where the bearings join, we make clamps with clamps. This way we not only produce a kind of separation, but also create fixation of the bearings in a different plane. After trimming the ends, the spinner is ready.
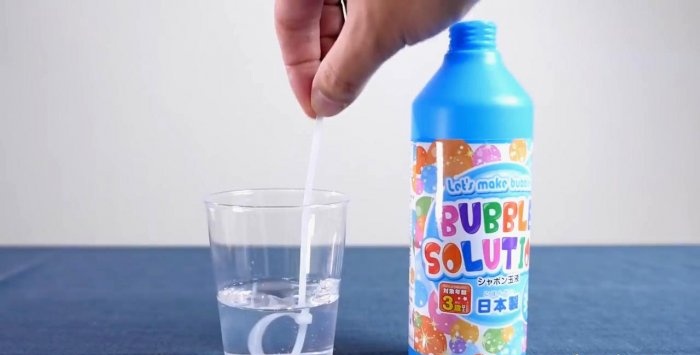
If you have lost your bubble ring, you can make one yourself. To do this, make a loop from a plastic puff with a large residual tip. We use it as a handle, and the ring is suitable for forming a bubble.
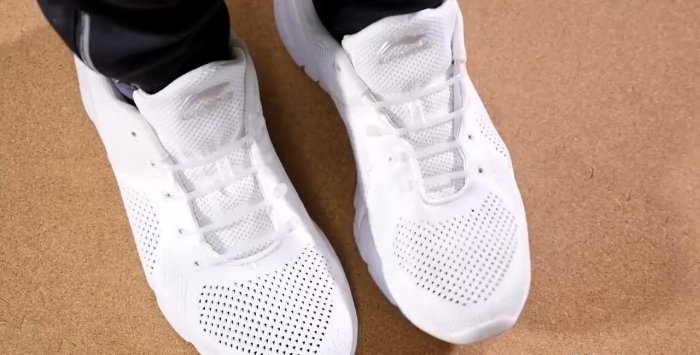
This product makes it easy to put on shoes without wasting time on unfastening or tying. To implement it, you need to connect the opposite holes for the laces with a plastic tie. The clamp level is adjusted on the leg to immediately measure a comfortable position. The excess is cut off.
All hiking bags and backpacks have two clasp sliders that move towards each other. When they are together, it is impossible to open the luggage, but often during transportation these elements separate on their own. This way, the contents of the bag may get lost or stolen. To prevent this from happening, the tongues on these sliders are connected to each other with a plastic tie.
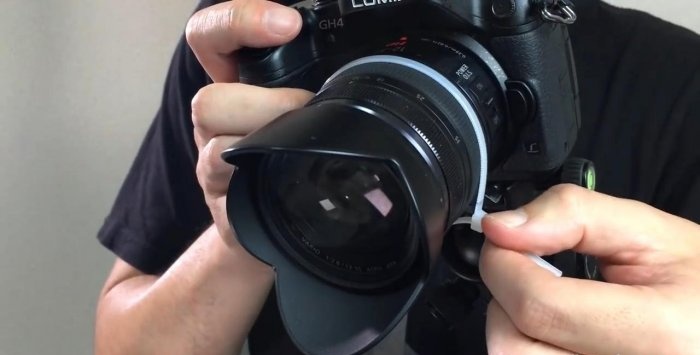
If you put a plastic tie on the lens, securing it to the adjustment ring, you can make a convenient handle. It allows you to make adjustments without having to look away from the camera to find a control.
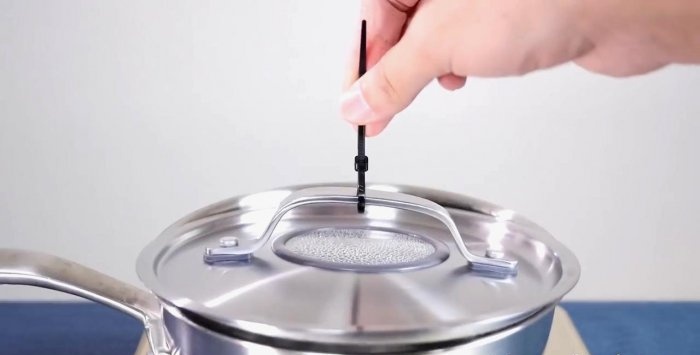
To prevent the hot lid on the pan from burning your hands, you need to secure it. To do this, we attach a plastic tie to its handle, pulling the tip high up.By lifting the lid, you will not only protect yourself from touching the hot surface, but will also be at a safe distance from the steam.
1.Distribution of wires with fixation
We make a standard clamp of several wires using a plastic tie, but do not tighten it. We distribute the conductors in one line. We also insert a tie between the wires, which will be located perpendicular to the first clamp. We do this with everything between all the wires. Excess ends must be cut off after tightening all the fasteners.
2. Handle on the drawer
We fold the plastic tie into a loop, which we bend in half so that it can be inserted through the hole for the handle. Having installed two ties in the place of fixation in the box so that their locks remain inside, we connect the outer hinges with an additional clamp.
3. Phone stand
We make two loops from zip ties. Their diameter should be such that a mobile phone can be inserted into them.We put them on our device so that the ends after the lock remain behind and serve as a support.
4. Hanging surge protector
Tighten the two ties on the surge protector on both sides. We insert one more clip into them, making small loops. We will use them to hang the structure on hooks.
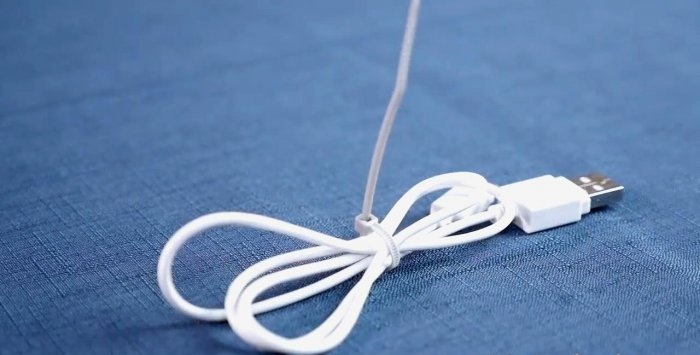
5. Wire clamp
We make a sliding loop from a plastic tie, after cutting off the clamps at the end. It can be used as a reusable clip for convenient cable storage.
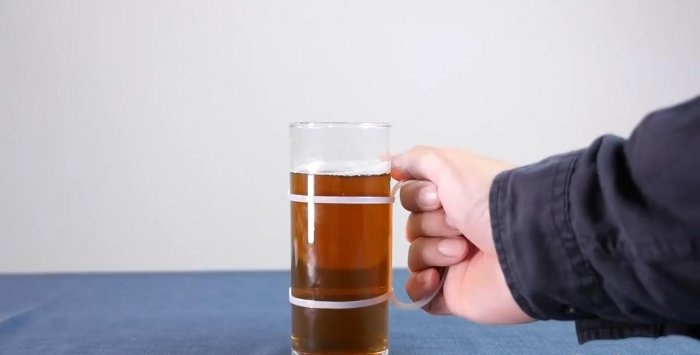
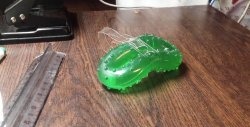
6. Mug from a glass
This way you can get a mug for cold drinks, but you need a glass that expands at the top. We tighten the two plastic clamps on the machine in places 3 cm away from the bottom and top. We stretch three puffs through the resulting rings, which we connect one at a time into a ring, making something like a handle. We cut off the excess elements, giving the product a good aesthetic appearance.
7. How to properly trim the end of a puff
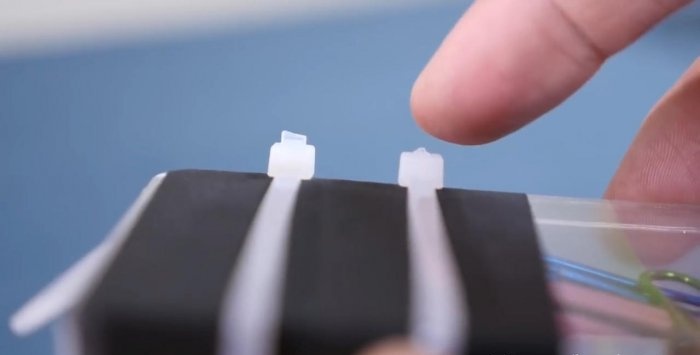
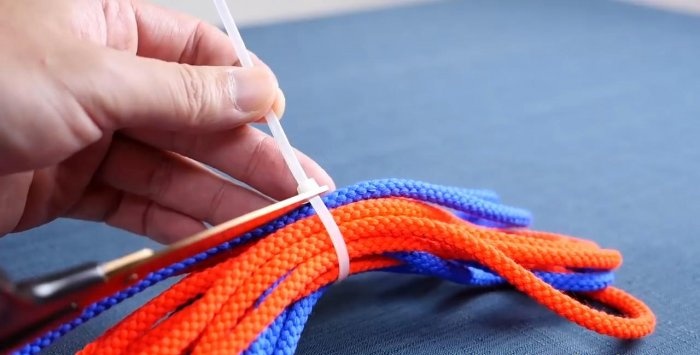
This is usually done using scissors or wire cutters. However, this will leave a small tip with sharp edges, which can cause injury. That is why this operation is best performed with pliers. To do this, they clamp the tip just under the lock and remove it with a rotational movement.
8. Economical and safe cutting of puffs
Most often they try to cut the puff in the middle. In this case, there is a high risk of damaging both the hands and the material being fixed. Also, after such cutting, you have to throw away the used fastener. If you cut the tie right under the lock, it can be reused. This method is safer, since there is always a supply of free space in this place.
9. Extension
All puffs have a certain length. Therefore, they are suitable for fixing strictly defined objects in volume. It is not recommended to use the tightening at the maximum possible diameter, since there is a high risk of it coming out of the lock joint. It's better to just use two clamps, inserting the end of one into the lock of the other.
10. Undoing the tie
Quite often there are situations when such a clamp is tightened empty. Most people then throw away the puff. However, there is a way to open it without damaging it. To do this, use a thin metal object to bend the latch in the lock and pull the ends back.
11. Hanger for delicate items
You will need a regular wire hanger, five plastic spring clothespins and five plastic zip ties. We insert a lock into each clothespin that will connect it to the bottom crossbar of the hanger. This will give us “hangers” with five clothespins, with which you can carefully secure delicate items.
12. Hanger for drying pillows
We connect the wire “hangers” together in the middle of the lower crossbar. Then we stretch the hangers, giving them a rhombic shape. The pillow is dried by pressing it between two folding “hangers” and hanging them.
13. Shower curtain rings
You can replace shower curtain rings with plastic clips. To do this, they are threaded through the eyelets, fastened with a lock, creating a kind of ring. All unnecessary elements must be removed so that they do not cling to the material during operation.
14. Key ring
You can replace a regular key ring with a standard plastic clip. It is enough to fix it on the keys without tightening it too much.
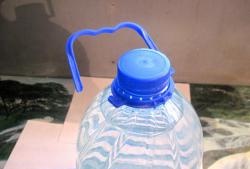
15. Flask from a bottle
Using a small plastic bottle, a drawstring and a carabiner, you can make an inexpensive and practical flask. To do this, you will need to use the plastic ring left when opening the lid. If it is not there, then we create this element ourselves, using a tightening. We push the lock under the ring, closing it with a lock. This way we get a strong loop that can withstand a lot of weight. Using a carabiner, we attach the flask to the belt.
16. Protecting the lighter from arbitrary key presses
To prevent accidental pressing of the lighter button in your bag or backpack, you need to install a special lock on it. It is made from a plastic clip, which is used to encircle the lighter under the button itself, blocking both its arbitrary and deliberate pressing. The device can only be used after the lock is removed.
17. Plastic binding
If you have sheets that are sewn together using a plastic spring, but there is no spring itself, then you can make the binding using puffs. The pages are connected by creating rings through holes in the paper. Usually three puffs are enough, which are placed symmetrically from each other.
18. Tongue for slider
Very often the tongue on the slider in a snake fastener breaks or jumps out of the loop. At the same time, it is impossible to put it back, since the gap of the fastening element becomes too large, and physical impact on it can destroy this part. Therefore, it is better to insert a plastic tie into the slider, creating a ring. It is wider, stronger and does not make sounds when it hits the runner itself.
19. DIY spinner widget
For manufacturing we need three bearings and three plastic ties. The bearings are lined up like three circles.They are fixed to each other, united with a plastic tie. The loop must be tightened very tightly. Next, in the places where the bearings join, we make clamps with clamps. This way we not only produce a kind of separation, but also create fixation of the bearings in a different plane. After trimming the ends, the spinner is ready.
20. Soap bubbles
If you have lost your bubble ring, you can make one yourself. To do this, make a loop from a plastic puff with a large residual tip. We use it as a handle, and the ring is suitable for forming a bubble.
21. Plastic laces
This product makes it easy to put on shoes without wasting time on unfastening or tying. To implement it, you need to connect the opposite holes for the laces with a plastic tie. The clamp level is adjusted on the leg to immediately measure a comfortable position. The excess is cut off.
22. Luggage protection
All hiking bags and backpacks have two clasp sliders that move towards each other. When they are together, it is impossible to open the luggage, but often during transportation these elements separate on their own. This way, the contents of the bag may get lost or stolen. To prevent this from happening, the tongues on these sliders are connected to each other with a plastic tie.
23. Lens handle
If you put a plastic tie on the lens, securing it to the adjustment ring, you can make a convenient handle. It allows you to make adjustments without having to look away from the camera to find a control.
24. Convenient handle for the lid
To prevent the hot lid on the pan from burning your hands, you need to secure it. To do this, we attach a plastic tie to its handle, pulling the tip high up.By lifting the lid, you will not only protect yourself from touching the hot surface, but will also be at a safe distance from the steam.
Watch the video
Similar master classes
Particularly interesting
Comments (4)

