Making your own extractor for unscrewing a broken screw
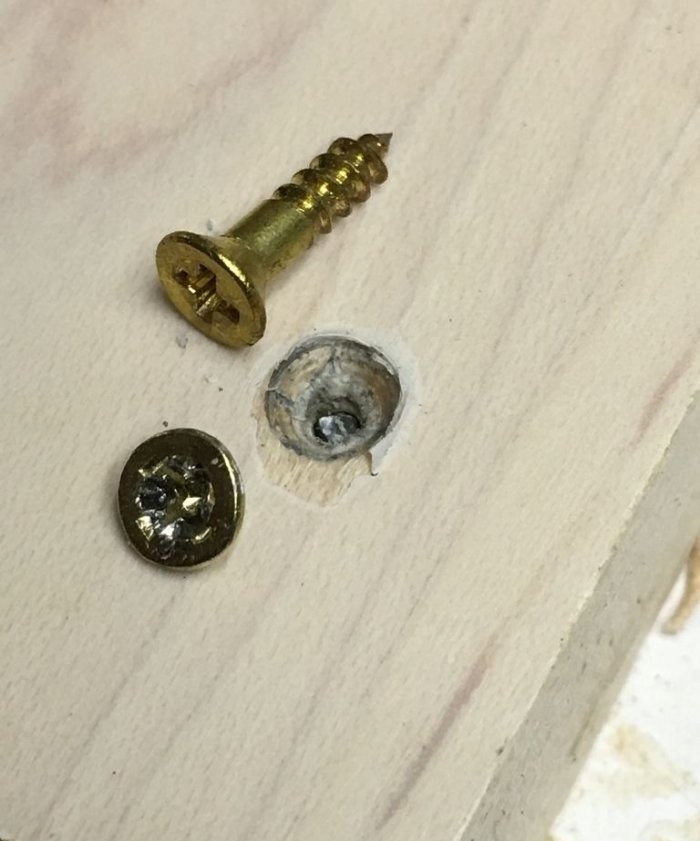
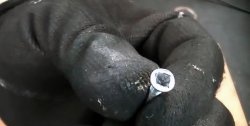
If you've ever driven small screws into hardwood, chances are you've experienced them breaking at the worst possible time. The result (for example, when installing a piano hinge) is a double problem:
- It is necessary to remove a piece of the old screw;
- Screw the new one exactly into the same place.
This process is quite complicated and it is not always possible to complete it without using a special tool.
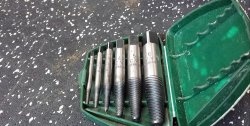
The tool is called an extractor. But factory versions tend to break down often. And it’s far from a fact that you can remove a piece of screw carefully without damaging the base where the hinge is attached.
We suggest you make the necessary tool yourself. The practice of its use has proven its reliability, durability and high quality of performance of this work.
Tools and materials
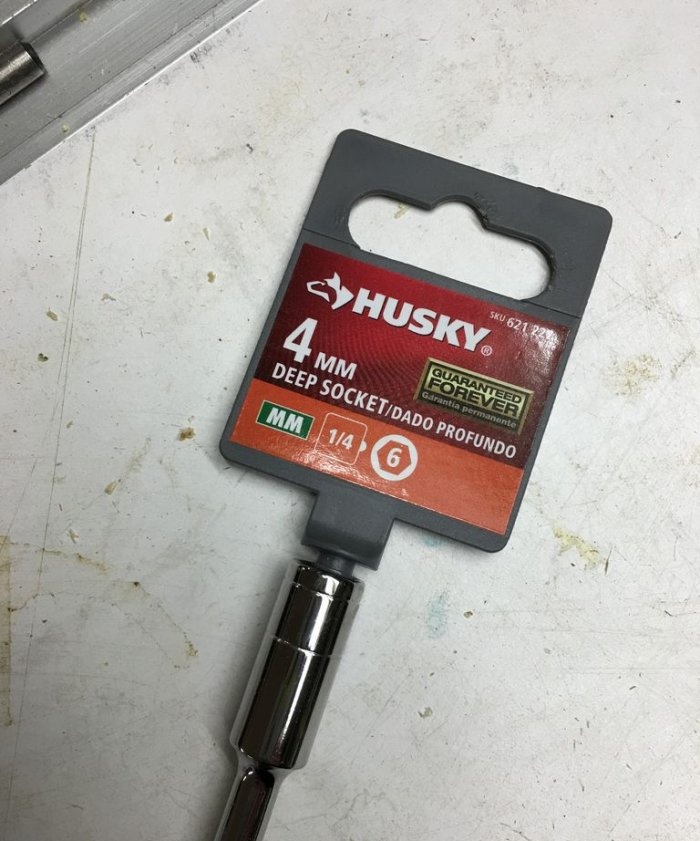
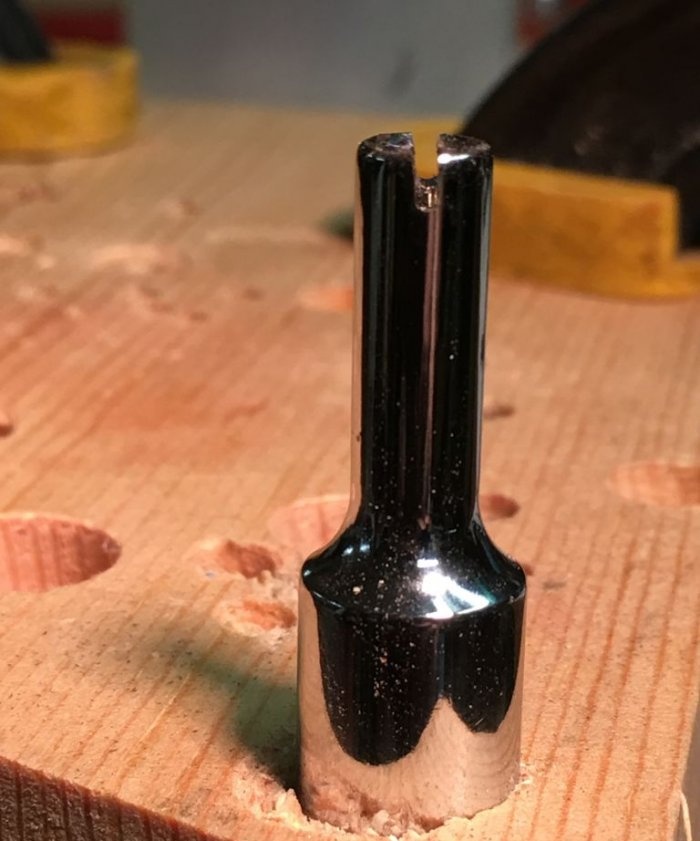
The idea for making this homemade extractor arose when looking at an adapter for bits with a mounting hole depth of 4 mm, which was sold in a tool store.
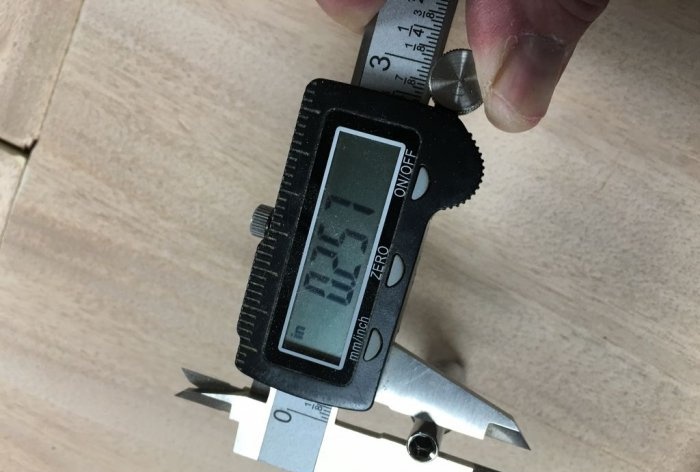
The outer diameter of its working part was 6.35 mm. 6 mm wooden dowels fit perfectly into a hole of this size.
The internal diameter ensures guaranteed acceptance of the broken end of the screw after a piece of wood is selected (drilled) around it. The drilling depth depends on the size of the broken screw.
The extractor, the manufacture of which is discussed in this article, is designed to work with screws No. 4 (0.112”/2.85 mm) and No. 6 (0.138”/3.51 mm), which are used to attach the piano hinge to the piano.
In fact, such a tool can be made to work with any screws with an outer thread diameter up to M16 inclusive.
In order to convert the adapter into an extractor, you will need the following tool:
- Grinder with a cutting disc for metal and a grinding wheel;
- Electric drill;
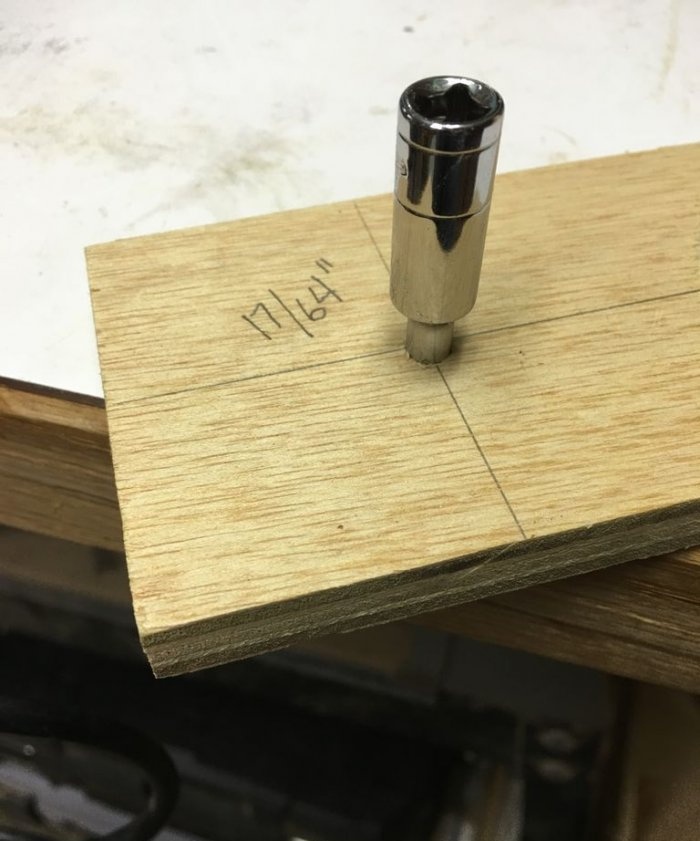
- Metal drill with a diameter of 17/64” (6.7 mm);
- Wooden dowels 6 mm (1/4”);
- Sandpaper and wood glue.
Manufacturing technology
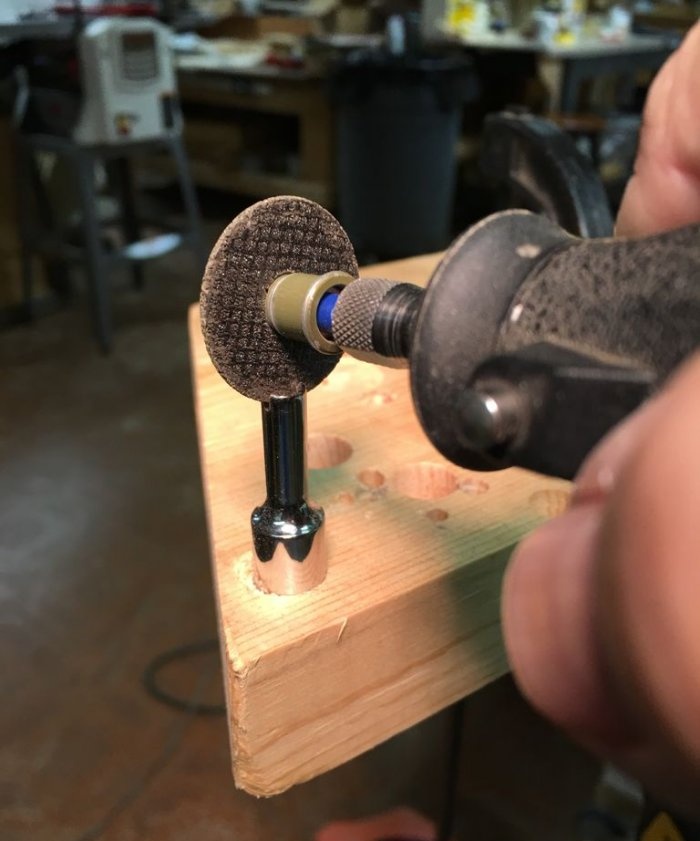
The main task of remaking the adapter is to make a two-tooth wood saw from the end of its working part.
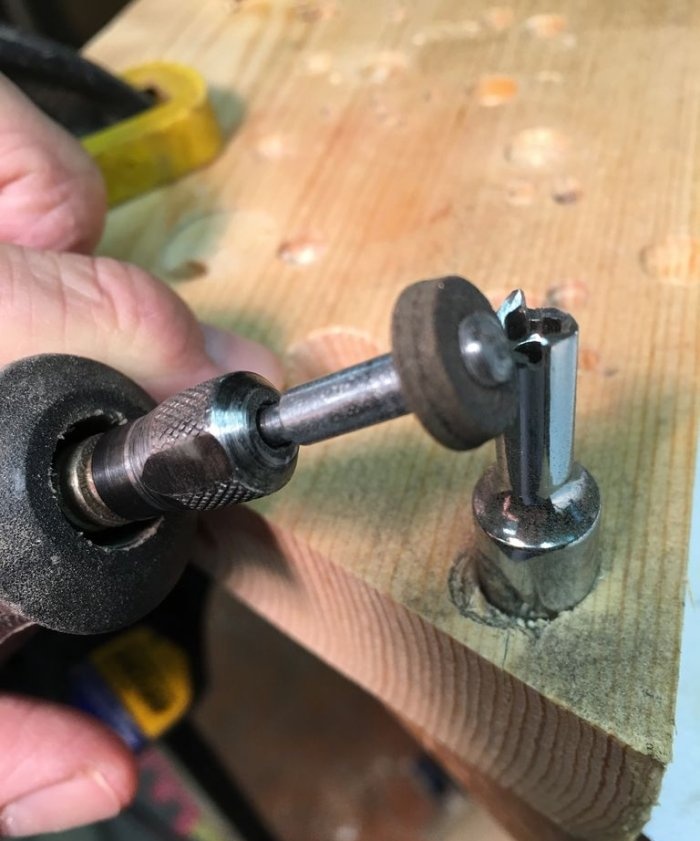
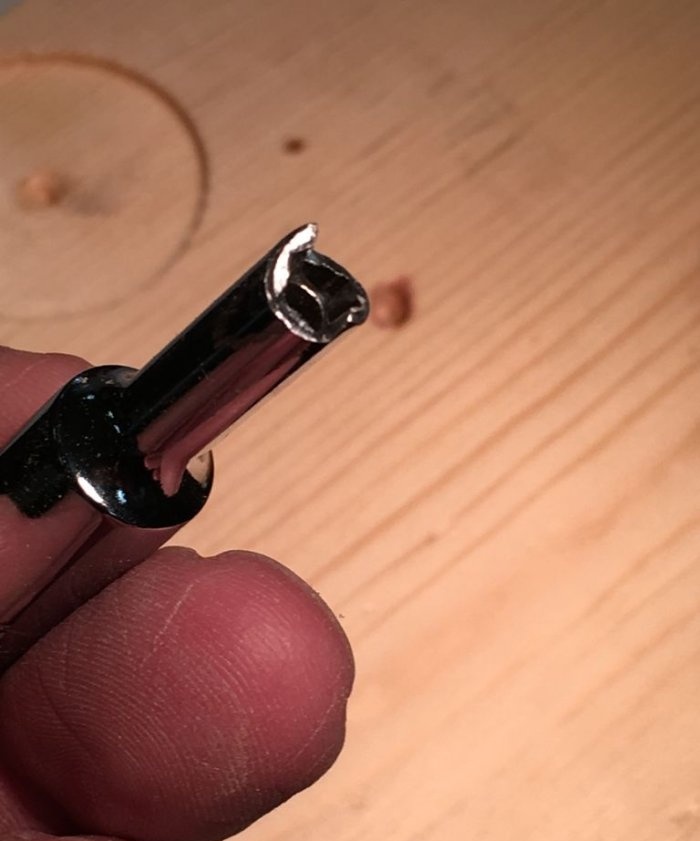
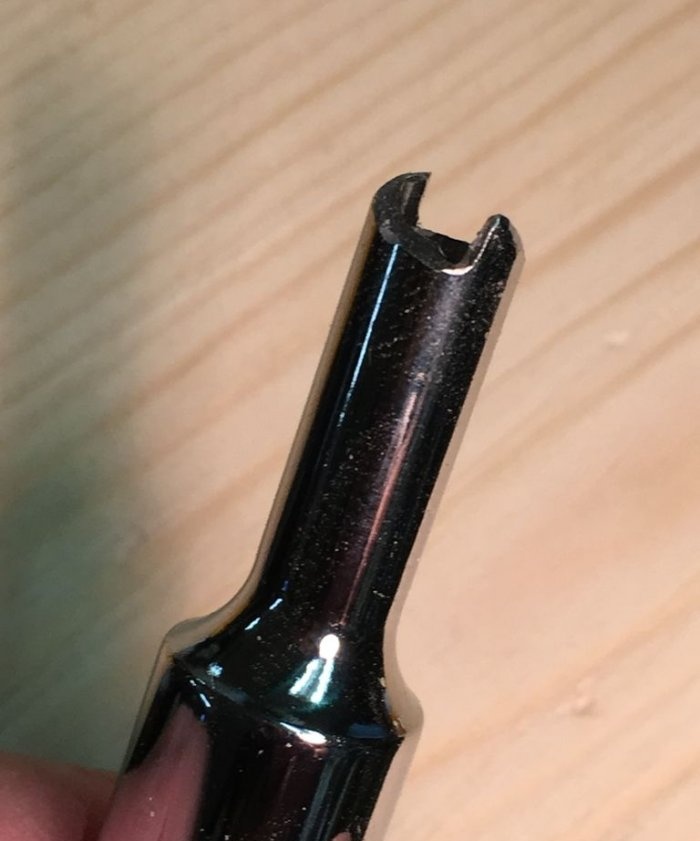
To do this, it is cut lengthwise with a grinder on both sides to a distance of approximately (4.5-5.0) mm (3/16”). Each of the resulting semicircles (in cross-section) is cut diagonally (a cutting tooth is formed).
It is important to keep in mind that it should be shaped from right (maximum height) to left (minimum height). Manufacturing method, grinding with a grinding wheel.
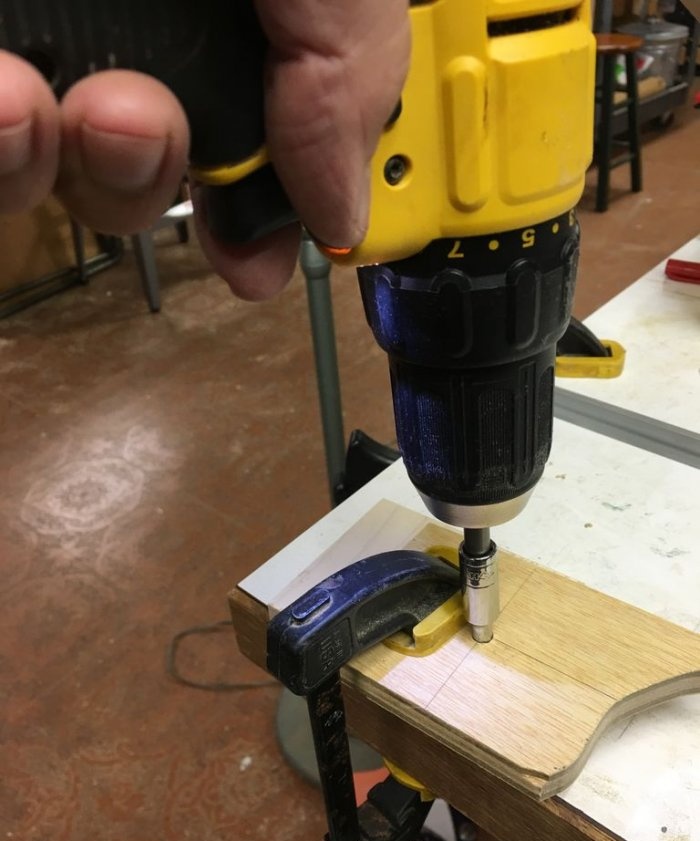
In the photo, the sharpening is done in reverse. This is my first prototype.He started cutting wood only if the drill was working while rotating the drill counterclockwise.
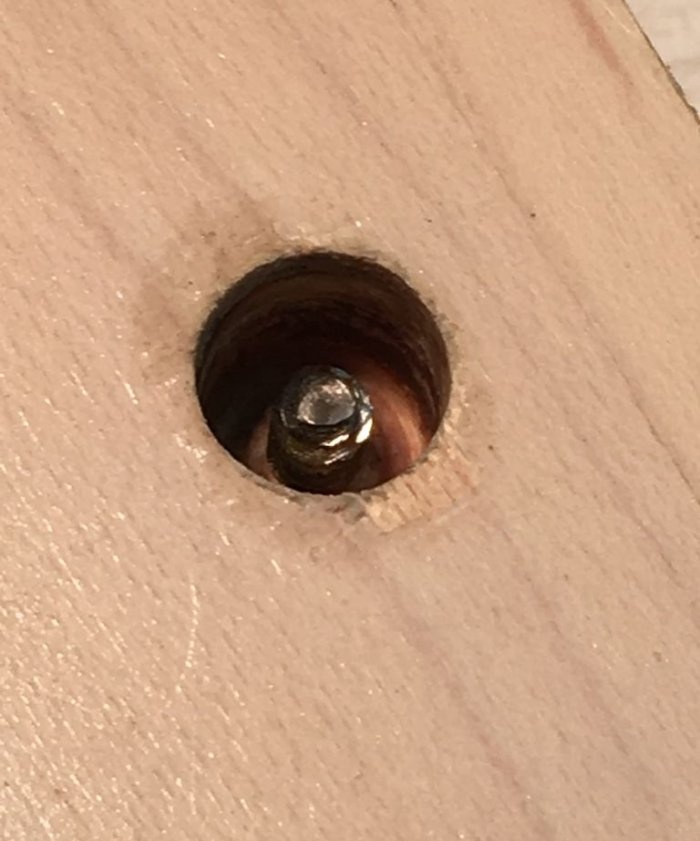
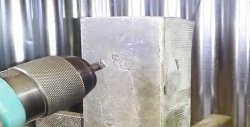
The hole is clean and smooth throughout its entire depth. There is no vibration during operation.
Removing a Broken Screw
The work algorithm is as follows.
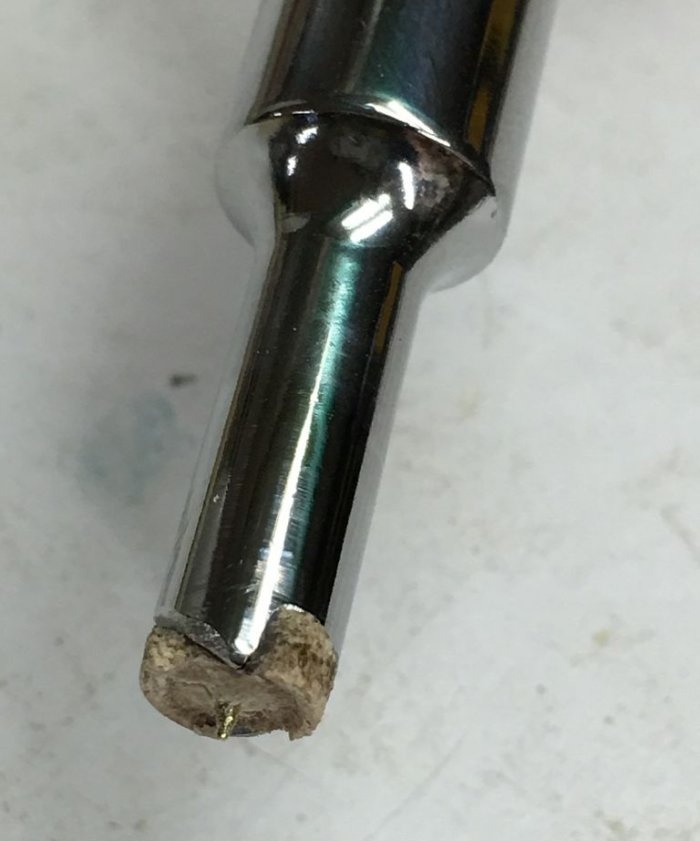
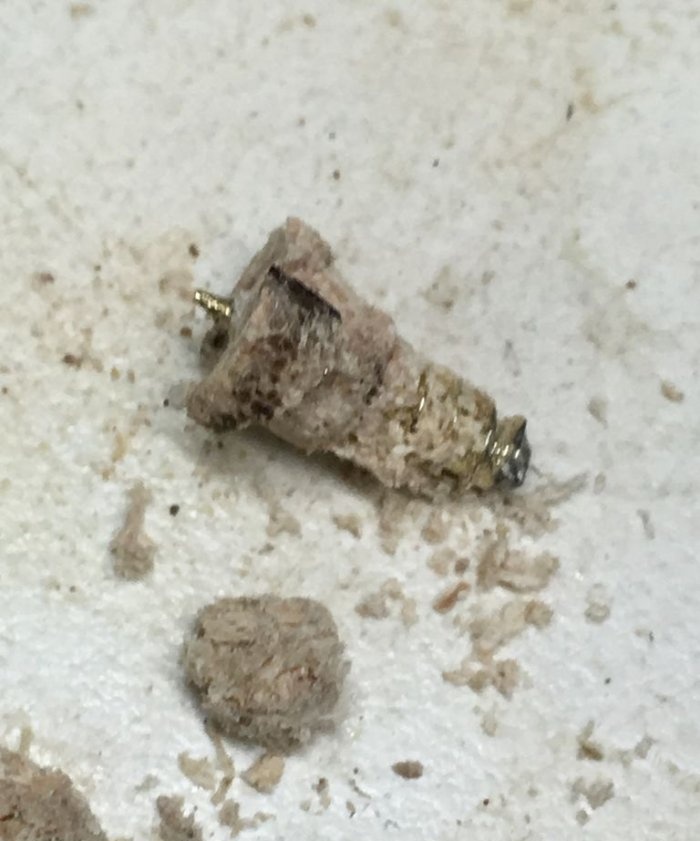
1. A cylindrical hole is cut around the broken screw. The selected wood core (6.70 mm) remains in the adapter.
This hole is necessary to fix the extractor when removing the remaining part of the screw.
Image 3 shows that the manufactured tool ensures high cleanliness of hole penetration. The drilling depth is determined empirically. When you feel that the remains of the screw are holding weakly, it is removed.
Installing a new screw
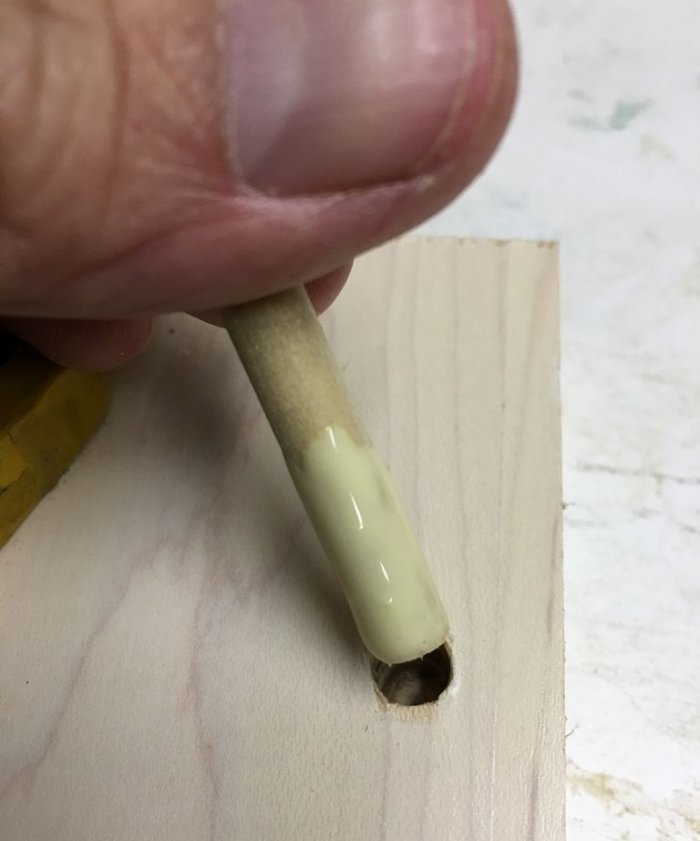
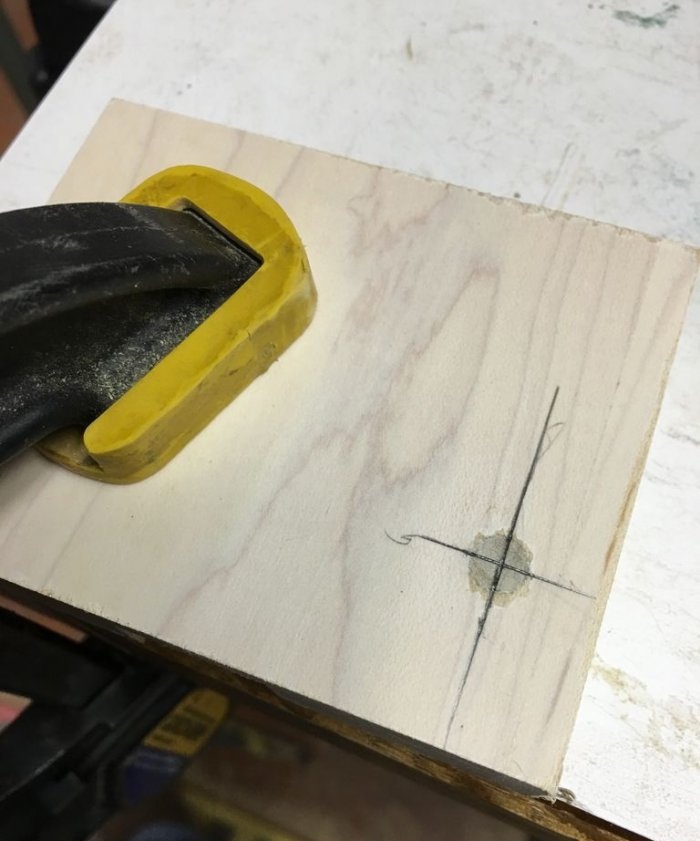
A 6 mm wooden dowel (pre-lubricated with wood glue) is inserted into the hole left in the lid after removing the remains of the broken screw. After the latter has dried, it is cut flush in height. The installation site is treated with sandpaper.
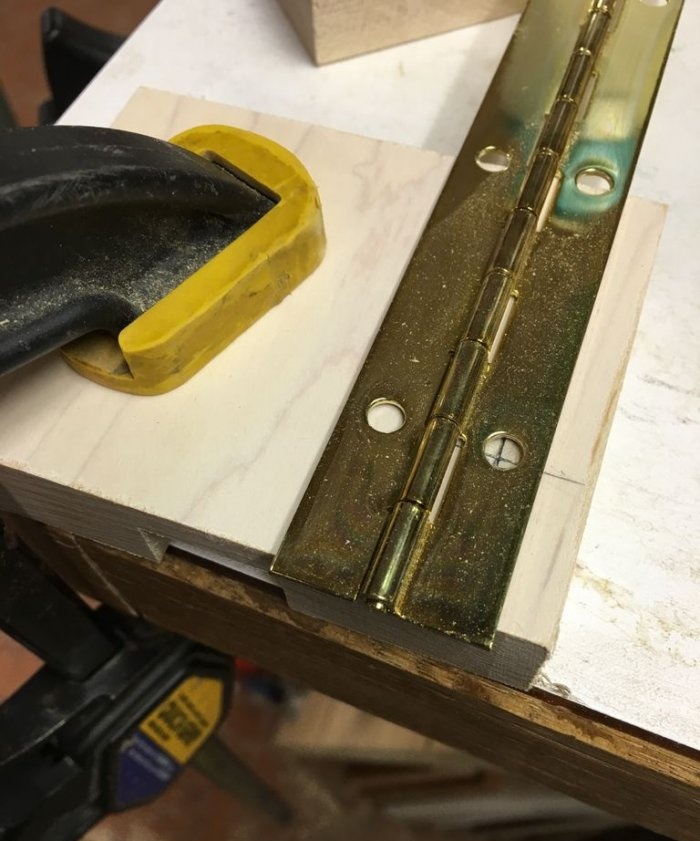
Then a loop is placed that completely covers the installed dowel, and a new screw is screwed into the desired hole. Thus, the results of the work you perform are visually invisible.
In order to ensure that the new screw does not break, two preliminary operations must be performed before installing it:
- Drill a pilot hole whose diameter is smaller than the thread diameter of the screw being installed;
- Use a steel self-tapping screw to cut threads to the full installation depth;
- And only after this, replace the brass screw for the finishing fastening of the piano hinge.
I hope that this article was useful to you and allowed you to make a similar small extractor yourself.Keep it in your tools and equipment for future use.
Thank you for taking the time to read this article.
Original article in English
Similar master classes
Particularly interesting
Comments (3)

