Floodlight for a junk workshop
When working with emery, there is always not enough light. I cover the garage light with my body and a shadow appears on the workpiece. Initially I used a carrier, even used a headlamp. I decided to make the task easier and make permanent lighting. I was looking for a ready-made solution. And, as always, I settled on the version of my own making. I thought about using just a sheet of aluminum as a reflector. I came to the conclusion that directional light was needed. So I will be assembling something similar to a spotlight.
Assembling a powerful spotlight for the workshop
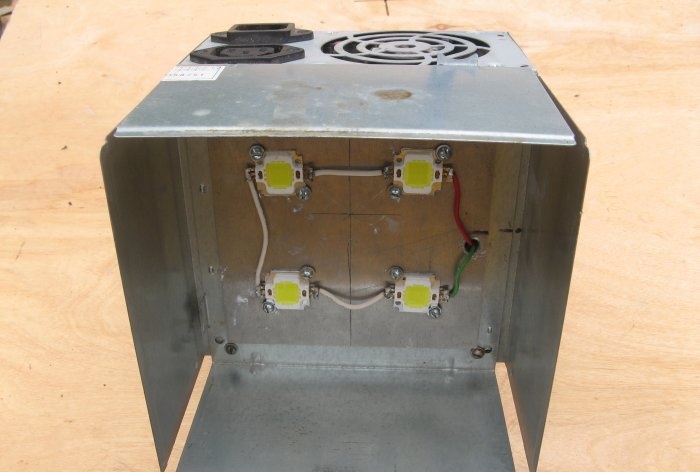
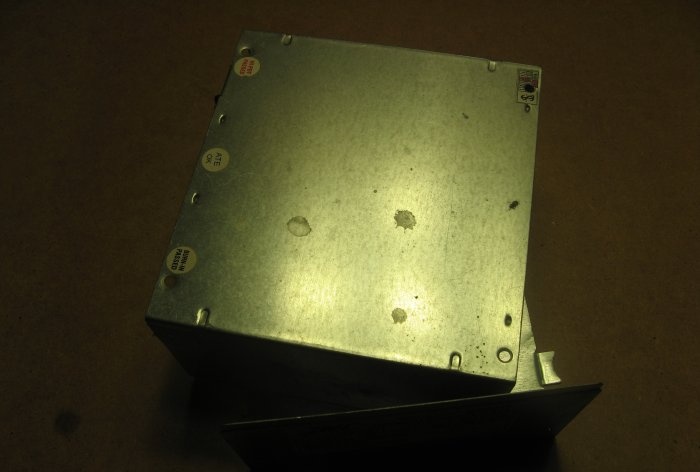
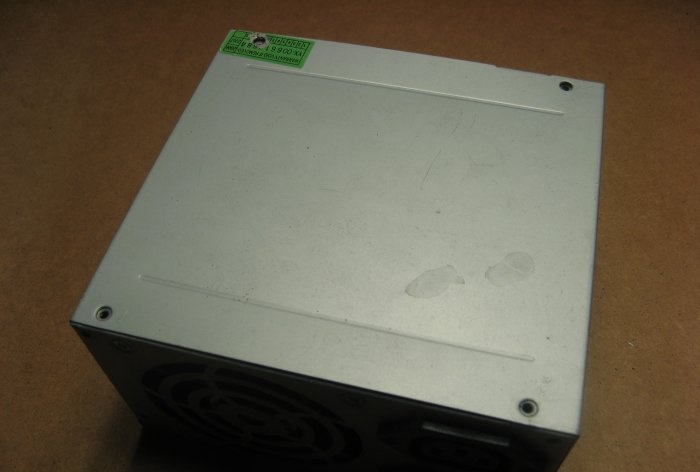
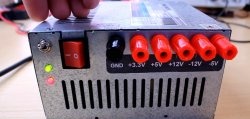
And so, the reflector will be very simple. I have a fair amount of computer power supply cases lying around at home. By folding the two halves, you get a reflector of your own.
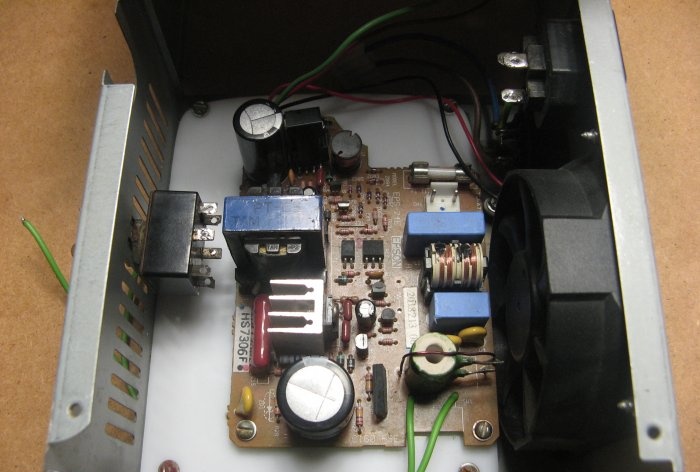
I will screw the case halves to the computer power supply case. The power supply board will be placed in the power supply housing.
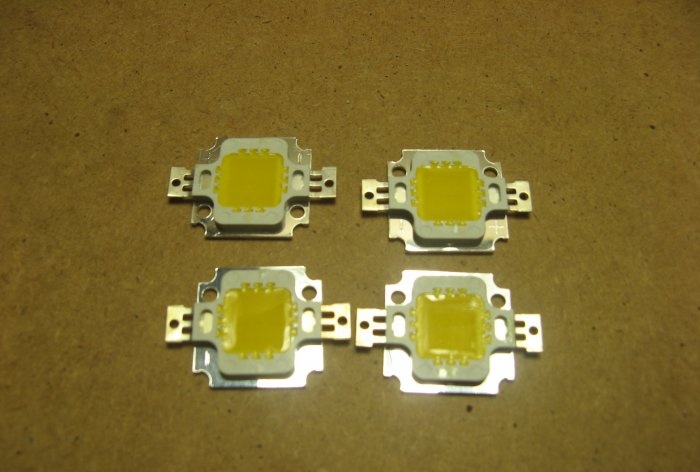
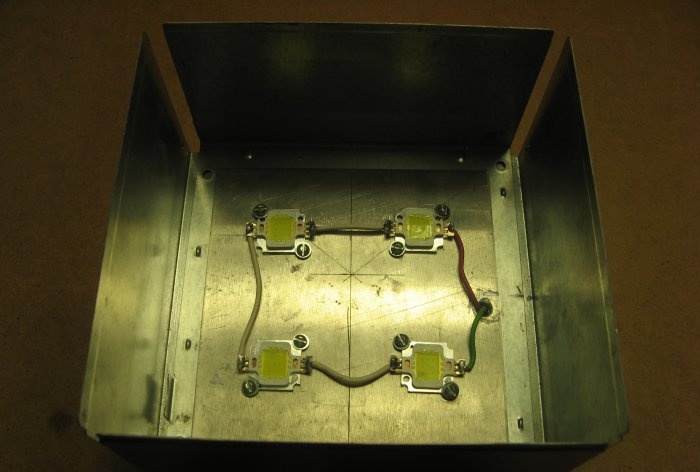
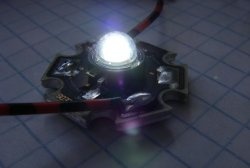
The main element of the lighting device will, of course, be LEDs. I took four LED 10 watts each. The supply voltage for each is 12 Volts.
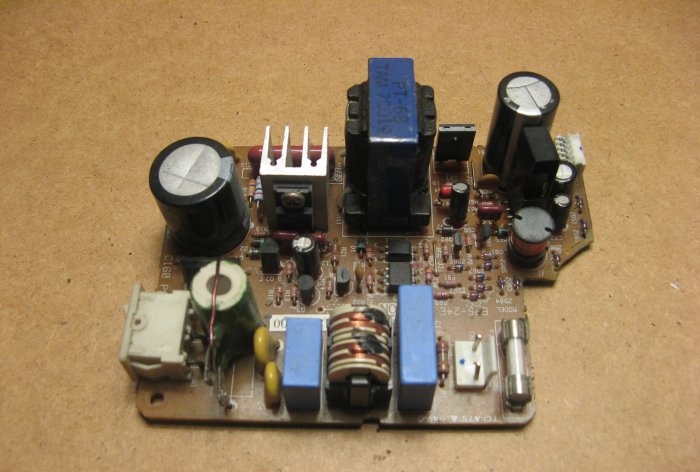
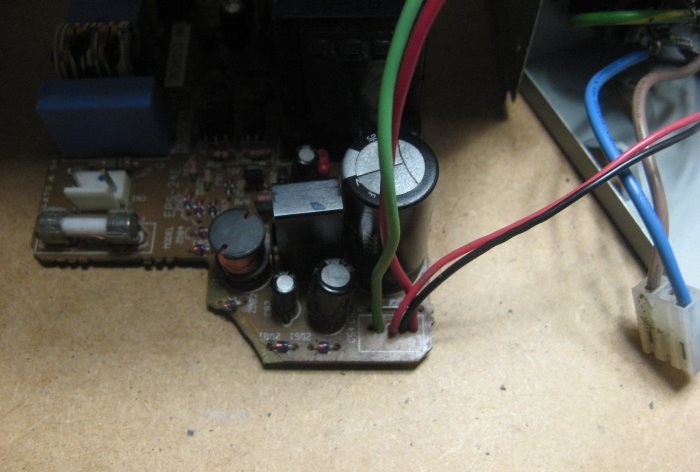
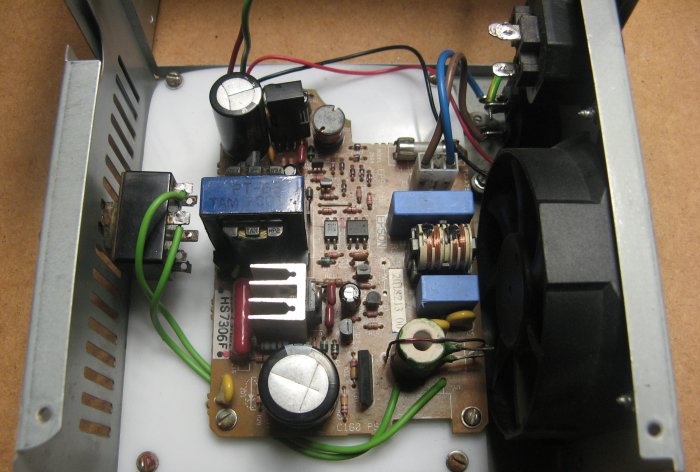
The main element, not the only one, will be the power supply board. I took this board out of an old inkjet printer or scanner, I don’t even remember.The power supply has two output voltages, 42 Volts and 5 Volts. I will power from 42 Volts LEDsby turning them on in series. From 5 Volts I will power the fan, which is installed on the body of the power supply used.
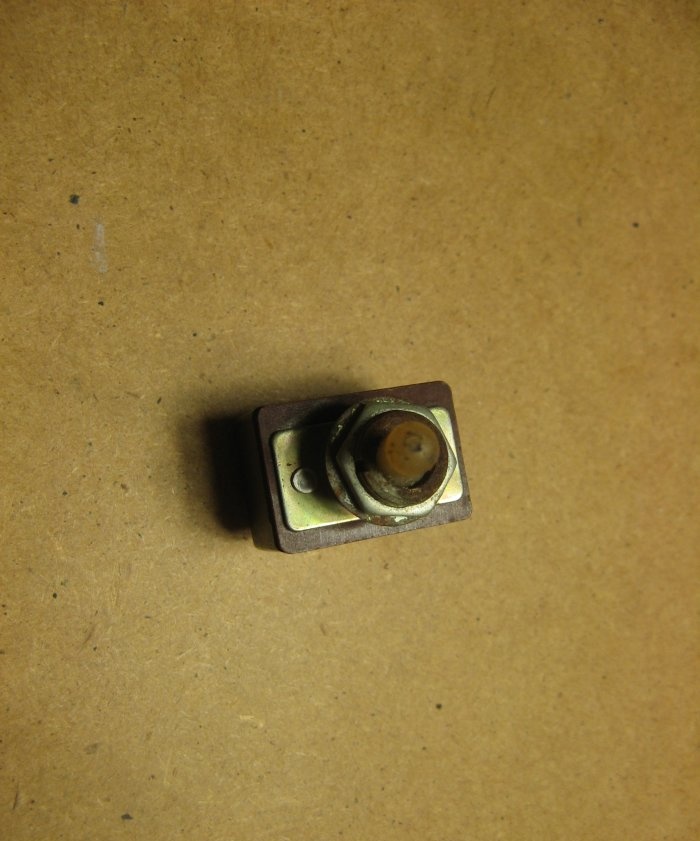
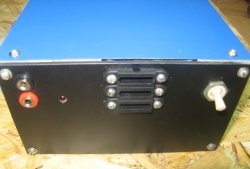
I will replace the installed power switch with a toggle switch.
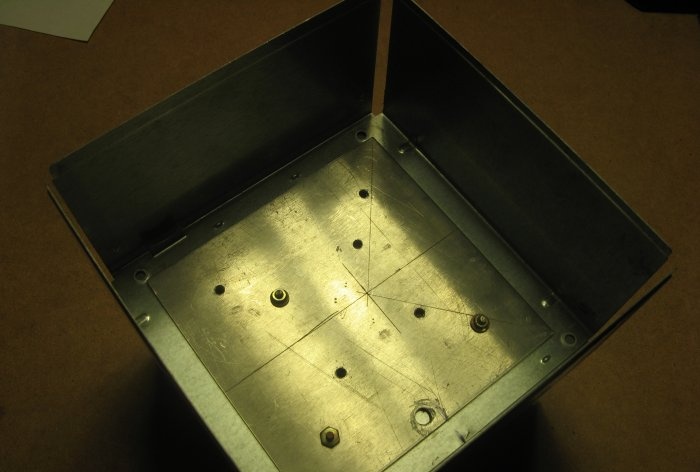
First you need to mark the holes for LEDs. I still used a sheet of aluminum. Marked and drilled holes. I also made a series of holes, with the help of which I fastened both covers and the plate together.
Connecting LEDs I did not use a current limiting resistor in series. Since the voltage is 42 Volts, the current is correspondingly lower. For me it was 0.5 Ampere. The voltage is well stabilized and does not fluctuate.
I soldered the wires from the power supply board, having previously unsoldered the switch and connector. Red and green are 42 Volts, plus and minus respectively. Thin wires for the fan. From 5 Volts the fan will spin slowly and without making noise. I think the air flow will be enough. On the computer's power supply, the board was connected using a connector; the same connector is on my power supply board.
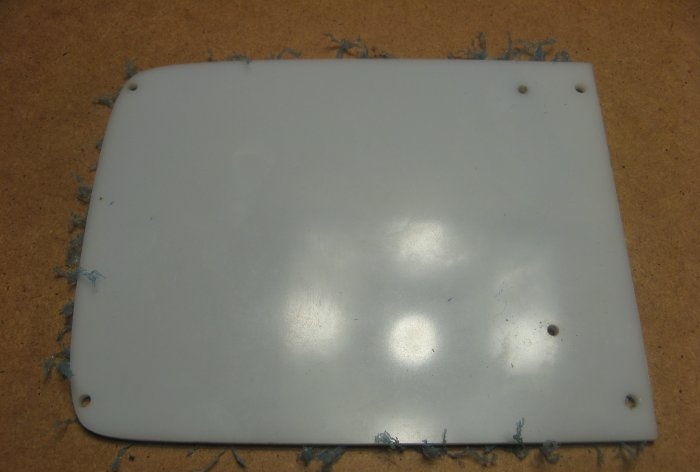
I will screw the power supply board onto plastic, since the original holes in the computer's power supply are far apart. Plastic according to the size of the seized power supply board. Marked and drilled holes.
I screw the plastic into the case. I screw the power supply board to the plate. I also installed a toggle switch. I soldered wires in place of the old switch.
We solder the wires to the toggle switch.
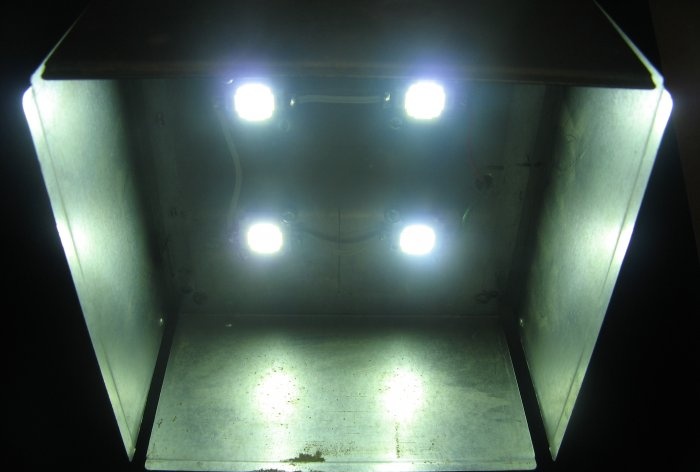
I twist the body. I turn it on and check. Everything works great. Of course, you could use a full-fledged computer power supply. I had on hand a board from old office equipment that I would not have used anywhere.
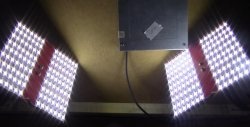
This is how the spotlight turned out.I will probably mount it using neodymium magnets from an old hard drive. Above the sandpaper there is somewhere to attach it. Magnets add mobility to the spotlight; you can attach it anywhere else.
Watch the video
Similar master classes
Particularly interesting

Cable antenna for digital TV in 5 minutes

A selection of simple and effective schemes.

Three-phase voltage from single-phase in 5 minutes

Starting a three-phase motor from a single-phase network without a capacitor

Eternal flashlight without batteries

How to make an inexpensive but very powerful LED lamp
Comments (3)

