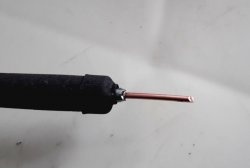
How to make any hole in a bottle using a soldering iron
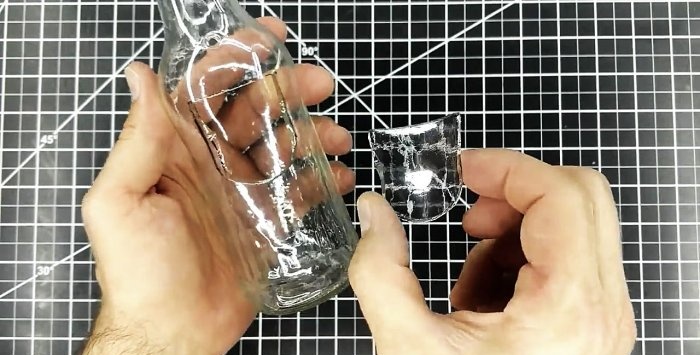
The Internet is full of tutorials on how to evenly cut the neck of a glass bottle and thus make an original glass or vase. But today I will tell you my method of how you can cut out a small window in a glass bottle or cut it lengthwise.
To do this, we will need a regular soldering iron with a thin tip, a marker to draw the outline of the hole, a glass cutter or a sharp metal object to mark the initial cutting point.
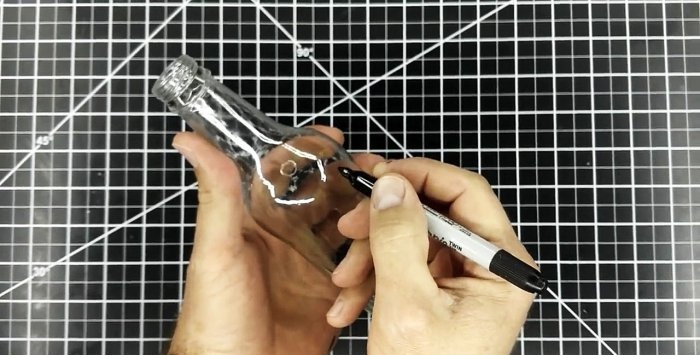
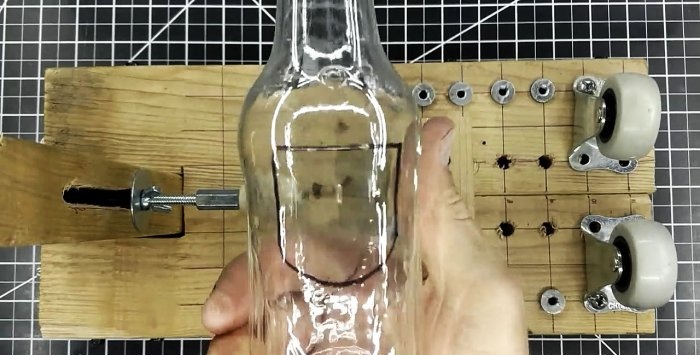
At the first stage, using a marker, draw the outline of the future hole on the glass.
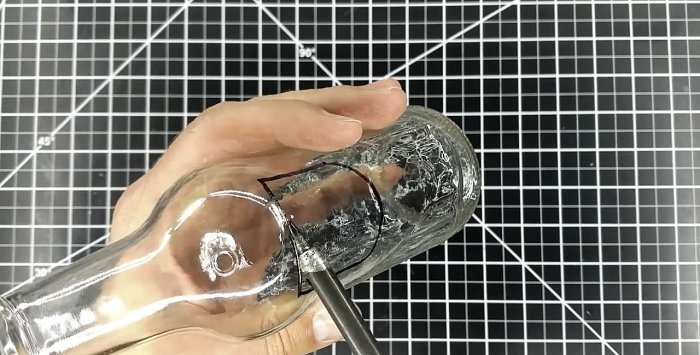
Then, in one of the places along the contour (preferably, it should be a straight section), using a glass cutter or a sharp metal object, a notch is made to facilitate the formation of a crack.
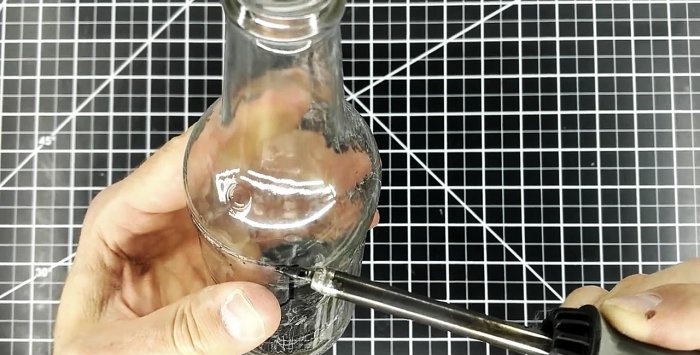
Next, the soldering iron warms up the place where the scratch was made.
The glass warms up gradually, in small areas of a few millimeters.
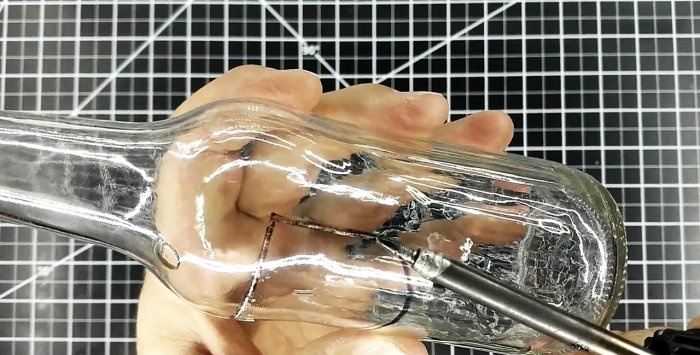
After a crack has formed, the soldering iron tip moves further along the marker line. If the crack stops, you need to go back and heat the glass in the opposite direction.
I want to say right away that the work is painstaking and you need to be patient.
Having reached the corner of the cutting line, you need to carefully heat the corner so that the crack turns at the desired angle. This is the most difficult area, since the internal forces acting in the glass prevent the crack from turning. It doesn’t matter whether it’s a smooth turn or a 90-degree angle. From my own experience I can say that quite often (about 25% of cases) the crack does not turn exactly where it should or even goes to the side. Therefore, I first heat the corners with a point, and then slowly rub them so that the crack goes away.
Because of the problems with corners, this method is not very good for cutting small holes in glass.
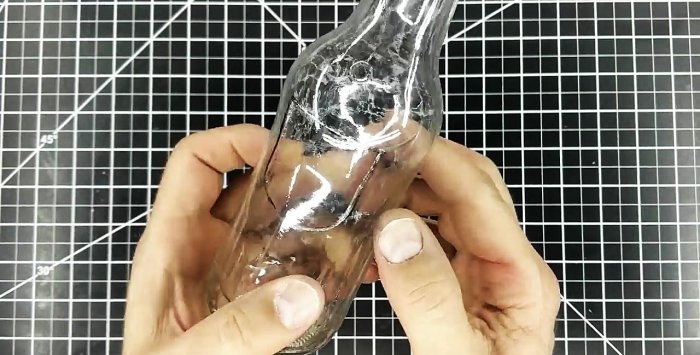
Another important step is completing the crack. It is better to connect cracks on a straight section, and not in a corner. Now I will explain why. The fact is that at a distance of about 3 mm from each other, the cracks very often stop moving and simply do not connect. Therefore, I simply warm up this area, and then gently tap the cut area from the inside of the bottle through the neck with a hard object.
The uncut portion of the glass breaks off, leaving jagged edges that then have to be carefully sanded off with fine sandpaper.
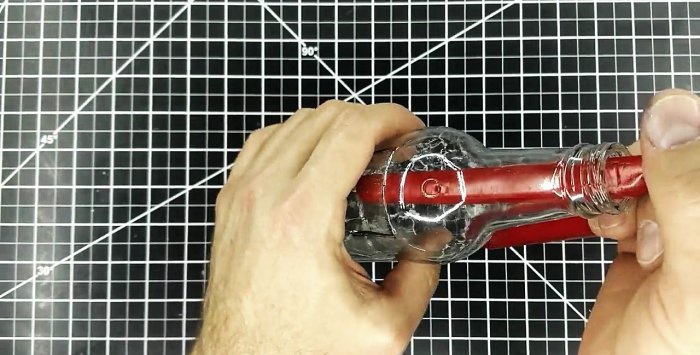
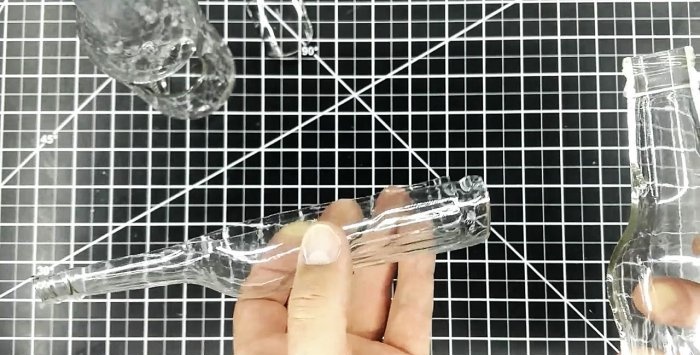
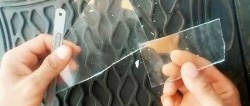
I also used this method to cut the bottle in half lengthwise. The only caveat is that I couldn’t drag the crack to the bottom of the bottle (probably because the glass was too thick), so I cut out the glass around the bottom.
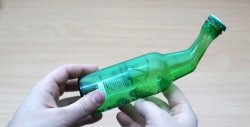
I also experimented and cut out a large window on the entire side of the bottle - everything turned out great. But when I tried to cut out a small rectangular window, strong cracks appeared in two corners, so this experiment can be considered a failure.
This simple method allows you to cut a glass bottle lengthwise.
Will need
To do this, we will need a regular soldering iron with a thin tip, a marker to draw the outline of the hole, a glass cutter or a sharp metal object to mark the initial cutting point.
Cutting a window in a glass bottle
At the first stage, using a marker, draw the outline of the future hole on the glass.
Then, in one of the places along the contour (preferably, it should be a straight section), using a glass cutter or a sharp metal object, a notch is made to facilitate the formation of a crack.
Next, the soldering iron warms up the place where the scratch was made.
The glass warms up gradually, in small areas of a few millimeters.
After a crack has formed, the soldering iron tip moves further along the marker line. If the crack stops, you need to go back and heat the glass in the opposite direction.
I want to say right away that the work is painstaking and you need to be patient.
Having reached the corner of the cutting line, you need to carefully heat the corner so that the crack turns at the desired angle. This is the most difficult area, since the internal forces acting in the glass prevent the crack from turning. It doesn’t matter whether it’s a smooth turn or a 90-degree angle. From my own experience I can say that quite often (about 25% of cases) the crack does not turn exactly where it should or even goes to the side. Therefore, I first heat the corners with a point, and then slowly rub them so that the crack goes away.
Because of the problems with corners, this method is not very good for cutting small holes in glass.
Another important step is completing the crack. It is better to connect cracks on a straight section, and not in a corner. Now I will explain why. The fact is that at a distance of about 3 mm from each other, the cracks very often stop moving and simply do not connect. Therefore, I simply warm up this area, and then gently tap the cut area from the inside of the bottle through the neck with a hard object.
The uncut portion of the glass breaks off, leaving jagged edges that then have to be carefully sanded off with fine sandpaper.
I also used this method to cut the bottle in half lengthwise. The only caveat is that I couldn’t drag the crack to the bottom of the bottle (probably because the glass was too thick), so I cut out the glass around the bottom.
I also experimented and cut out a large window on the entire side of the bottle - everything turned out great. But when I tried to cut out a small rectangular window, strong cracks appeared in two corners, so this experiment can be considered a failure.
This simple method allows you to cut a glass bottle lengthwise.
Watch detailed video
Similar master classes
Particularly interesting
Comments (2)

