USB charger that will charge all gadgets at once
In modern times, we have more and more electronic devices. Smartphones, tablets, smart watches, MP-3 players. Charging them at the same time sometimes becomes a task. You can, of course, take an extension cord for a certain number of sockets and organize your own charging corner. I usually don’t use my smartphone when charging.
I decided to make my own charging station for charging. It takes up one outlet and is not difficult to make.
Will need
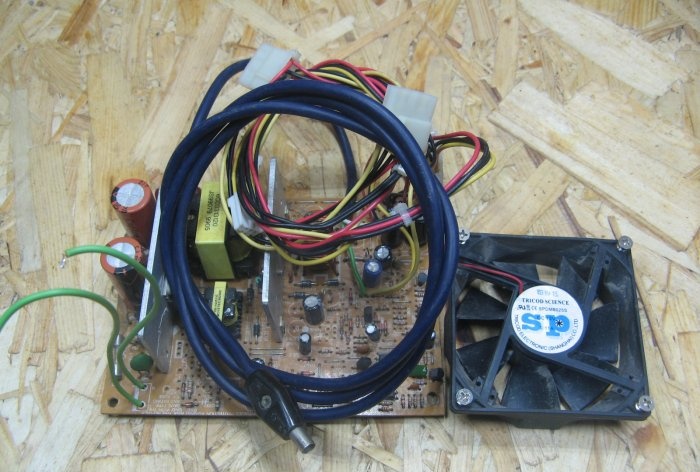
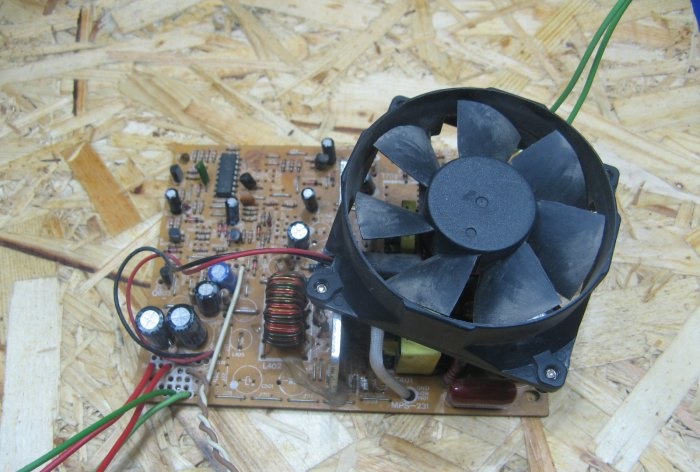
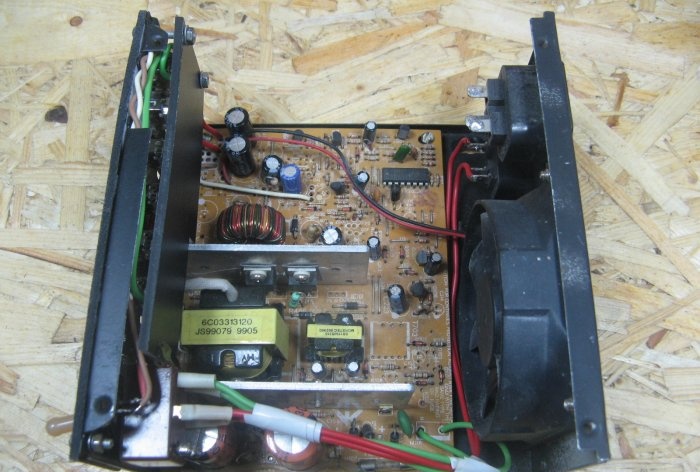
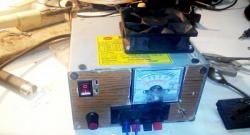
The basis is an old power supply from a computer. I received the board without a case. There is no standby source on the board and there are no 3.3 volt elements. It feels like it wasn't there. Everything looks neat.
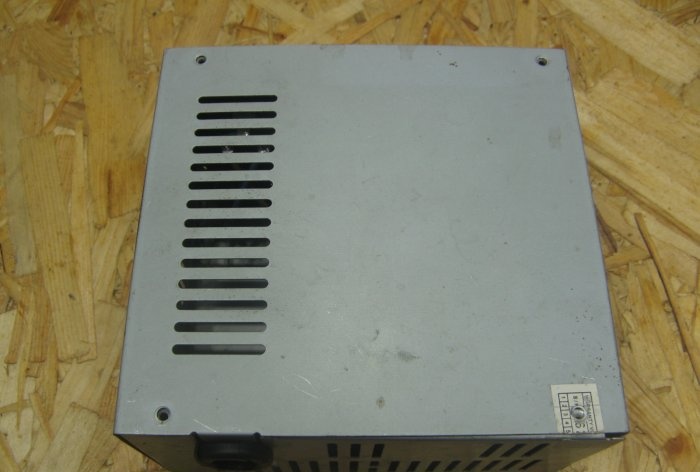
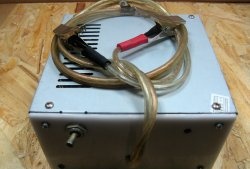
In the bins I took the case from the computer power supply. You can use any suitable one. But the board has the right place in this case.
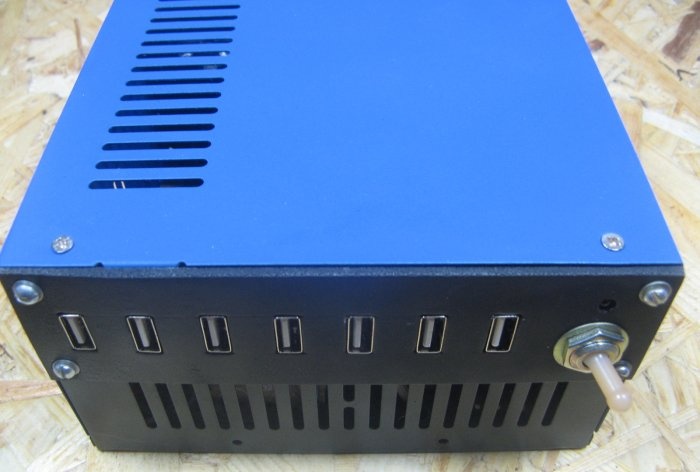
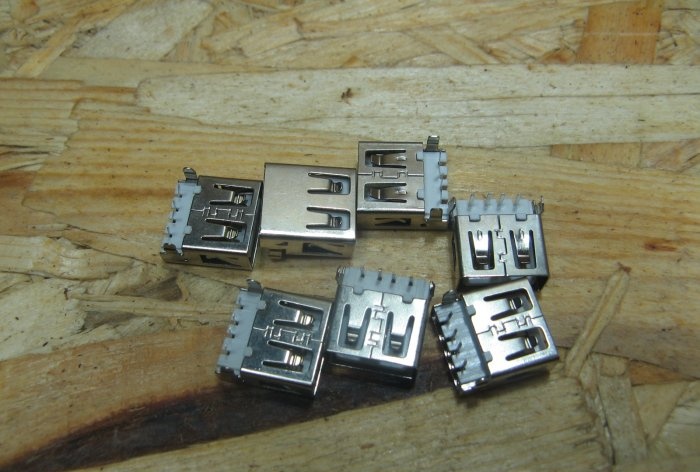
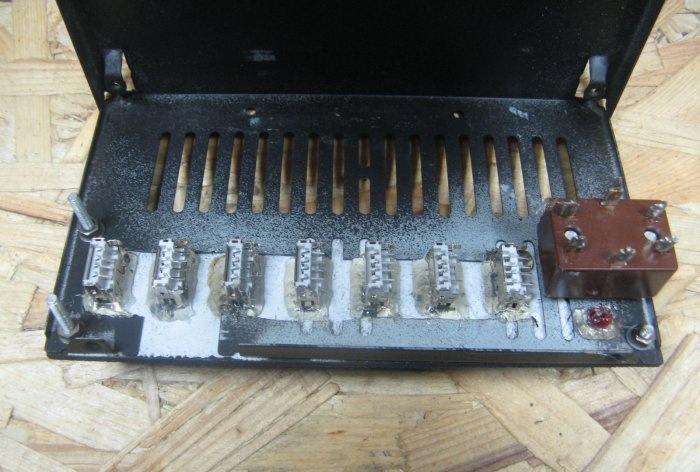
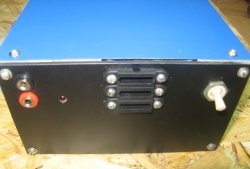
USB sockets were ordered from China. I decided to install 7 pieces. I didn't want to put it too closely. Of course, you can arrange it differently, then more will fit. I am satisfied with this quantity.
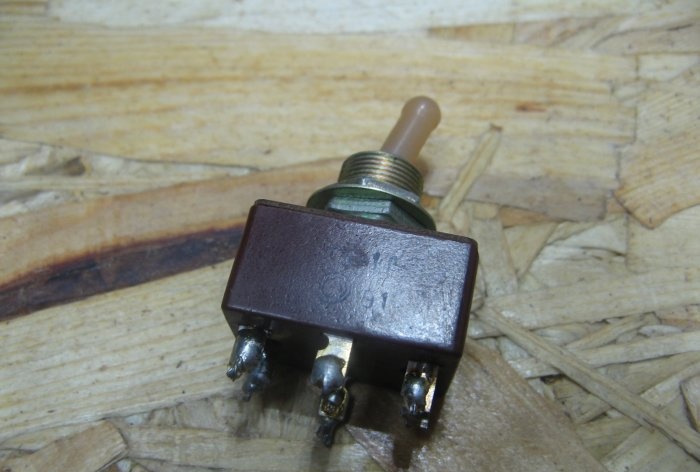
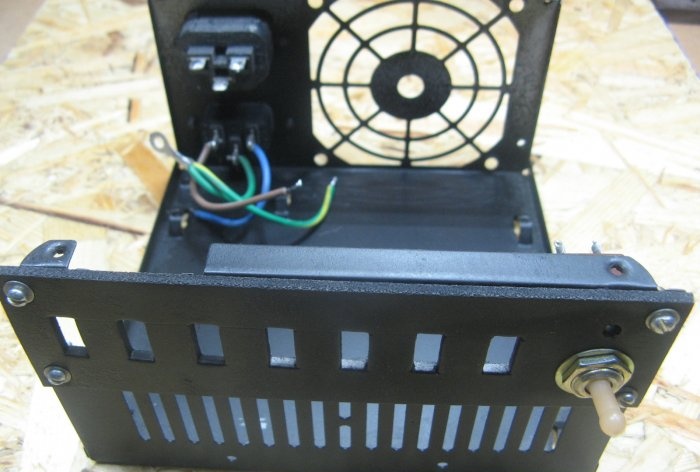
My mains switch is the T3 toggle switch. Any one can be used. My toggle switch breaks both network wires.
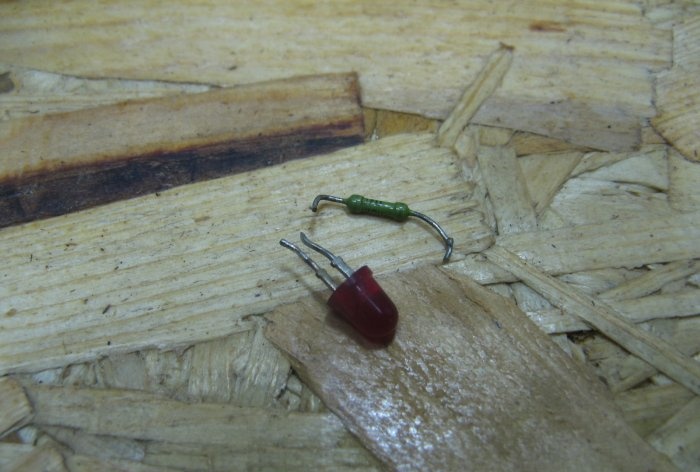
The indicator is domestic Light-emitting diode. I connect it through a 1 kOhm current-limiting resistor to a 12-volt line.
I will install the USB on PVC plastic. I really like this plastic, it is very easy to work with.
We make a charging station for USB gadgets
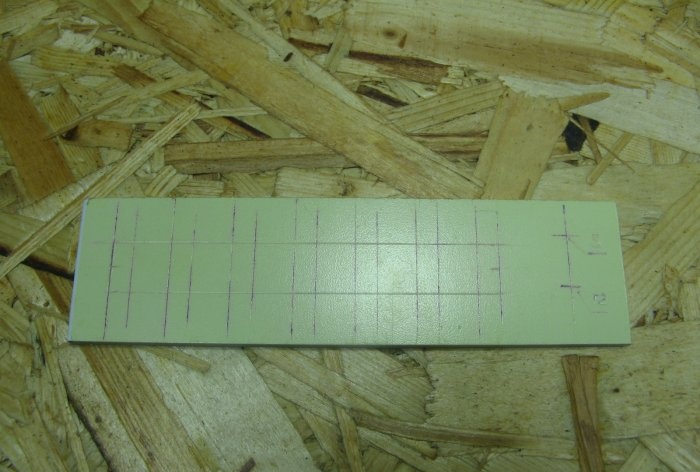
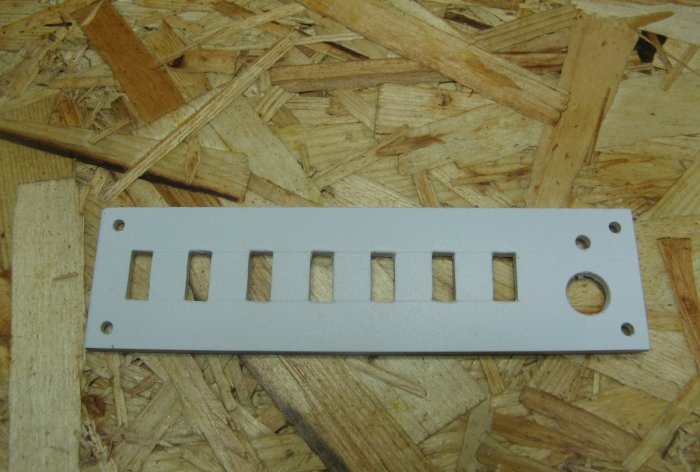
I mark the holes for the sockets. Also under the power switch and Light-emitting diode. I mark it on the protective film.
I cut out all the windows and drill holes. I remove the protective film.
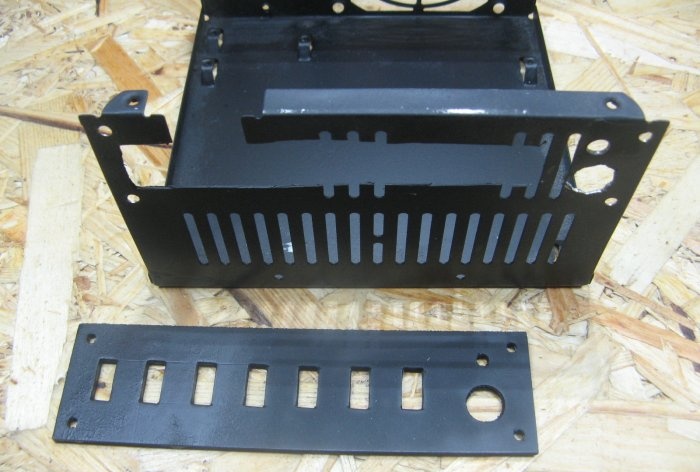
I duplicate the holes on the power supply housing panel. I paint their PVC panels. I also paint the lower part of the power supply housing.
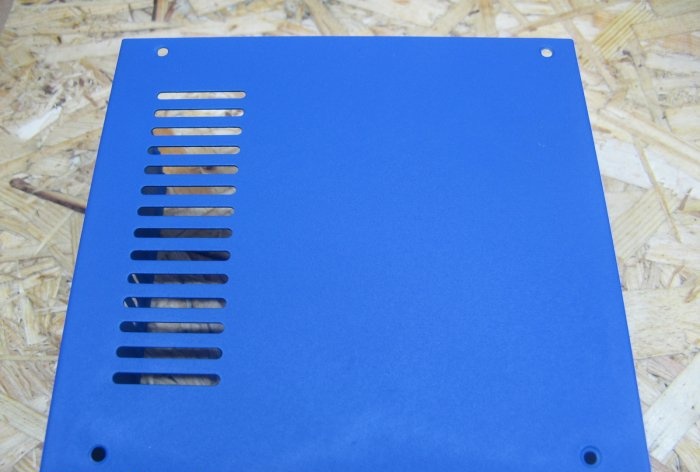
I also painted the housing cover. I paint everything with matte paint, I had this in stock.
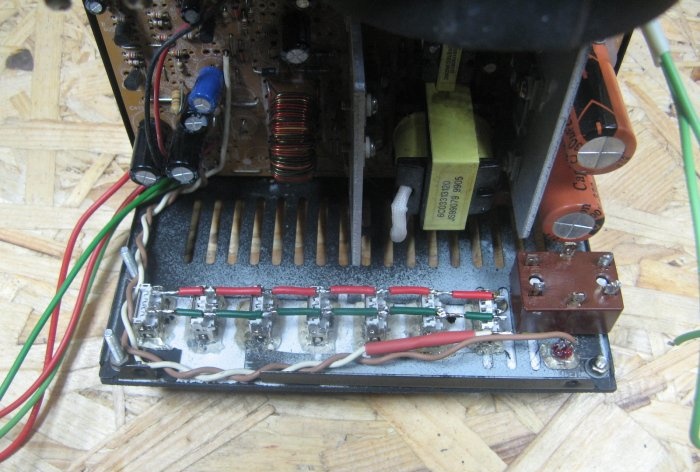
I unsolder the original power supply wires. Instead of soldered wires, I solder in a couple of others. Green minus, red plus. The twisted wire will go to Light-emitting diode.
I screw the panel on. I'm installing a switch. I also reinstall the network connectors (I removed them when painting).
I install the nests in the windows and secure them with thermal glue. Light-emitting diode I also secured it with glue.
I connect the positive contacts to each other, and the negative contacts too. I soldered a resistor to the LED, and hid the resistor in a heat-shrinkable tube. Soldered the power to the LED.
I soldered the positive and negative wires from the board to the jumpers of the USB sockets. There was a piece of plastic left from the old project, which was used to fix the USB. The nests are firmly seated. The main thing is not to overdo it with hot glue; you can fill the springs in the sockets. I had to soften the glue a little; the connectors did not fit into the socket.
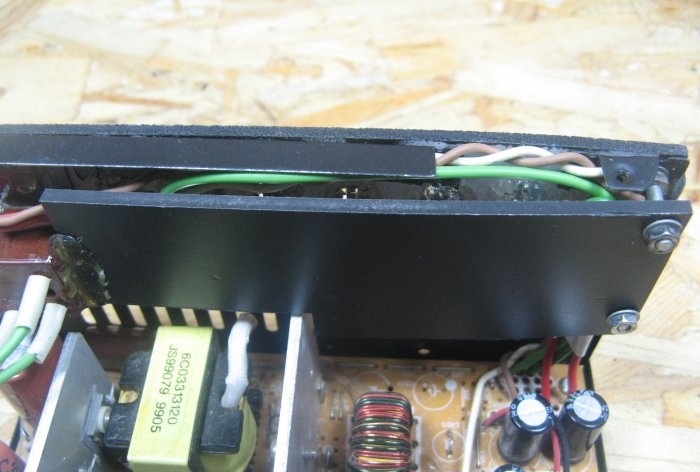
Unsoldered the switch. I fixed the wires with electrical tape, it’s kind of prettier.
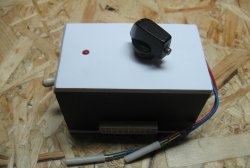
I put the lid on and screw it on. This is such a neat charging station. At the same time, I connected a smartphone, MP-3 player, and Powerbank to it.I tested the unit under a load of 5 amperes, everything works fine.
Watch the video
Similar master classes
Particularly interesting

Cable antenna for digital TV in 5 minutes

A selection of simple and effective schemes.

Three-phase voltage from single-phase in 5 minutes

Starting a three-phase motor from a single-phase network without a capacitor

Eternal flashlight without batteries

How to make an inexpensive but very powerful LED lamp
Comments (4)

