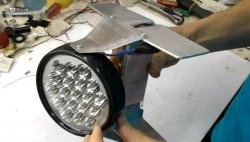
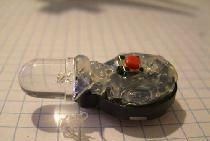
Flashlight running on water
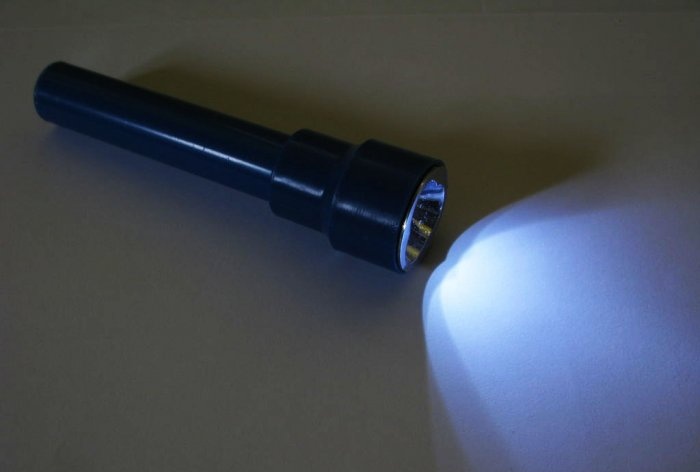
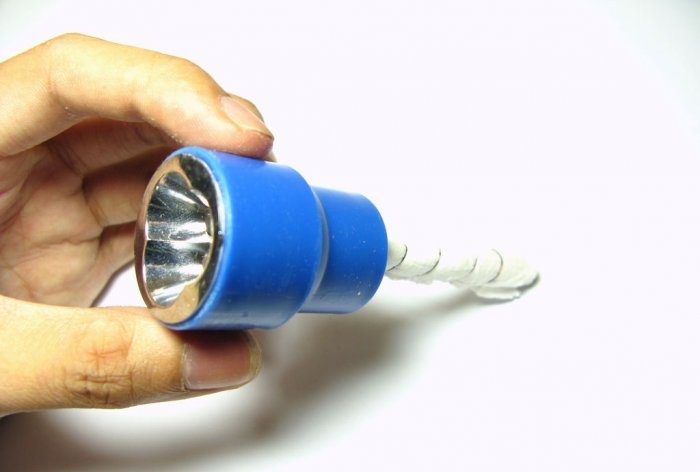
If you thought this was some kind of prank or joke, then you were mistaken. This pocket flashlight really only works on water and nothing else. Each of you can repeat it and make the same one for yourself, especially since there are no scarce elements in it.
Now in more detail. The flashlight consists of a compartment where water is poured and a boost converter on one transistor that powers ultra-bright LEDs.
In the water compartment there are two electrodes made of different metals. And when water gets inside, a potential difference appears between them, resulting in electric current flowing. This is a kind of galvanic element. Since there is only one element, its voltage is not enough to force LEDs shine. To do this, it is connected to a boost converter, which increases the voltage to the desired level. As a result, the flashlight shines quite brightly and for a fairly long period.
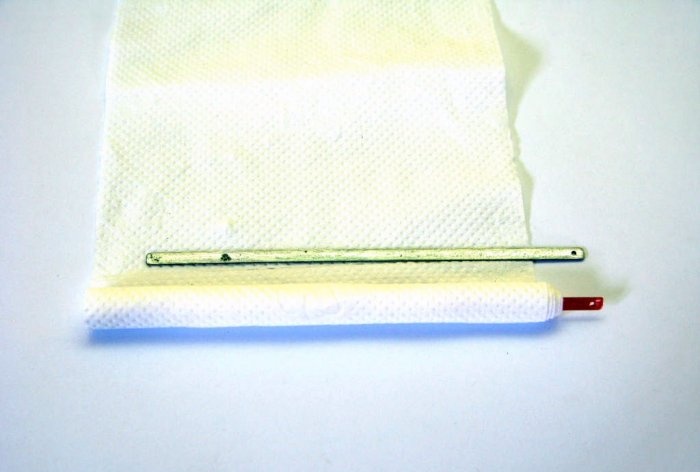
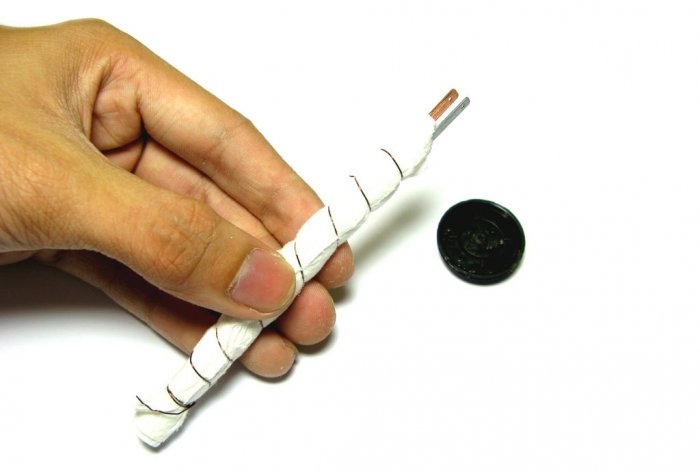
First of all, let's make the battery itself. We take a copper plate and make a couple of turns around it with a paper napkin.
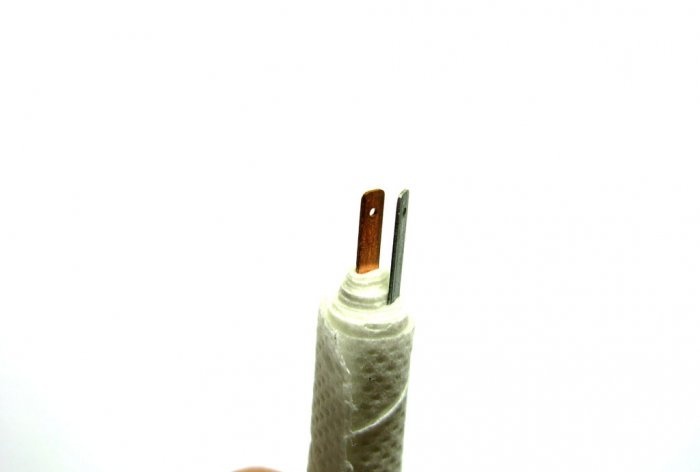
We attach a zinc plate to this bundle and make 3 more turns with a napkin.
To prevent everything from unwinding, we will secure it with copper wire. The napkin will prevent the plates from closing and will perfectly conduct liquid through itself.
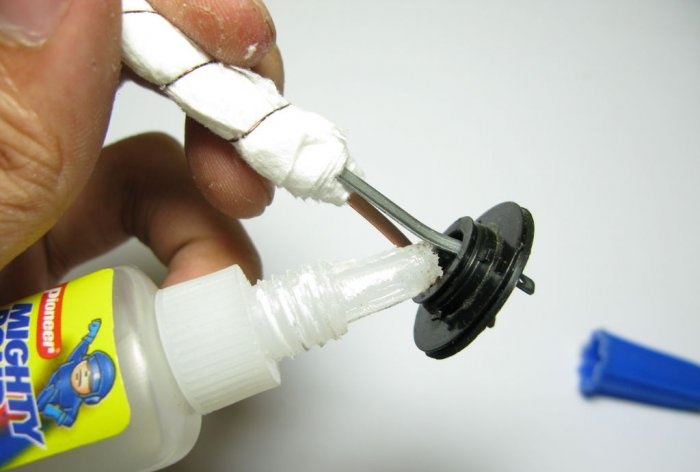
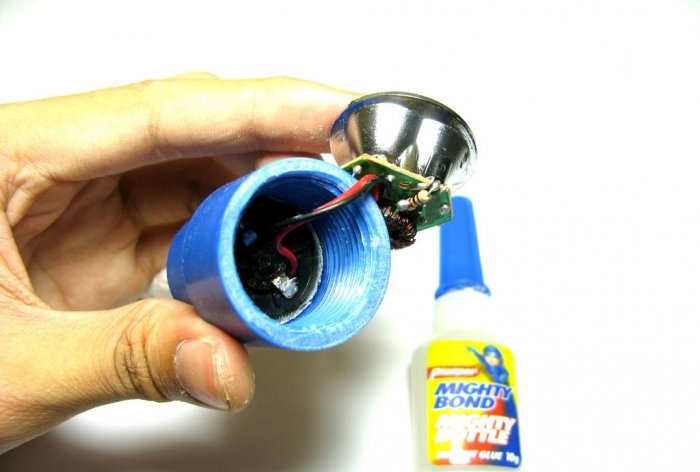
In the transition cover, which will separate the transducer compartment from the compartment with water, we glue the element leads hermetically with super glue.
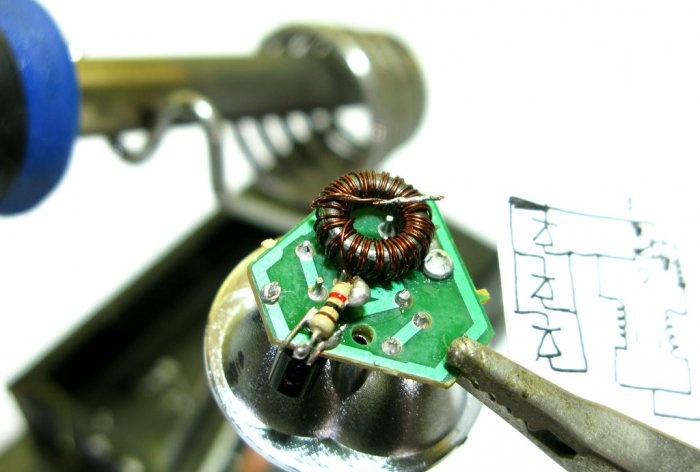
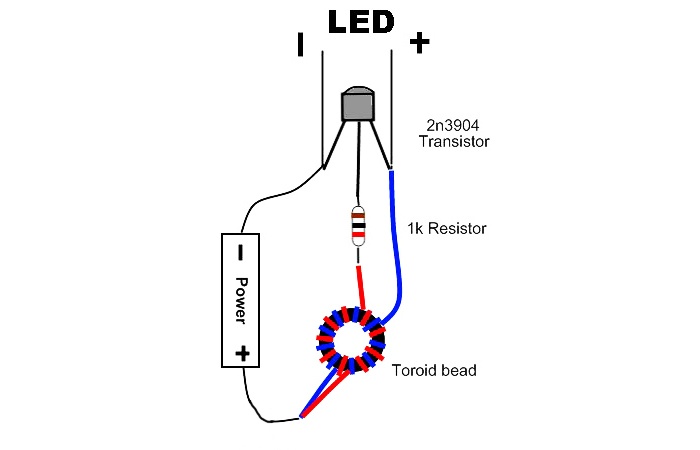
Next we move on to manufacturing the converter. Here's the diagram. This is the simplest self-excited converter.
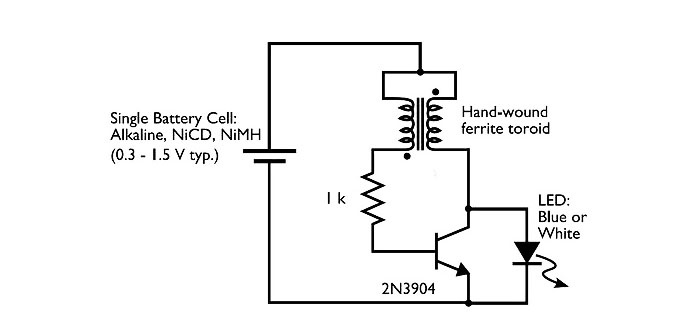
Wired assembly.
We solder everything onto a board with LEDs. You can read how to make such a converter here - https://home.washerhouse.com/en/357-vyzhimaem_poslednie_soki_iz_batarejki.html or here - https://home.washerhouse.com/en/3730-pitanie-svetodioda-ot-batareyki-15-volta.html.
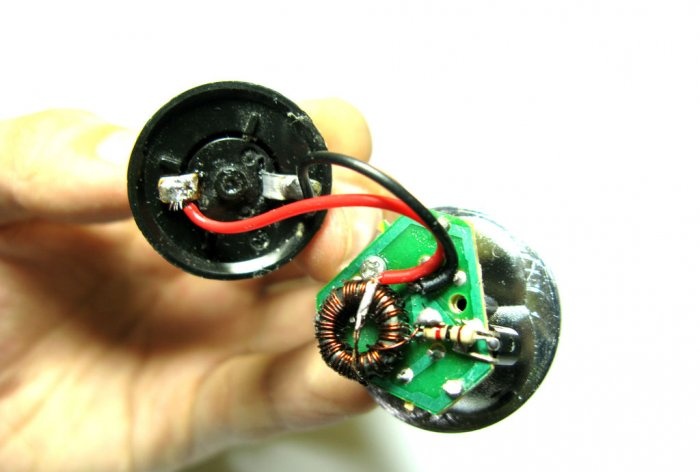
Now let's put everything together. Solder the input of the converter to the output of the element.
We put everything in the case. We glue the separation plate with super glue.
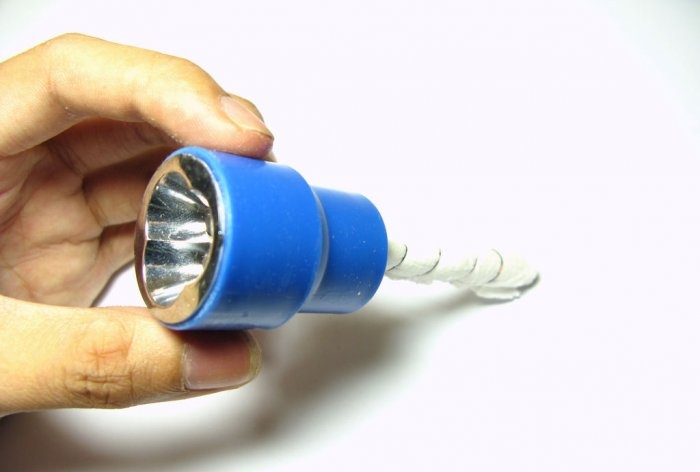
We insert the converter with the board and reflector inside. We also put everything on glue.
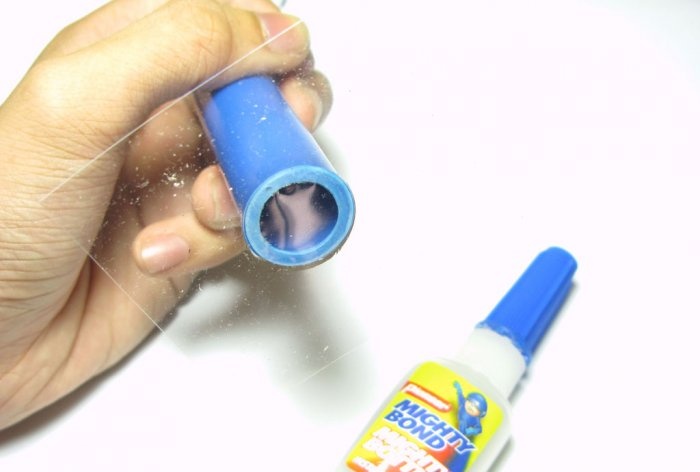
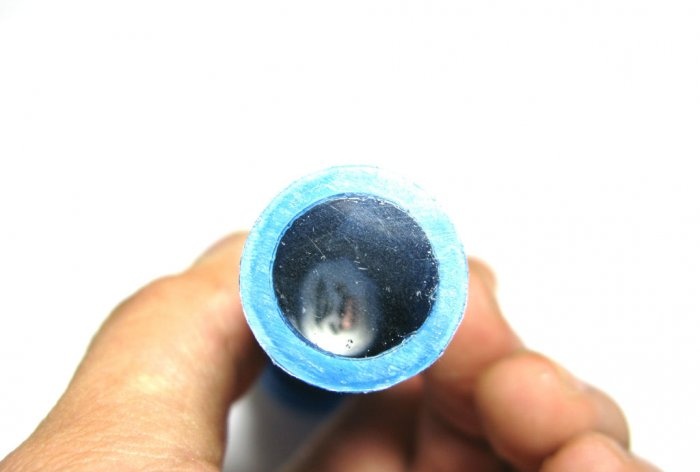
At the end of the tube we make a transparent plexiglass plug. Glue and cut.
Now you can observe everything visually.
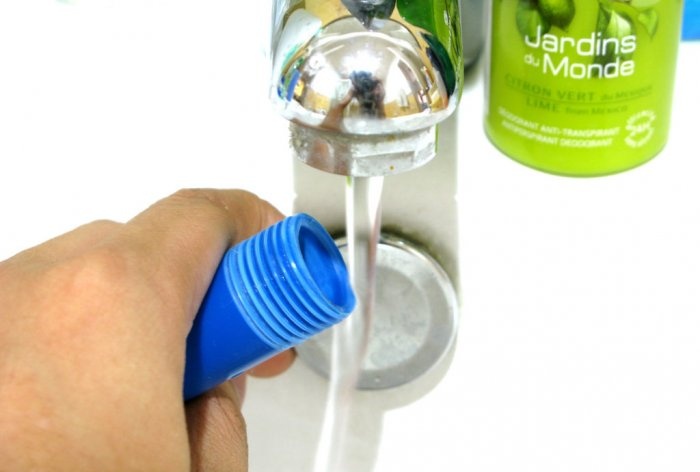
Pour regular tap water into the compartment.
We place the electrodes.
Screw it on and wait a little until the water saturates the napkin and a chemical reaction begins between the electrodes.
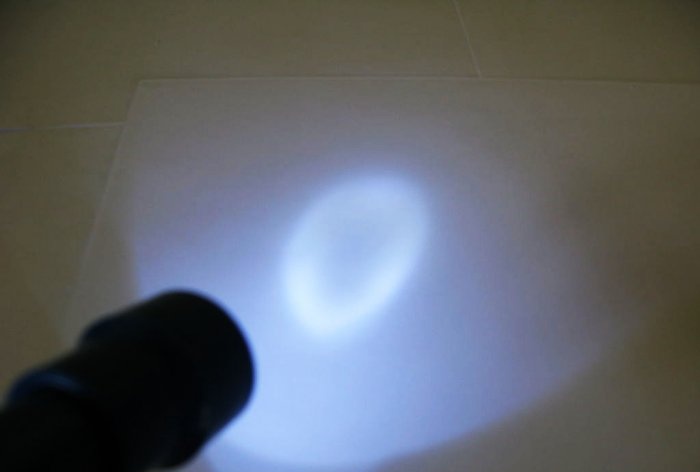
The flashlight shines just fine and very bright!
Using ordinary tap water, it works continuously for half an hour, and if you fill it with water salted with ordinary sea salt, we can withstand stable combustion for up to two hours!
How it works?
Now in more detail. The flashlight consists of a compartment where water is poured and a boost converter on one transistor that powers ultra-bright LEDs.
In the water compartment there are two electrodes made of different metals. And when water gets inside, a potential difference appears between them, resulting in electric current flowing. This is a kind of galvanic element. Since there is only one element, its voltage is not enough to force LEDs shine. To do this, it is connected to a boost converter, which increases the voltage to the desired level. As a result, the flashlight shines quite brightly and for a fairly long period.
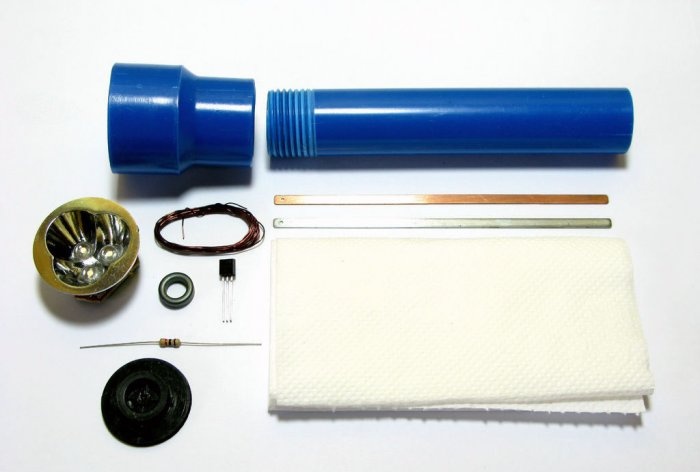
Will need
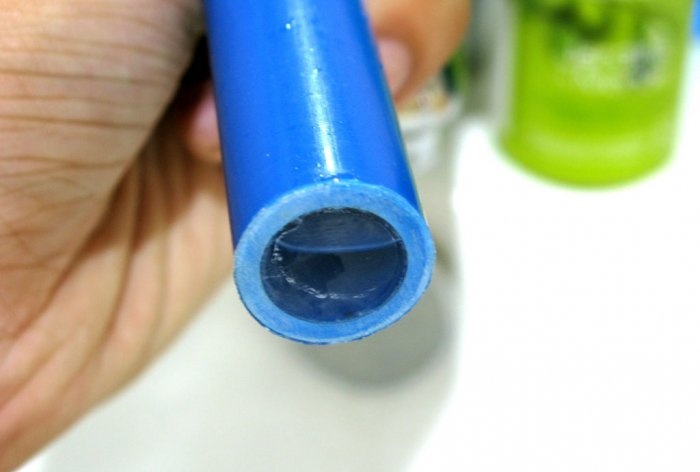
- A body made of PVC pipes: an adapter and a piece of pipe, threads need to be cut between them so that there is a strong collapsible connection.
- The reflector with a circuit board and three LEDs was taken from a broken battery-powered flashlight.
- For the converter: bipolar transistor of any brand, 1 kOhm resistor, ferrite ring 2 cm in diameter, copper wire 0.5 meters long and 0.25 mm thick.
- For a galvanic cell: copper and zinc plates. Instead of zinc, you can use galvanized iron.
- Paper napkin.
Making a flashlight that runs on water
First of all, let's make the battery itself. We take a copper plate and make a couple of turns around it with a paper napkin.
We attach a zinc plate to this bundle and make 3 more turns with a napkin.
To prevent everything from unwinding, we will secure it with copper wire. The napkin will prevent the plates from closing and will perfectly conduct liquid through itself.
In the transition cover, which will separate the transducer compartment from the compartment with water, we glue the element leads hermetically with super glue.
Next we move on to manufacturing the converter. Here's the diagram. This is the simplest self-excited converter.

Wired assembly.

We solder everything onto a board with LEDs. You can read how to make such a converter here - https://home.washerhouse.com/en/357-vyzhimaem_poslednie_soki_iz_batarejki.html or here - https://home.washerhouse.com/en/3730-pitanie-svetodioda-ot-batareyki-15-volta.html.
Now let's put everything together. Solder the input of the converter to the output of the element.
We put everything in the case. We glue the separation plate with super glue.
We insert the converter with the board and reflector inside. We also put everything on glue.
At the end of the tube we make a transparent plexiglass plug. Glue and cut.
Now you can observe everything visually.
Checking work
Pour regular tap water into the compartment.
We place the electrodes.
Screw it on and wait a little until the water saturates the napkin and a chemical reaction begins between the electrodes.
The flashlight shines just fine and very bright!
Using ordinary tap water, it works continuously for half an hour, and if you fill it with water salted with ordinary sea salt, we can withstand stable combustion for up to two hours!
Watch a video of the flashlight being tested in action
Similar master classes
Particularly interesting

Cable antenna for digital TV in 5 minutes

A selection of simple and effective schemes.

Three-phase voltage from single-phase in 5 minutes

Starting a three-phase motor from a single-phase network without a capacitor

Eternal flashlight without batteries

How to make an inexpensive but very powerful LED lamp
Comments (13)

