Replacing the valve in 20 seconds without removing the wheel
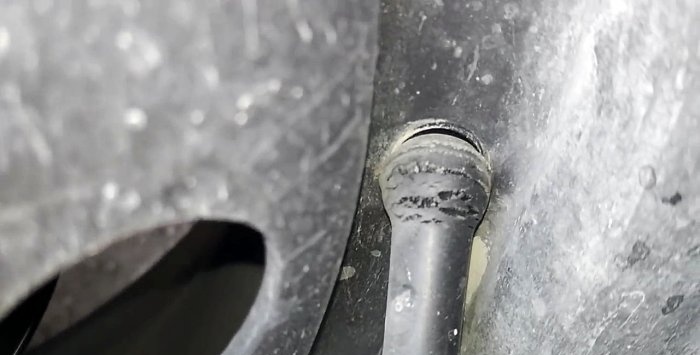
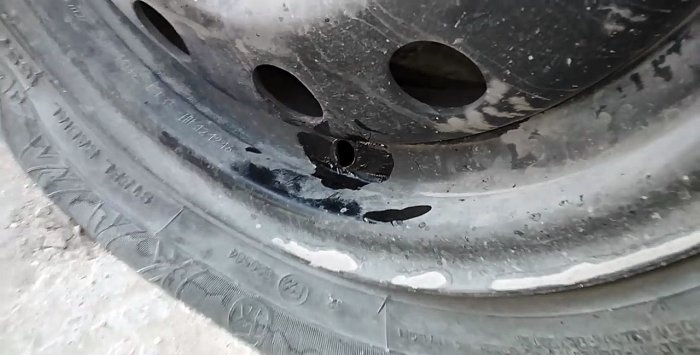
Tubeless can bleed air through a valve, the rubber of which becomes covered with through cracks over time. Usually, having such a problem, you need to go to a tire shop or disassemble the wheel yourself to insert a new valve on the inside of the disk.
In fact, if you make a couple of devices, you can change the nipple in literally 20 seconds, without removing the splint.
To work you will need to make 3 tools:
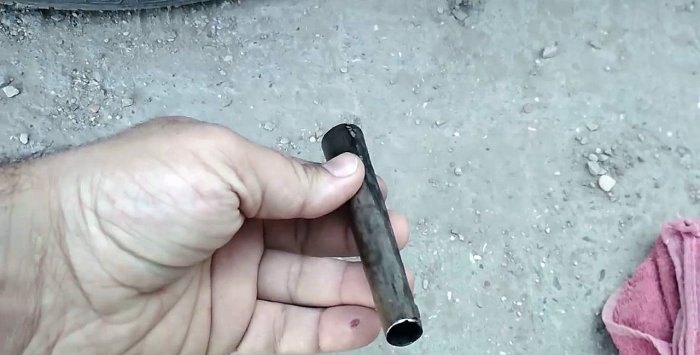
The conical tube is made of sheet steel. Its segment is wrapped into a cone so that the smaller diameter corresponds to the hole in the disk for installing the nipple, and the larger diameter slightly exceeds the cross-section of the valve base. The outer seam of the cone twisted from the sheet at the top is strengthened by welding.
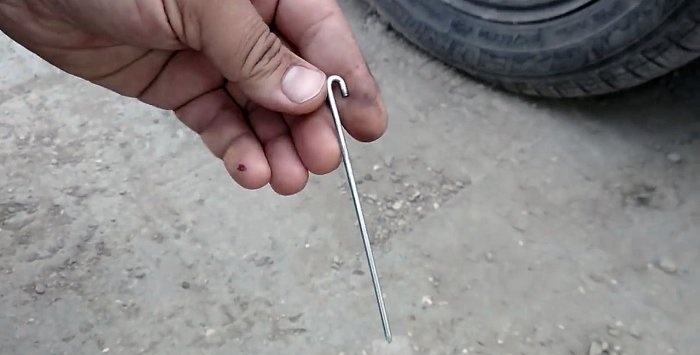
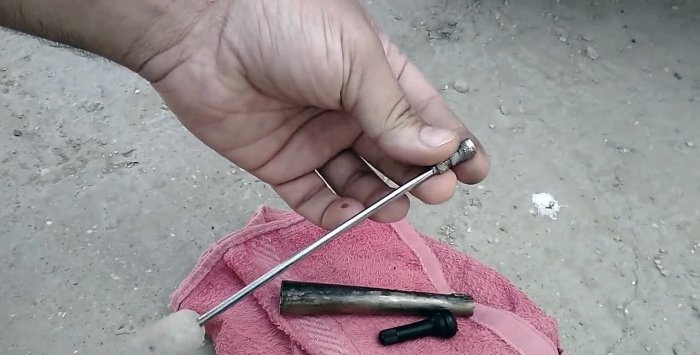
The hook is made from a thin steel bar. Outwardly, it resembles an ordinary screwdriver, but with a curved end. It must be equipped with a handle for convenient and safe operation.
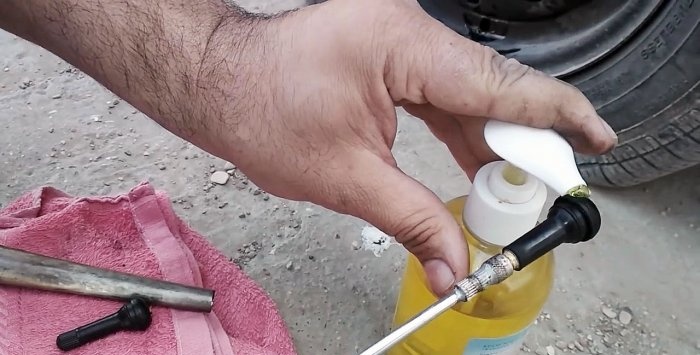
The pusher is made in the same way as the hook, but you need to solder a metal cap for the valve onto its end.You can simply take a tube of suitable diameter and cut an internal thread in it so that it screws onto the nipple. This tool must also have a handle.
Additionally, you will need liquid soap. In order not to carry the entire bottle, you can draw it into a medical syringe.
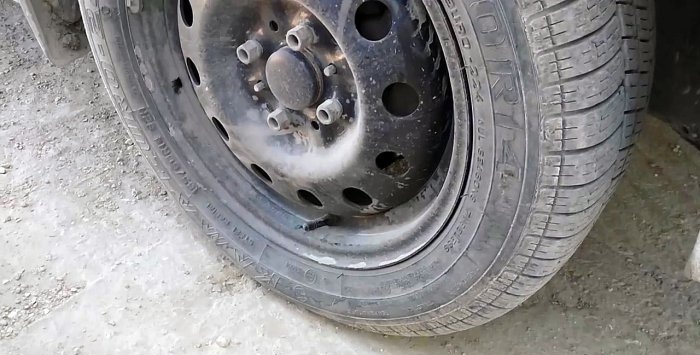
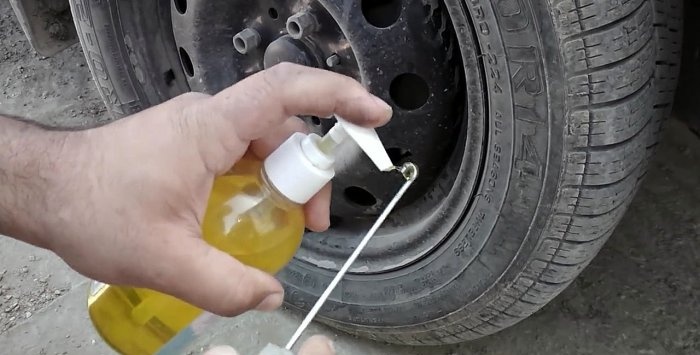
First you need to position the car so that the valve is at the bottom. The hook is used first, the end of which must be lubricated with liquid soap.
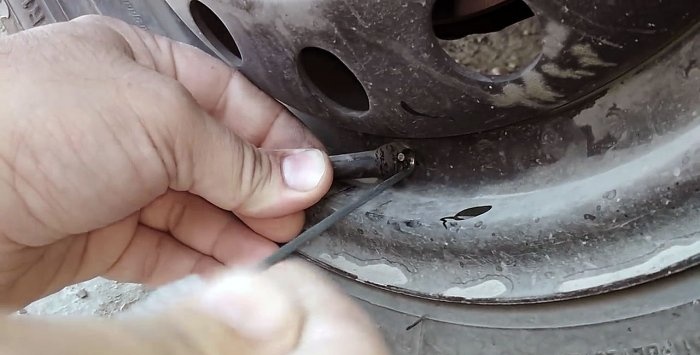
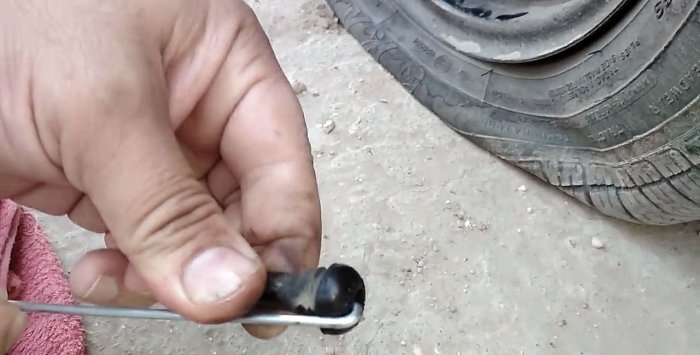
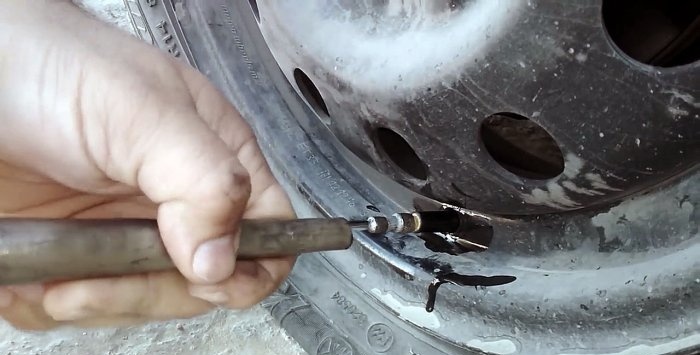
The tool is inserted into the base of the valve on the disk, and thanks to the lubrication, when pressed, it penetrates the wheel. Having caught on the base of the nipple, it should be removed.
Now you need to remove the cap from the new valve and screw on the pusher instead. The hole in the disk, the base of the valve and the inner surface of the cone tube are lubricated with soap.
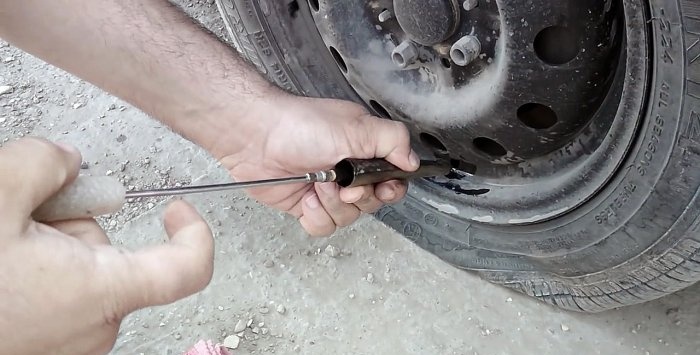
Next, you need to place the new valve in the cone, the result is something like a syringe.
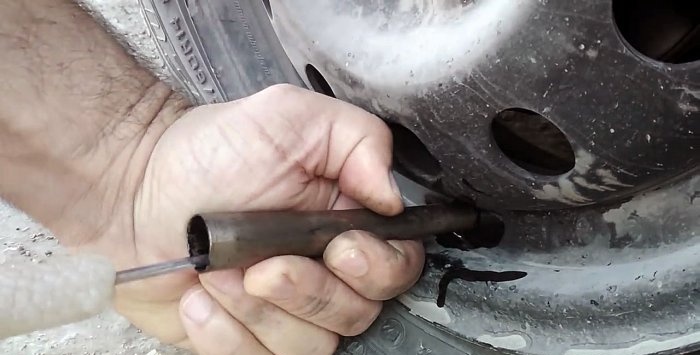
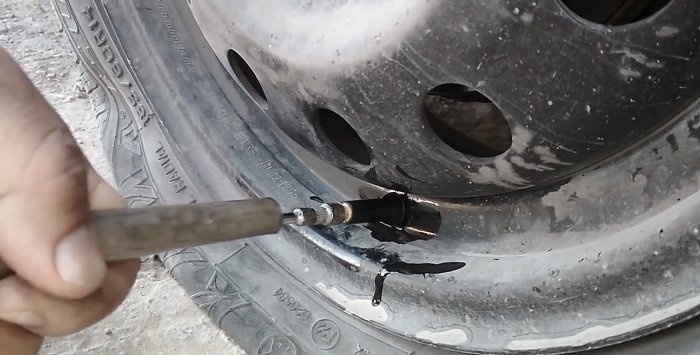
It is better to wrap the pusher handle with a cloth so as not to damage your hand. The base of the cone is attached to the hole on the disk. By pressing on the pusher, you need to push the nipple, pressing it until it comes out of the cone, moving into the mounting hole of the disk, which will be accompanied by a characteristic click of the rubber being straightened.
Next, we pull the nipple back, swinging it from side to side, so that the groove on it fits neatly into the hole.
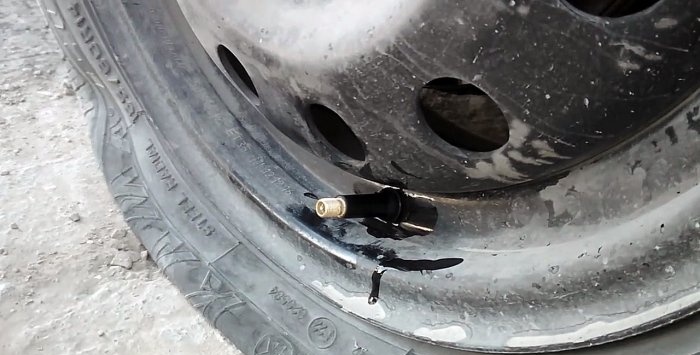
Installation is complete. Now the tire can be inflated and the vehicle can be used again.
This is a very simple, convenient method, which of course requires a little tinkering with making tools. If you don’t mind the money, then all three devices can be bought at a car store. When working in winter, it is a good idea to keep the valve in warm water for a while to restore the softness of the rubber, and while it is warm, replace it.
In fact, if you make a couple of devices, you can change the nipple in literally 20 seconds, without removing the splint.
Required Tools
To work you will need to make 3 tools:
- conical tube;
- hook with handle;
- pusher
The conical tube is made of sheet steel. Its segment is wrapped into a cone so that the smaller diameter corresponds to the hole in the disk for installing the nipple, and the larger diameter slightly exceeds the cross-section of the valve base. The outer seam of the cone twisted from the sheet at the top is strengthened by welding.
The hook is made from a thin steel bar. Outwardly, it resembles an ordinary screwdriver, but with a curved end. It must be equipped with a handle for convenient and safe operation.
The pusher is made in the same way as the hook, but you need to solder a metal cap for the valve onto its end.You can simply take a tube of suitable diameter and cut an internal thread in it so that it screws onto the nipple. This tool must also have a handle.
Additionally, you will need liquid soap. In order not to carry the entire bottle, you can draw it into a medical syringe.
Replacing the valve
First you need to position the car so that the valve is at the bottom. The hook is used first, the end of which must be lubricated with liquid soap.
The tool is inserted into the base of the valve on the disk, and thanks to the lubrication, when pressed, it penetrates the wheel. Having caught on the base of the nipple, it should be removed.
Now you need to remove the cap from the new valve and screw on the pusher instead. The hole in the disk, the base of the valve and the inner surface of the cone tube are lubricated with soap.
Next, you need to place the new valve in the cone, the result is something like a syringe.
It is better to wrap the pusher handle with a cloth so as not to damage your hand. The base of the cone is attached to the hole on the disk. By pressing on the pusher, you need to push the nipple, pressing it until it comes out of the cone, moving into the mounting hole of the disk, which will be accompanied by a characteristic click of the rubber being straightened.
Next, we pull the nipple back, swinging it from side to side, so that the groove on it fits neatly into the hole.
Installation is complete. Now the tire can be inflated and the vehicle can be used again.
This is a very simple, convenient method, which of course requires a little tinkering with making tools. If you don’t mind the money, then all three devices can be bought at a car store. When working in winter, it is a good idea to keep the valve in warm water for a while to restore the softness of the rubber, and while it is warm, replace it.
Watch video
Similar master classes

How to change a tire without a jack

In the 21st century, there is no need to carry a spare tire, a jack and a pump with you -

The simplest do-it-yourself sandblasting nozzle for a compressor
How to revive a ball valve if it is jammed
Homemade crimp for crimping tubular lugs on a cable

A device for quickly applying plaster with your own hands
Particularly interesting
Comments (13)

