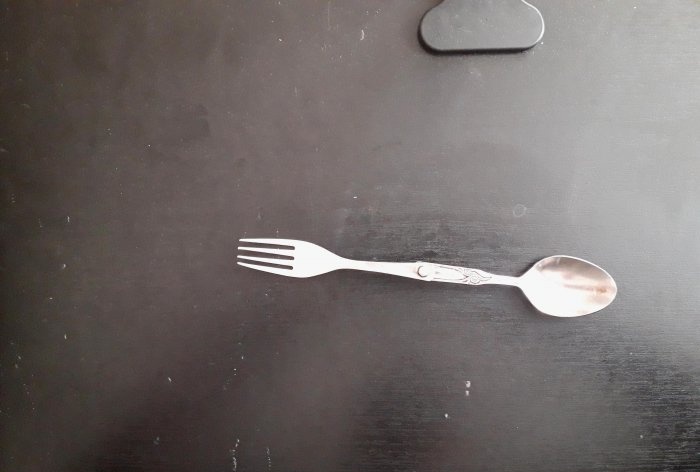
Let's make it on a hike: DIY folding fork-spoon
There are a huge variety of folding tools for outdoor picnics, fishing and hiking. One of the most important, in my opinion, is a foldable set with many options. A good set, in addition to the knife blade itself, may contain a fork and spoon, a corkscrew, various screwdrivers, scissors, and even a small file. All these things are certainly necessary and useful, to one degree or another. However, you can get by with a small set. Let's say if I'm going on a hike and plan to cook food, I, of course, need a spoon and fork. But why do I need a knife in this set if I have a huge cleaver hanging from my belt, which is equally effective for chopping wood for a fire and sharpening a match for a toothpick. In addition, it can also be used for sawing (there are saw teeth on the butt of the blade).
Many people, I am sure, going to such an event will definitely take something similar with them, because there is nothing to do in the forest without a good knife. The same question applies to scissors, why does a person need scissors in the forest? If you have a knife! I'm not even talking about the corkscrew and screwdrivers...Hence the conclusion, why do I need a pocket knife with such a large set of tools? But a spoon and fork, preferably folding ones, would work very well! You can, of course, take ordinary cutlery from home, but this is inconvenient - you constantly have to fish them out from the bottom of the backpack, unravel them from the bag, and the fork can damage the backpack (or even the owner himself!) if it is poorly placed inside the backpack. It is much more convenient to carry with you a folding spoon and fork, which fit into a small case, which, in turn, can be put in a regular pocket. The design of this product is extremely simple, and almost anyone who has even the slightest desire to move about it can assemble it!
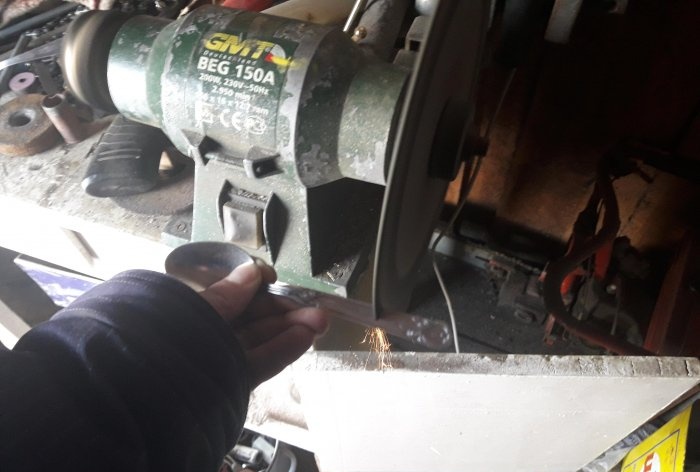
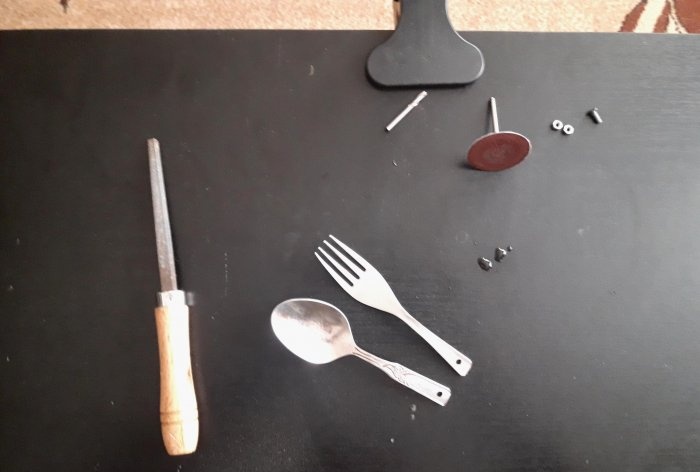
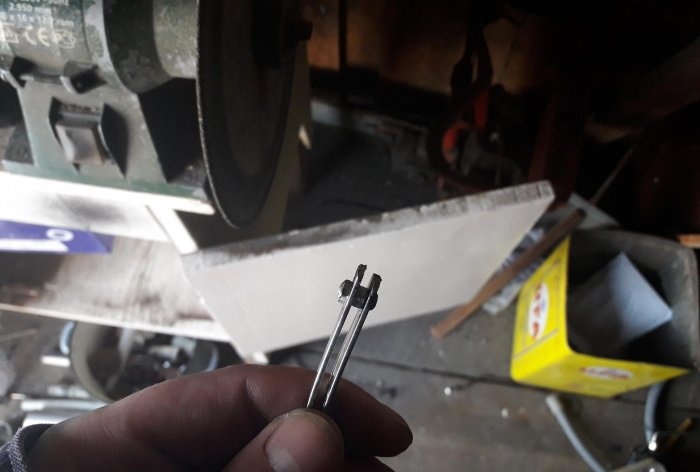
After we have prepared everything we need, we will begin production. First you need to calculate what the length of the device will be for greatest convenience. To do this, just take a spoon in your hand. We mark the location of the future cut. We place the second device (fork) on top so that the teeth protrude as little as possible from behind the spoon, and mark the place of cutting according to the mark on the spoon. Now you should saw off on an emery machine with a cutting disc according to the markings.
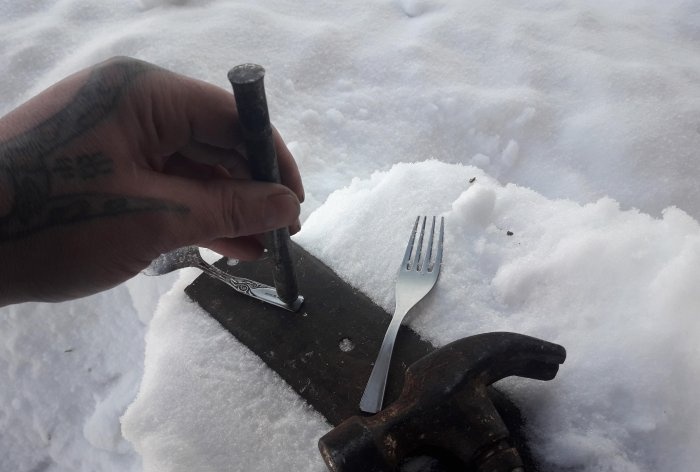
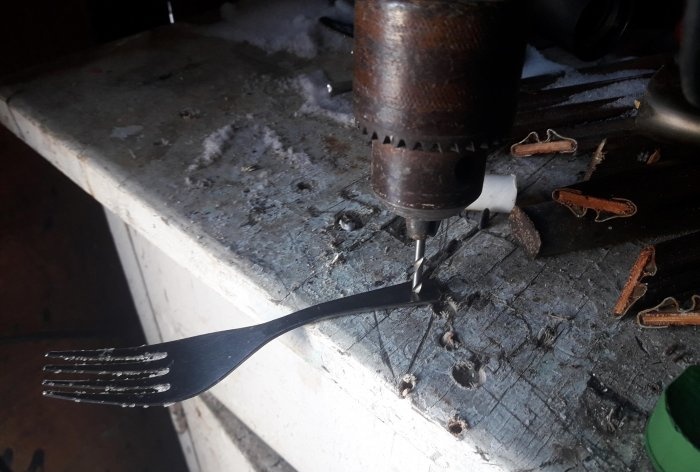
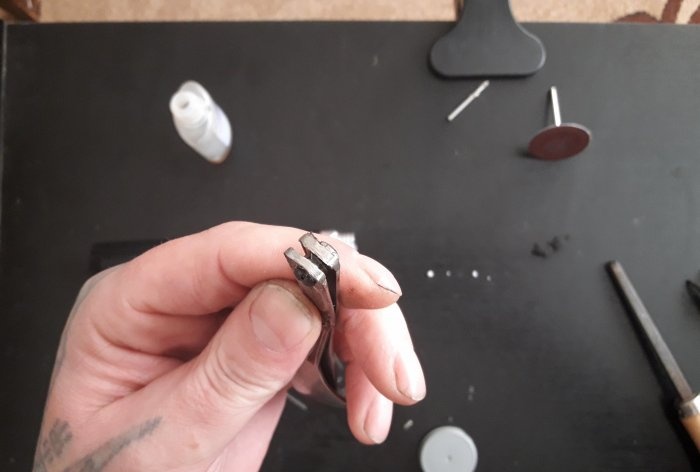
At first I thought of doing without an emery machine, but it turned out that sawing cutlery with an engraver with a cutting disk is not a very good idea - it takes a very long time, although it is possible... After sawing, you will get cutlery almost identical in length. Next, you should drill holes in the tails of the devices.Using a punch, we mark the locations of future holes, and drill holes into which a small bolt from the designer will fit.
It will turn out like this:
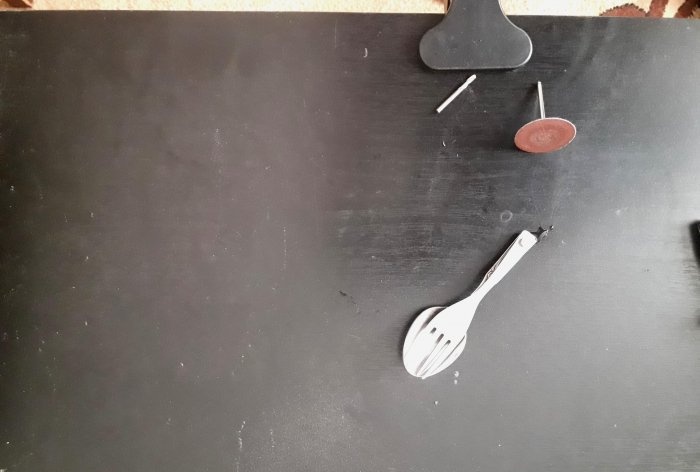
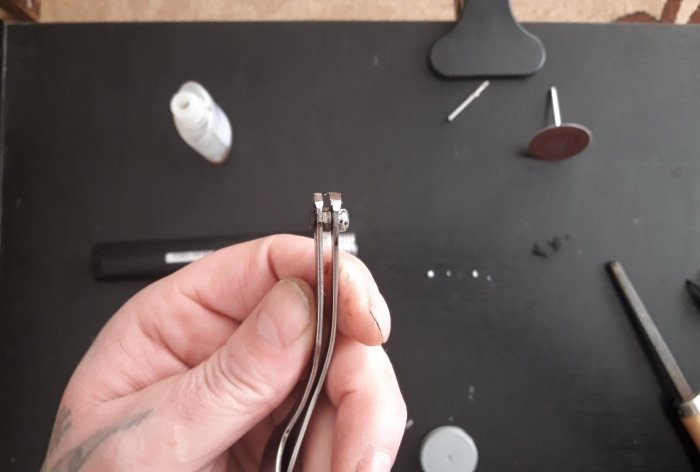
We remove the burrs with sandpaper so as not to get scratched, and tighten the shortened utensils together: we thread a bolt into the hole of the spoon (from the back side), screw the nut on top and tighten it tighter, then put a fork on the bolt (again with the back side, so that the deflection of the fork is inside spoons), and also screw the second nut on top.
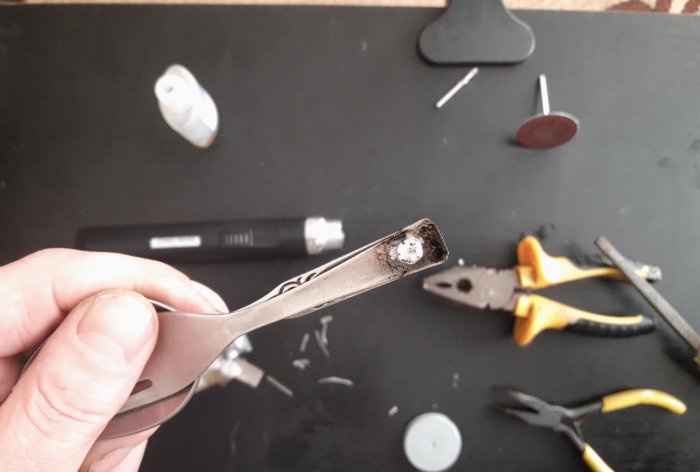
The design is quite simple. If we had not placed a nut between the devices, moving them apart would have been extremely inconvenient. Using pliers and a screwdriver, we tighten everything properly. Stronger. Don't worry if it's too tight - it will work out over time. Now you need to solder the nut connection so that it does not come loose or unscrew in the future. Coat the nut with flux, heat it with a soldering iron, and apply solder.
It will be possible to unscrew such a connection, if necessary, in the future without problems (tin is a rather soft metal), but it will no longer be able to unscrew on its own, as often happens! Well, that's all, all that remains is to bring the completed folding set into proper form. To do this, fold it as evenly as possible, and on an emery machine we equalize both tail ends so that they become absolutely identical.
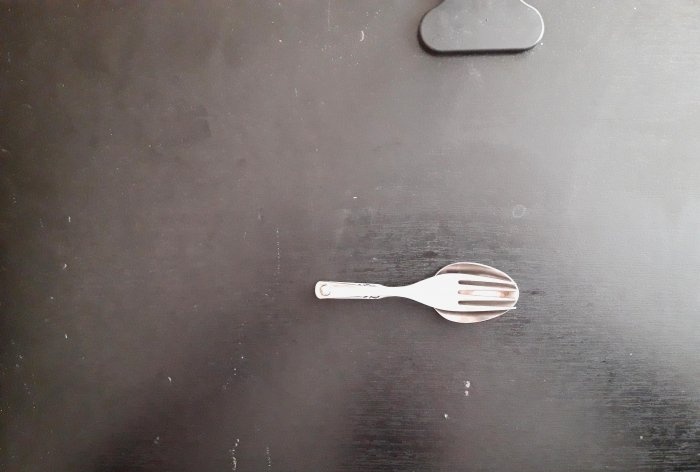
After leveling, use sandpaper to remove burrs, smooth out corners, and clean the entire working surface with a wire brush. The folding cutlery is ready.
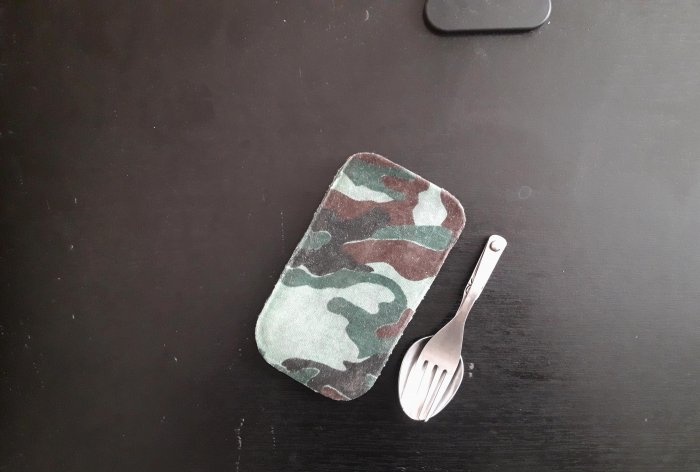
We wipe it with medical alcohol, or wash it like regular cutlery, and put it in a case.For this purpose, I took a case from an old phone, perfectly suitable for this purpose, which had been lying around idle for a long time. Now the accessories you need on a hike can be easily stored in any pocket, both in a backpack and on clothes.
The above example is just a sample, and such a set can be made not only with a fork and a spoon - anyone can assemble a set in a similar way according to their needs, with the tools they need.
Many people, I am sure, going to such an event will definitely take something similar with them, because there is nothing to do in the forest without a good knife. The same question applies to scissors, why does a person need scissors in the forest? If you have a knife! I'm not even talking about the corkscrew and screwdrivers...Hence the conclusion, why do I need a pocket knife with such a large set of tools? But a spoon and fork, preferably folding ones, would work very well! You can, of course, take ordinary cutlery from home, but this is inconvenient - you constantly have to fish them out from the bottom of the backpack, unravel them from the bag, and the fork can damage the backpack (or even the owner himself!) if it is poorly placed inside the backpack. It is much more convenient to carry with you a folding spoon and fork, which fit into a small case, which, in turn, can be put in a regular pocket. The design of this product is extremely simple, and almost anyone who has even the slightest desire to move about it can assemble it!
Will need
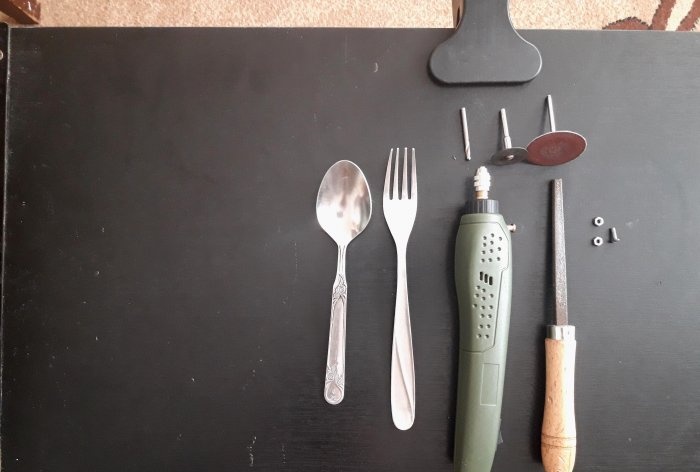
- Spoon with fork (sizes you need).
- Emery machine.
- Drill and three mm drill bit.
- A bolt and two nuts from a metal construction set.
- Soldering iron, with tin and flux.
- Sandpaper and metal brush.
- Pliers.
- Screwdriver.
Making a folding set
After we have prepared everything we need, we will begin production. First you need to calculate what the length of the device will be for greatest convenience. To do this, just take a spoon in your hand. We mark the location of the future cut. We place the second device (fork) on top so that the teeth protrude as little as possible from behind the spoon, and mark the place of cutting according to the mark on the spoon. Now you should saw off on an emery machine with a cutting disc according to the markings.
At first I thought of doing without an emery machine, but it turned out that sawing cutlery with an engraver with a cutting disk is not a very good idea - it takes a very long time, although it is possible... After sawing, you will get cutlery almost identical in length. Next, you should drill holes in the tails of the devices.Using a punch, we mark the locations of future holes, and drill holes into which a small bolt from the designer will fit.
It will turn out like this:
We remove the burrs with sandpaper so as not to get scratched, and tighten the shortened utensils together: we thread a bolt into the hole of the spoon (from the back side), screw the nut on top and tighten it tighter, then put a fork on the bolt (again with the back side, so that the deflection of the fork is inside spoons), and also screw the second nut on top.
The design is quite simple. If we had not placed a nut between the devices, moving them apart would have been extremely inconvenient. Using pliers and a screwdriver, we tighten everything properly. Stronger. Don't worry if it's too tight - it will work out over time. Now you need to solder the nut connection so that it does not come loose or unscrew in the future. Coat the nut with flux, heat it with a soldering iron, and apply solder.
It will be possible to unscrew such a connection, if necessary, in the future without problems (tin is a rather soft metal), but it will no longer be able to unscrew on its own, as often happens! Well, that's all, all that remains is to bring the completed folding set into proper form. To do this, fold it as evenly as possible, and on an emery machine we equalize both tail ends so that they become absolutely identical.
After leveling, use sandpaper to remove burrs, smooth out corners, and clean the entire working surface with a wire brush. The folding cutlery is ready.
We wipe it with medical alcohol, or wash it like regular cutlery, and put it in a case.For this purpose, I took a case from an old phone, perfectly suitable for this purpose, which had been lying around idle for a long time. Now the accessories you need on a hike can be easily stored in any pocket, both in a backpack and on clothes.
The above example is just a sample, and such a set can be made not only with a fork and a spoon - anyone can assemble a set in a similar way according to their needs, with the tools they need.
Watch the video
Similar master classes
Particularly interesting
Comments (3)

