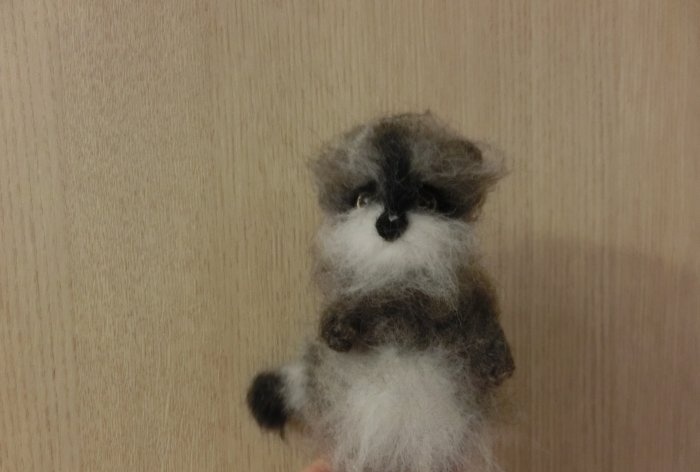
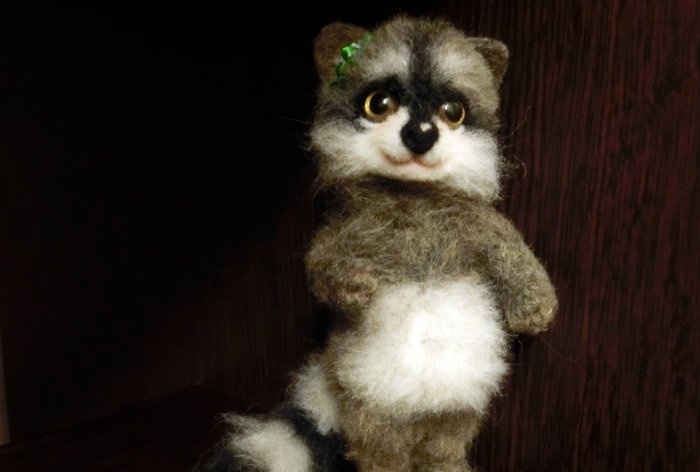
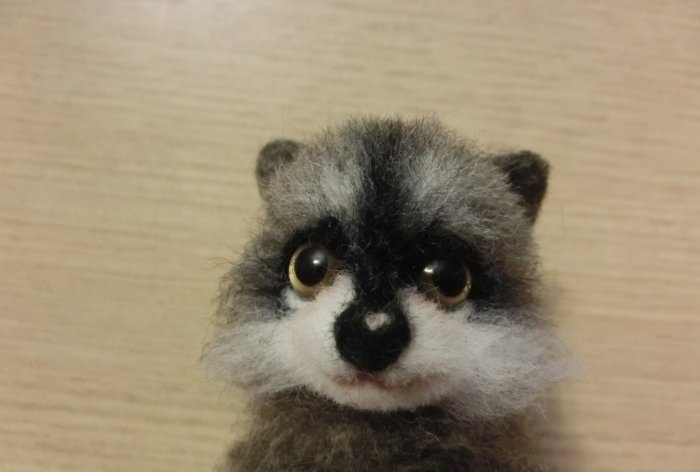
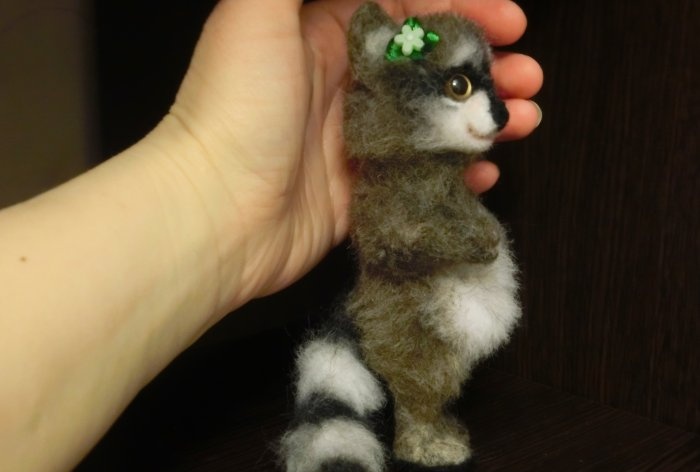
Felted raccoon wool
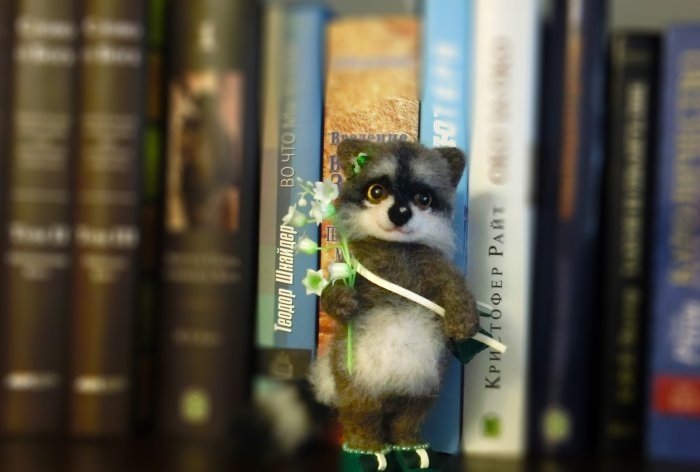
Raccoons have long been YouTube stars. They are agile, dexterous, cunning, inquisitive animals. Many children would like to have such a friend at home, but, alas, this is impossible in most cases. However, why not have a hand-made felted raccoon made from wool in your room? This master class will be devoted to how to make a raccoon from wool.
Will need
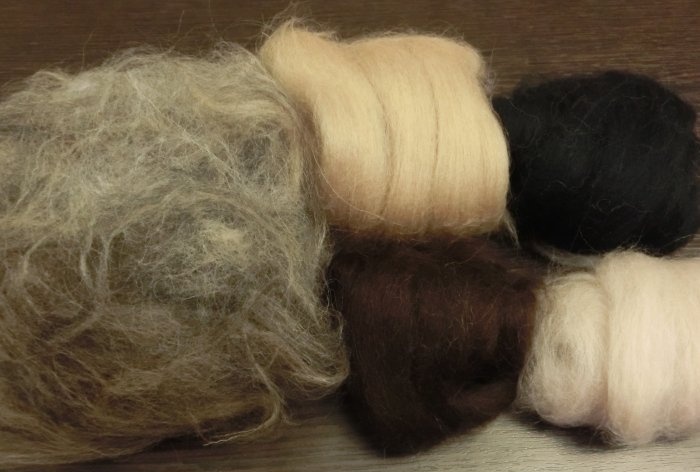
First we will need to prepare the wool. If we want to make a realistic toy, then we need to choose the right color. In nature, a raccoon's fur consists of several colors combined together, which generally appear as a gray color. If you find one, that's good, but more often I just mix a few colors (beige, brown, black, white). It turns out a completely natural color.
Let's start felting raccoon wool
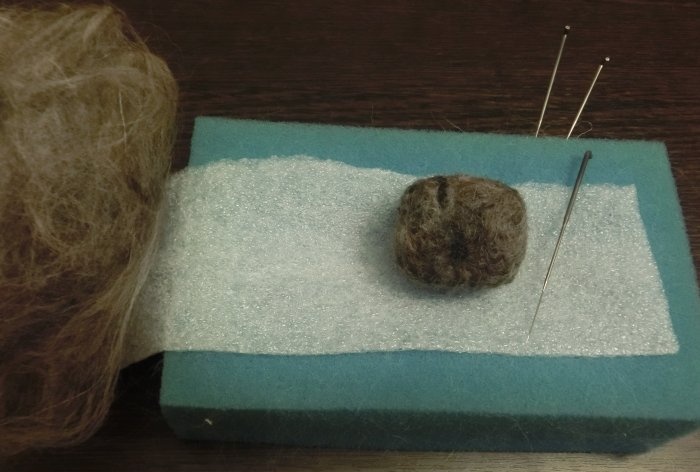
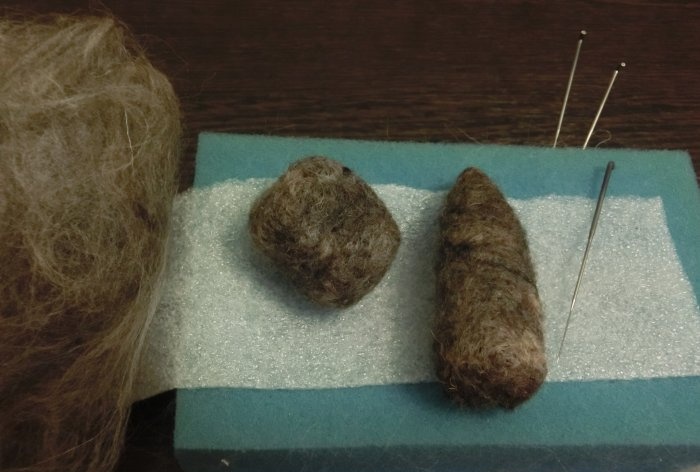
Now take a fine felting needle, size 40, and start felting the ball of wool. Tear the wool into pieces, form it into a ball and roll it on all sides with a needle. For ease of felting, use a foam sponge. It is also good to lay non-woven material (insulation under the laminate). When the ball becomes dense, start felting the body.
The shape of the body is oval, narrowed at the top (neck).
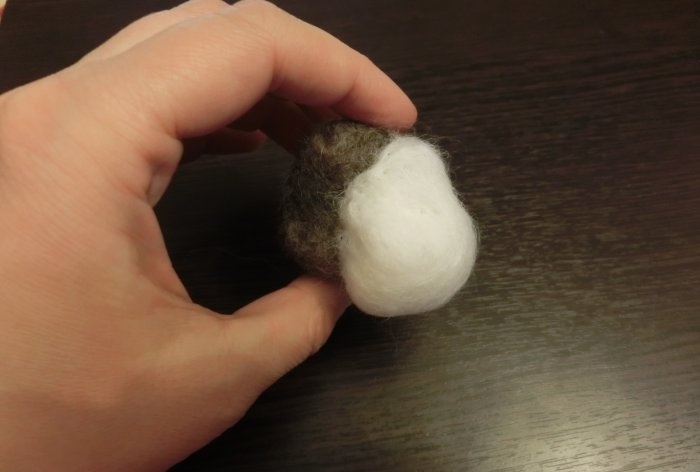
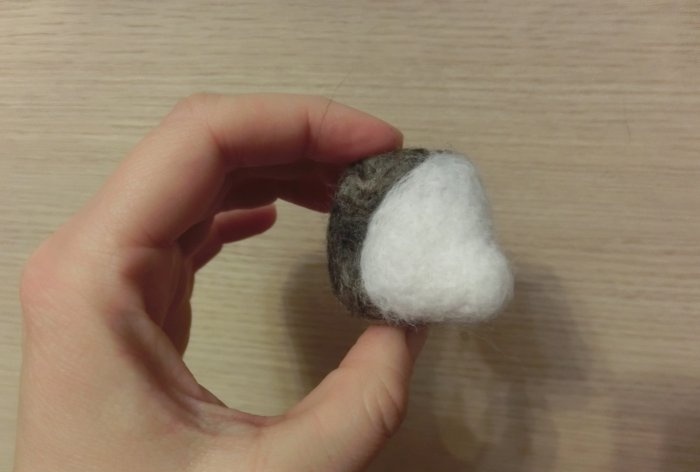
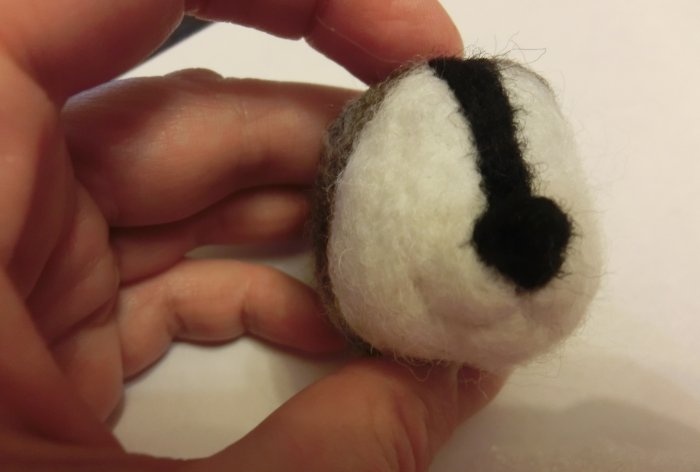
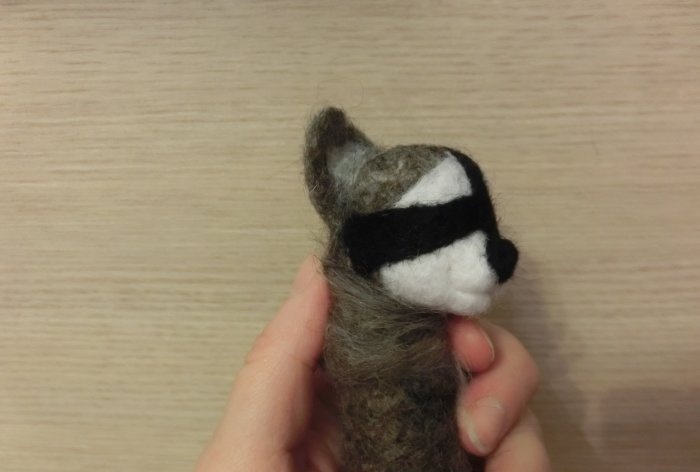
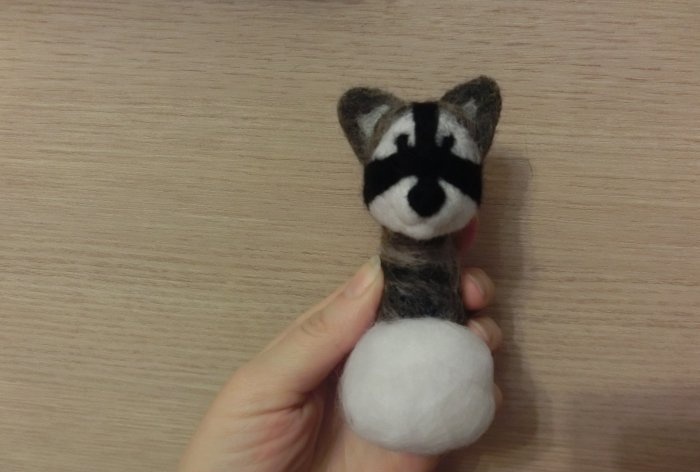
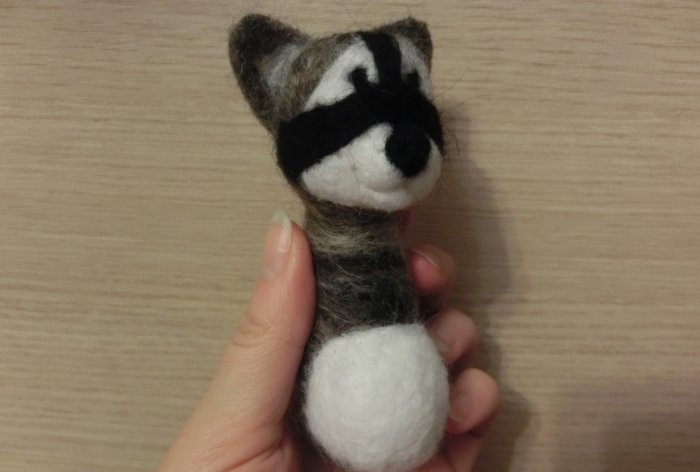
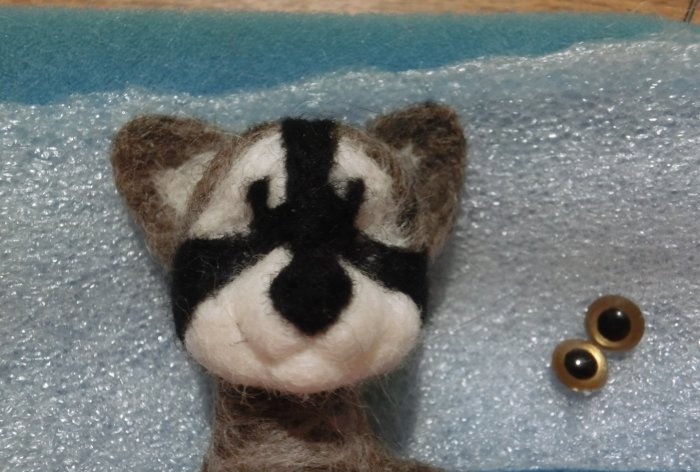
Let's return to the head. Roll white wool into the area of the toy's face. Gradually compact this place, forming an elongated muzzle. Start felting from the sides, moving towards the center.
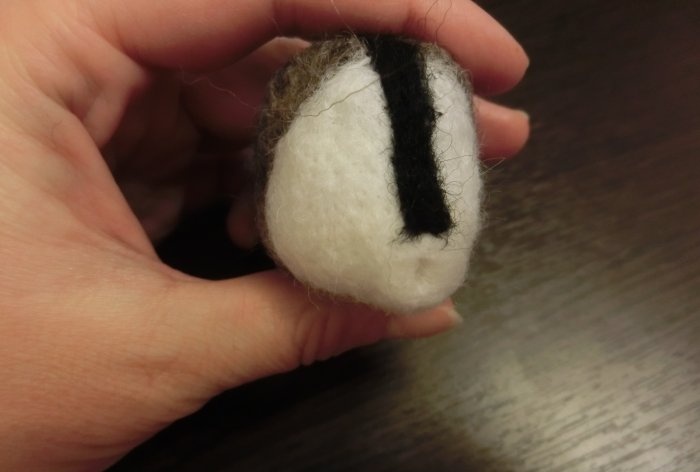
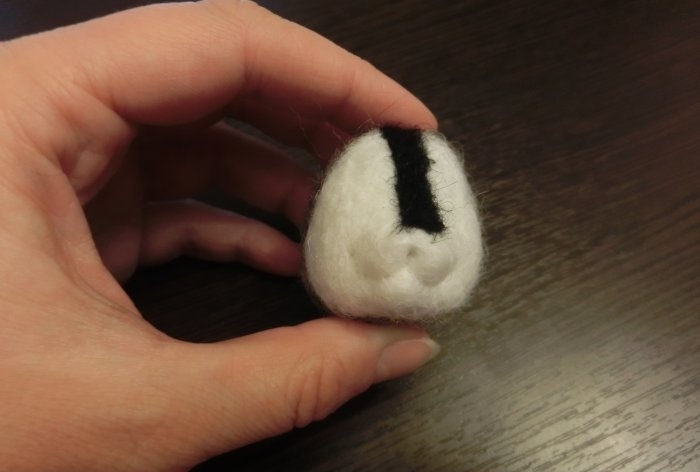
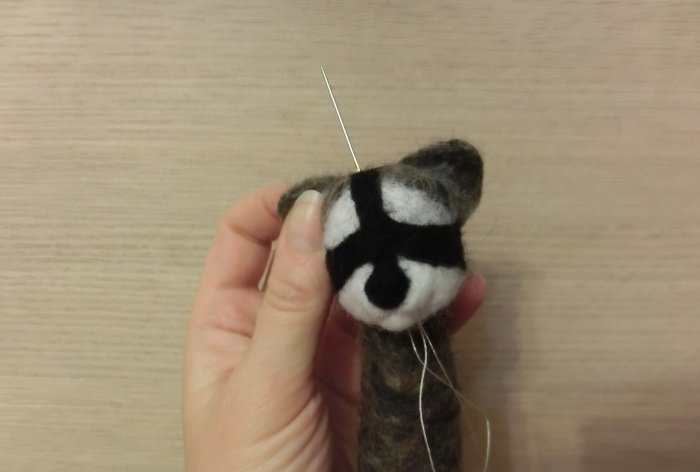
Next, apply a black stripe to the forehead and nose.
Draw the mouth with a needle.
From a piece of black wool folded into a triangle we form the nose of a raccoon. We seal the nose.
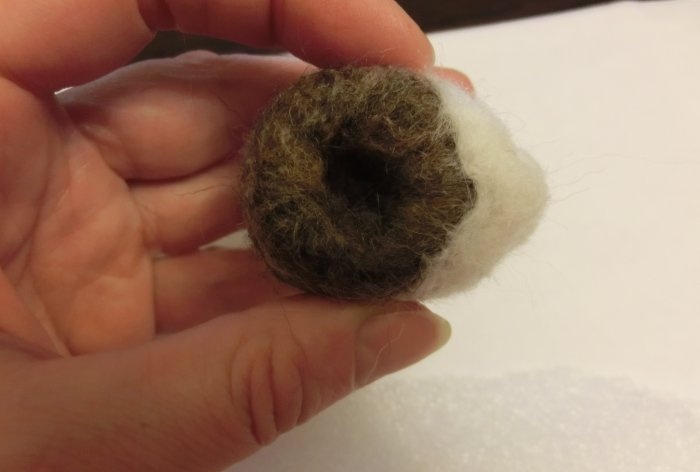
At the bottom of the head, make a depression for the entrance of the neck.
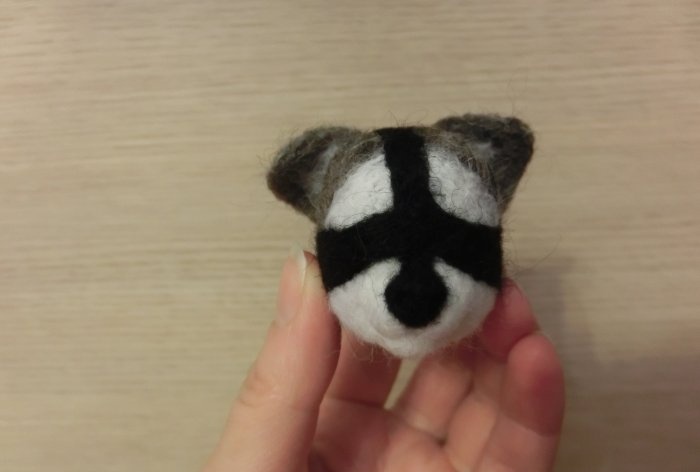
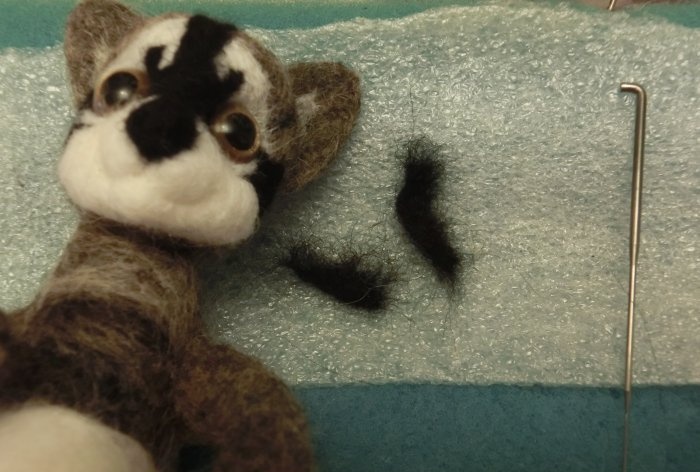
Now apply two more strips of black wool to the toy's eye area.
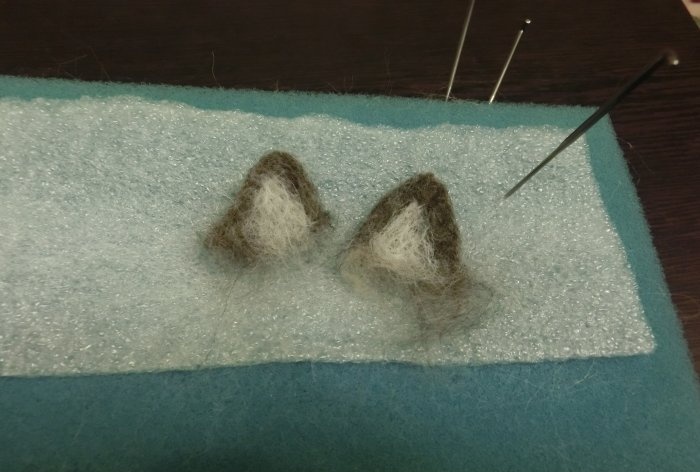
Separately, felt the ears on a sponge and roll them to the head.
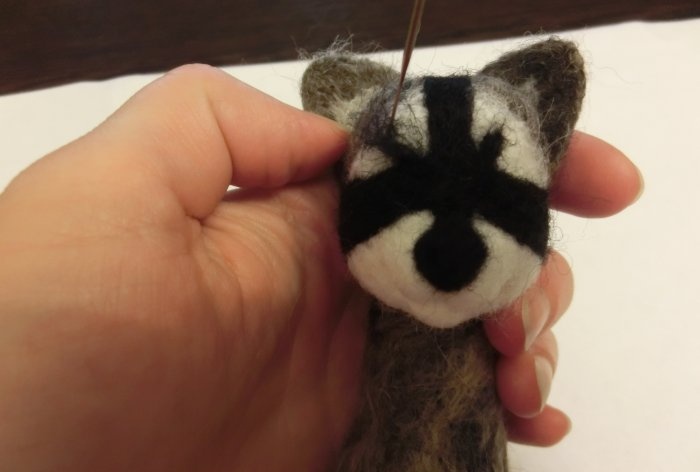
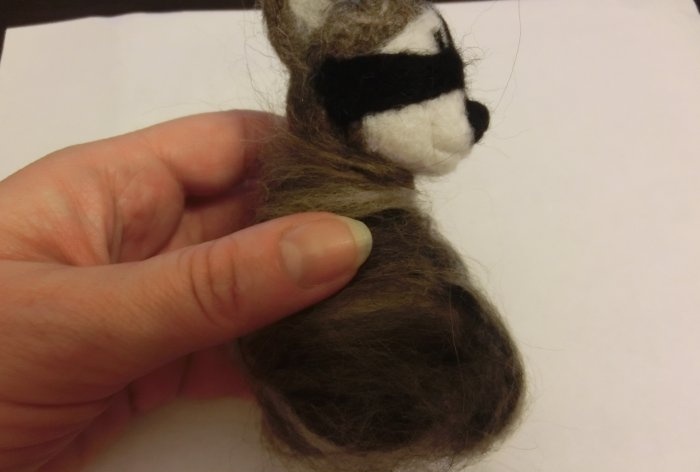
Sew the head to the body. The exit point of the needle is the crown. Tie a knot and cover the area with wool.
Don’t forget to secure the joint (head + body) with pieces of wool so that the raccoon’s head does not dangle later.
Next, we increase the volume of the body, put more wool in the abdomen and buttocks.
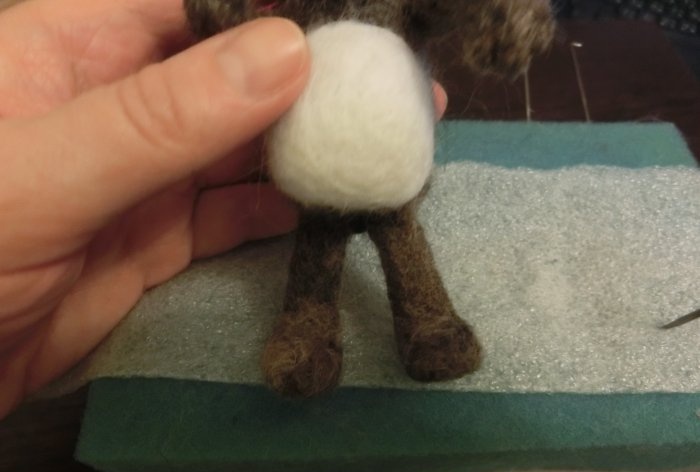
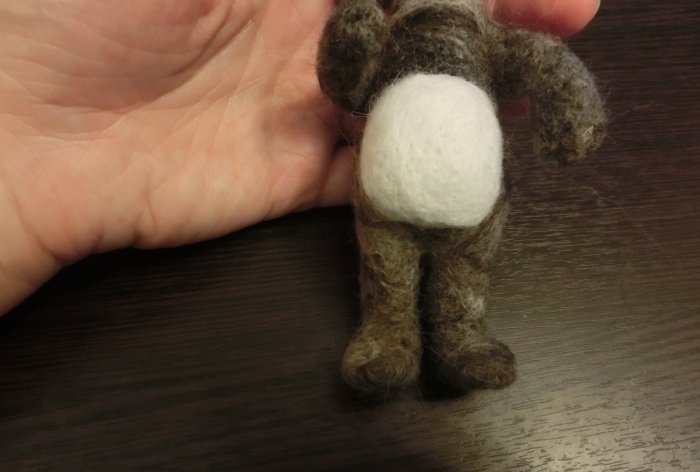
Decorate your belly with a white cloud of wool. Seal this area.
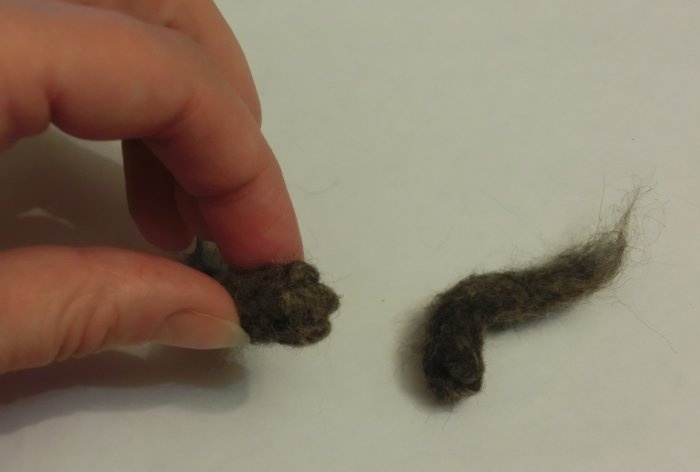
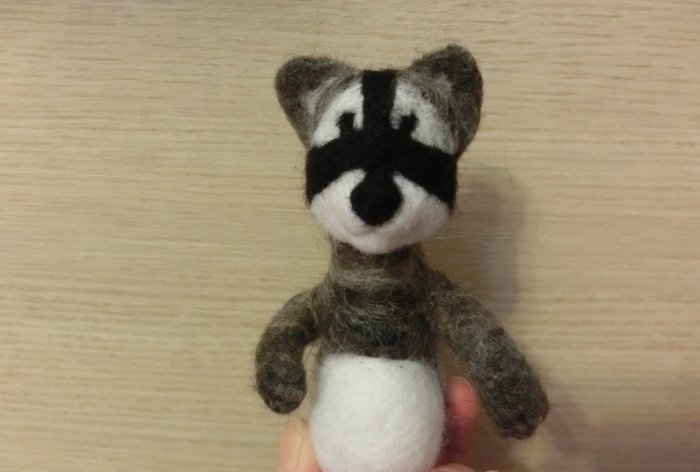
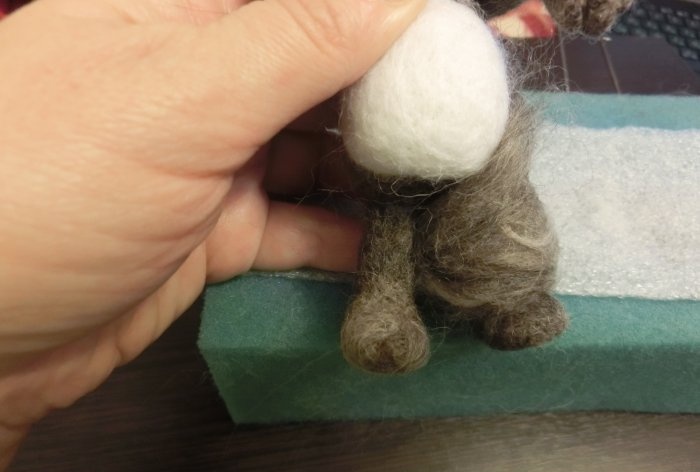
Felt the upper legs separately on a sponge, drawing fingers on them. Make bends in the paws. To do this, bend the foot and go through the needle several times at the intended bend. Felt the legs to the body.
Next you need to make indentations for the eyes. Thread them with a needle and glue in the eyes. I use Moment glue.
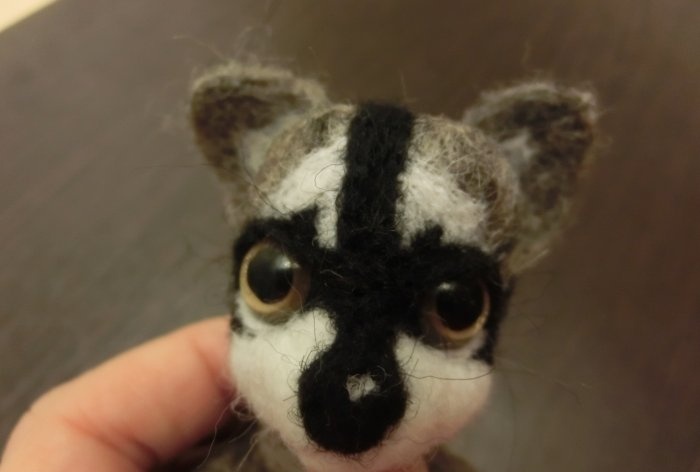
I make the eyelids only at the top for such a toy, felt them separately and put the eye on top. From below I frame the eye with a piece of white wool.
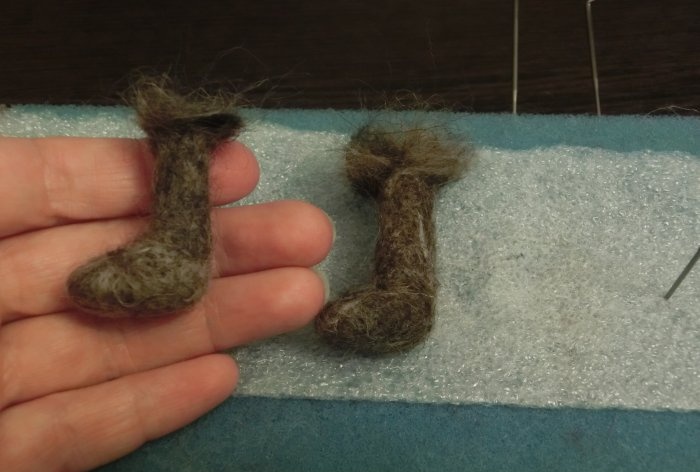
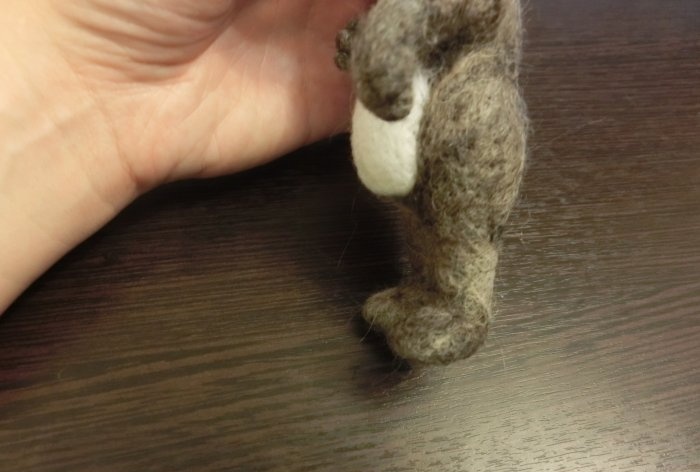
Since I want my raccoon to stand on his paws, I make his paws with a stable foot. Roll the wool tightly and tumble. Next, you can simply add wool to the foot area (grow the foot).Just keep in mind that the lower legs and feet should be very dense.
Shape your paws toward your body and start adding volume to your hips and buttocks. Constantly check the stability of the toy.
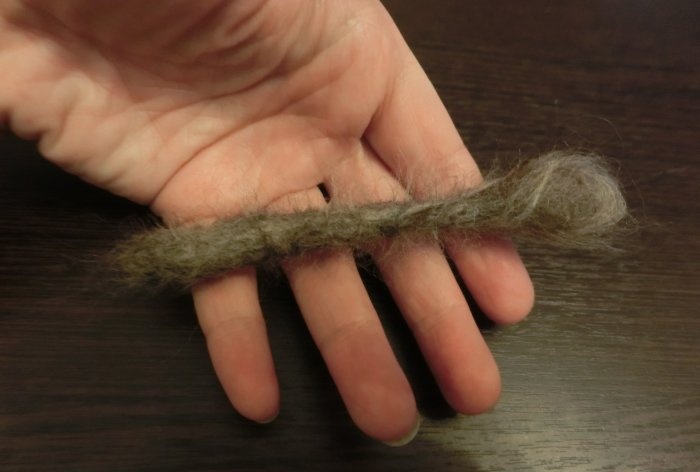
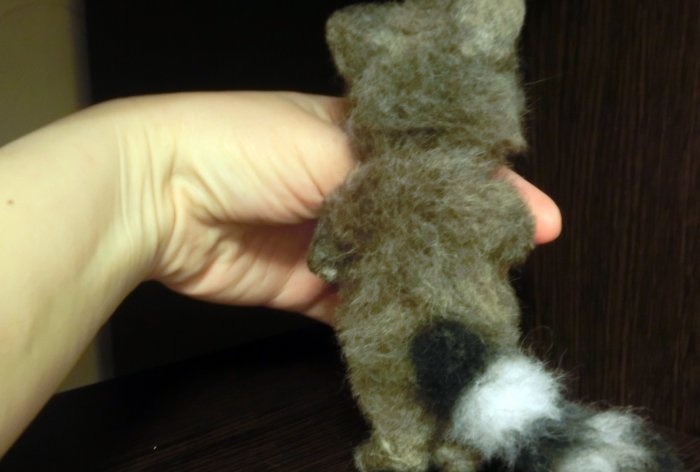
The toy is almost ready, all that remains is to felt the tail. As we remember, the raccoon has a beautiful striped tail, and we will also try to depict the same. To do this, felt a tube of wool of a basic gray color.
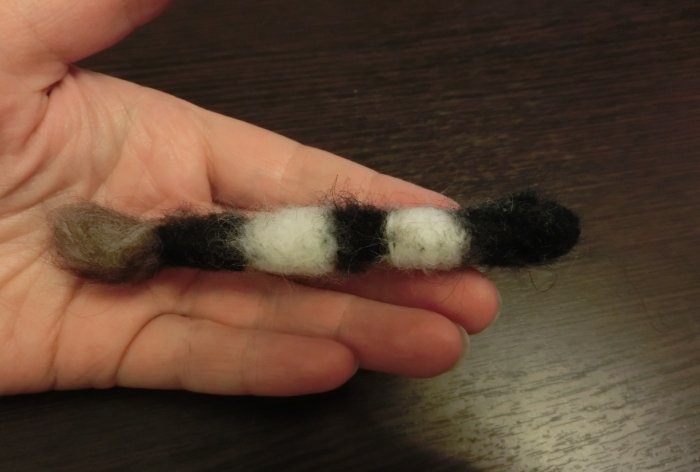
And then we begin to alternately apply black and white wool to this part. You will get this kind of traffic police worker's baton.
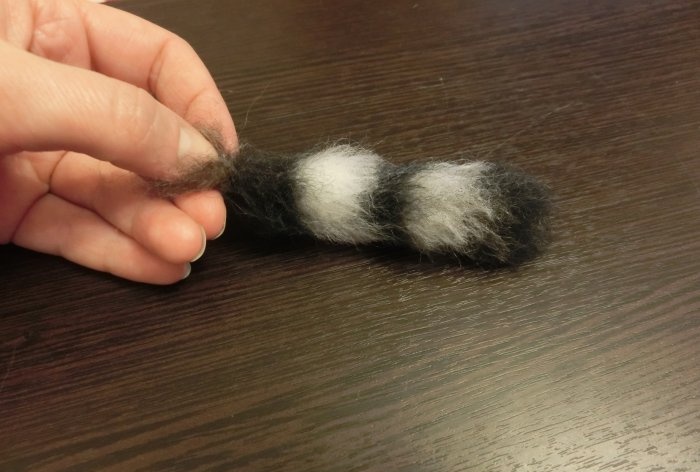
But when we fluff up this tail with a reverse needle, and trim it a little, we get a wonderful raccoon tail. Please note that the very tip of the gray base of the tail must be left free in order to use it to attach the tail to the body.
Felt the tail to the body. This is what happened.
Now to make our toy fluffy, we must fluff it with a reverse needle. Fluff the entire surface, avoiding the feet, paws, ears, and eyelids of the toy. Trim the product.
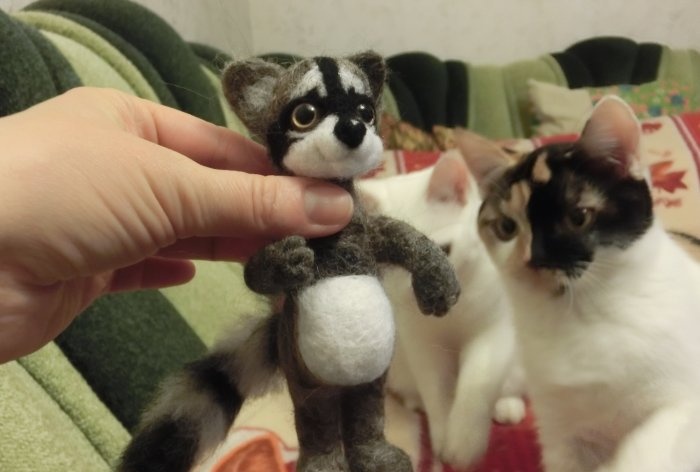
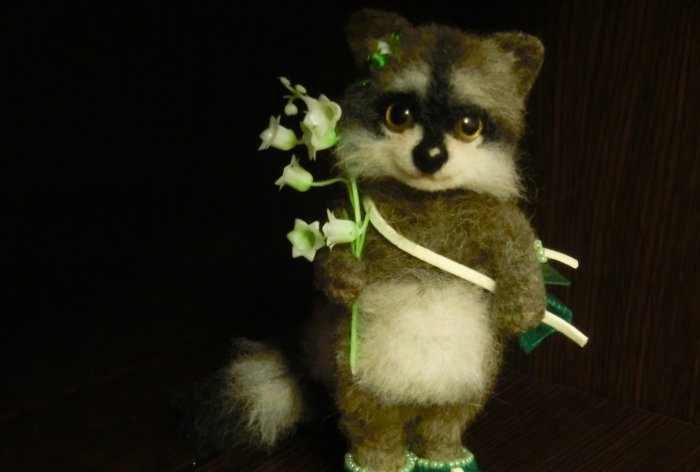
Apply grated dry pastel to a thin brush and shade the line of the mouth. This can also be done with a regular colored pencil, slightly moistened (finely sharpened). This kind of felted raccoon made of wool with your own hands can decorate the interior of your room or a children's shelf.
Similar master classes
Particularly interesting
Comments (0)

