Keychain for a bag - spotted cat made of wool
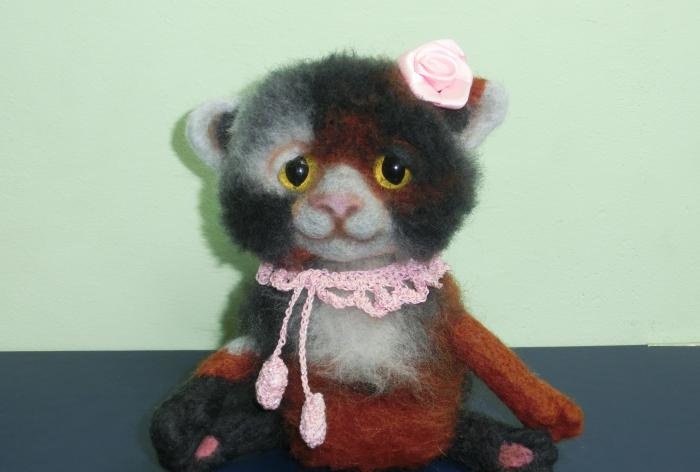
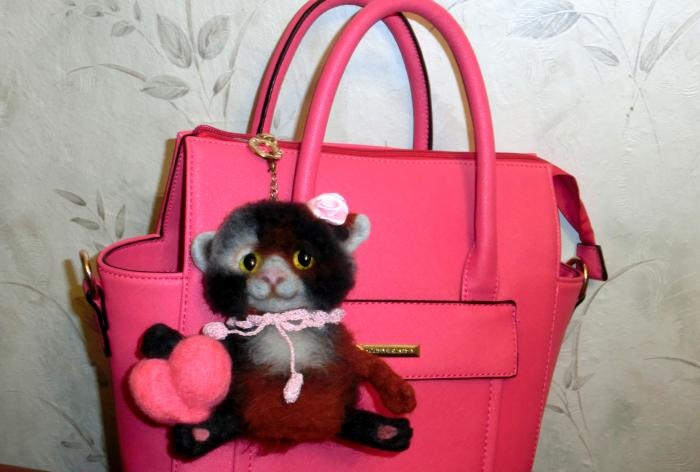
The cutest creatures are cats. The gracefulness of their gait, tenderness, soft fur, and playfulness encourage people to write poems about them, depict them in paintings, and make various crafts. And today we will make a cat from wool by dry felting. It will be a spotted kitten and will hold a pink heart in its paw. To do this, prepare the following:
- There are four types of wool: black, gray, brown, pink.
- Needles for felting - thin, thick and reverse.
- Foam rubber.
- Yellow large cat eyes made of plastic.
- Oil pastel, brush.
- Glue Moment.
Making the head
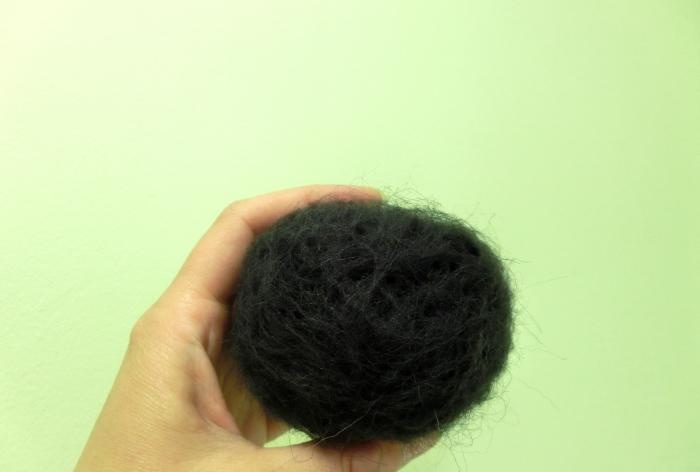
For the head, take black wool, finely tear it into pieces, and form the mass into an oval. Place it on the foam rubber and use a thick needle No. 32 to create an oval. After compacting a little (so that the ball does not fall apart, but remains loose), proceed to processing with a thin needle No. 40. Go through the entire surface of the oval so that it holds its shape.
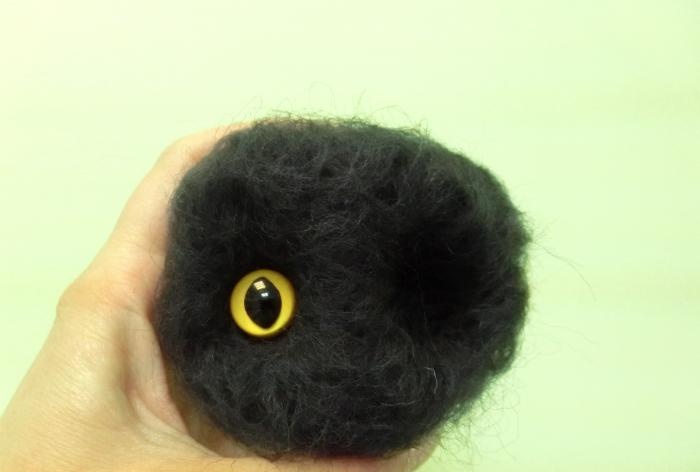
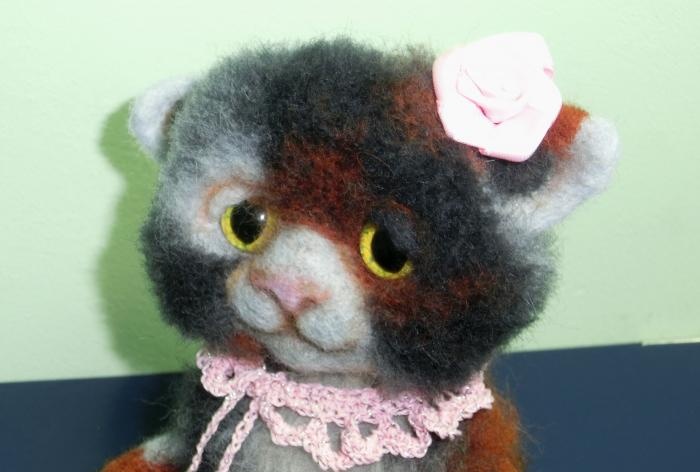
Afterwards, use the same needle to draw holes for the eyes (in the middle of the muzzle). Try on the eyes and glue them in.
Now let's do the cheeks. Add volume to the lower part of the muzzle with black wool. Compact.Place gray wool in the center. Seal with a needle.
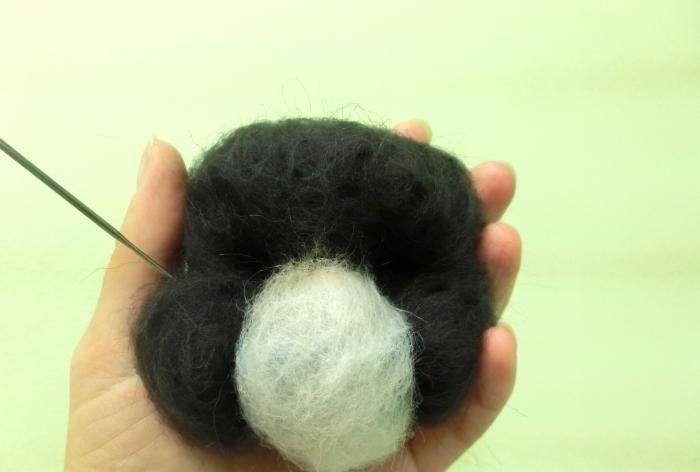
We begin to draw the features of the nose and mouth with a needle.
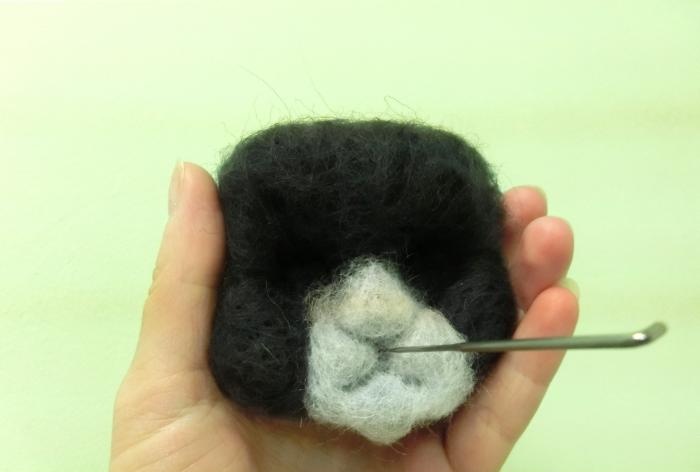
Add some pink wool to the nose.
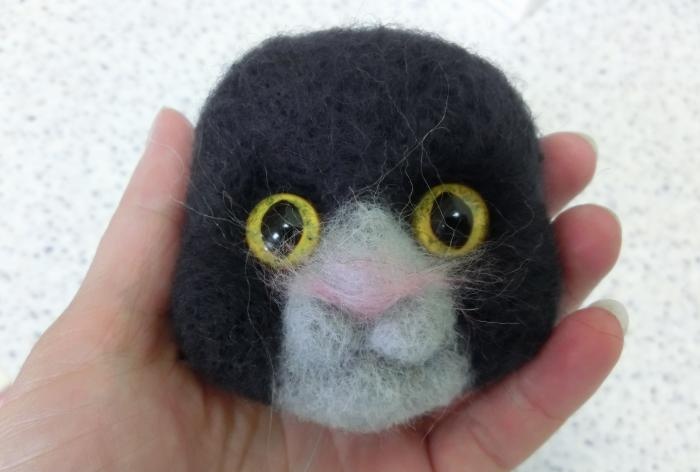
Also, in order to make a spot above the eye, take a gray color and apply it in the right place, compacting it well.
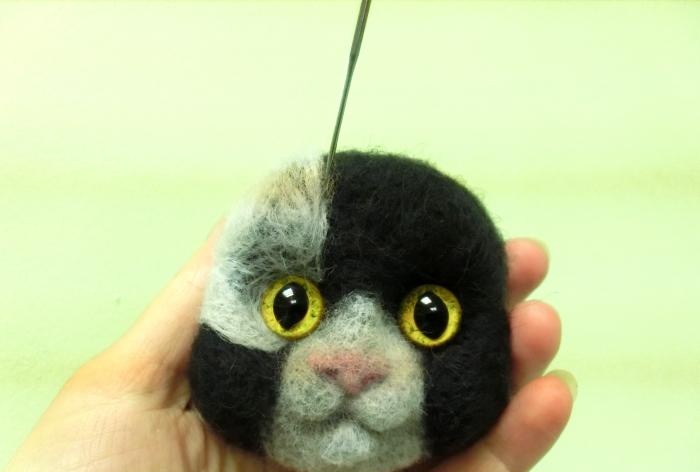
On this gray background we also make a gray eyelid at the top of the eye. Felt a small piece of wool separately into an oval, leaving the attachment area free. Apply to the eye.
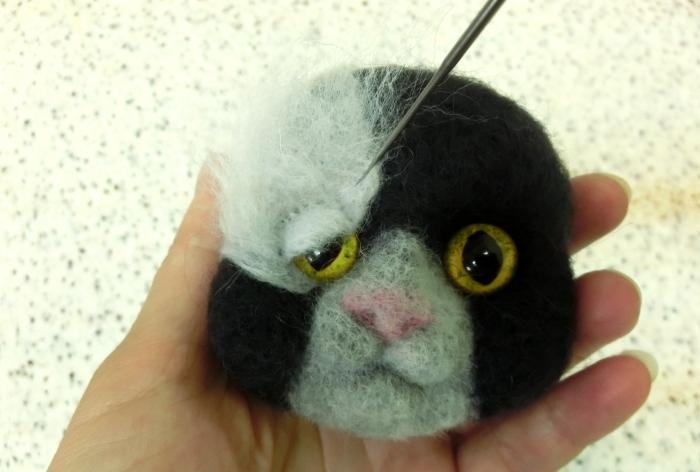
Make the eyelid on the other eye black. You will also have to felt the ears separately. Tear a strip from the woolen ribbon, fold it into a scarf and roll it over, making sure that the ear is not visible. Place a black cloud of wool in the center.
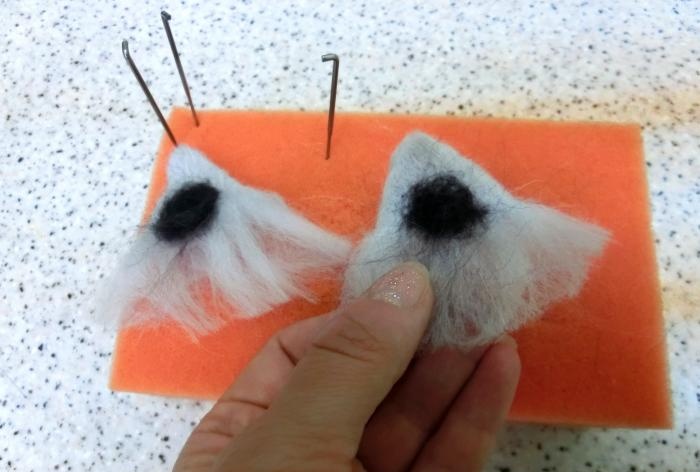
Place your ears to your head, making a slight bend. To do this, frequently go over the area where the bend is supposed to be with a needle and bend it. On the black part of the muzzle at the top, place a brown spot that goes over the ear. Also apply a similar spot under the eye. Drill everything down firmly so that the surface texture is smooth and without bumps. Here we have such a nice little face.
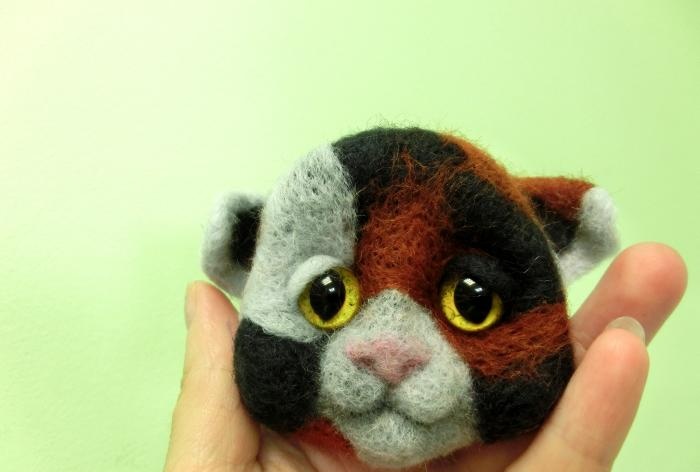
Body, paws, tail
To make the body you need to felt an oval of black wool. Start staining the oval.
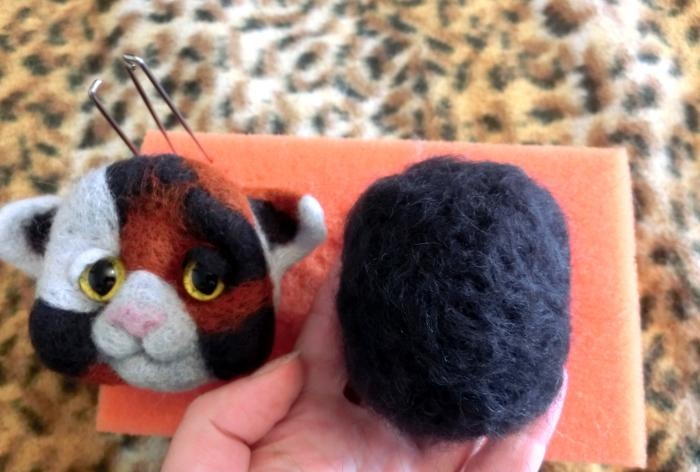
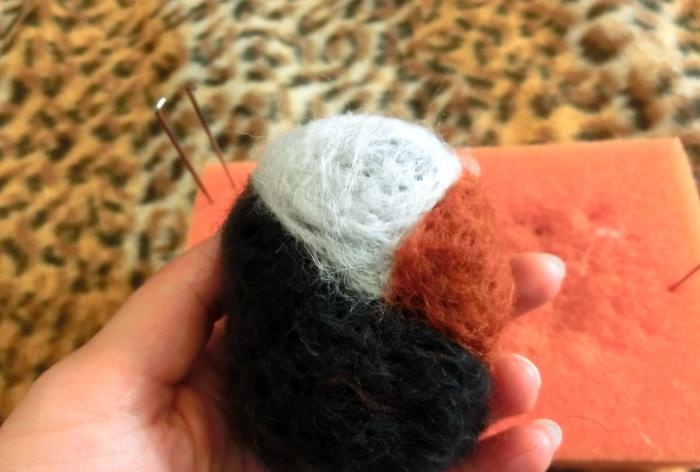
Make the paws also with spots. Roll the wool tightly and thread it with a needle until compact. Draw the fingers. Felt the legs and tail to the body.
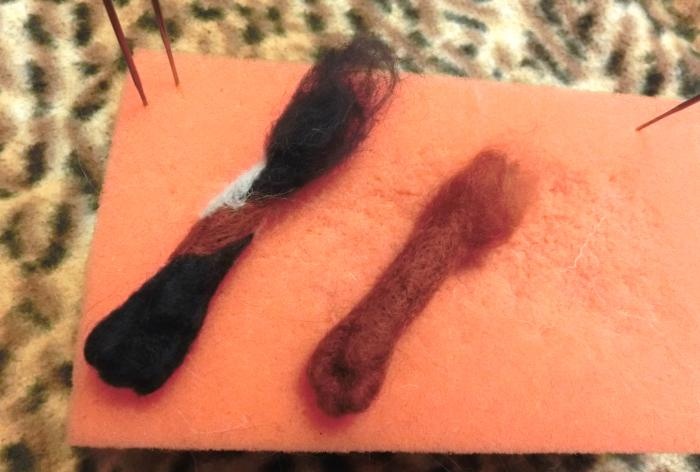
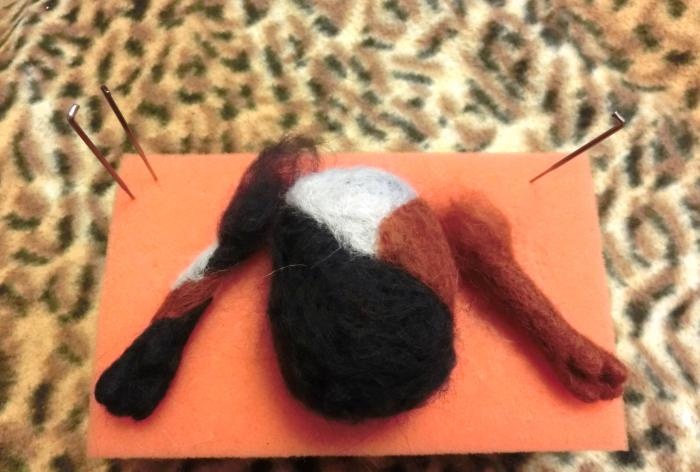
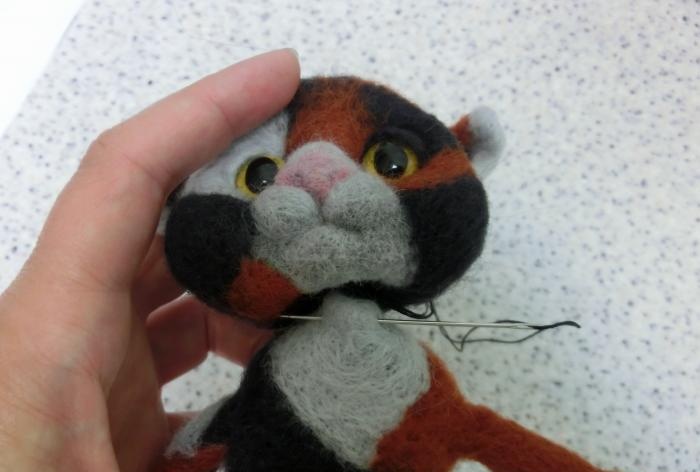
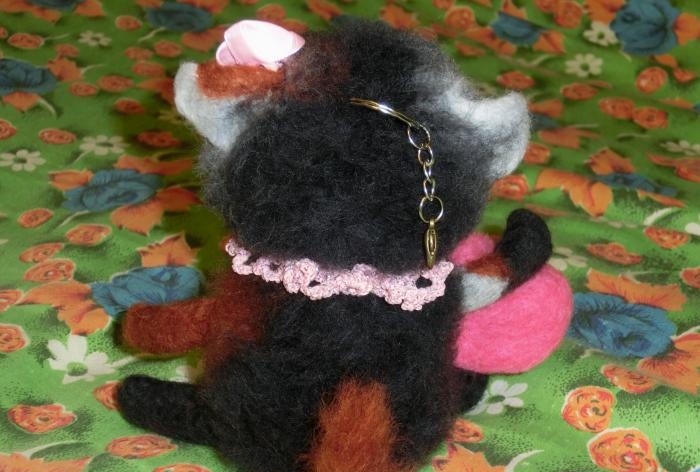
Next, sew the cat’s head to the body. Bring the needle out to the top of the head and back to the neck area. Leave a small loop on the top of your head, onto which the keychain holder will then be attached.
It remains to add volume to the tummy, so we’ll complement it with brown wool.
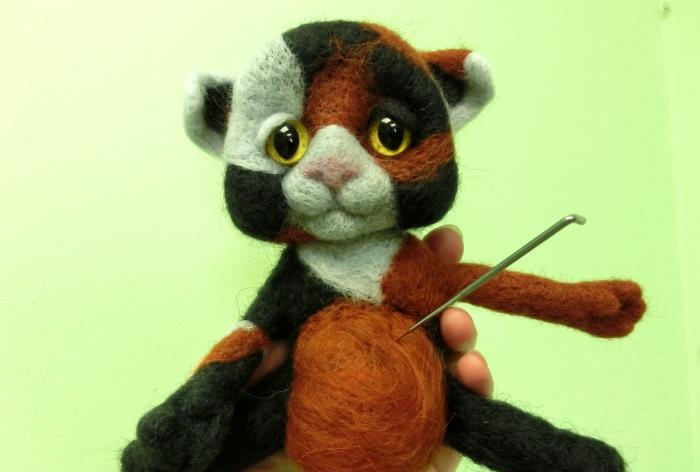
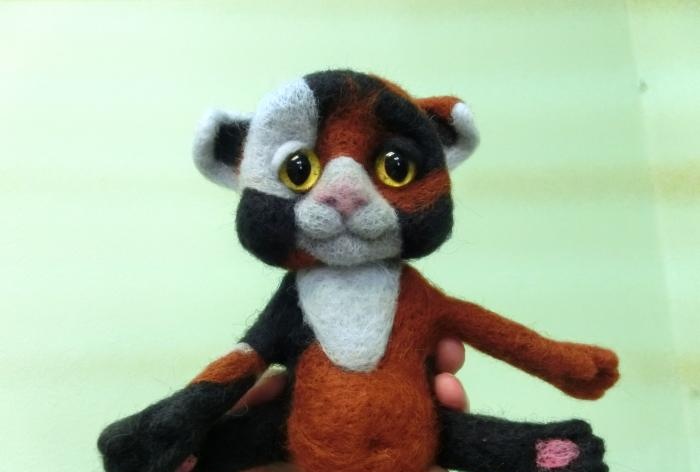
Decorate the paw pads with pink wool. Complete the shirtfront with gray wool. Make a heart out of pink wool.
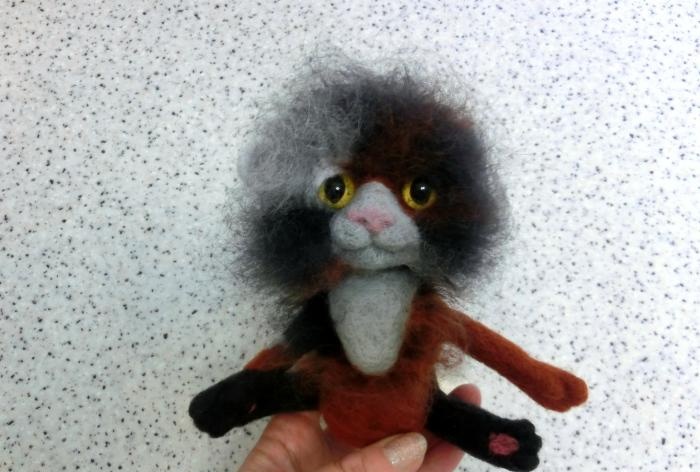
The next stage is furring the cat. Here the reverse needle will help us. Use it to cover the entire surface of the muzzle except for the ears, eyelids and the gray area in the center. Also treat the surface of the body, paws, and do not touch the tail. Then trim the long fur as needed.
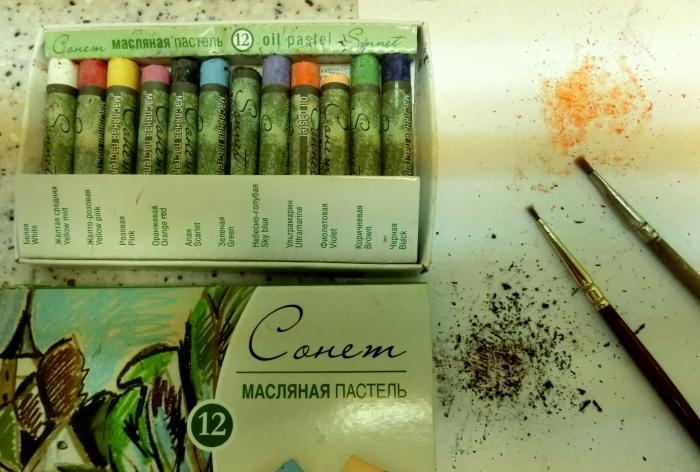
There is one last touch left, which I consider very important - this is the pastel tinting of the features of the muzzle. The most commonly used colors are brown and beige. Using a utility knife, finely chop and grind a piece of chalk into powder and use a thin brush No. 000 to apply the tone to the features of the face. This is the area of the eyelids, nose and mouth.
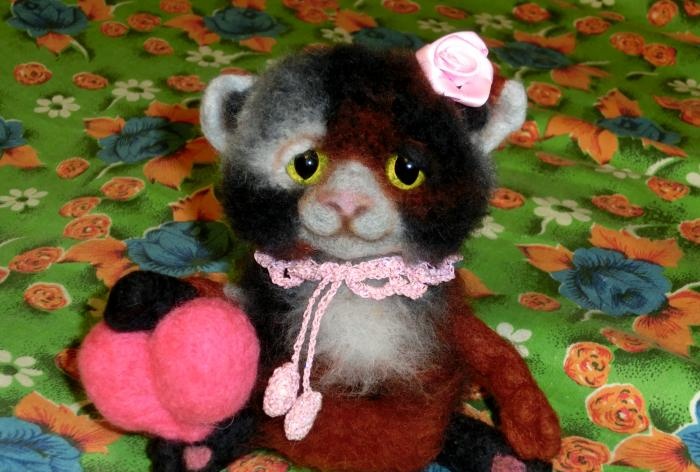
Attach a keychain holder to the loop on the top of the cat's head so you can hang it on your bag. At this point, the work on the felted kitten can be considered complete.
Similar master classes
Particularly interesting
Comments (1)

