Foam varnish
Sometimes there is a need to protect a product from environmental influences. In other words, paint it, varnish it. But you don’t always have varnish or paint on hand that can dry in a short time. That's one thing. Another thing is that they are not always needed in the volumes that are offered in the store: 0.5 liters or more. This is where varnish made from dissolved polystyrene foam (packaging polystyrene) can come to the rescue; it is quite simple to prepare, but quite worthy of replacing “store-bought” ones.
Required
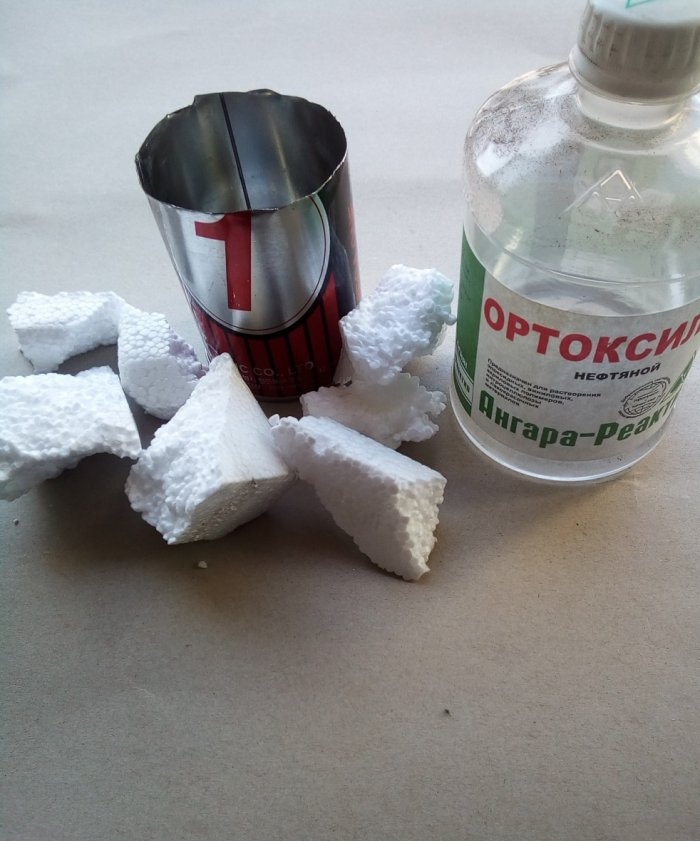
To prepare it you will need:
- Expanded polystyrene - also known as polystyrene foam.
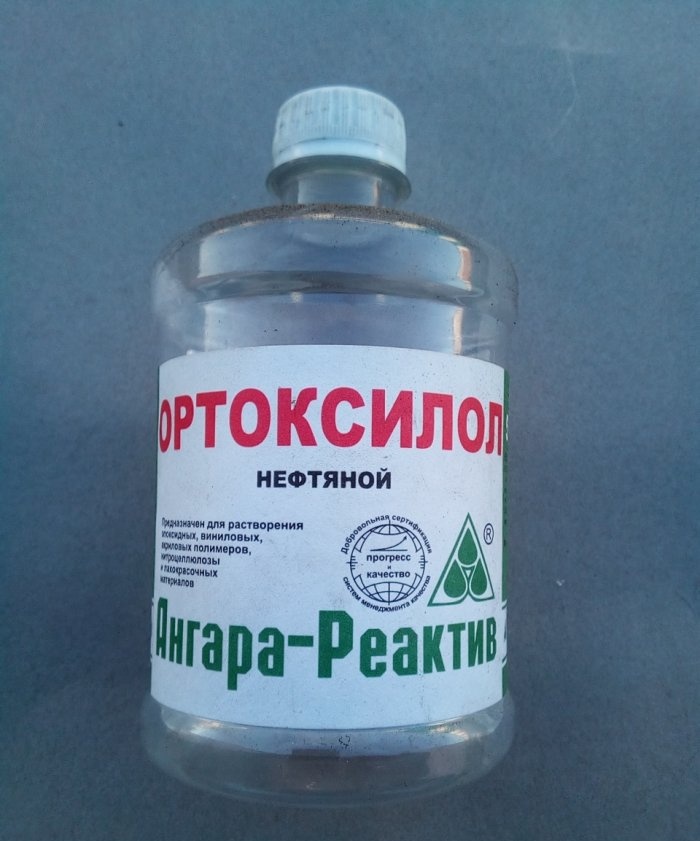
- "Orthoxylene" or simply "Xylene".
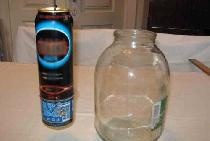
- Small container (cut gas can, beer can, etc.).
- Wooden splinter.
- A piece of bandage or gauze.
Instead of "Orthoxylene" or "Xylene" you can use "Butyl acetate". It would be preferable for our purpose, but is extremely rare in retail sales. Trying to dissolve polystyrene foam in acetone, and even more so in gasoline, is not a very successful idea.
It turns out to be a jelly-like substance that is difficult to apply to anything in a thin layer. True, it can be used as glue, but it takes a painfully long time to dry.
Making varnish from polystyrene foam
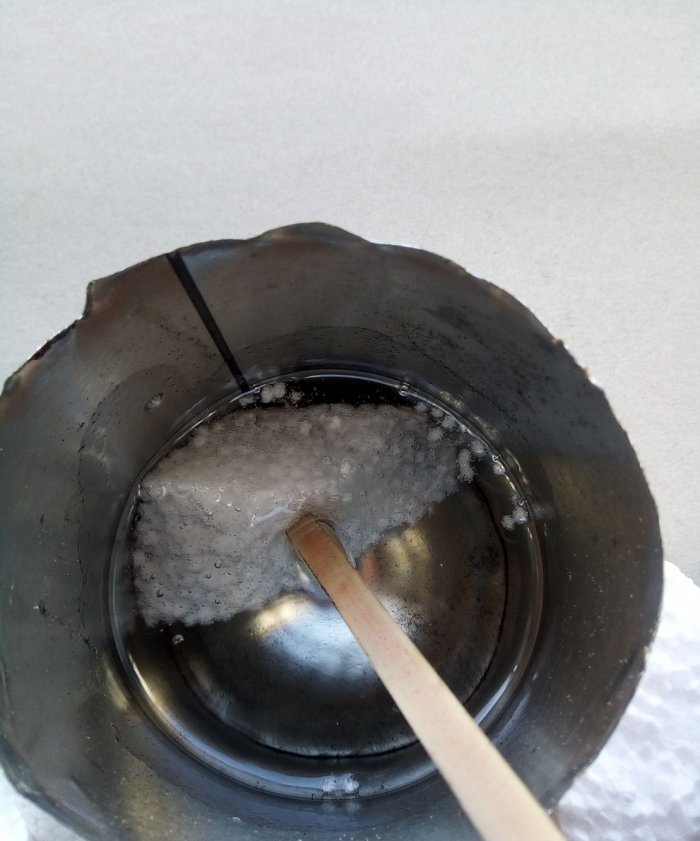
Well then. Let's get started. Pour the required amount of “Orthoxylene” into the prepared container. 70-100 grams. And slowly we throw small pieces of “foam” into it.
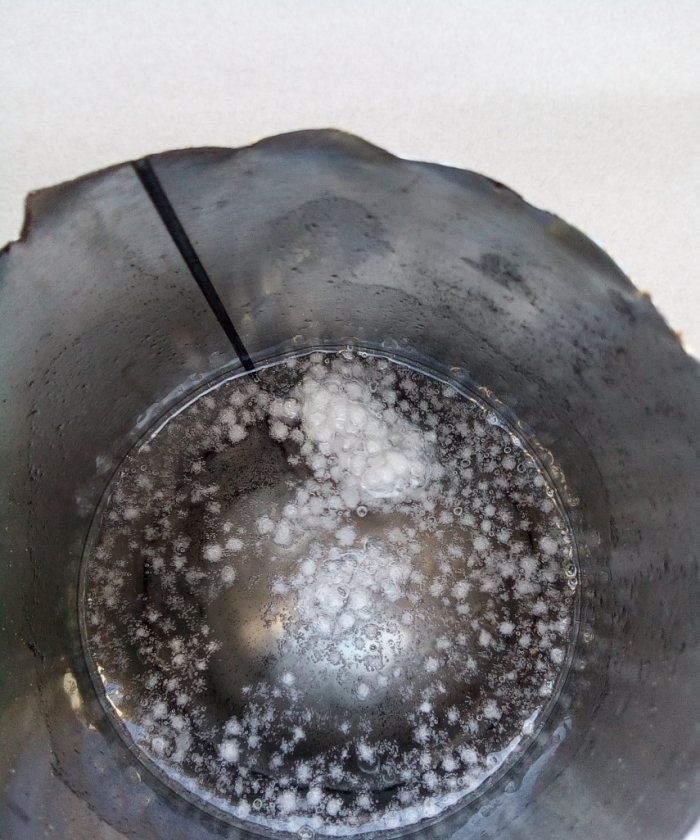
To speed up dissolution, it is best to lightly press them with a stick so that they are completely immersed in the liquid. Almost instantly, abundant release of gas bubbles is observed. The polystyrene dissolves and the released gas escapes.
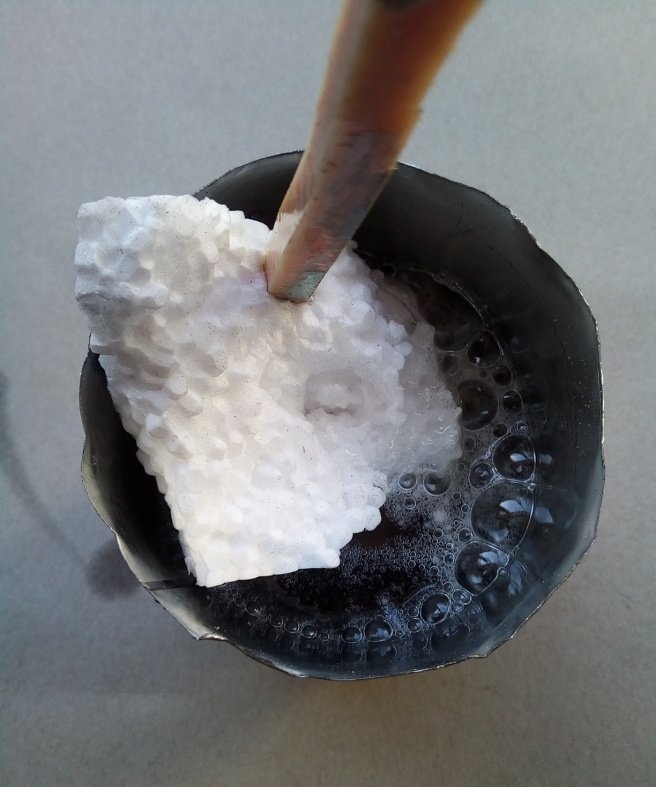
“Foam plastic” “melts” before our eyes, leaving small particles on the surface that also disappear without a trace.
You need to add polystyrene foam until the consistency of the contents of the container becomes close to liquid honey. That is, until it begins to flow from the stick in the form of a thread, without breaking up into drops. The thicker the “varnish” becomes, the less quickly the “foam” dissolves.
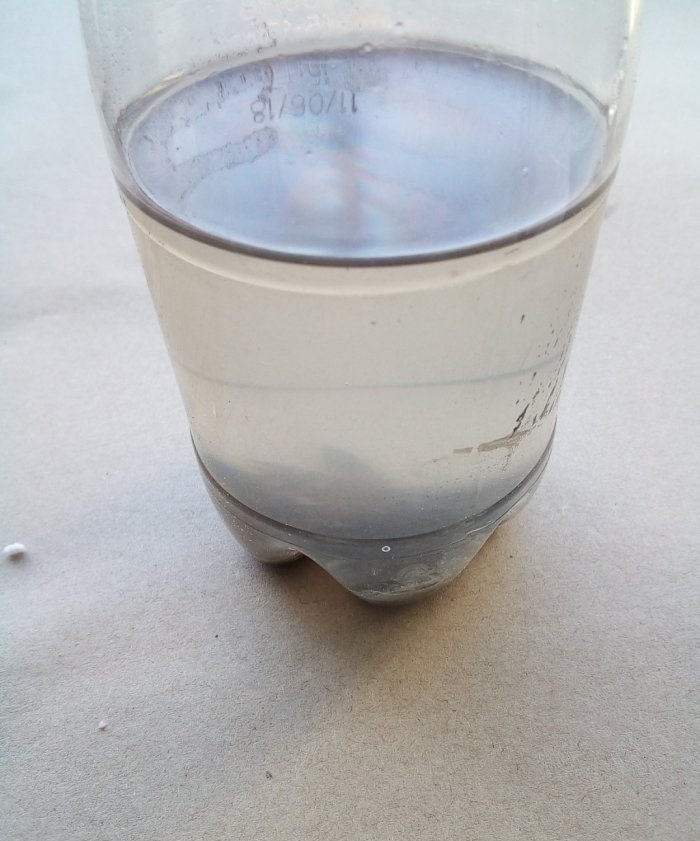
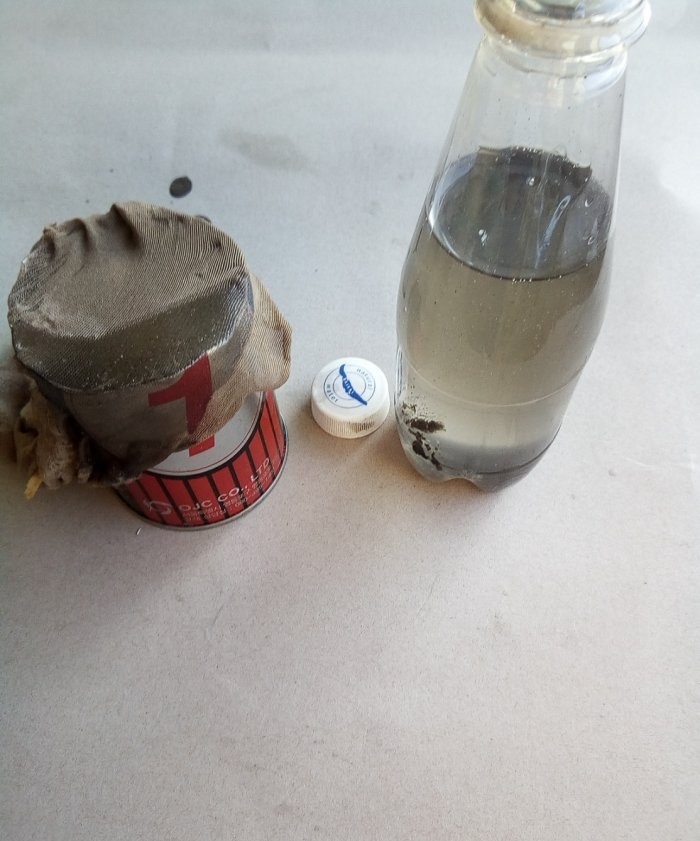
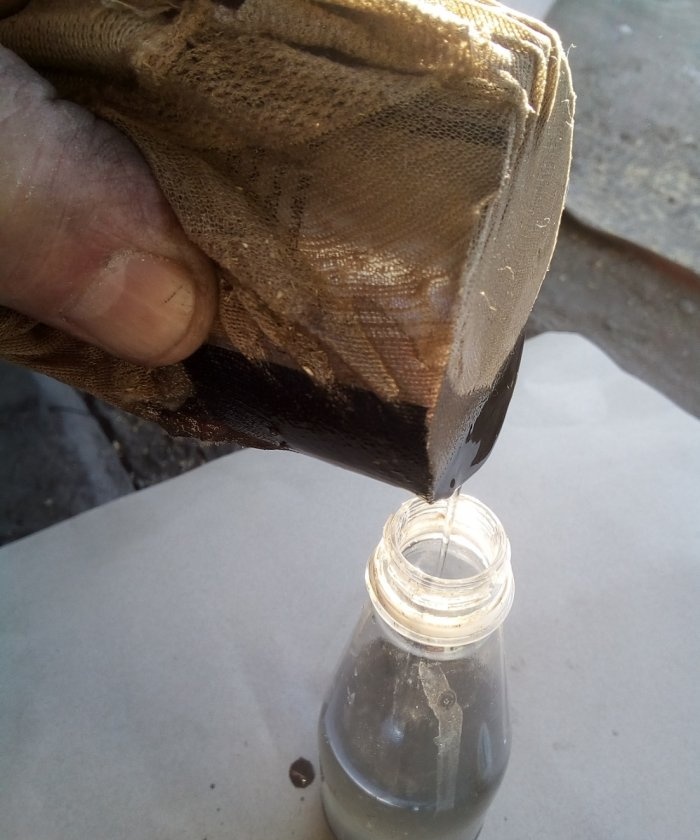
Now that the density we require has been achieved, we need to let the container stand for 20 minutes so that all the gas is finally released. Well, if you’re really impatient, you can stir everything with the same stick - the process will speed up. Next, covering the container with gauze or some other material (a scrap of fabric from women's tights is used in the photo), filter its contents into another, clean container for use and storage of the varnish.
It turns out slightly grayish and almost transparent.
Already ready for use. At 20 degrees ambient air, drying (the hand does not cling) – 3-5 minutes. Complete curing occurs no later than 1 hour. At 25 degrees, half an hour is enough.
From my own experience: I used varnish to varnish wooden surfaces, in particular propellers and wood crafts.
Also, by adding small wood shavings from a rasp or coarse sandpaper to the varnish, you can make a putty to fill cracks, chips, and holes. The varnish holds up very well, is moisture resistant and quite resistant to abrasion. I also covered painted products with it. There is no difference from “store-bought” varnish.
Precautionary measures!
“Orthoxylene” petroleum is a flammable liquid with a rather unpleasant odor. Therefore, working with it at home will most likely not be entirely to the liking of your household. For this reason, it is better to practice on the balcony, outside, or in the garage. The resulting varnish also has a smell, which disappears completely during the drying process. Use for items in contact with food is NOT advisable!
Good luck.

