How to solder LEDs with an iron
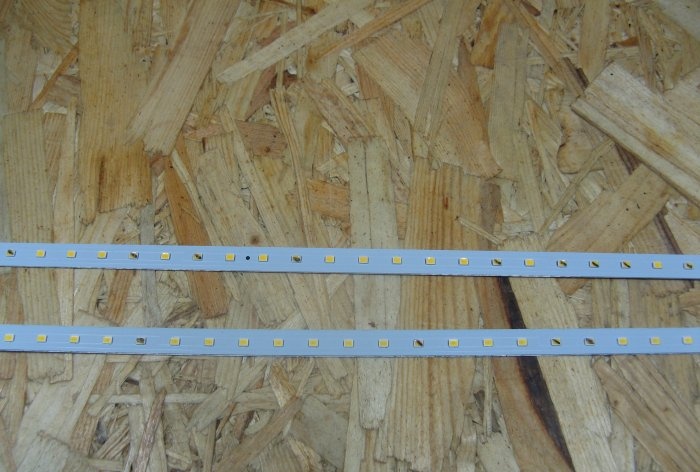
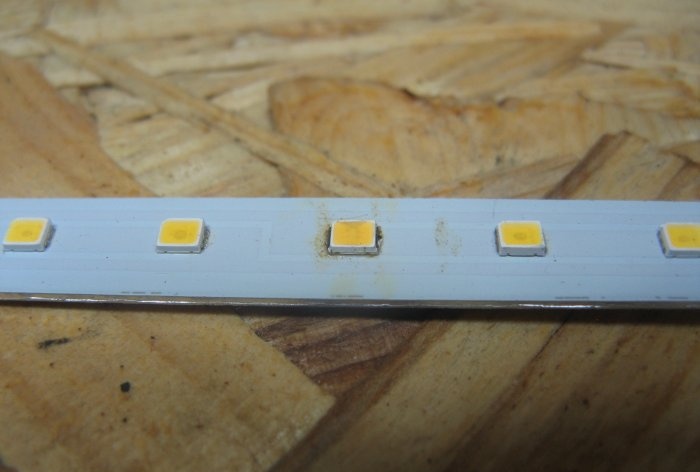
Nowadays, they are increasingly used LEDs SMD. In household light bulbs they are mainly used LEDs 2835, 5530, 5050. The printed circuit board consists of an aluminum plate on which an insulating material is applied. The insulator has tracks with spots on which SMDs are soldered LEDs.
We do not resort to using a soldering iron. We don't even use a soldering gun. Let's try to replace LEDs using a regular household iron. We borrow an iron from our wife, friend, or mother and go ahead. The iron will not be damaged.
Let's look at the example of repairing rulers with 2835 format LEDs
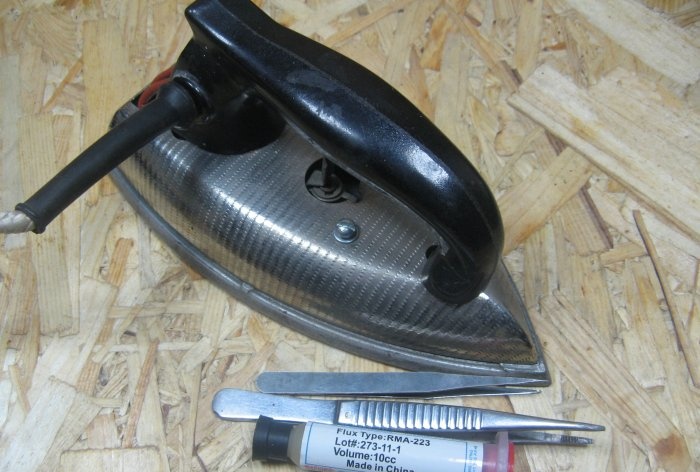
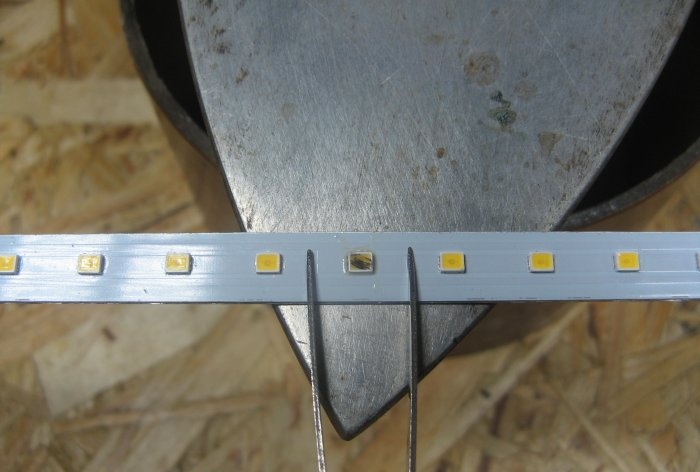
I have an old Soviet iron; I use it to transfer toner when making printed circuit boards. You will also need two tweezers, or just one. Then you need to hold the board gently with your hand. You can also hold the board with pliers, or, in extreme cases, with wire cutters. The aluminum base heats up during the soldering process. To speed up the soldering process, you need flux. I use Chinese RMA-223. You can also take regular alcohol-rosin, type F3.
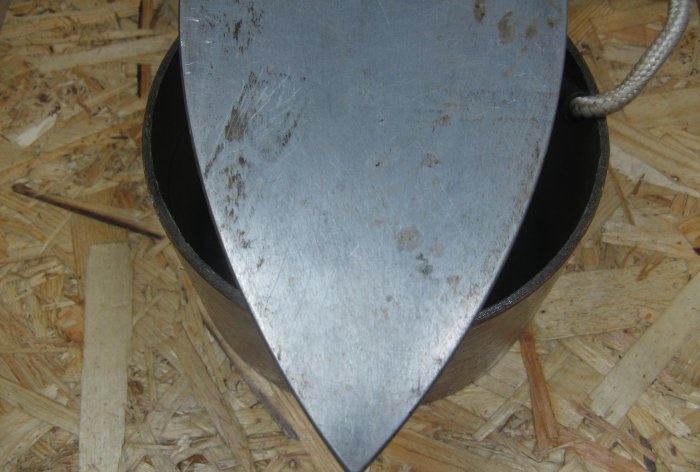
We fix the iron in an inverted position. I have a piece of paper cylinder. Can be clamped with clamps. The main thing is to prevent the hot iron from falling. I set it to maximum power and let it heat up.
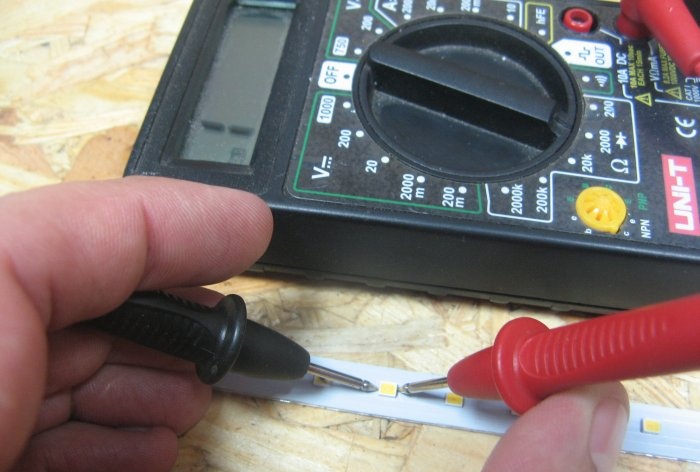
While the iron is heating up. Checking LEDs multimeter. We set the diode measurement limit. We put the probes on the LED. A working LED lights up slightly.
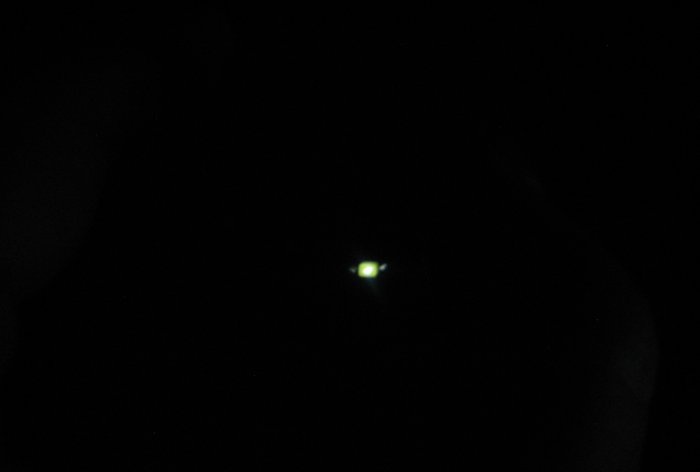
This is what the backlight of a working LED looks like in the dark.
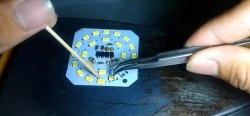
Coat with flux and place the ruler on the heated iron. Lightly press the area with the LED for optimal heating. Using tweezers, we carefully move our fire victim and remove it from the board. My heating time was about 10-15 seconds.
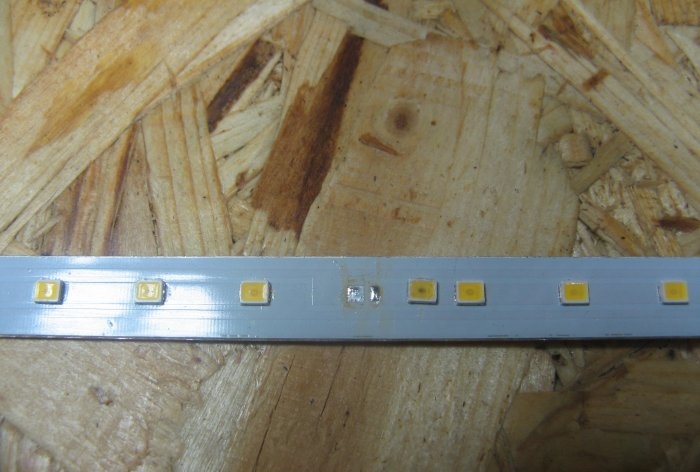
We clean the place where the burnt LED was and coat it with flux.
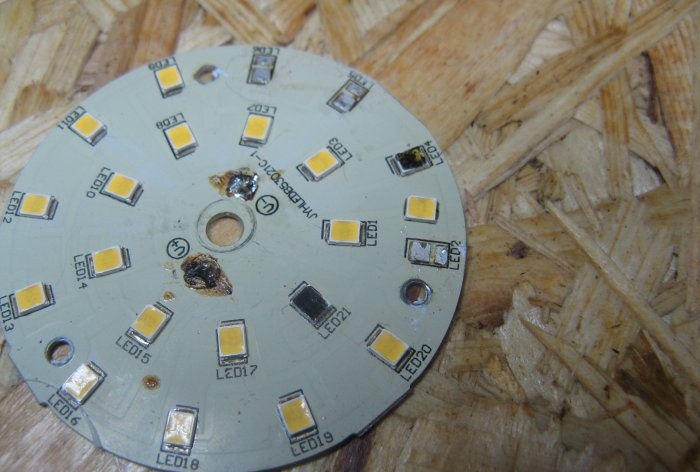
I used a donor board with similar LEDs. We unsolder it in a similar way (flux, iron, and so on).
The worker replaces the burnt out LED, according to the polarity. It's hard to confuse. One patch is larger than the other. We install it on the iron and warm it up, pressing the LED with tweezers. After sealing, set aside to cool.
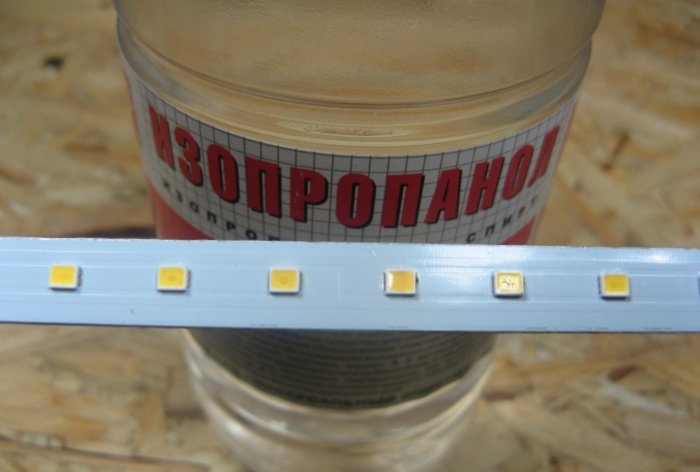
After the tape has cooled, we wash off traces of flux. I use isopropanol (isopropyl alcohol), you can use regular alcohol.
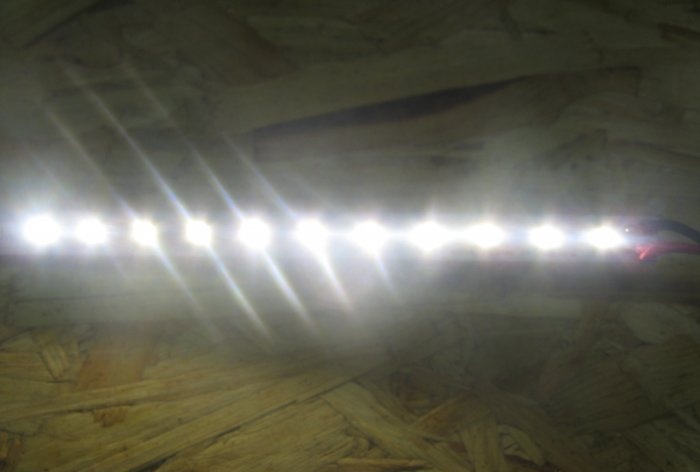
Let's check. We connect power to the segment. My line has 44 LEDs. 11 LEDs are soldered in series, there are four segments of these. Each segment is connected to the others in parallel. I powered it with a reduced voltage of 33.5 volts. Everything works great.
This is how easy it is to re-solder LEDs. Without a soldering hair dryer, but with an ordinary household iron.
Watch the video
Similar master classes
Particularly interesting


