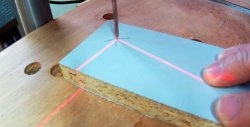
How to make a simple laser level from a pointer
In construction and finishing, precision is important, which can be perfectly maintained using a laser level. This is an expensive tool, so purchasing it for a one-time repair is impractical. For small jobs, you can make a level yourself from a point laser pointer. It costs less than $3, which makes homemade a budget alternative to a specialized tool.
Materials for assembling a laser level
To make a homemade level you will need:
- wooden block 30x30 –20 cm;
- tube (according to the outer diameter and length of the pointer);
- a motor from a children's toy;
- crown battery;
- crown terminal with wiring;
- key mini switch;
- a miniature mirror for cosmetic powder or lipstick;
- ballpoint pen paste;
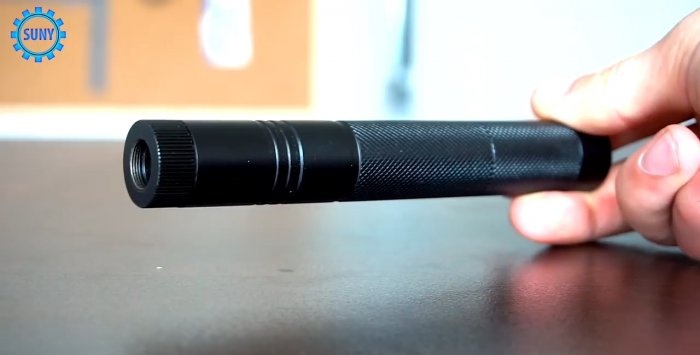
- laser pointer.
For assembly you will use a hacksaw, a glue gun and a soldering iron. Ideally, in the future, use an adjustable tripod to install and adjust the level.
Assembling a level from a pointer
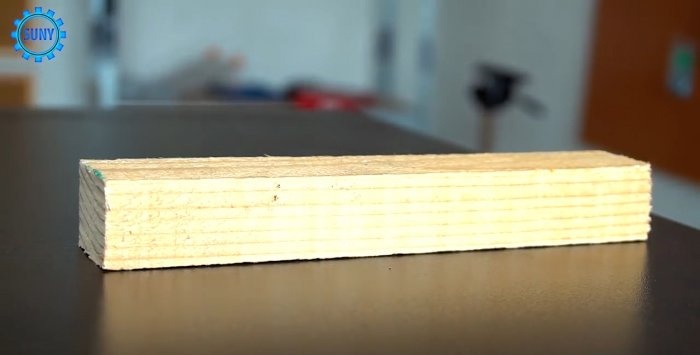
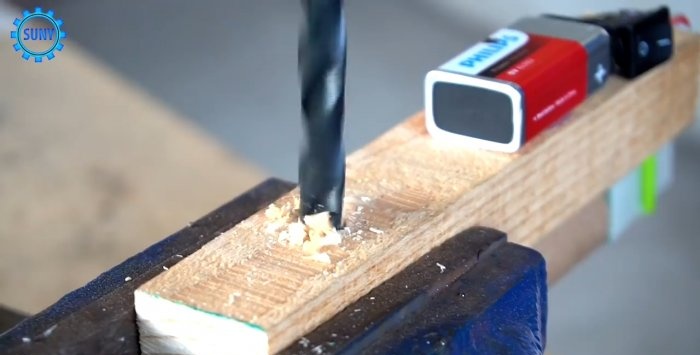
First you need to make the base for the level. A 30x30 mm block is suitable for this. It is enough to cut 20 cm.
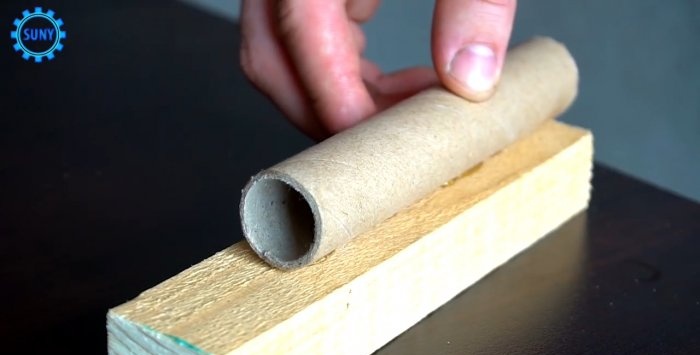
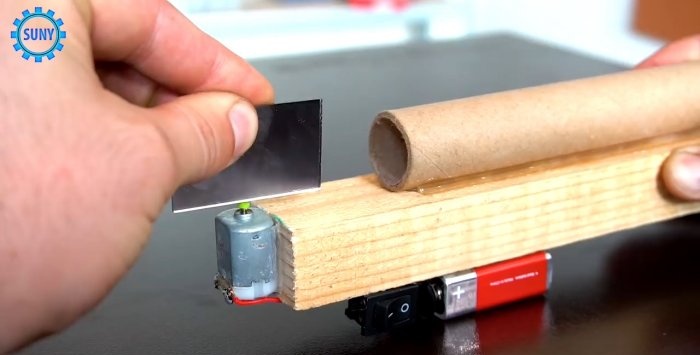
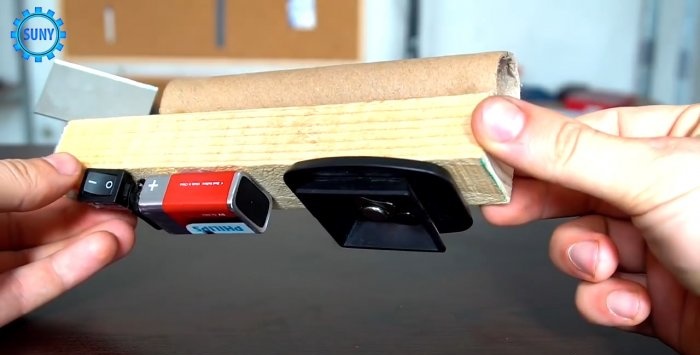
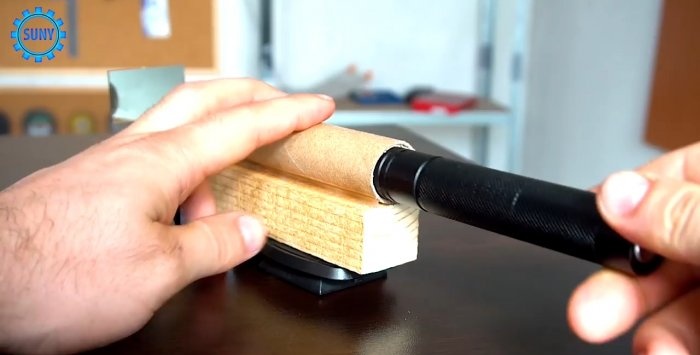
A tube made of thick cardboard (or plastic) is glued to it with a glue gun. It is selected in such a way that the pointer fits tightly into it. The length of the tube is approximately 15 cm.
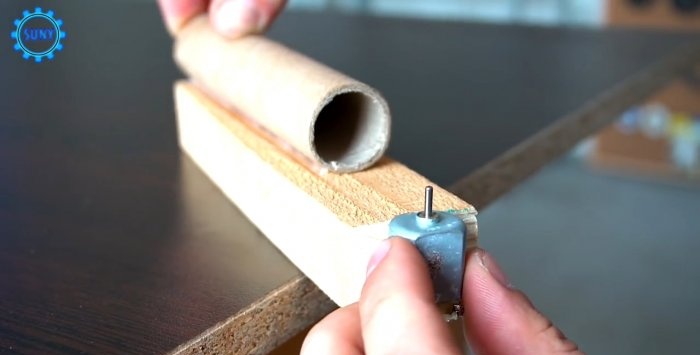
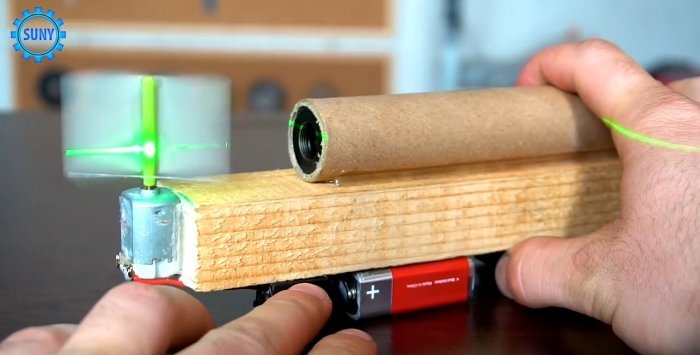
A motor from a children's car is glued to the end of the block farthest from the end of the tube. Its shaft is aligned with the focusing line of the pipe cavity.
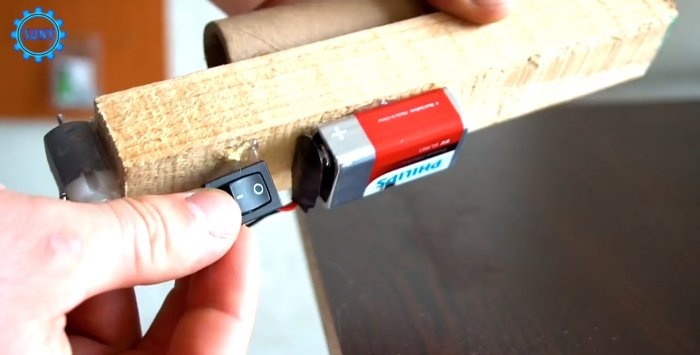
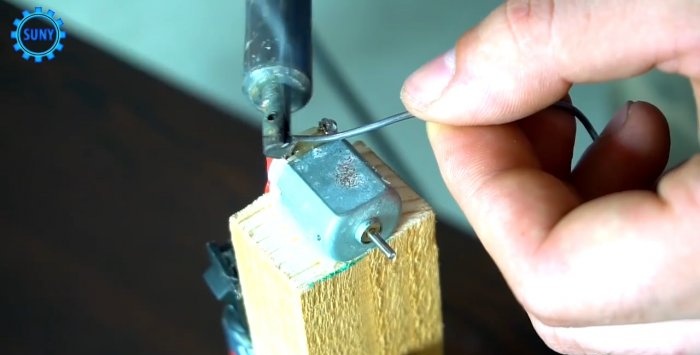
You need to assemble the motor power supply system. To do this, a mini switch is soldered to the wiring of the terminal installed on the crown.
The battery and it are glued to the block. All that remains is to select the appropriate length of wires to solder it from the switch to the motor. A direct wire from the terminal is soldered to the second contact of the motor.
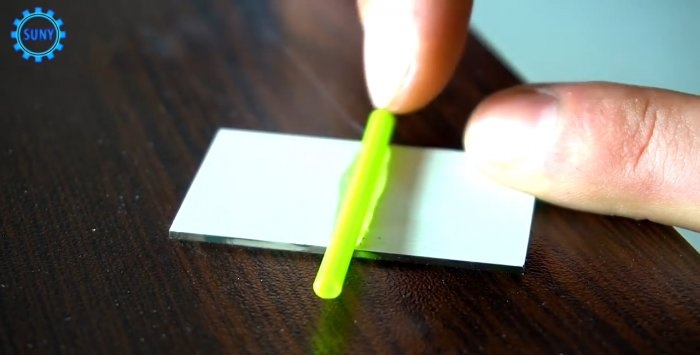
Now you need to take a small mirror. It’s not difficult to find this - just peel it off in any unnecessary women’s cosmetic bag. The smaller and lighter it is, the better. You should find the center on it and draw a transverse line. An adhesive layer is applied over it and a ballpoint pen paste or Chupa Chups stick is glued in.
The glued tube is placed on the motor shaft. If the mirror is balanced correctly, then when the engine is turned on, the design with a homemade blade almost does not vibrate.
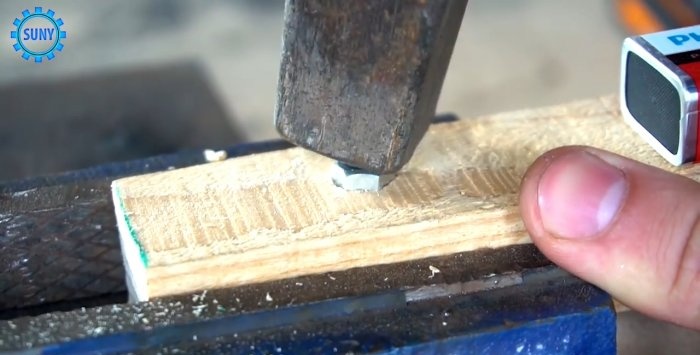
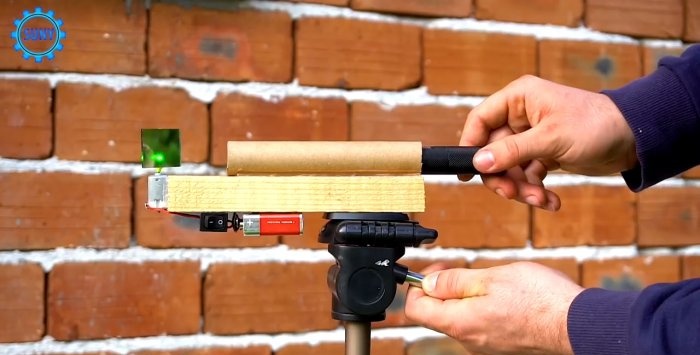
The level is ready, all that remains is to fix it on the tripod. This is done in different ways, depending on the design of the stand. In my case, you need to press the nut into the block and screw the tripod platform onto it.
How to use
A pointer is inserted into the level tube.
Since it enters with force, its button is clamped and Light-emitting diode burns incessantly. Now, if you turn on the motor, the mirror rotating on its shaft will reflect the laser beam.
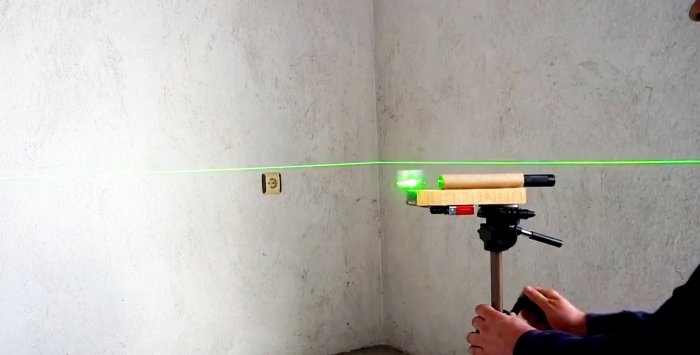
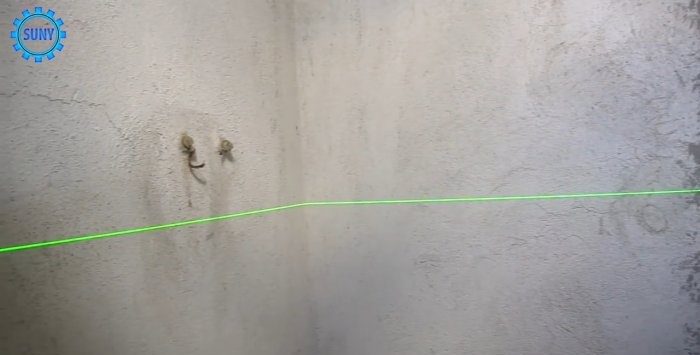
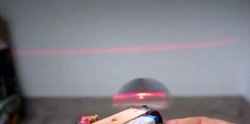
As a result, the device will make a straight horizontal line from the point, illuminating the nearest perimeter of the walls.
It can be used as a guide when laying tiles, hanging cabinets, attaching the eaves of a stretch ceiling, marking grooves, etc.
The beam is very smooth.
Don't forget about safety precautions!
- Do not use a high power laser pointer (no more than 5 mW).
- Avoid contact of the laser beam with your eyes.
Watch the video
Similar master classes
Particularly interesting

How to install a socket if there are short wires left

How to eliminate gaps between the chimney and slate

How to mix an ultra-reliable solution for the oven that does not give

There will be no more cracks: What to add to concrete to make it

Never buy ball valves without checking with me

New technology for floor insulation with penoplex
Comments (5)

