How to make a homemade laser pointer for a drilling machine
Positioning the workpiece relative to the tool, in our case, a drill, is a responsible and difficult operation. To make it easier and more precise, you can assemble a homemade laser pointer based on two linear lasers LEDs.
In principle, nothing expensive or scarce is required for this work. Materials you should stock up on:
In the upcoming work we will have to use:
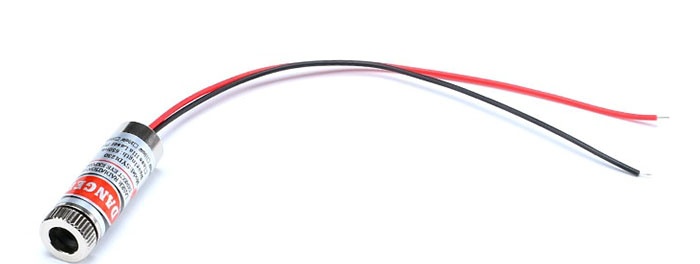
The main thing here is two laser modules that were purchased at Ali Express (http://ali.pub/3if3b7). These laser pointers do not produce a dot, but a flat line that can be easily adjusted.
Even a high school student can cope with the upcoming work. The most difficult operation ahead is probably soldering the wires.
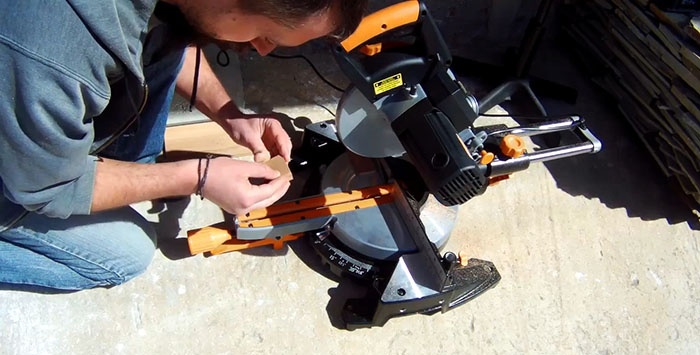
Using a pendulum saw or any other available saw, we cut two identical parallelepiped bars from a wooden blank.
We drill holes of the required diameter in wooden blocks closer to one edge on a drilling machine.

We process the bars using a manual grinding stone to give them an attractive appearance and ease of use.
Using a wallpaper knife, cut two identical strips of double-sided tape and tightly wrap them around two laser LED and insert them into the holes in the wooden blocks.
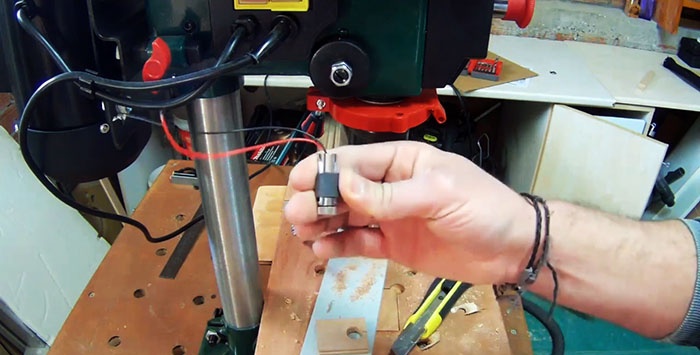
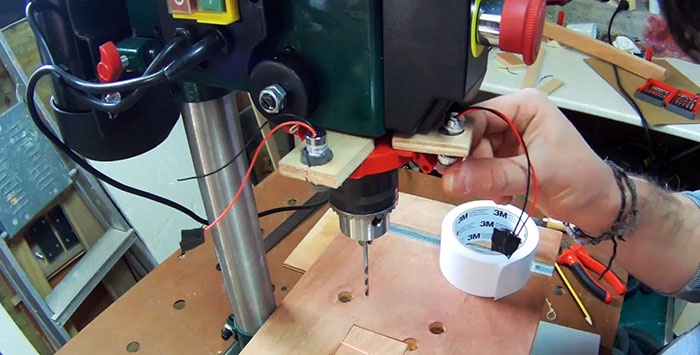
Using double-sided tape, we attach wooden blocks with laser LEDs to a fixed spindle stop (it was made on a 3D printer, but you can also cut it out of wood yourself) at an angle of 90 degrees relative to each other.
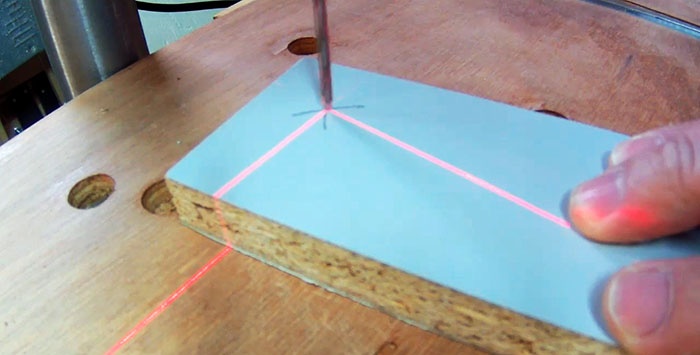
The power source is a 3 V flat battery. We mark a point on the workpiece using two intersecting straight lines.
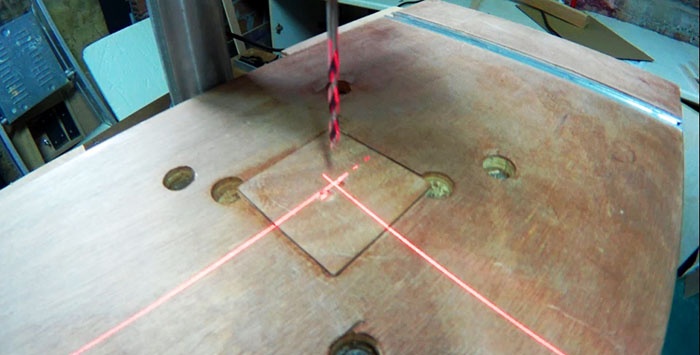
We bring the point marked on the workpiece under the lines intersecting at right angles created by laser LEDs.
We ensure that the coordinates of the point marked on the workpiece coincide with the intersecting beams reproduced by laser LEDs, and carry out the drilling process.
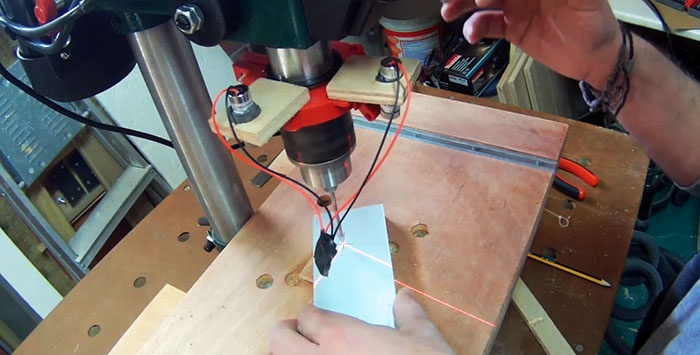
We make sure that the drilling is carried out exactly in accordance with the markings we made earlier.
Once again we repeat the procedure for positioning the workpiece in relation to the drill using laser LEDs, we perform drilling and again ascertain the accuracy of the operation. It should be taken into account that we are not using the best drill, and the chuck has some play.
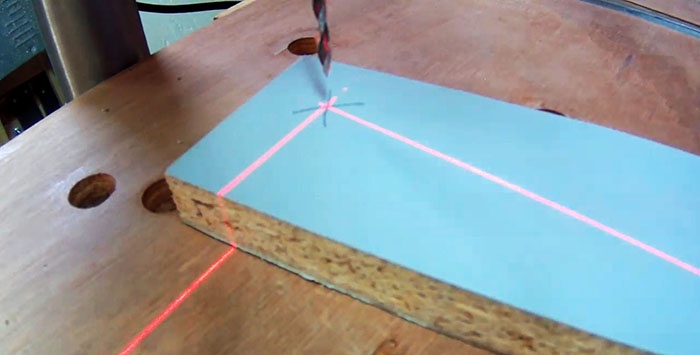
In order not to waste the energy of the batteries that power the laser LEDs, install a two-position on/off switch between them. To do this, we use a transparent plastic box with a closing lid.
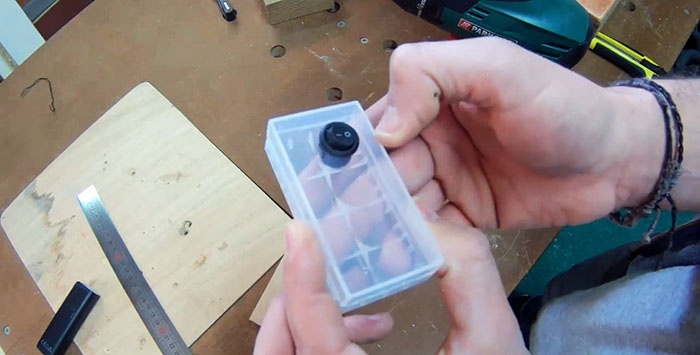
In the bottom of the box, using a drill with a thin drill bit, we make a hole where the two-position switch will subsequently be installed.
We drill it to the required diameter using a step drill fixed in a drill chuck.
We insert the switch from the outside into the hole in the plastic box so that the “0-1” key is on the outside. We insert the wires into the side of the box through the hole intended for them.
Using a soldering iron and solder, connect the wires in the following order: “+” batteries with “+” LED, “–” batteries with switch, switch with “–” LED. Close the lid of the plastic box.
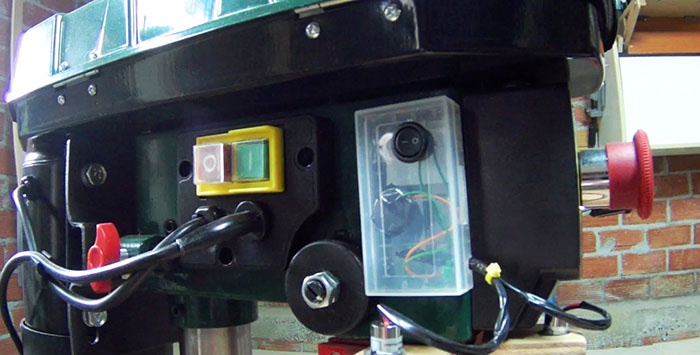
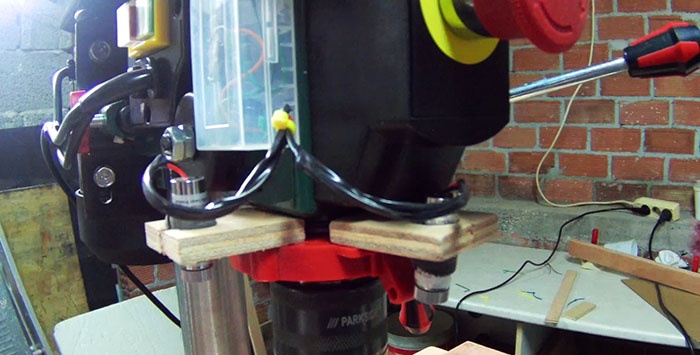
Using double tape, we attach a plastic box with a two-position switch to a place on the body of the drilling machine so that it is completely safe and, at the same time, convenient for turning the laser LEDs on and off.


Will need
In principle, nothing expensive or scarce is required for this work. Materials you should stock up on:
- wooden plank;
- double-sided tape;
- 3 V power supply (batteries, accumulator);
- plastic transparent box with lid;
- two-position switch.
In the upcoming work we will have to use:
- pendulum or any other saw;
- tabletop drilling machine;
- hand grinding stone;
- wallpaper knife;
- electric soldering iron.
The main thing here is two laser modules that were purchased at Ali Express (http://ali.pub/3if3b7). These laser pointers do not produce a dot, but a flat line that can be easily adjusted.

Manufacturing and installation of a laser pointer on a machine
Even a high school student can cope with the upcoming work. The most difficult operation ahead is probably soldering the wires.
Using a pendulum saw or any other available saw, we cut two identical parallelepiped bars from a wooden blank.

We drill holes of the required diameter in wooden blocks closer to one edge on a drilling machine.

We process the bars using a manual grinding stone to give them an attractive appearance and ease of use.
Using a wallpaper knife, cut two identical strips of double-sided tape and tightly wrap them around two laser LED and insert them into the holes in the wooden blocks.

Using double-sided tape, we attach wooden blocks with laser LEDs to a fixed spindle stop (it was made on a 3D printer, but you can also cut it out of wood yourself) at an angle of 90 degrees relative to each other.

Functionality check
The power source is a 3 V flat battery. We mark a point on the workpiece using two intersecting straight lines.
We bring the point marked on the workpiece under the lines intersecting at right angles created by laser LEDs.
We ensure that the coordinates of the point marked on the workpiece coincide with the intersecting beams reproduced by laser LEDs, and carry out the drilling process.

We make sure that the drilling is carried out exactly in accordance with the markings we made earlier.
Once again we repeat the procedure for positioning the workpiece in relation to the drill using laser LEDs, we perform drilling and again ascertain the accuracy of the operation. It should be taken into account that we are not using the best drill, and the chuck has some play.

Mounting the switch in the housing
In order not to waste the energy of the batteries that power the laser LEDs, install a two-position on/off switch between them. To do this, we use a transparent plastic box with a closing lid.

In the bottom of the box, using a drill with a thin drill bit, we make a hole where the two-position switch will subsequently be installed.
We drill it to the required diameter using a step drill fixed in a drill chuck.
We insert the switch from the outside into the hole in the plastic box so that the “0-1” key is on the outside. We insert the wires into the side of the box through the hole intended for them.
Using a soldering iron and solder, connect the wires in the following order: “+” batteries with “+” LED, “–” batteries with switch, switch with “–” LED. Close the lid of the plastic box.


Using double tape, we attach a plastic box with a two-position switch to a place on the body of the drilling machine so that it is completely safe and, at the same time, convenient for turning the laser LEDs on and off.


Watch the video
Similar master classes
Particularly interesting
Comments (1)

