How to braid the end of a rope into a loop
The most difficult, but also reliable way to create a loop (fire) at the end of a cable is weaving. This method is better known as chalka. The technology of fire binding is not complicated, but it requires physical effort. You can weave any cable, the main thing is that you have enough hand strength to do it. In the future, under critical load, such a loop will not unravel, and if a rupture occurs, it will definitely not be on it.
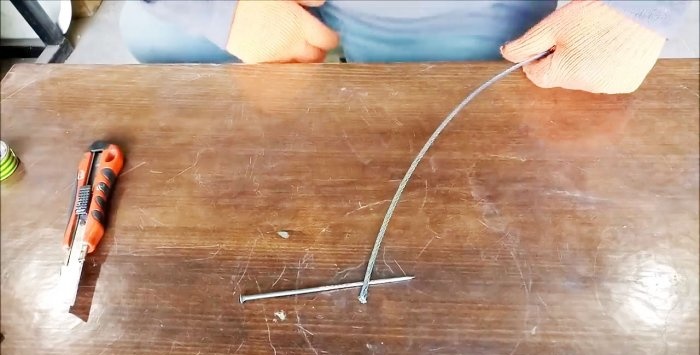
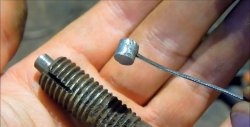
The first step is to prepare the steel rod. For a sling with a diameter of 4 mm, it is enough to sharpen a long nail or screw into something like an awl. For thicker cables, you can use a pry bar and a strong screwdriver.
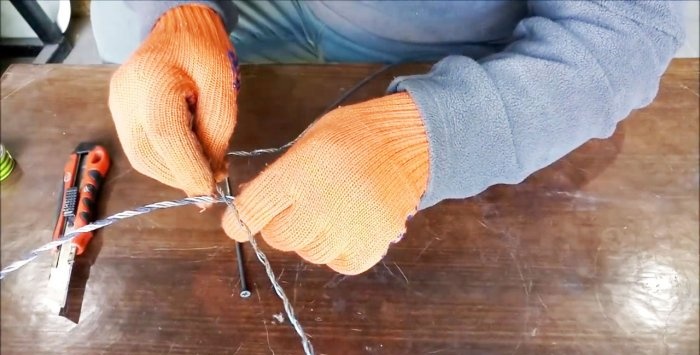
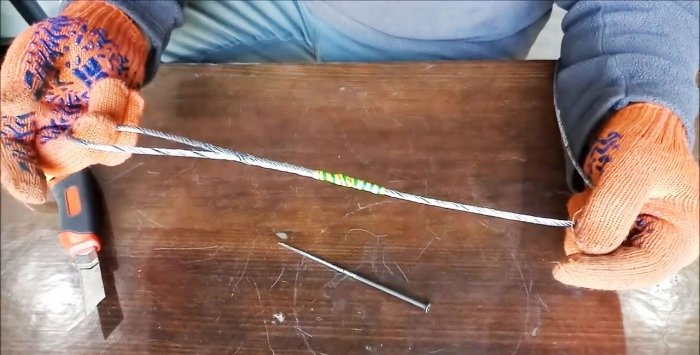
The end of the sling is divided into a pair of identical strands. This is done with the tip of a rod.
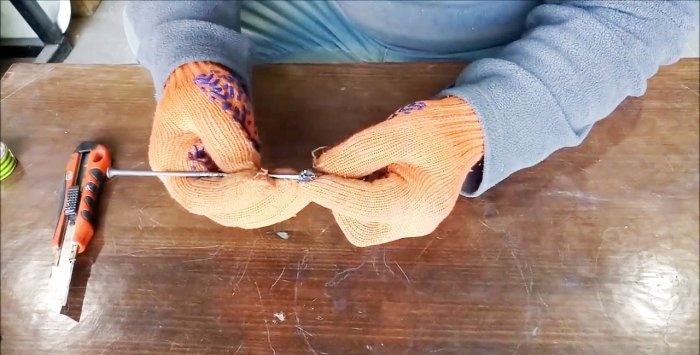
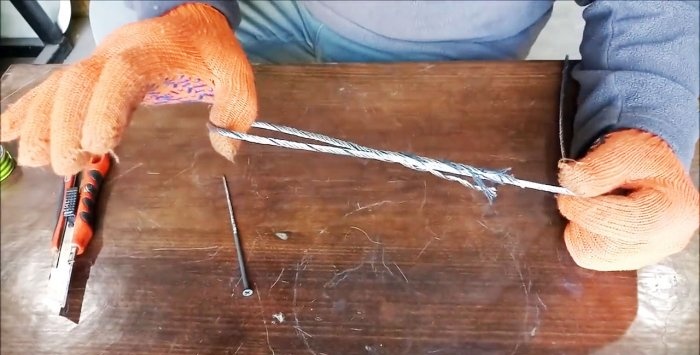
You should work with gloves. The rod is threaded through the beginning of the cable, after which it is used as a lever. It should be rotated against the direction of the binding. You should get 2 tight bundles without any loose wire. It is advisable that their length be 2 times greater than what is required to form a loop. It is better to leave the thread heel at the base of the weave.
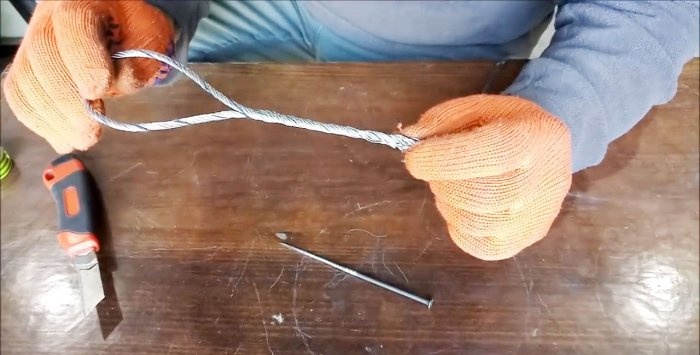
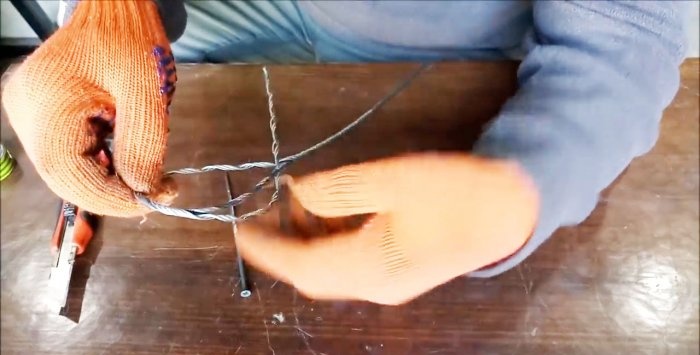
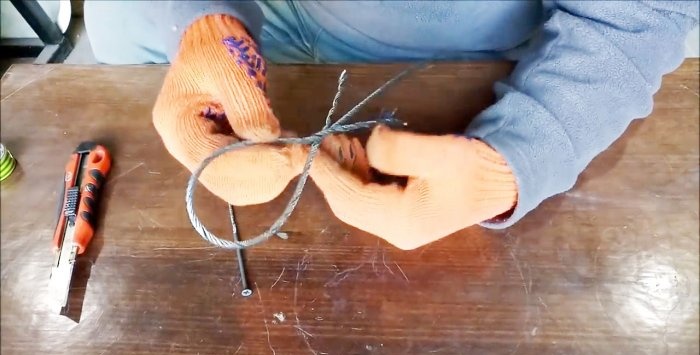
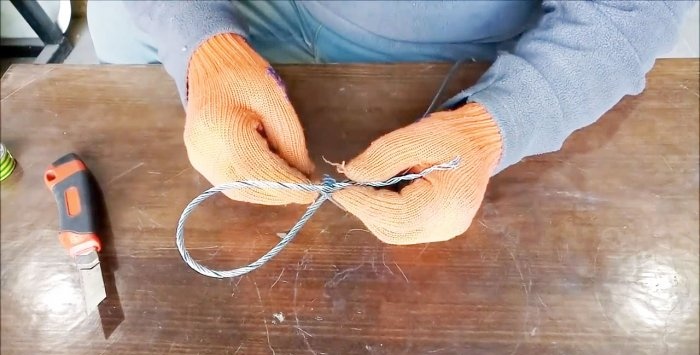
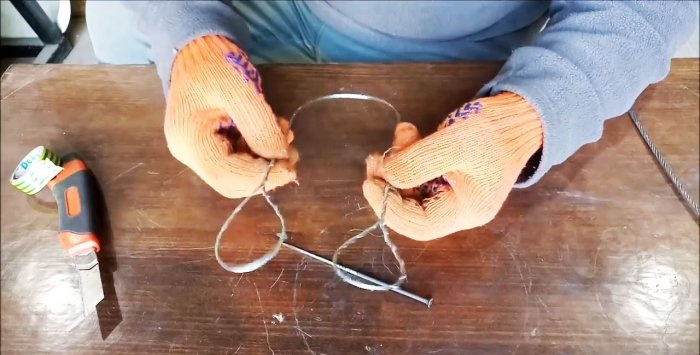
Next, the fluffed strands are folded crosswise in the middle so as to obtain an eyelet of the desired length.
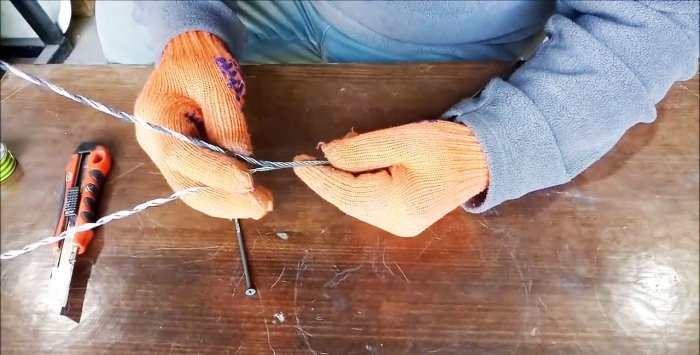
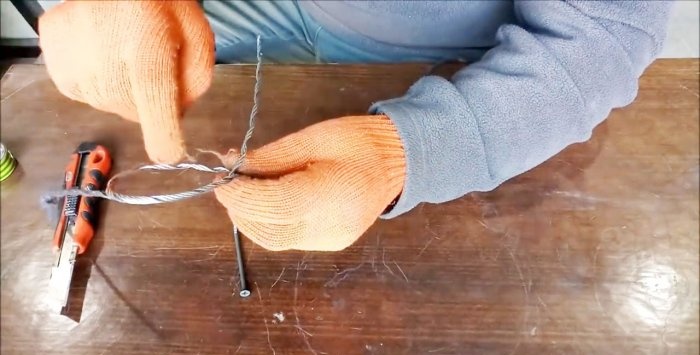
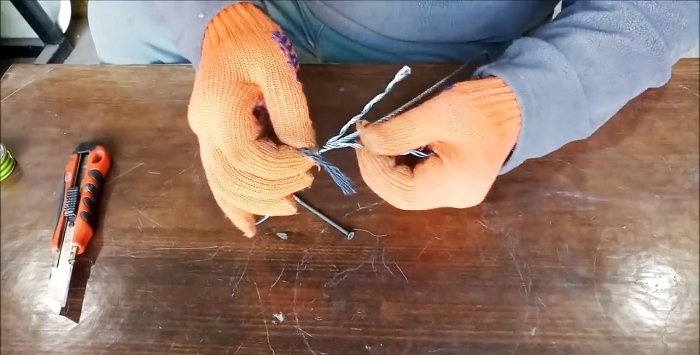
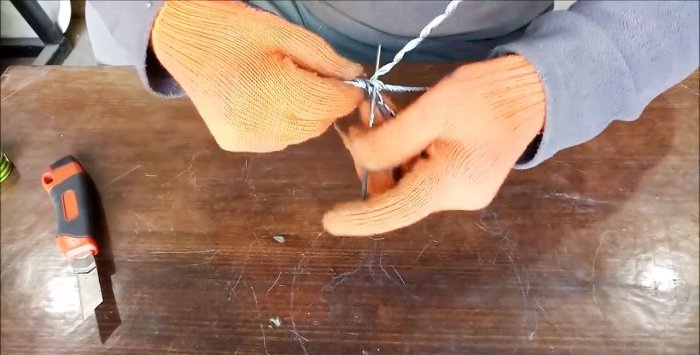
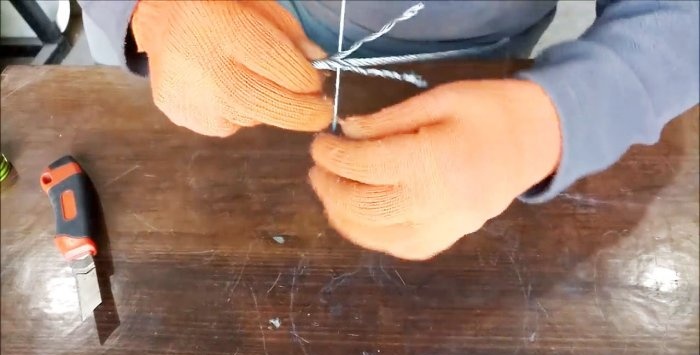
After this, the remaining ends are alternately screwed into the screw body of the loop. They fit perfectly in the places where the braid was previously woven.
First, one branch of the cable is screwed into the entire sling, and then the second.
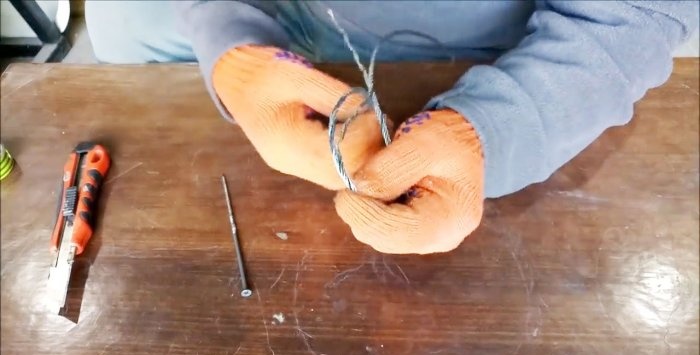
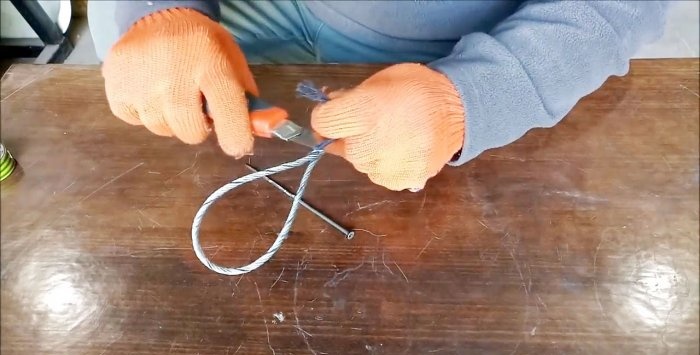
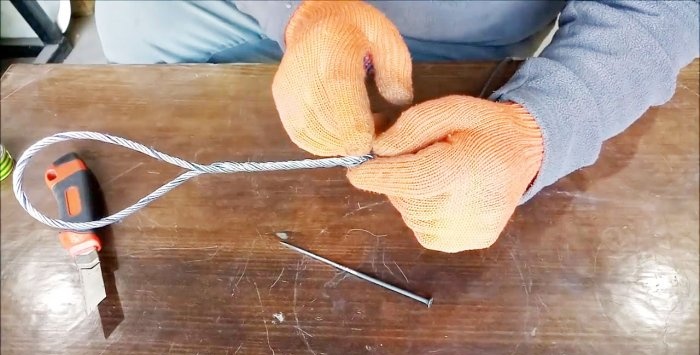
The result is a finished loop, but with protruding long tails.
They also need to be woven. This is where the more difficult task begins, especially if a massive cable is being pulled. You need to cut the threads, because they will continue to interfere.
You should take the loop in one hand or hold it in a vice. A rod is placed at the beginning of the loop.
It needs to be rotated counterclockwise. As a result, the rod begins to screw into the cable, while inserting the remaining ends of the loop into it.
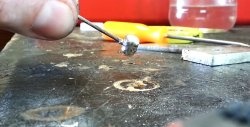
Once the tails are completely woven into the cable, the rod can be pulled out. At this point the work can be considered almost complete. All that remains is to wind the electrical tape onto the double section where the wire protrudes.
It is needed to prevent injections in the fingers and palms. Instead, you can use heat-shrink tubing or wind thin, soft wire in continuous turns.
A loop prepared in this way can be used anywhere. This type of chalk is used by miners and builders. In everyday life, you can braid a rope for towing or lifting a bucket from a well.
Let's take a cable with two braided loops using the same technology, but with a smaller diameter.
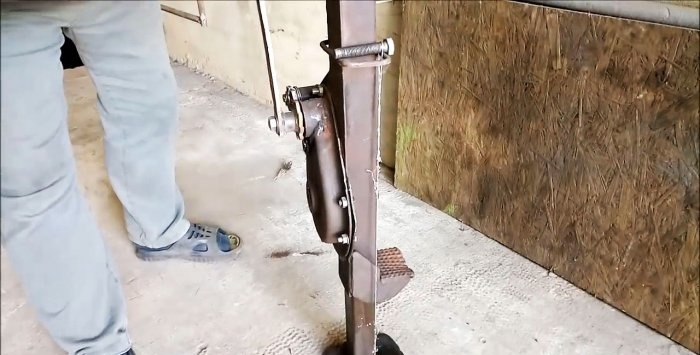
Let's secure it along the edges of the jack.
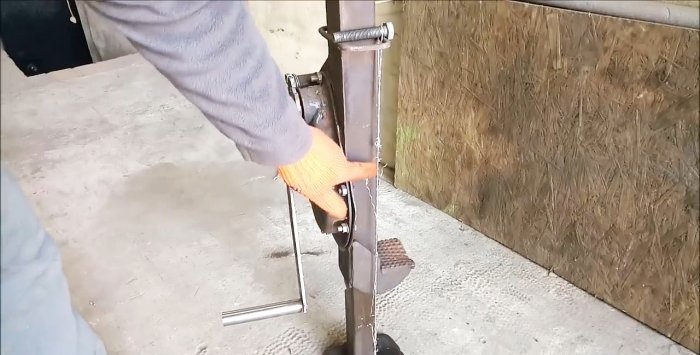
When loaded, the bracelet does not unravel, because the stronger the tension, the stronger the pressed strands are held.
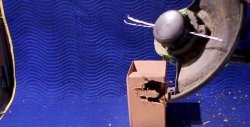
As a result, the cable itself broke, the loops remained intact.
Materials and tools:
- sharpened steel rod;
- knife;
- insulating tape;
- thick gloves.
Weaving a rope into a loop
The first step is to prepare the steel rod. For a sling with a diameter of 4 mm, it is enough to sharpen a long nail or screw into something like an awl. For thicker cables, you can use a pry bar and a strong screwdriver.
The end of the sling is divided into a pair of identical strands. This is done with the tip of a rod.
You should work with gloves. The rod is threaded through the beginning of the cable, after which it is used as a lever. It should be rotated against the direction of the binding. You should get 2 tight bundles without any loose wire. It is advisable that their length be 2 times greater than what is required to form a loop. It is better to leave the thread heel at the base of the weave.
Next, the fluffed strands are folded crosswise in the middle so as to obtain an eyelet of the desired length.
After this, the remaining ends are alternately screwed into the screw body of the loop. They fit perfectly in the places where the braid was previously woven.
First, one branch of the cable is screwed into the entire sling, and then the second.
The result is a finished loop, but with protruding long tails.
They also need to be woven. This is where the more difficult task begins, especially if a massive cable is being pulled. You need to cut the threads, because they will continue to interfere.
You should take the loop in one hand or hold it in a vice. A rod is placed at the beginning of the loop.
It needs to be rotated counterclockwise. As a result, the rod begins to screw into the cable, while inserting the remaining ends of the loop into it.
Once the tails are completely woven into the cable, the rod can be pulled out. At this point the work can be considered almost complete. All that remains is to wind the electrical tape onto the double section where the wire protrudes.
It is needed to prevent injections in the fingers and palms. Instead, you can use heat-shrink tubing or wind thin, soft wire in continuous turns.
A loop prepared in this way can be used anywhere. This type of chalk is used by miners and builders. In everyday life, you can braid a rope for towing or lifting a bucket from a well.
Tensile tests
Let's take a cable with two braided loops using the same technology, but with a smaller diameter.
Let's secure it along the edges of the jack.
When loaded, the bracelet does not unravel, because the stronger the tension, the stronger the pressed strands are held.
As a result, the cable itself broke, the loops remained intact.
Watch the video
Similar master classes
Particularly interesting
Comments (15)

