5 devices that will turn your drill and grinder into a radically different tool
Many people have a drill, screwdriver or grinder. To increase efficiency and save money, you can purchase adapters and attachments, as a result, the functionality will expand and there will be no need to purchase special tools and equipment.
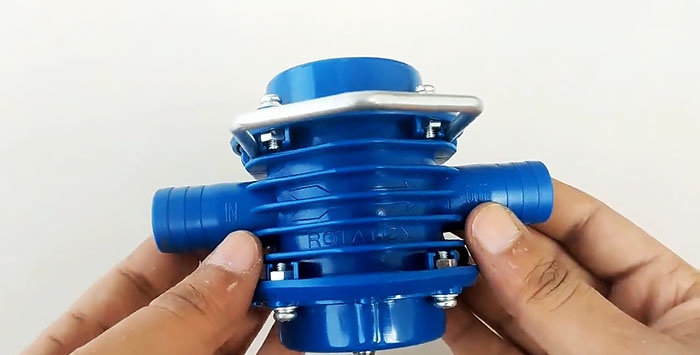
Its body is made of durable plastic, all internal parts are made of stainless steel. Externally, it looks like a splitter with two pipes for connecting the suction and discharge hoses. The flow rate depends on the drive power and ranges from 25 to 40 l/min.
Using the attachment is simple: insert its shank into the drill chuck and securely fasten it.
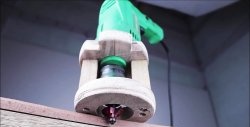
We place the drill with a pump attachment on a wooden stand and secure it with half-clamps made of tin and screws to the “clamping neck” and handle, lying on wooden blocks in cylindrical cutouts.
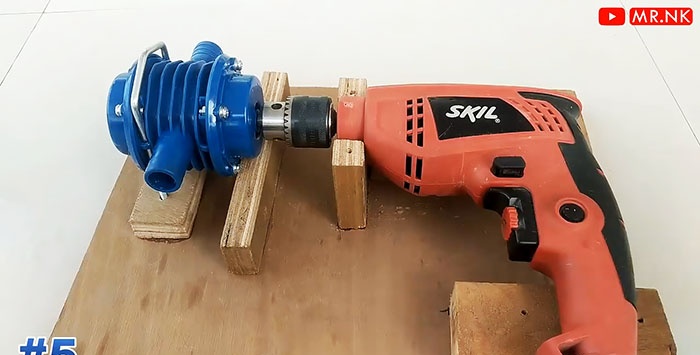
We attach the hoses to the nozzles and lower the end of the suction hose into a container of water.
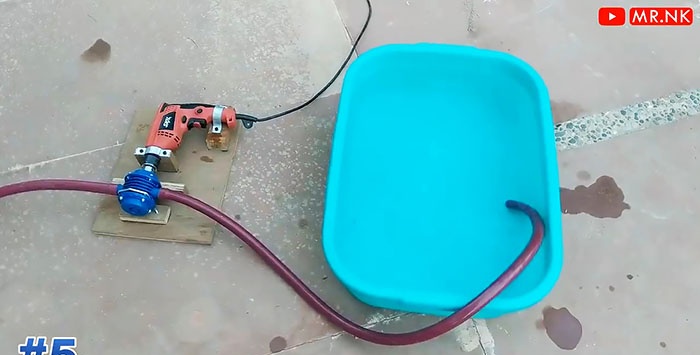
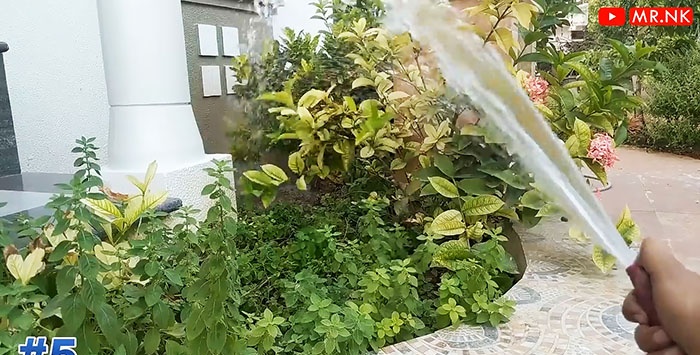
We turn on the drill, and water under pressure will begin to flow out of the end of the discharge hose.
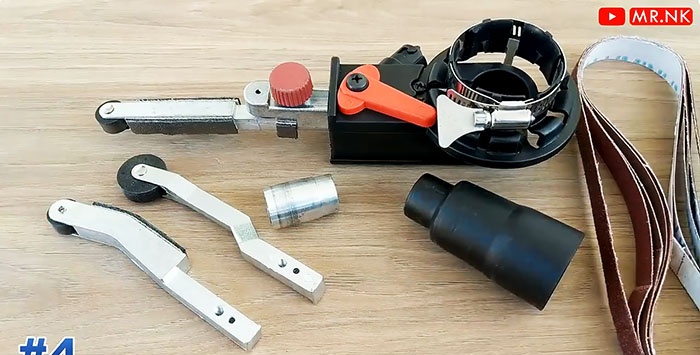
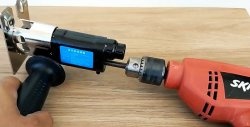
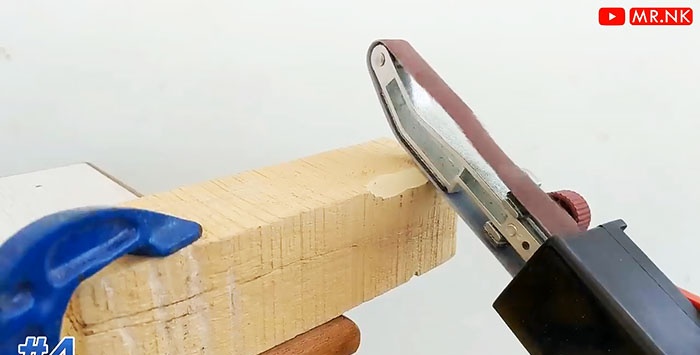
It consists of a housing, replaceable tension rollers, a drive adapter for the spindle thread and a pipe for chip removal. The consumable material is sanding tape.
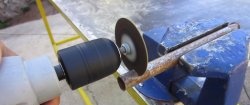
To install the attachment on the grinder, remove the protective casing and the front cover of the gearbox housing.
We screw the adapter onto the spindle thread and install the mini-grinder housing, securing it to the gear housing flange with a clamp.
We install the annular sanding belt on the drive adapter and the driven pulley, and activate the belt tension mechanism with a special lever.
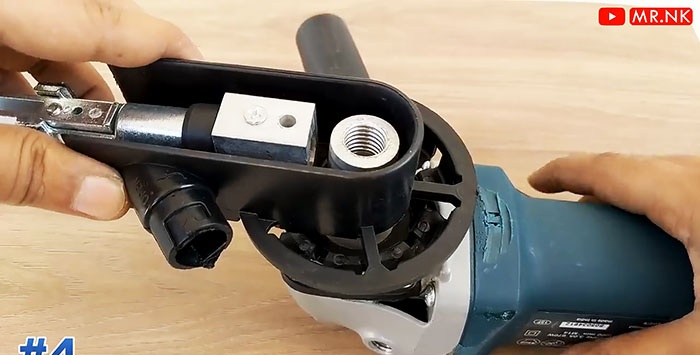
We place the protective cover on the sanding belt drive and secure it with a hex bolt.
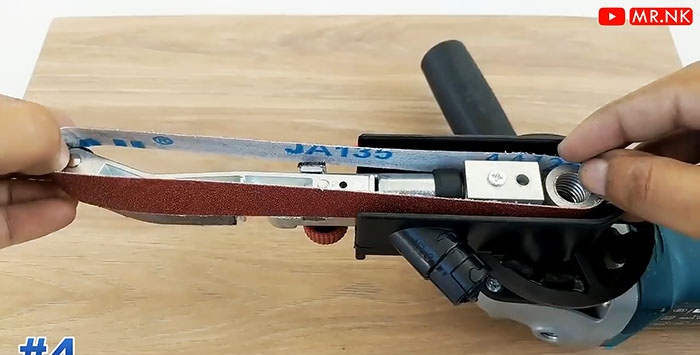
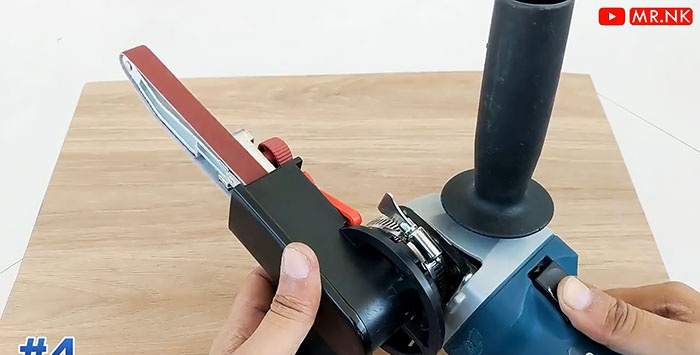
We put the outlet pipe on the chip receiving tube and turn on the grinder. We see that the tape has started to move and is ready to work.
This attachment can process wood, plastic and metal workpieces.
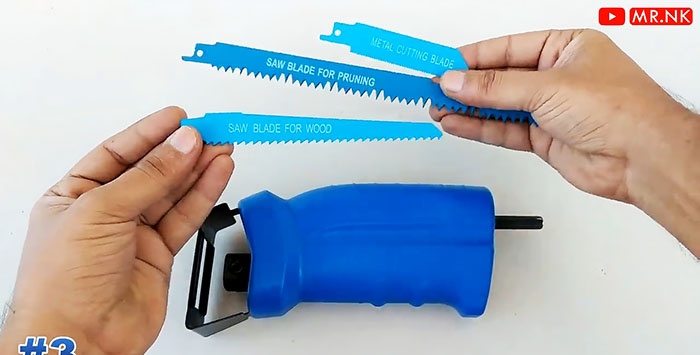
Its durable plastic body also serves as a handle to control the nozzle during operation. On one side there is a bracket-stop and a saw attachment and drive unit is located, on the other there is a shank for connecting to the drill chuck. The kit also includes three saws, different in length, size and shape of teeth and purpose, but with the same fastening part.
We install the saw in the slot of the fastening unit and, using a hex key, turning a special screw, press it into the lock.
We clamp the nozzle into the chuck of a drill or screwdriver.
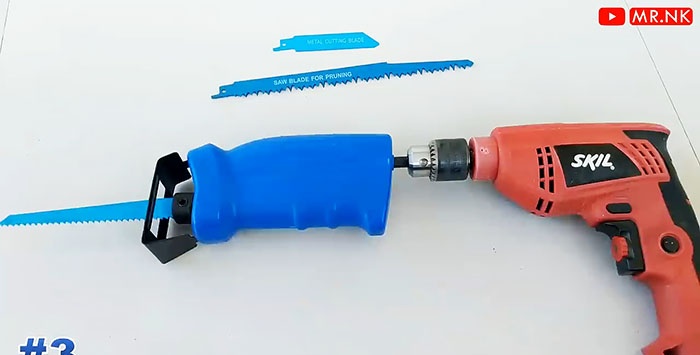
We check the idle operation of the drill together with the attachment and visually verify their functionality.
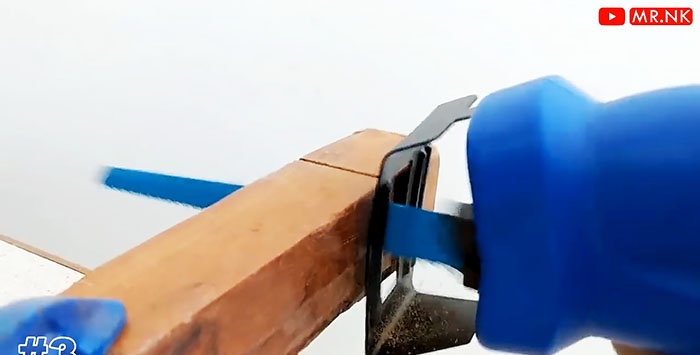
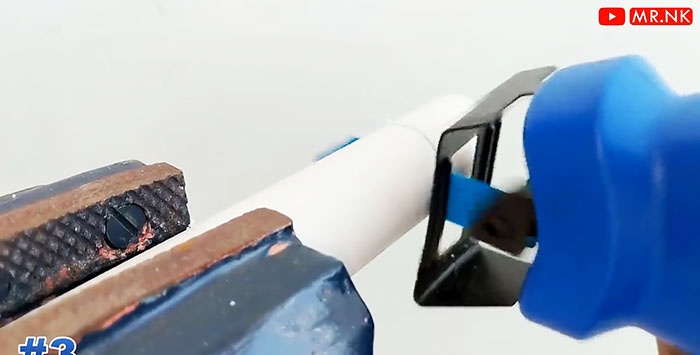
We check the tool in action by cutting a wooden beam with a long saw with large teeth, and a plastic pipe, replacing it with a shorter saw with fine teeth.
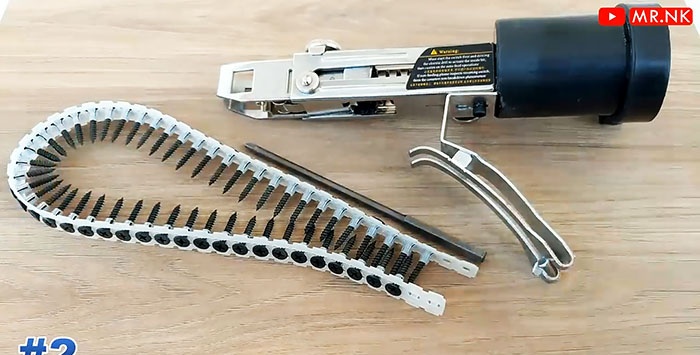
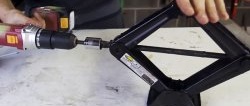
It consists of two main components: a tape holder with screws and a tape feed mechanism. You will need another long bat. There are also two adjustments: for the size of the screws and the depth of their tightening.
We fix the long bit in the drill chuck. We put the ring from the attachment kit on the “clamping neck” of the drill.
We install the nozzle on this ring with our seat and tighten the split ring with a coupling bolt and a wing nut.
We thread the tape with screws into the holder and the working area of the feeding and tightening mechanism.
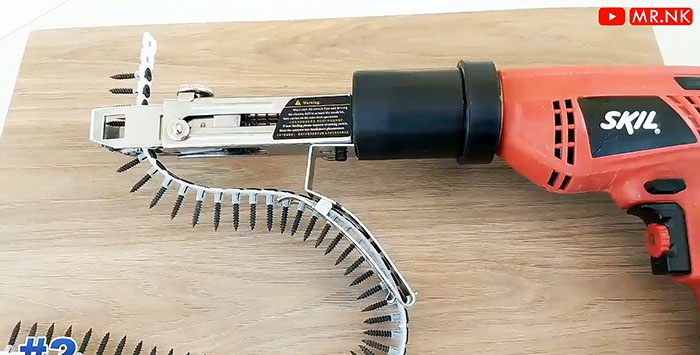
We check the operation of the screw feeding mechanism by pressing on its moving part. After each press, the tape should jump exactly one step.
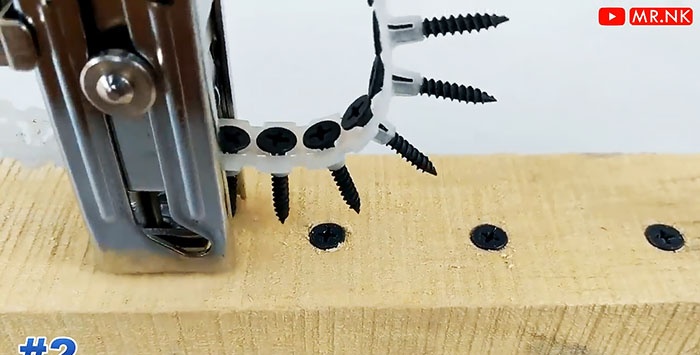
We check the tool in operation by pressing the working part of the attachment mechanism against a wooden block. After each press of the drill start button, a screw remains screwed into the beam up to the head. Moreover, the location of the beam can be both horizontal and vertical.
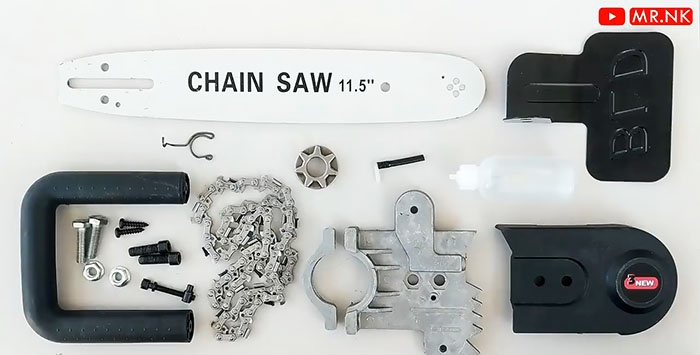
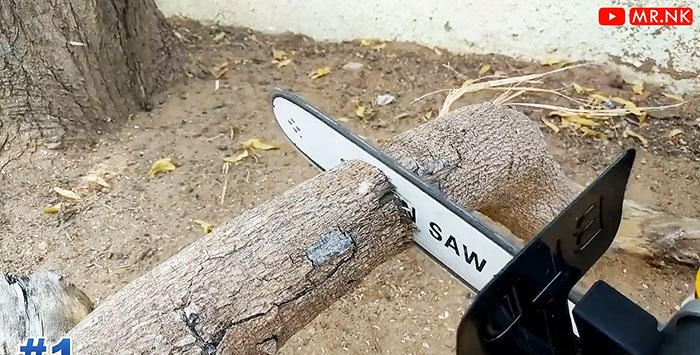
It consists of a housing, cutting chain, drive sprocket, guide bar, chain lubrication reservoir, protective cover, handle and fasteners.
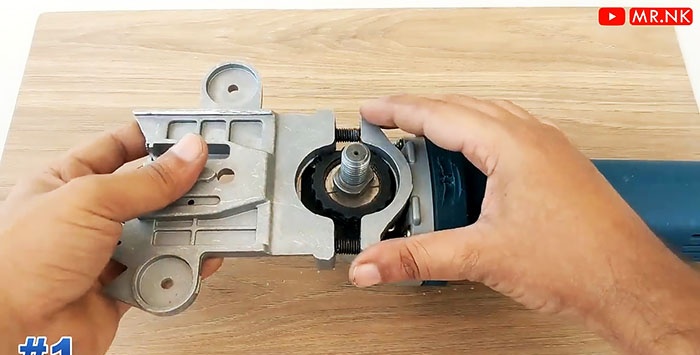
Remove the protective casing and abrasive disc from the grinder.
We fix the nozzle body to the gearbox housing with a semicircular cover and two bolts with round heads for a hex key.
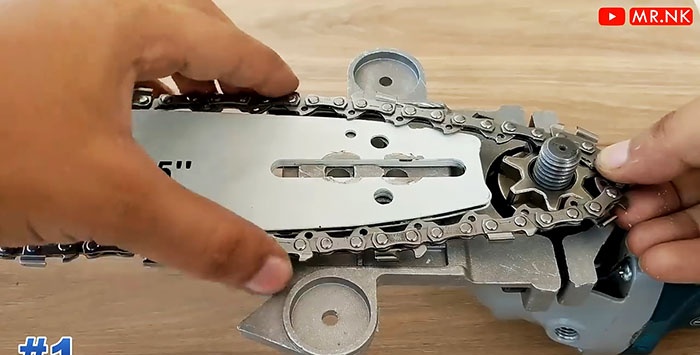
We place the chain tensioner in the groove in the housing, and instead of the abrasive disk, we place the chain drive sprocket.
We place the guide bar on the attachment body and put the chain on it, also capturing the drive sprocket, which is secured to the angle grinder spindle with a clamping nut.
We fasten the tire to the nozzle body with two bolts, passing them from below through the holes in the body and the tire. We install a plastic casing and the leg of a protective metal shield on top of the bolt rods and tighten them with nuts with an extended base.
From the end of the housing, use a flat-head screwdriver to rotate the head of the chain tension screw, achieving optimal tension.
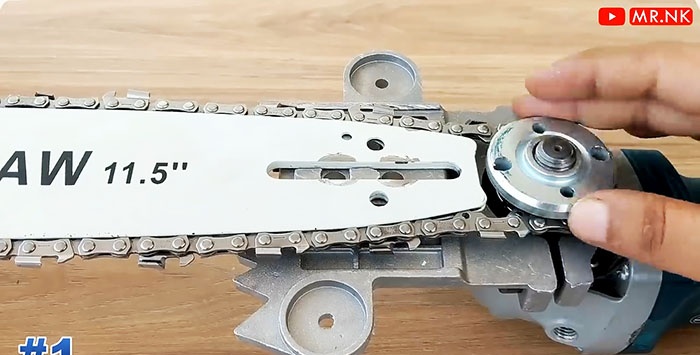
We finally tighten the nuts securing the guide bar to the body with wrenches.
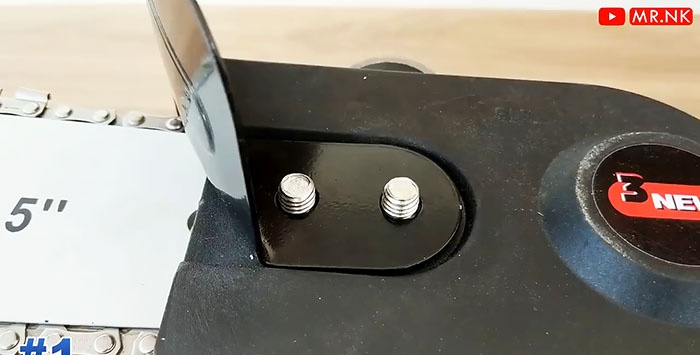
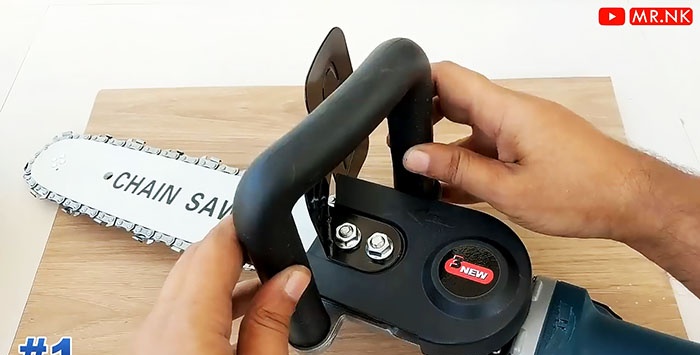
We install the nozzle handle using two screws, placing a wire holder under the head of the upper one to secure a container with oil for lubricating the cutting chain. We insert the tube from the oil reservoir into the hole in the housing.
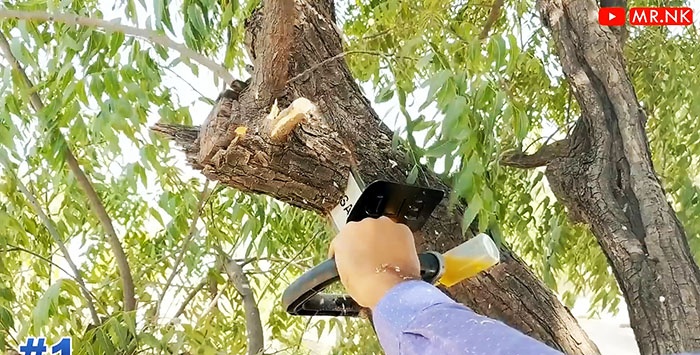
We check the operation of the grinder with the nozzle idle. Then we use it in practice, cutting off knots and even small tree trunks, in any position - vertical, horizontal, inclined.
Everything can be bought on AliExpress at a very reasonable price:
Rotary driven pump nozzle

Its body is made of durable plastic, all internal parts are made of stainless steel. Externally, it looks like a splitter with two pipes for connecting the suction and discharge hoses. The flow rate depends on the drive power and ranges from 25 to 40 l/min.
Using the attachment is simple: insert its shank into the drill chuck and securely fasten it.
We place the drill with a pump attachment on a wooden stand and secure it with half-clamps made of tin and screws to the “clamping neck” and handle, lying on wooden blocks in cylindrical cutouts.

We attach the hoses to the nozzles and lower the end of the suction hose into a container of water.

We turn on the drill, and water under pressure will begin to flow out of the end of the discharge hose.

Mini grinder attachment

It consists of a housing, replaceable tension rollers, a drive adapter for the spindle thread and a pipe for chip removal. The consumable material is sanding tape.
To install the attachment on the grinder, remove the protective casing and the front cover of the gearbox housing.
We screw the adapter onto the spindle thread and install the mini-grinder housing, securing it to the gear housing flange with a clamp.
We install the annular sanding belt on the drive adapter and the driven pulley, and activate the belt tension mechanism with a special lever.

We place the protective cover on the sanding belt drive and secure it with a hex bolt.


We put the outlet pipe on the chip receiving tube and turn on the grinder. We see that the tape has started to move and is ready to work.
This attachment can process wood, plastic and metal workpieces.


Reciprocating saw attachment

Its durable plastic body also serves as a handle to control the nozzle during operation. On one side there is a bracket-stop and a saw attachment and drive unit is located, on the other there is a shank for connecting to the drill chuck. The kit also includes three saws, different in length, size and shape of teeth and purpose, but with the same fastening part.
We install the saw in the slot of the fastening unit and, using a hex key, turning a special screw, press it into the lock.
We clamp the nozzle into the chuck of a drill or screwdriver.

We check the idle operation of the drill together with the attachment and visually verify their functionality.

We check the tool in action by cutting a wooden beam with a long saw with large teeth, and a plastic pipe, replacing it with a shorter saw with fine teeth.

Semi-automatic attachment for feeding and driving screws

It consists of two main components: a tape holder with screws and a tape feed mechanism. You will need another long bat. There are also two adjustments: for the size of the screws and the depth of their tightening.
We fix the long bit in the drill chuck. We put the ring from the attachment kit on the “clamping neck” of the drill.
We install the nozzle on this ring with our seat and tighten the split ring with a coupling bolt and a wing nut.
We thread the tape with screws into the holder and the working area of the feeding and tightening mechanism.

We check the operation of the screw feeding mechanism by pressing on its moving part. After each press, the tape should jump exactly one step.
We check the tool in operation by pressing the working part of the attachment mechanism against a wooden block. After each press of the drill start button, a screw remains screwed into the beam up to the head. Moreover, the location of the beam can be both horizontal and vertical.

Chainsaw attachment
It consists of a housing, cutting chain, drive sprocket, guide bar, chain lubrication reservoir, protective cover, handle and fasteners.

Remove the protective casing and abrasive disc from the grinder.
We fix the nozzle body to the gearbox housing with a semicircular cover and two bolts with round heads for a hex key.

We place the chain tensioner in the groove in the housing, and instead of the abrasive disk, we place the chain drive sprocket.
We place the guide bar on the attachment body and put the chain on it, also capturing the drive sprocket, which is secured to the angle grinder spindle with a clamping nut.
We fasten the tire to the nozzle body with two bolts, passing them from below through the holes in the body and the tire. We install a plastic casing and the leg of a protective metal shield on top of the bolt rods and tighten them with nuts with an extended base.

From the end of the housing, use a flat-head screwdriver to rotate the head of the chain tension screw, achieving optimal tension.

We finally tighten the nuts securing the guide bar to the body with wrenches.

We install the nozzle handle using two screws, placing a wire holder under the head of the upper one to secure a container with oil for lubricating the cutting chain. We insert the tube from the oil reservoir into the hole in the housing.

We check the operation of the grinder with the nozzle idle. Then we use it in practice, cutting off knots and even small tree trunks, in any position - vertical, horizontal, inclined.


Where to buy
Everything can be bought on AliExpress at a very reasonable price:
- Pump nozzle with rotary drive - http://ali.pub/3jz3uu
- Mini grinder attachment - http://ali.pub/3jz403
- Reciprocating saw attachment - http://ali.pub/3jz43l
- Semi-automatic nozzle for feeding and tightening screws - http://ali.pub/3jz4ae
- Chainsaw attachment - http://ali.pub/3jz47v
Watch the video
Similar master classes
Particularly interesting
Comments (0)

