How to Completely Clean and Lubricate a Drill
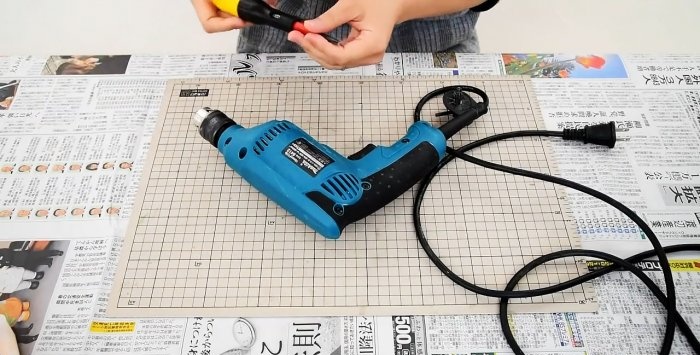
The main danger to an electric drill is dust trapped inside the housing. It jams the anchor, button, speed controller, etc. Therefore, after each very dusty job, the tool should be disassembled, cleaned and lubricated. If you don’t do this, the drill will start to heat up and will not last long. Tool maintenance is a very simple matter that you don’t need to be afraid of.
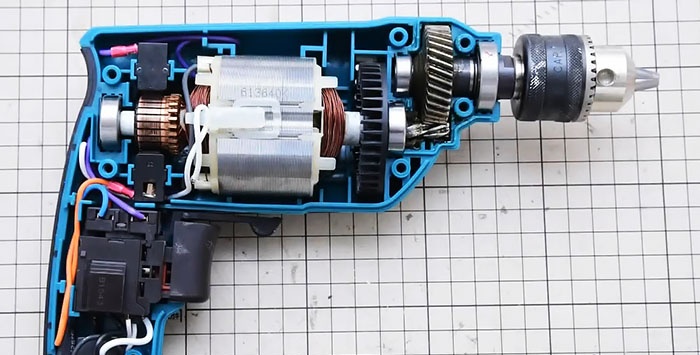
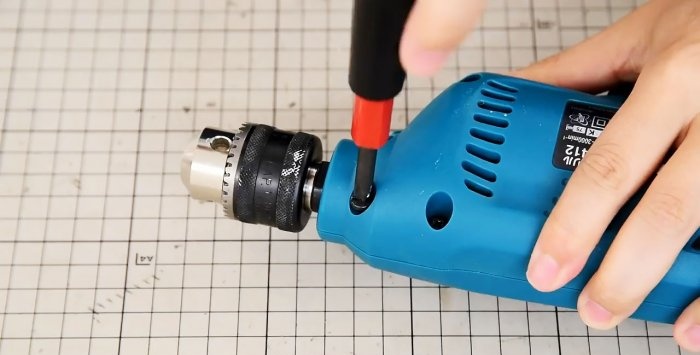
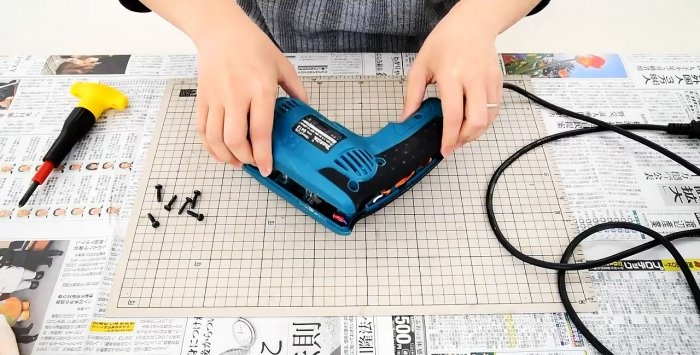
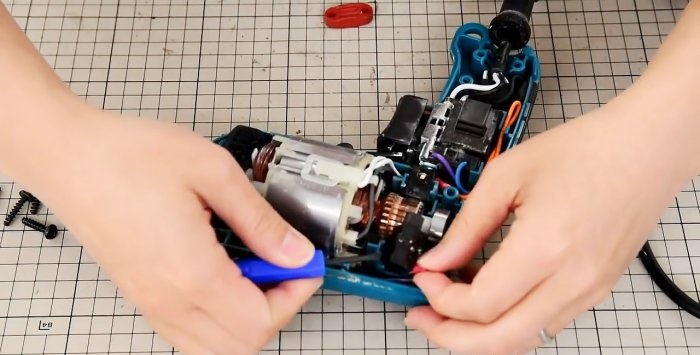
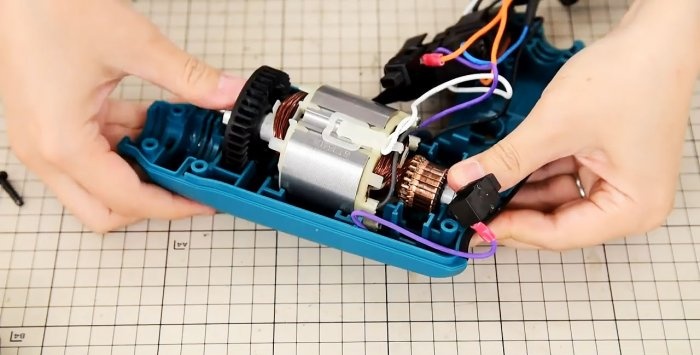
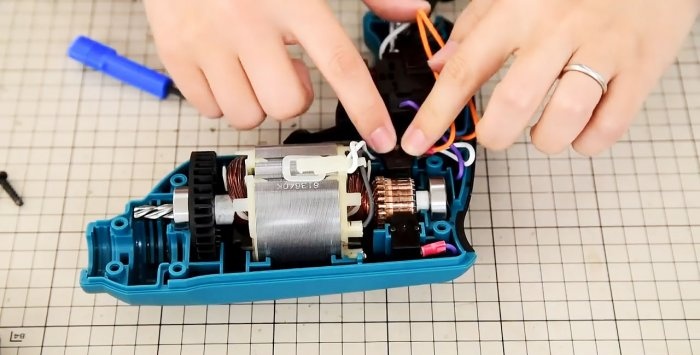
Before disassembling, you need to wipe the top of the drill. Use a screwdriver to unscrew the screws holding the housing together, and it is disassembled. After this, it is better to take several photos of the insides of the drill so that you don’t get confused later during assembly.
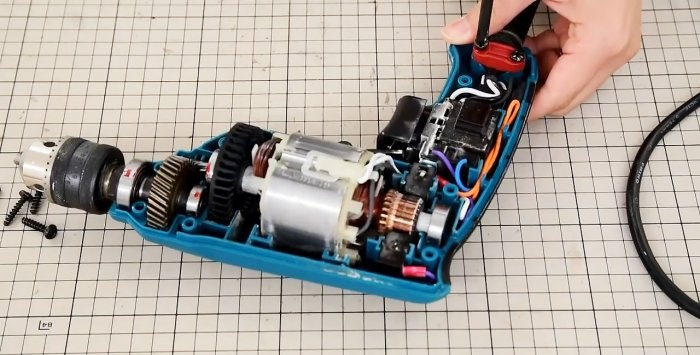
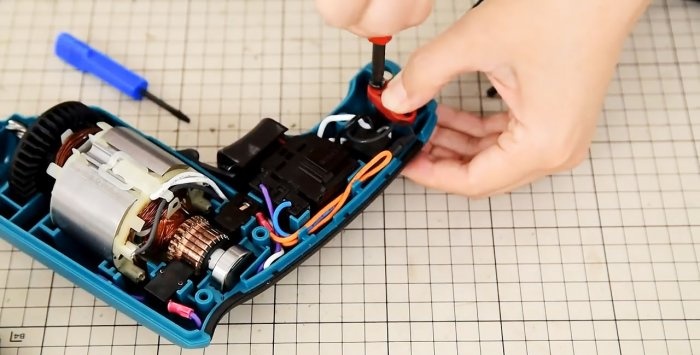
Inside, the electrical cord clamp is removed and the brushes are removed from the mounting sockets.
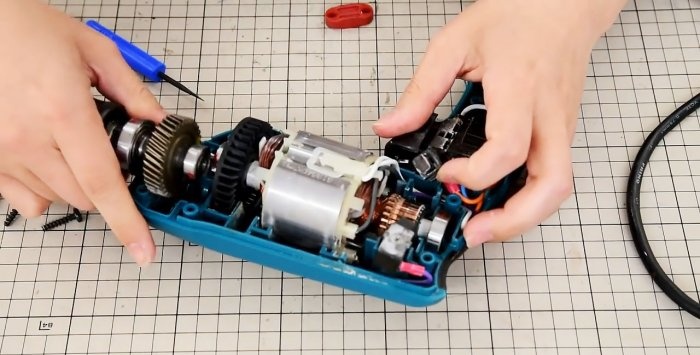
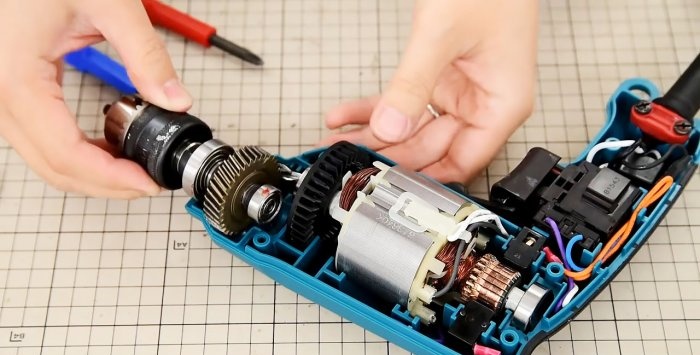
The gearbox with the drill chuck and the motor are removed.
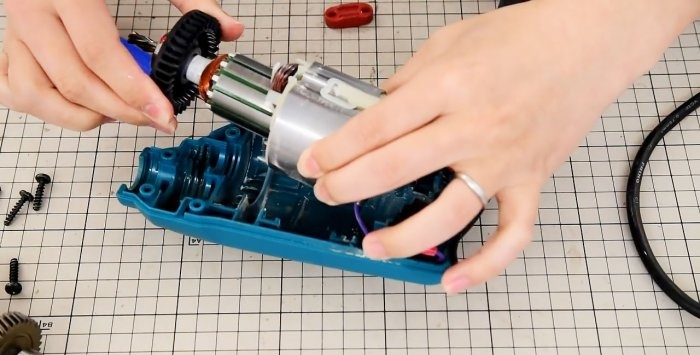
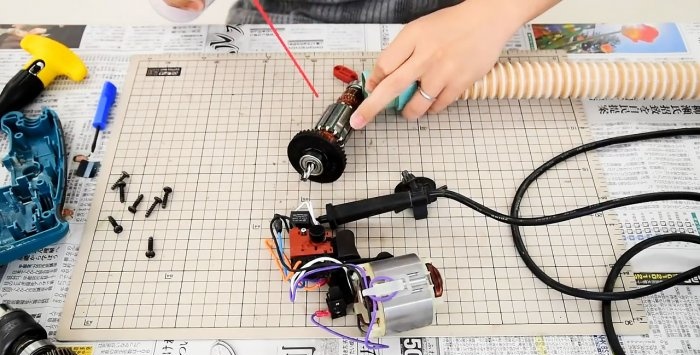
You need to remove the armature from the motor stator.
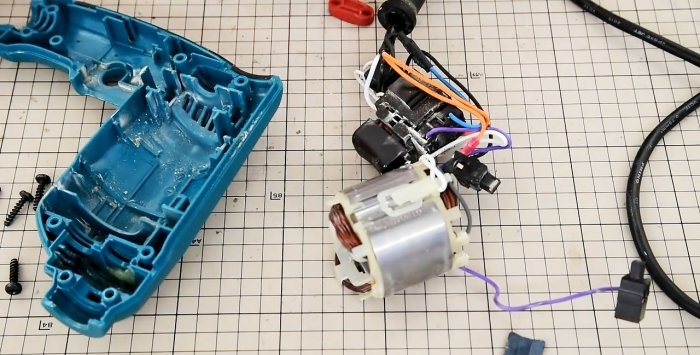
Now you can carefully remove all the insides.
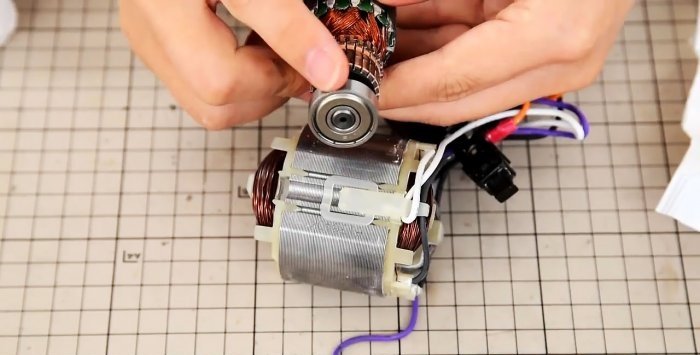
We check the bearings on both sides of the armature for defects.To do this, just scroll it with your finger - there should be no unnecessary noise. Let's swing our finger from side to side - there shouldn't be any rolling. Otherwise, the bearing must be replaced.
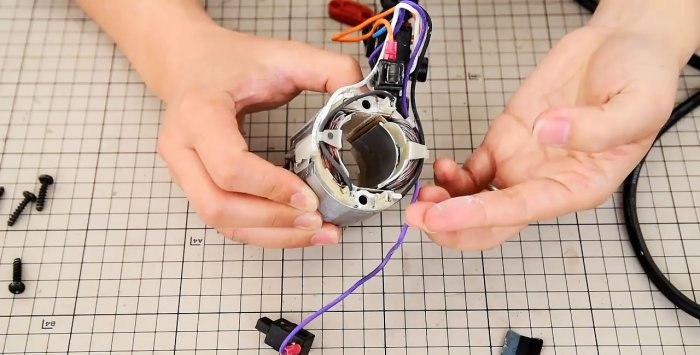
Notice how much construction dust has accumulated on the stator.
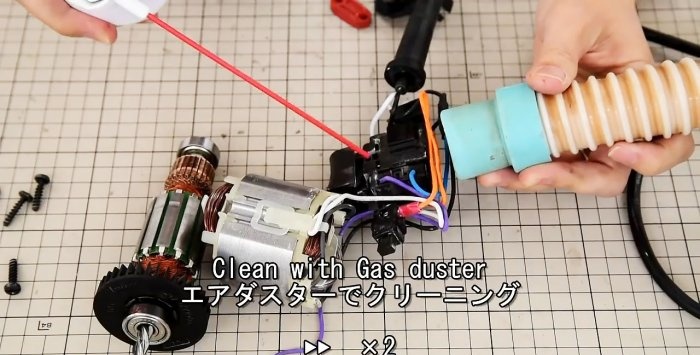
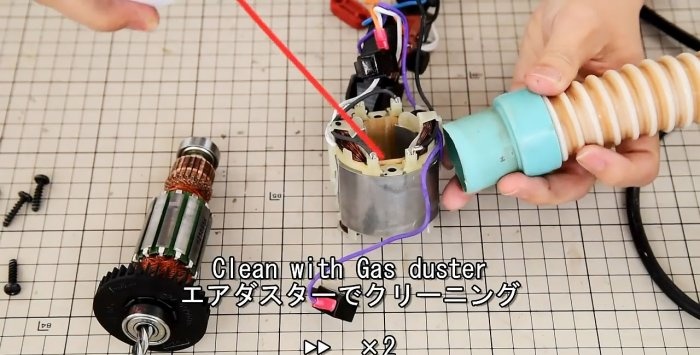
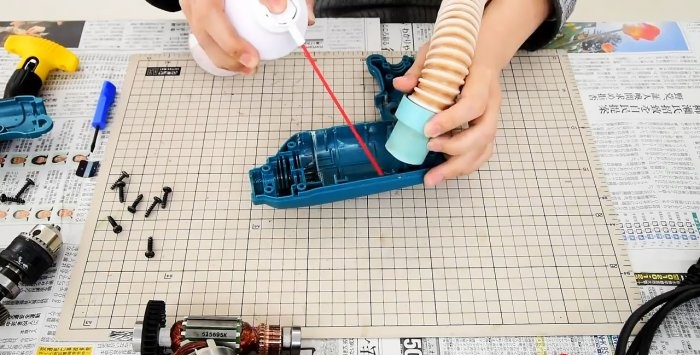
The stator and rotor of the motor, the housing itself must be cleaned of dust. It is impossible to do this efficiently with a cloth, so it is best to blow them with compressed air from a can or compressor.
Ideally, the flying dust should be sucked in by a vacuum cleaner, the hose of which can be held with the other hand. All wiring, buttons, brushes and other parts should be blown off.
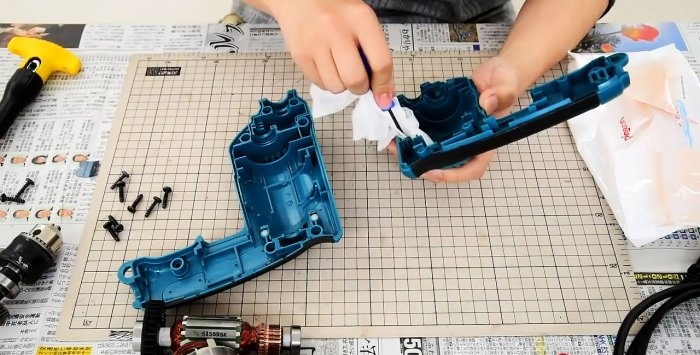
The plastic body of the drill is also blown out, vacuumed and wiped with a damp cloth or cloth.
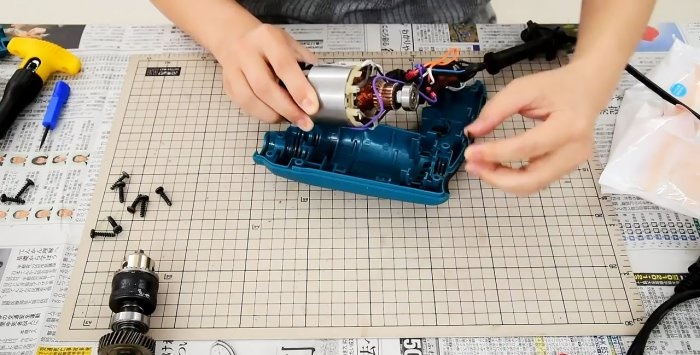
The armature is returned back to the stator, after which the assembled motor is installed in place. You should also install the brushes, making sure before doing so that they are not jammed or worn out.
A button and a cartridge with a gear mechanism are put in place.
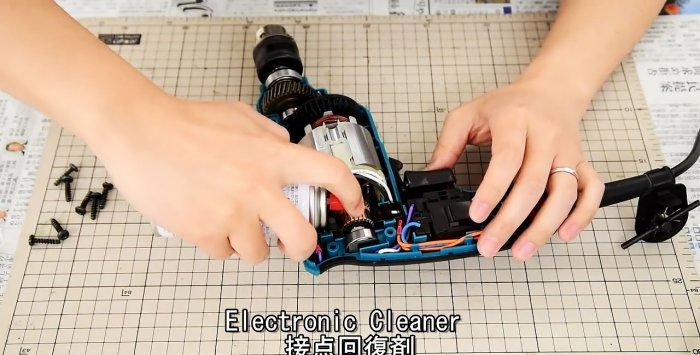
On the part of the armature where the brushes rub against it, you need to apply a mechanical contact cleaner. It will dissolve the oxide layer. The product is used according to the instructions. In some cases, it is enough to spray it, in others the manufacturer recommends additionally wiping off the dissolved dirt after a couple of minutes.
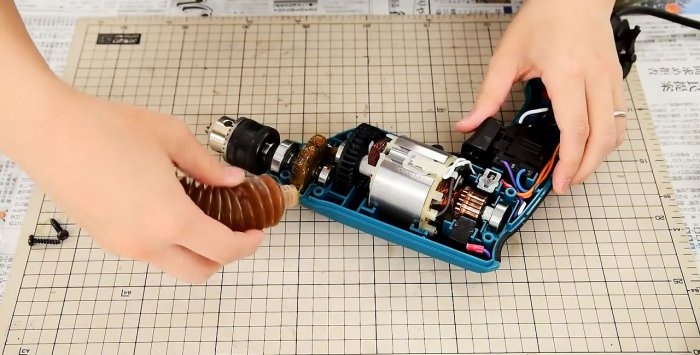
The large gear driven by the armature shaft is generously lubricated with thick grease.
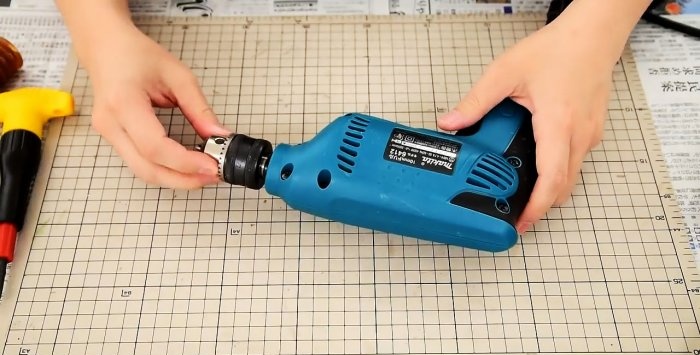
After this, the body halves are joined and secured with screws.
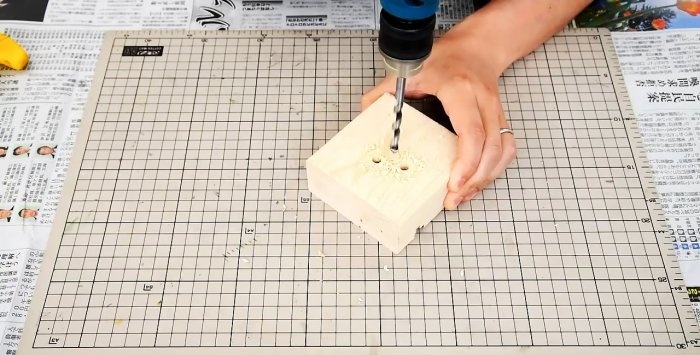
As you can see, there is nothing complicated in servicing a drill. If you are afraid that you won’t be able to reassemble it after disassembling it, you can simply photograph everything, and then put the parts in place according to the photo.With normal bearings and brushes, when you don’t have to change anything, cleaning and lubrication can be done in literally 40 minutes.

Materials and tools:
- screwdriver;
- vacuum cleaner;
- compressor or can of compressed air (optional);
- wet wipes or cloth;
- electrical contact cleaner;
- gear lubricant.
Disassembling, cleaning and lubricating the drill
Before disassembling, you need to wipe the top of the drill. Use a screwdriver to unscrew the screws holding the housing together, and it is disassembled. After this, it is better to take several photos of the insides of the drill so that you don’t get confused later during assembly.
Inside, the electrical cord clamp is removed and the brushes are removed from the mounting sockets.
The gearbox with the drill chuck and the motor are removed.
You need to remove the armature from the motor stator.
Now you can carefully remove all the insides.
We check the bearings on both sides of the armature for defects.To do this, just scroll it with your finger - there should be no unnecessary noise. Let's swing our finger from side to side - there shouldn't be any rolling. Otherwise, the bearing must be replaced.
Notice how much construction dust has accumulated on the stator.
The stator and rotor of the motor, the housing itself must be cleaned of dust. It is impossible to do this efficiently with a cloth, so it is best to blow them with compressed air from a can or compressor.
Ideally, the flying dust should be sucked in by a vacuum cleaner, the hose of which can be held with the other hand. All wiring, buttons, brushes and other parts should be blown off.
The plastic body of the drill is also blown out, vacuumed and wiped with a damp cloth or cloth.
The armature is returned back to the stator, after which the assembled motor is installed in place. You should also install the brushes, making sure before doing so that they are not jammed or worn out.
A button and a cartridge with a gear mechanism are put in place.
On the part of the armature where the brushes rub against it, you need to apply a mechanical contact cleaner. It will dissolve the oxide layer. The product is used according to the instructions. In some cases, it is enough to spray it, in others the manufacturer recommends additionally wiping off the dissolved dirt after a couple of minutes.
The large gear driven by the armature shaft is generously lubricated with thick grease.
After this, the body halves are joined and secured with screws.
As you can see, there is nothing complicated in servicing a drill. If you are afraid that you won’t be able to reassemble it after disassembling it, you can simply photograph everything, and then put the parts in place according to the photo.With normal bearings and brushes, when you don’t have to change anything, cleaning and lubrication can be done in literally 40 minutes.
Watch the video
Similar master classes
Electric drill power cord repair
How to disassemble and lubricate a drill chuck
How to lubricate the gearbox of a brush cutter in a simple way
Lubrication of a maintenance-free computer cooler
How to restore a burnt out drill by converting it from 220 V to 12 V
Complete disassembly of the brush cutter gearbox to remove wear products
Particularly interesting
Comments (3)

