How to quickly make a bearing housing from a pipe
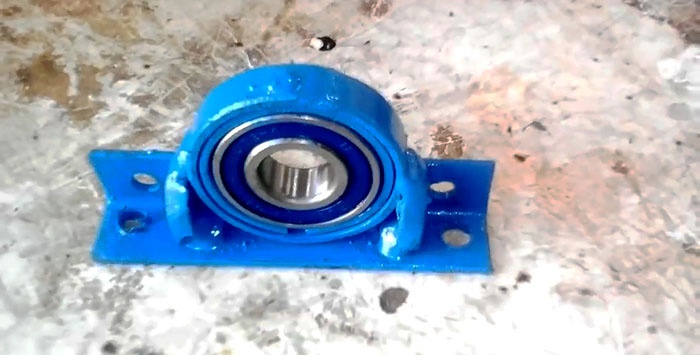
When working on a homemade device, you may have a bearing that is smaller in diameter than the existing socket or support. A transition housing will help to get out of this situation, which will compensate for the discrepancy between the actual sizes of the interacting elements.
To implement the upcoming idea, you need to have some experience working with metal, completely simple, accessible and inexpensive materials, as well as quite standard equipment and tools. Of course, we must not forget about personal protective equipment: glasses, gloves, etc.
Will need
It should not be forgotten that even a standard bearing is a precision product. Therefore, the accuracy of measurement and accuracy of marking operations are so important so that the bearing does not become too tight or have a gap when installed in the housing. In the first case, it will quickly fail, in the second, it will not stay in place.
To work successfully, we must have:- a piece of pipe of the required diameter and wall thickness;
- square and caliper;
- marker;
- pendulum saw;
- drilling machine;
- grinder;
- welding equipment;
- cylindrical steel mandrel;
- vice, anvil and hammer.
The procedure for making a bearing housing from a round pipe
We carefully mark the pipe corresponding to the bearing in diameter and wall thickness into two rings, equal in width to the existing bearing.
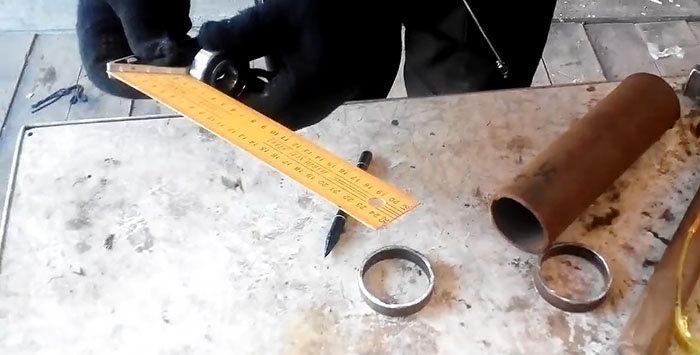
Using a pendulum saw, we cut rings according to the markings.
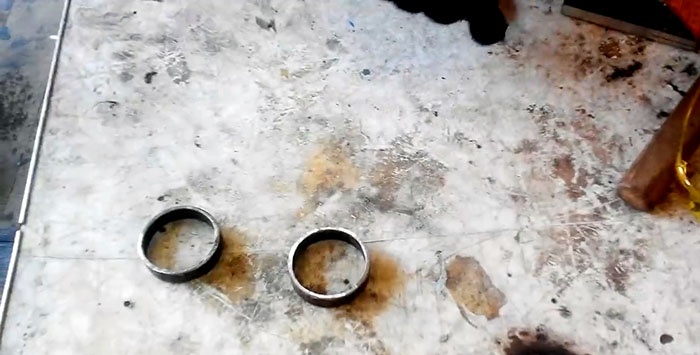
On one of them we draw two parallel lines perpendicular to the ends, at a distance obtained from a preliminary calculation.
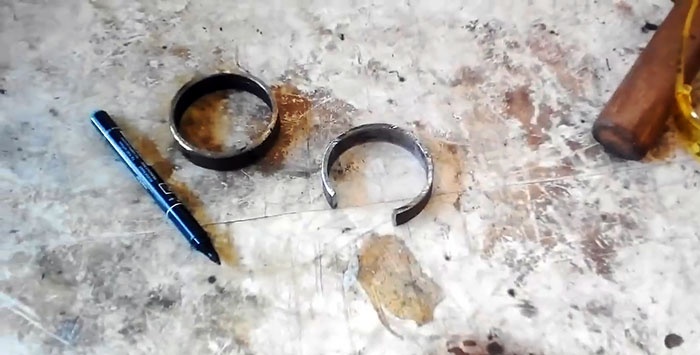
On the other ring we place four dots in the center of the ring evenly around the circumference.
We cut out a section of the ring between the two marking lines and clean the cut areas with a grinder.
Using a drilling machine, we make four through holes on the second ring according to the marks.
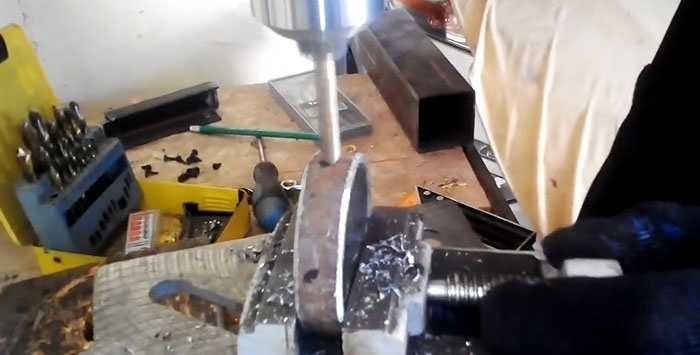
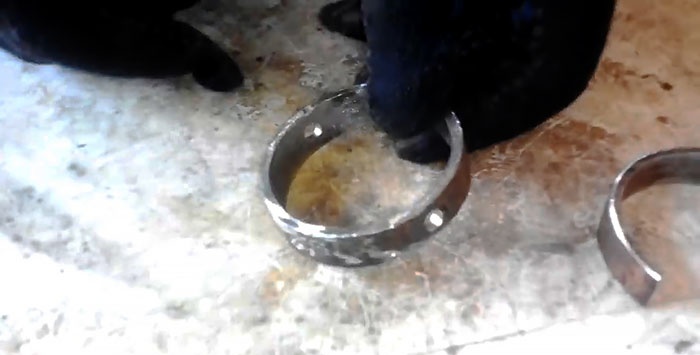
Squeeze the ring with the cutout slightly by lightly hitting its ends with a hammer. Using a hammer, press the split ring into a whole with four holes on the side.
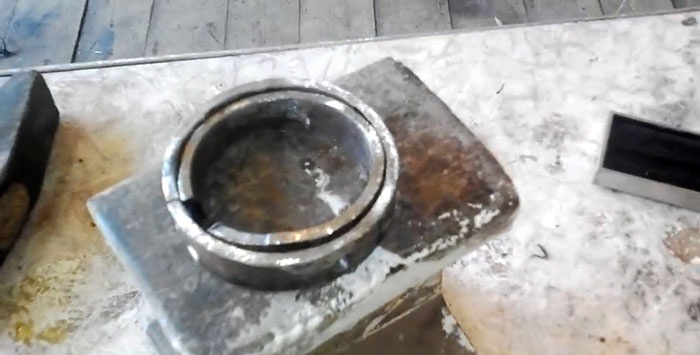
We place our rings pressed into each other onto the cylindrical mandrel from the input end, hitting them with a hammer in a circle until they are on the forming section of the mandrel and the split ring evenly without gaps adjoins the inner surface of the outer ring.
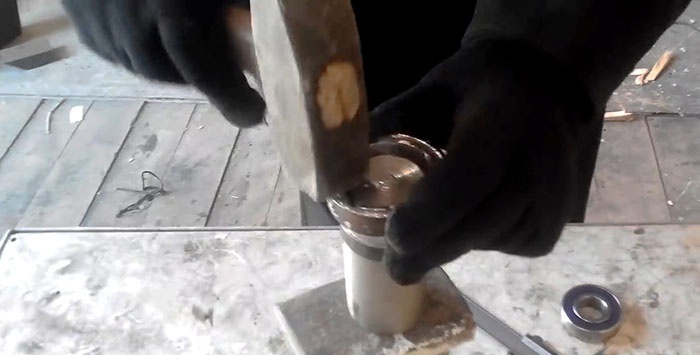
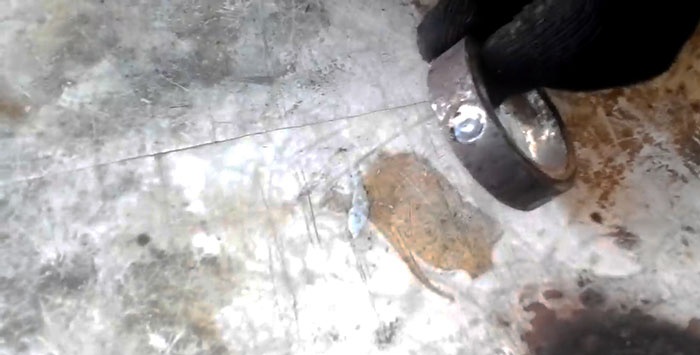
Using previously drilled holes in the outer ring, weld it to the inner one.
With light blows of a hammer on the end of the bearing, we install it into our homemade housing.
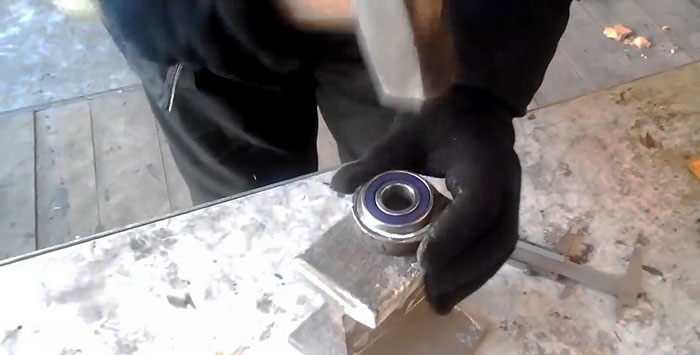
Now all that remains is to secure the bearing in the housing in the socket or support.
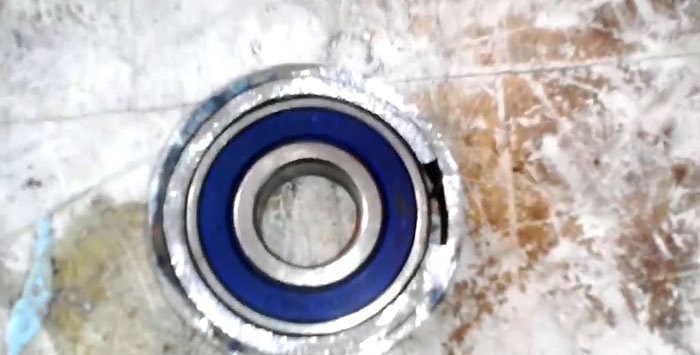
Now the body can be welded anywhere and painted.


