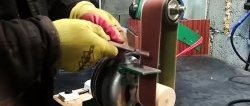
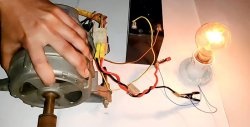
The simplest grinder without welding and turning from a washing machine engine
You can make this tool yourself even if you don’t have a lathe or welding equipment. As a result, it will be simple in design and manufacture, and also without high costs.
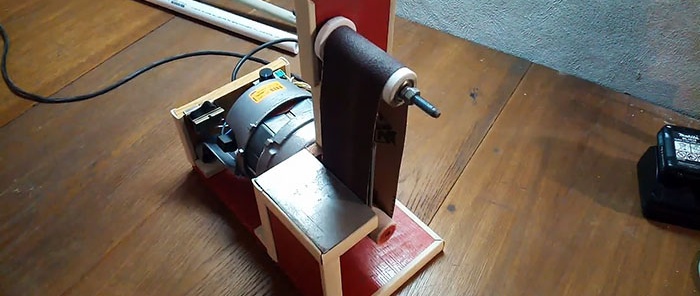
We take the main parts and components from old household appliances, and borrow some from friends or buy inexpensively in a store. Here is their registry:
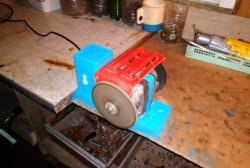
The body is made from five parts cut from chipboard and fastened with furniture screws. Its dimensions are determined by the specific engine, and we will not give them.
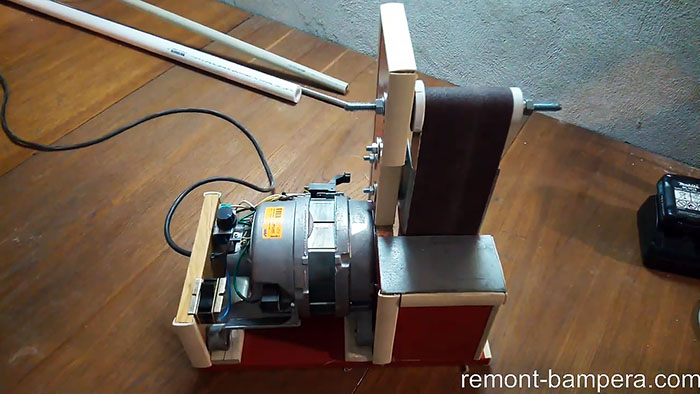
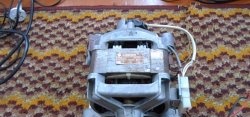
We create the unit on the basis of a commutator motor from an automatic washing machine with 14 thousand rpm. / min. We connect it to the network through a voltage regulator to control rotation.
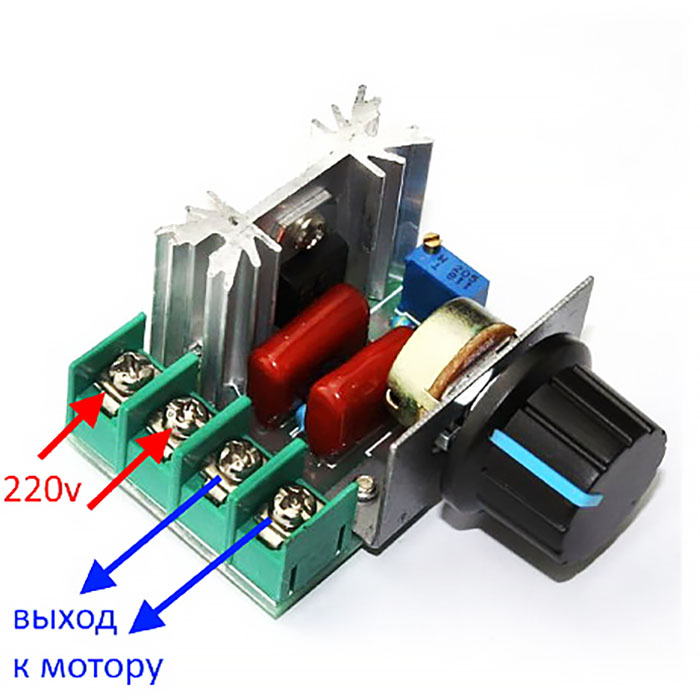
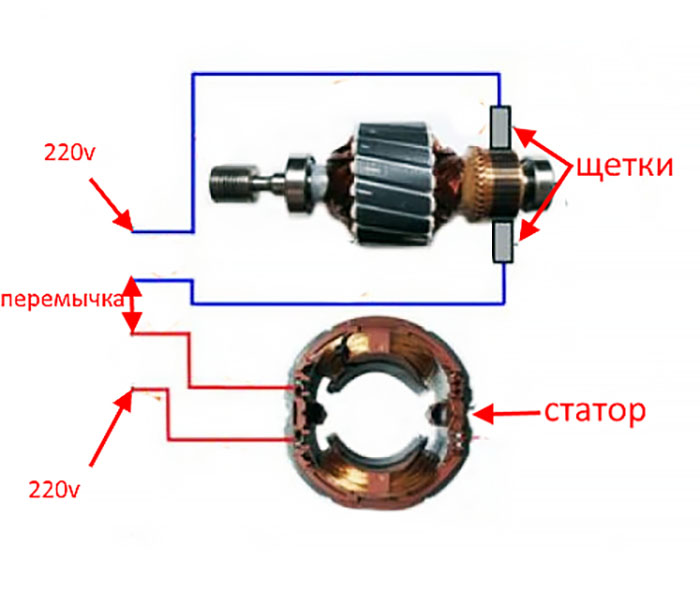
We fasten it with two screws on the blocks.It has a 220 V input and two outputs to the motor, which has terminals for connecting many wires: to the stator, armature brushes, Hall sensor, tachogenerator, etc.
For proper connection, we find two wires each from the stator and rotor brushes. We connect together one wire from the stator and armature brushes. We connect the other pair of wires to the voltage regulator. We install a switch before the regulator. This completes the electrical connection.
The support for the sanding tape is made from a mounting angle, the edges of which are rounded to prevent the tape lock from catching.
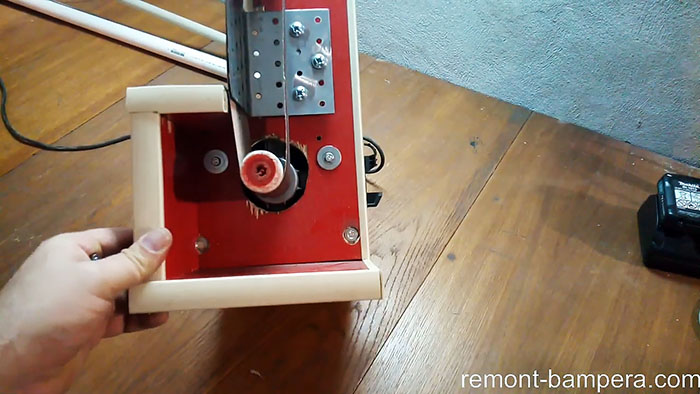
We cut out the rectangular surface of the tool rest from sheet metal and glue it to the chipboard. The diameter of the mounting holes is slightly larger than needed for the bolts. This is necessary to adjust the angle between the stop and the rest.
The drive roller is made from two propylene pipes with a diameter of 20 and 32 mm.
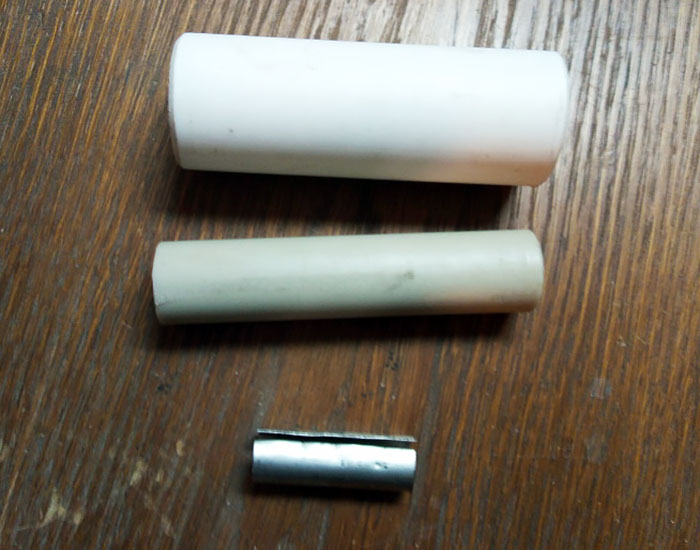
We select a large pipe with an internal diameter also equal to 20 mm. There are two ways to connect pipes: gluing or fusion.
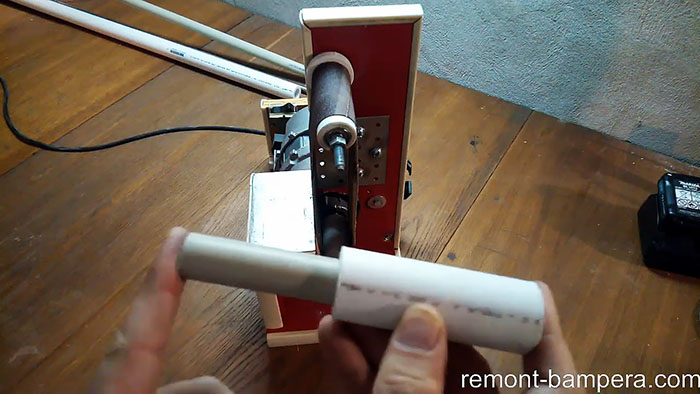
Let's use the second method. To do this, it is enough to press a wooden block against its end while rotating the roller.
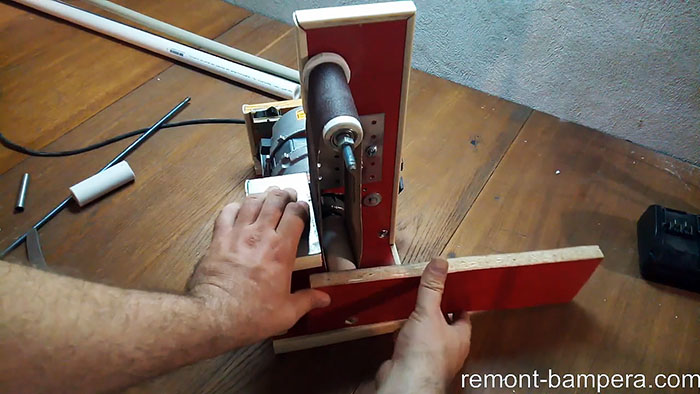
As a result of the heat generated, the pipes are tightly fused.
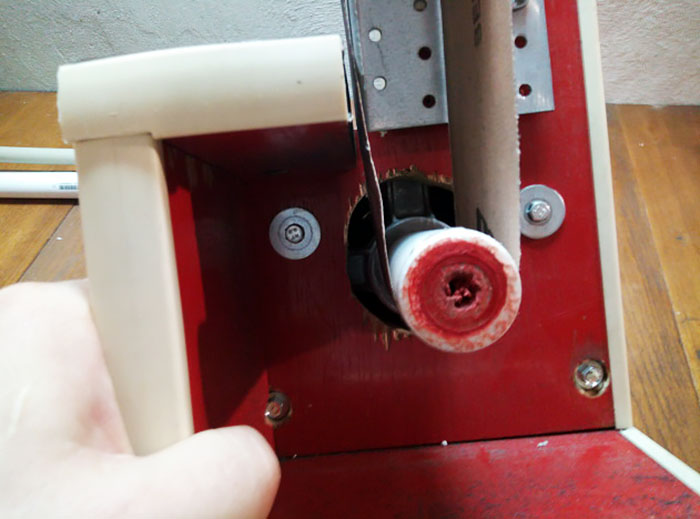
Additionally, we insert a tube bent from tin into the inner hole of the double pipe.
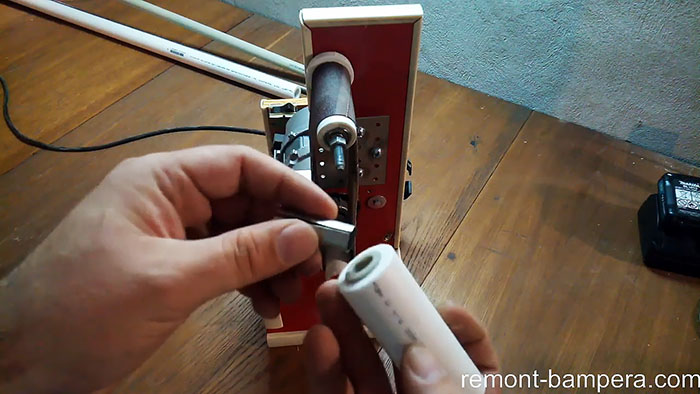
We stuff this entire structure onto the splined shaft of the engine. The connection turned out to be reliable with minimal runout.
For the driven roller, we select two bearings and, depending on the outer diameter, a polypropylene pipe with exactly the same internal size.
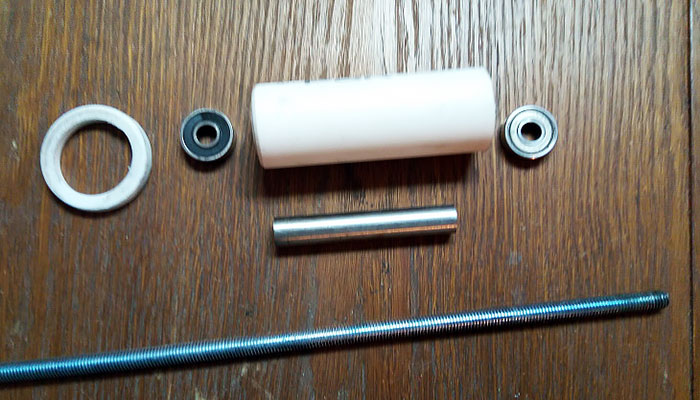
If it turns out to be smaller, then it can be drilled out with a drill with a feather drill of the required diameter.
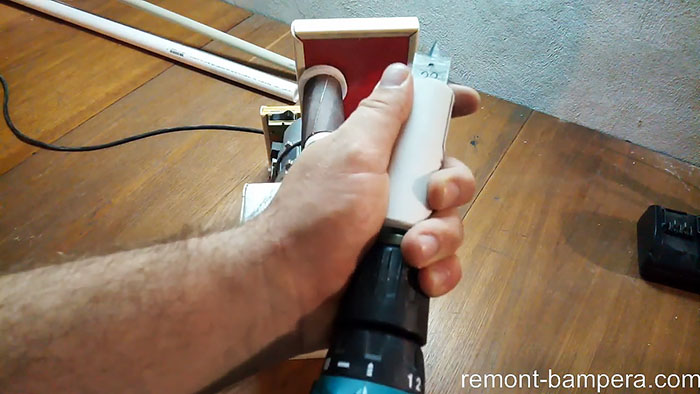
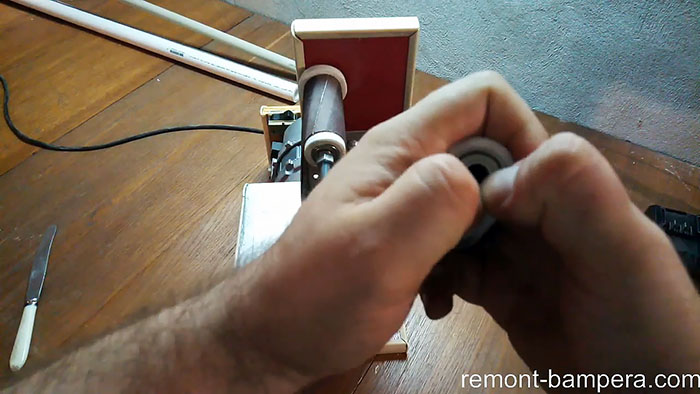
We expand the bearings with a steel tube to relieve the lateral load.On the inner end of the roller we place a ring cut from a coupling of the same size, which will serve as a stop.
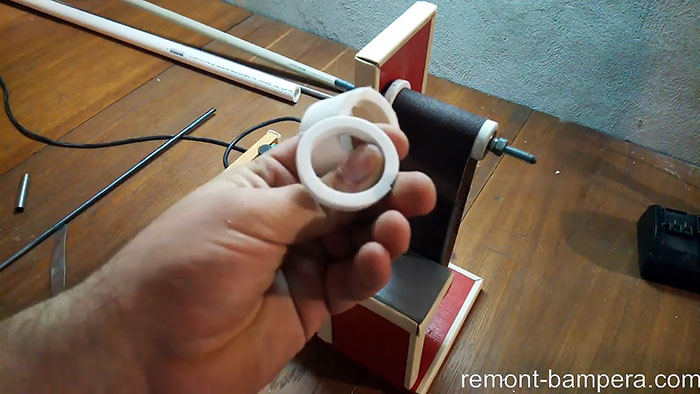
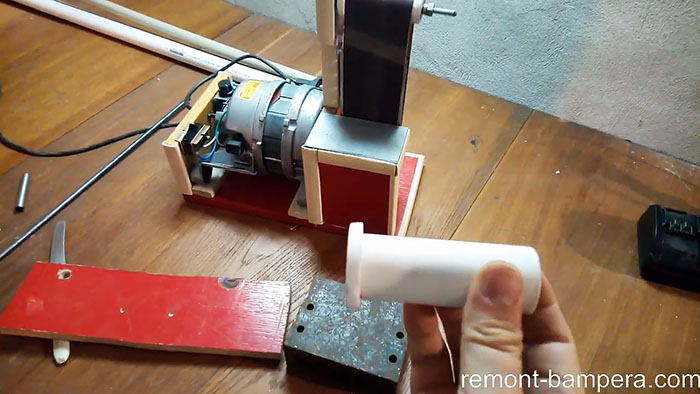
We assemble the resulting assembly on a hairpin and screw it to the base using washers and nuts.
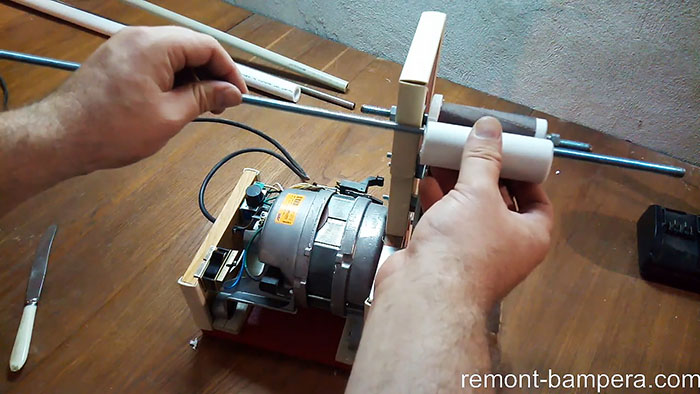
We make the diameters of the holes in the body larger than what is needed for the stud. This solution will allow you to adjust and tension the sanding tape.
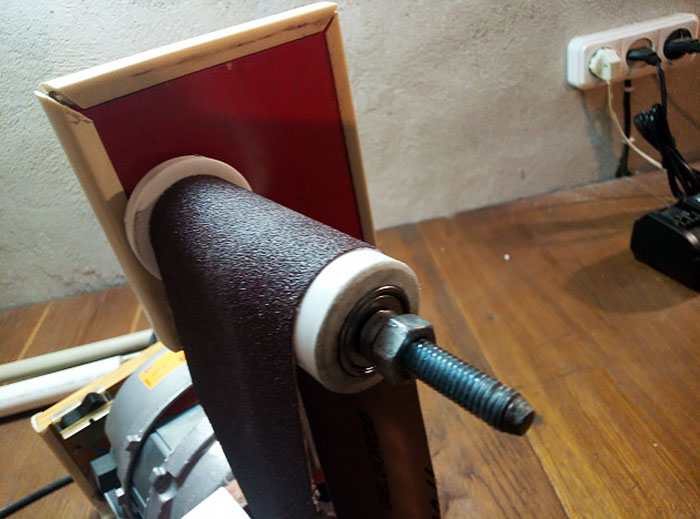
After completing the assembly of the entire structure, we begin to tension the tape. When rotating, it can move along the rollers to the left or right. To eliminate this phenomenon, we rotate the driven roller around its axis using both nuts until the tape stops moving to one or the other edge. Thus, we will find a position when all interacting elements are in place.
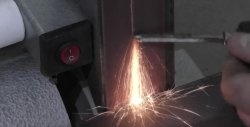
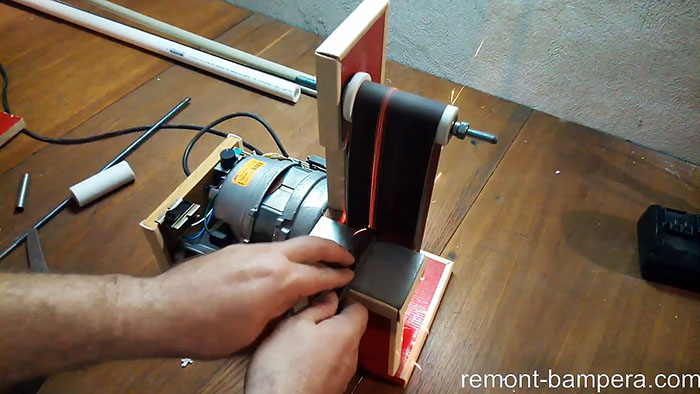
Now we can safely turn on our homemade product and process the metal object. We make sure that the processing proceeds normally, without jerks or impacts, and we are quite satisfied with the result.


Will need
We take the main parts and components from old household appliances, and borrow some from friends or buy inexpensively in a store. Here is their registry:
- washing machine motor;
- two bearings from a vacuum cleaner;
- fragment of a chipboard sheet;
- voltage regulator;
- switch;
- hairpin 150 mm long;
- mounting steel angle;
- two fragments of polypropylene pipes with a diameter of 20 and 32 mm;
- screws, nuts, washers and wires.
The process of manufacturing parts and assembling the grinder
The body is made from five parts cut from chipboard and fastened with furniture screws. Its dimensions are determined by the specific engine, and we will not give them.

We create the unit on the basis of a commutator motor from an automatic washing machine with 14 thousand rpm. / min. We connect it to the network through a voltage regulator to control rotation.

We fasten it with two screws on the blocks.It has a 220 V input and two outputs to the motor, which has terminals for connecting many wires: to the stator, armature brushes, Hall sensor, tachogenerator, etc.
For proper connection, we find two wires each from the stator and rotor brushes. We connect together one wire from the stator and armature brushes. We connect the other pair of wires to the voltage regulator. We install a switch before the regulator. This completes the electrical connection.

The support for the sanding tape is made from a mounting angle, the edges of which are rounded to prevent the tape lock from catching.

We cut out the rectangular surface of the tool rest from sheet metal and glue it to the chipboard. The diameter of the mounting holes is slightly larger than needed for the bolts. This is necessary to adjust the angle between the stop and the rest.
The drive roller is made from two propylene pipes with a diameter of 20 and 32 mm.

We select a large pipe with an internal diameter also equal to 20 mm. There are two ways to connect pipes: gluing or fusion.

Let's use the second method. To do this, it is enough to press a wooden block against its end while rotating the roller.

As a result of the heat generated, the pipes are tightly fused.

Additionally, we insert a tube bent from tin into the inner hole of the double pipe.

We stuff this entire structure onto the splined shaft of the engine. The connection turned out to be reliable with minimal runout.
For the driven roller, we select two bearings and, depending on the outer diameter, a polypropylene pipe with exactly the same internal size.

If it turns out to be smaller, then it can be drilled out with a drill with a feather drill of the required diameter.


We expand the bearings with a steel tube to relieve the lateral load.On the inner end of the roller we place a ring cut from a coupling of the same size, which will serve as a stop.


We assemble the resulting assembly on a hairpin and screw it to the base using washers and nuts.

We make the diameters of the holes in the body larger than what is needed for the stud. This solution will allow you to adjust and tension the sanding tape.

Setting up and checking the grinder in action
After completing the assembly of the entire structure, we begin to tension the tape. When rotating, it can move along the rollers to the left or right. To eliminate this phenomenon, we rotate the driven roller around its axis using both nuts until the tape stops moving to one or the other edge. Thus, we will find a position when all interacting elements are in place.
Now we can safely turn on our homemade product and process the metal object. We make sure that the processing proceeds normally, without jerks or impacts, and we are quite satisfied with the result.


Watch the video
Similar master classes
Particularly interesting
Comments (3)

