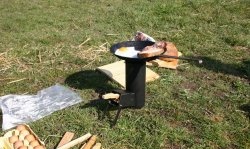
Alcohol jet burner made from aluminum cans
The hiking life of an avid tourist is not complete without all sorts of gadgets and devices. After all, the more prepared you are in nature, the easier it will be to cope with everyday difficulties, such as heating water or food. It seems like a simple task, but with firewood, and even in a damp forest, it is sometimes not so easy to solve.
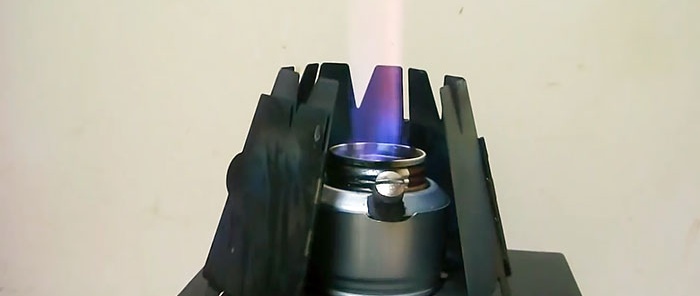
This is where a camping alcohol burner comes in handy, as it can easily replace a stove, primus stove or any other heater. And today we will tell you how to make it from aluminum cans. The raw materials are the most affordable and do not have any special features. Regular aluminum cola and beer cans will do. So let's get started!
Tools we will need: Screwdriver or drill; Pliers; Regular scissors; Knife; Marker; A syringe for refilling the burner and a lighter.
For the body we will need several small pieces of aluminum cans. All you need is the lower part with the bottom, which we cut off at a distance of 4-5 cm from the edge of the embossed bottom of the cans.
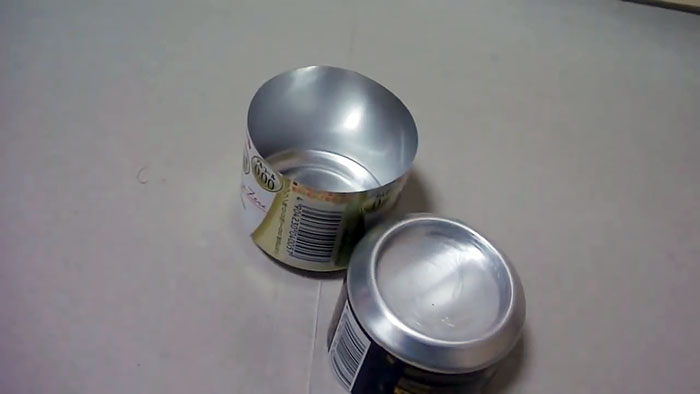
The bottom of one of the cans will be the working part of the burner, so it must be sanded to remove varnish and paint. Otherwise, they will burn when heated and leave unpleasant marks behind.
Next, you need to bend the copper tube, making two small brackets out of it that fit the diameter of the bottom of the jar. To do this neatly and without breaking, pour fine sand into the inside of the tube and bend it, using a larger diameter pipe as a template.
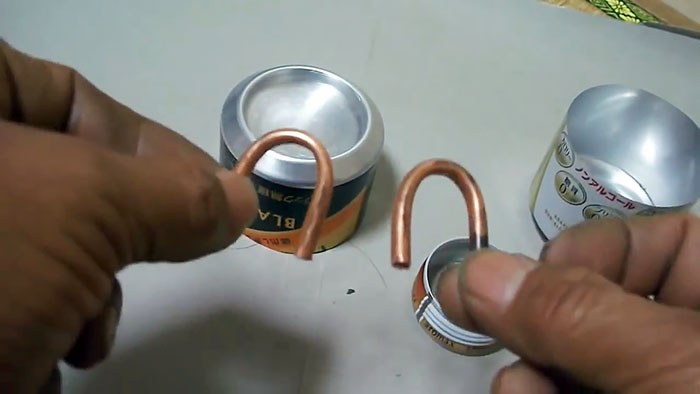
We cut off the neck of one of the cans and also clean it with sandpaper. We check that the neck fits the size of the bottom of our burner.
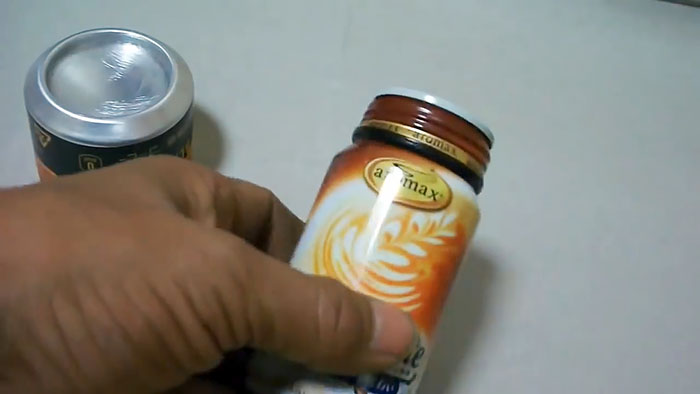
Then we mark the edges of the copper tube staples at the bottom of the jar. They need to be positioned perpendicular to each other so that they overlap and form a cross.
We drill holes for the tube outlets with drills, starting from the smallest. The final drill will be a drill corresponding to the diameter of the copper tubes. This way the holes will be as neat as possible.
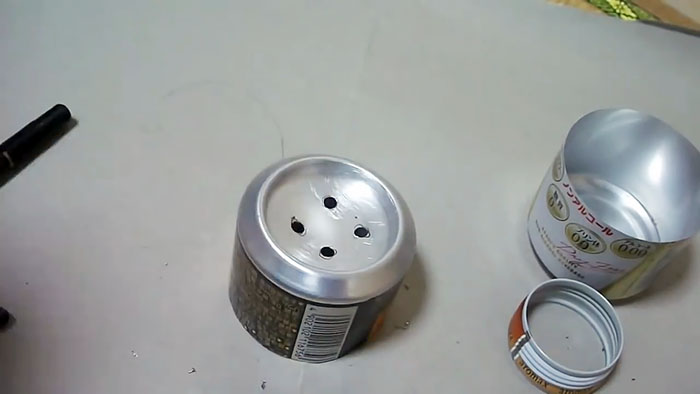
We insert a piece of twine inside the copper brackets as a wick, and place a cross made of tubes in the bottom of our burner.
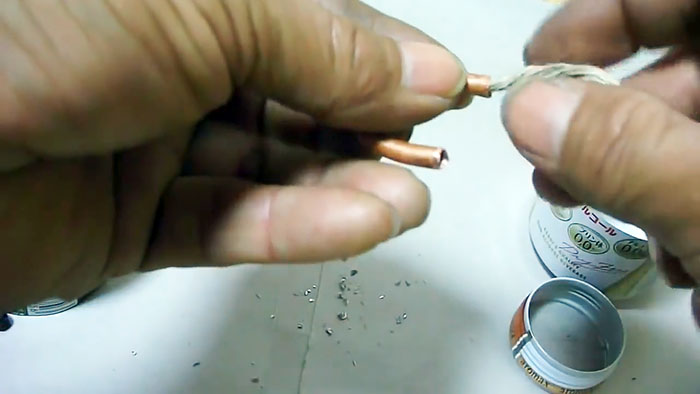
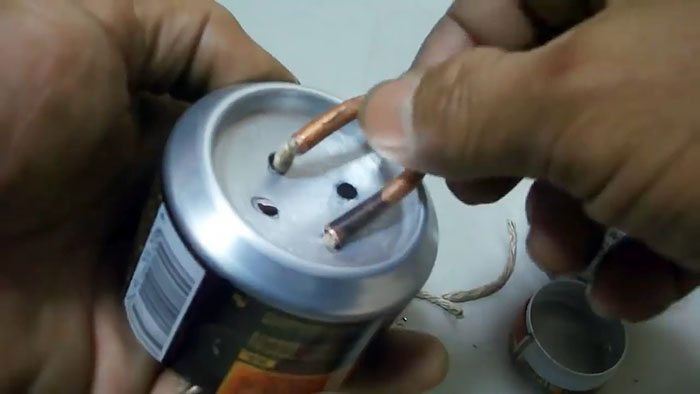
Each aluminum can has an inclined edge separating the straight walls and the concave topography of the bottom. We make a hole in it for screw filling of our burner.Let's make it from a Euro nut with a wide collar at the base, and a bolt with a rubber gasket that protects against fuel evaporation.
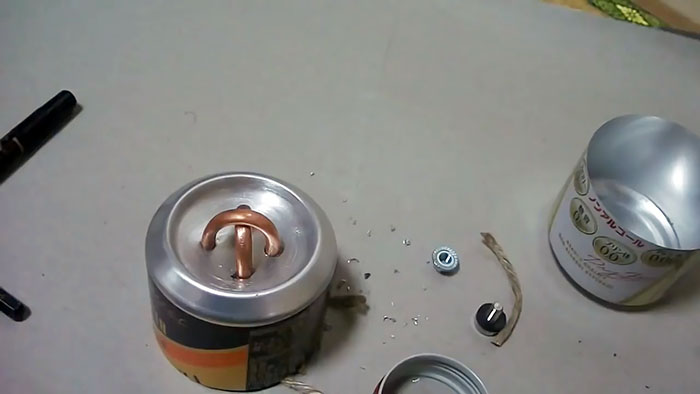
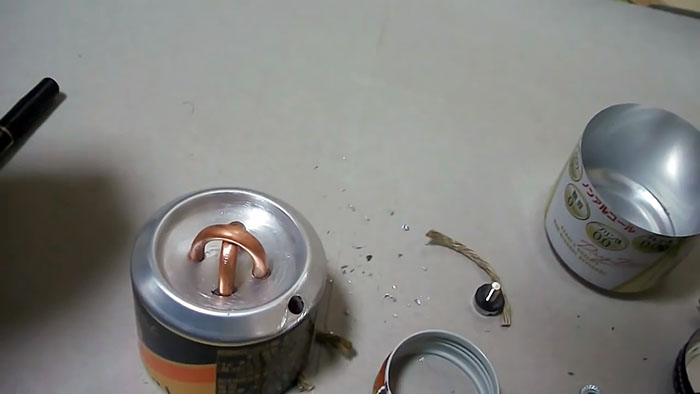
It's time to fix all the elements using a specialized high-temperature two-component epoxy adhesive. This glue can rightfully be considered unique, since it can withstand heating up to 316 degrees Celsius without loss of strength and glues almost any material!
We glue the base of the brackets, the neck and the euro nut with diluted epoxy glue.
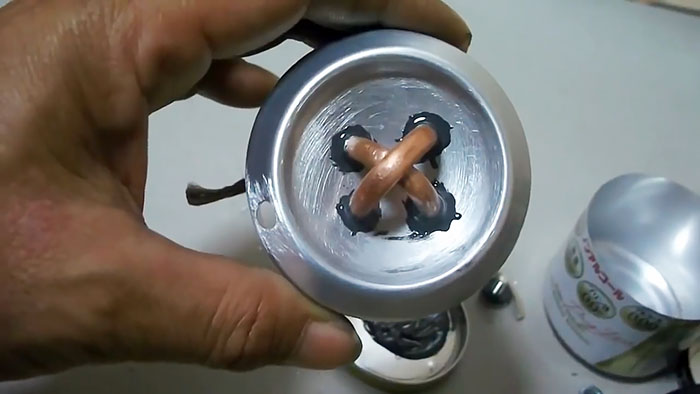
We coat their connections with the bottom so that they are completely sealed.
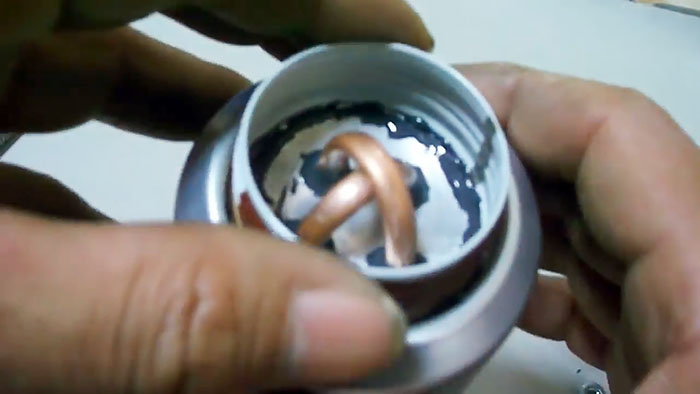
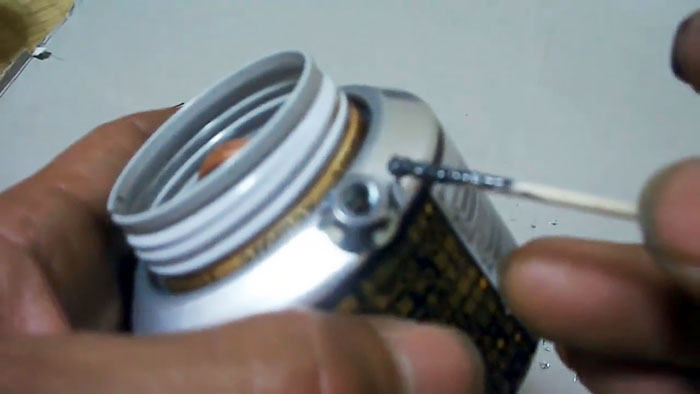
Using a thin drill, we drill holes in the bottom of the jar between the bracket arms.
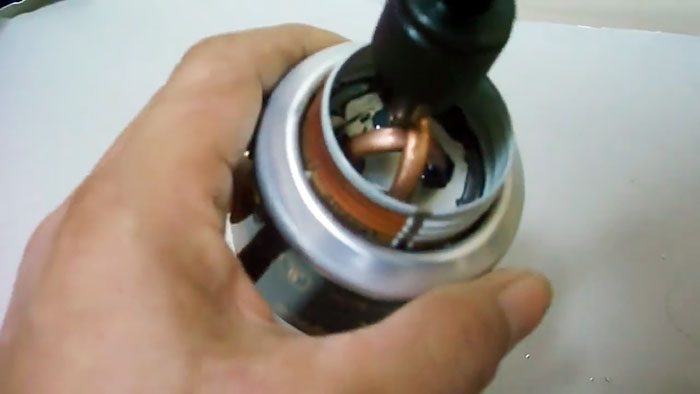
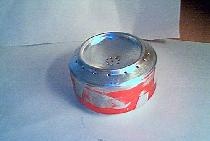
Now you can assemble the burner body from two scraps of aluminum cans. Our homemade product is completely ready to go!
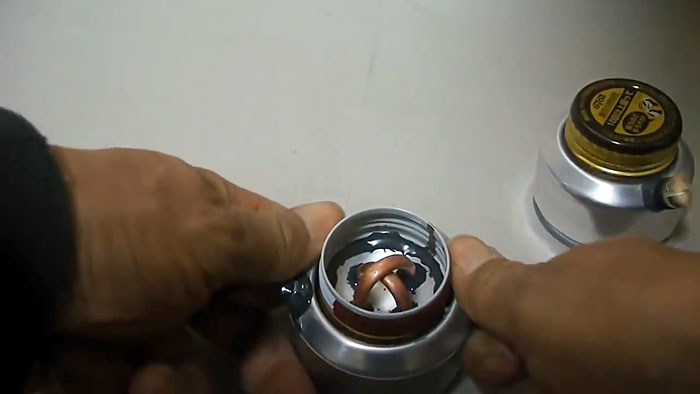
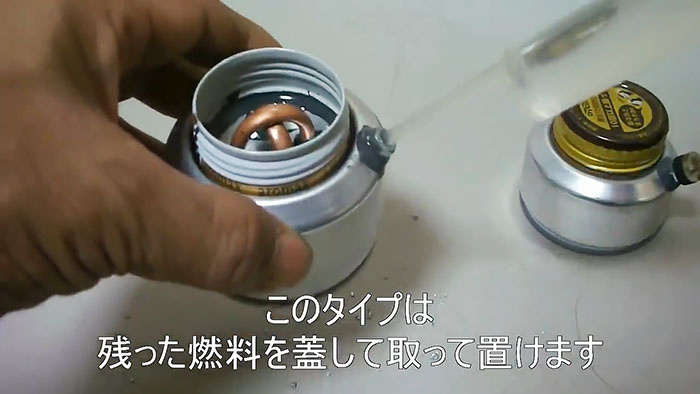
You can refuel it using a regular syringe, and the screw cap on the neck will not allow fuel to spill out of the burner.
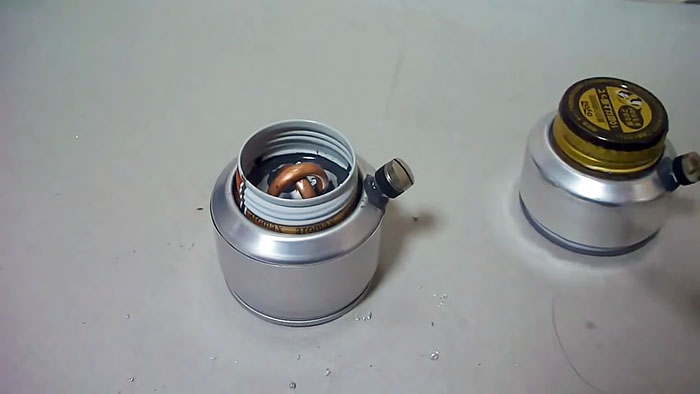
Ignition is carried out through the neck. We drip alcohol on top and set it on fire.

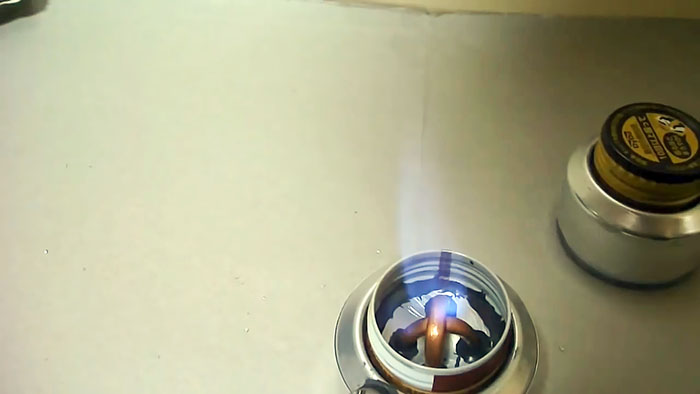
To get a jet flame, you need to wait a little until everything warms up.
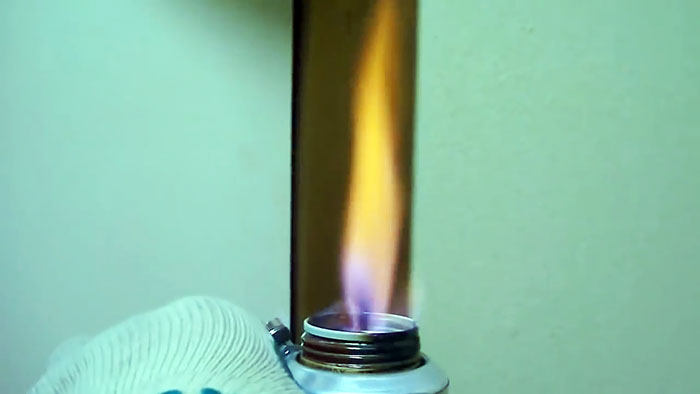

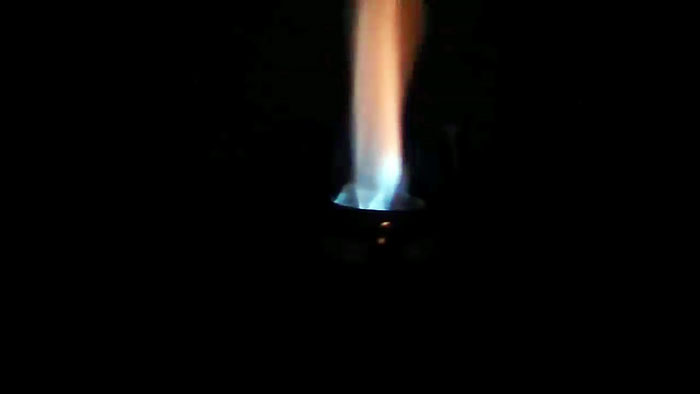
The video shows how such a model of such a small alcohol burner is capable of producing a flame of impressive intensity. Consumption, due to the small diameter of the holes, is very economical, and the duration of one combustion cycle is enough to warm a small pot or even a kettle of water in nature.

This is where a camping alcohol burner comes in handy, as it can easily replace a stove, primus stove or any other heater. And today we will tell you how to make it from aluminum cans. The raw materials are the most affordable and do not have any special features. Regular aluminum cola and beer cans will do. So let's get started!
Materials, tools
- Several aluminum cans of the same diameter (one of them with a screw cap);
- Copper tube, diameter – 4-6 mm;
- Nut M6-M8;
- Bolt according to the size of the nut with a rubber sealing ring;
- Two-component epoxy-based adhesive;
- Twine (rope) according to the size of the inner diameter of the copper tube;
- Alcohol.
Tools we will need: Screwdriver or drill; Pliers; Regular scissors; Knife; Marker; A syringe for refilling the burner and a lighter.
Step-by-step instructions for making a jet alcohol burner
For the body we will need several small pieces of aluminum cans. All you need is the lower part with the bottom, which we cut off at a distance of 4-5 cm from the edge of the embossed bottom of the cans.

The bottom of one of the cans will be the working part of the burner, so it must be sanded to remove varnish and paint. Otherwise, they will burn when heated and leave unpleasant marks behind.
Next, you need to bend the copper tube, making two small brackets out of it that fit the diameter of the bottom of the jar. To do this neatly and without breaking, pour fine sand into the inside of the tube and bend it, using a larger diameter pipe as a template.

We cut off the neck of one of the cans and also clean it with sandpaper. We check that the neck fits the size of the bottom of our burner.

Then we mark the edges of the copper tube staples at the bottom of the jar. They need to be positioned perpendicular to each other so that they overlap and form a cross.
We drill holes for the tube outlets with drills, starting from the smallest. The final drill will be a drill corresponding to the diameter of the copper tubes. This way the holes will be as neat as possible.

We insert a piece of twine inside the copper brackets as a wick, and place a cross made of tubes in the bottom of our burner.


Each aluminum can has an inclined edge separating the straight walls and the concave topography of the bottom. We make a hole in it for screw filling of our burner.Let's make it from a Euro nut with a wide collar at the base, and a bolt with a rubber gasket that protects against fuel evaporation.


It's time to fix all the elements using a specialized high-temperature two-component epoxy adhesive. This glue can rightfully be considered unique, since it can withstand heating up to 316 degrees Celsius without loss of strength and glues almost any material!
We glue the base of the brackets, the neck and the euro nut with diluted epoxy glue.

We coat their connections with the bottom so that they are completely sealed.


Using a thin drill, we drill holes in the bottom of the jar between the bracket arms.

Now you can assemble the burner body from two scraps of aluminum cans. Our homemade product is completely ready to go!


You can refuel it using a regular syringe, and the screw cap on the neck will not allow fuel to spill out of the burner.

Ignition is carried out through the neck. We drip alcohol on top and set it on fire.


To get a jet flame, you need to wait a little until everything warms up.


The video shows how such a model of such a small alcohol burner is capable of producing a flame of impressive intensity. Consumption, due to the small diameter of the holes, is very economical, and the duration of one combustion cycle is enough to warm a small pot or even a kettle of water in nature.
Watch the video
Similar master classes
Particularly interesting
Comments (6)

