How to assemble a solar collector for heating from aluminum cans
To heat a garage, workshop, chicken coop or even a house, you can use solar collectors, which make heating practically free. Such devices collect thermal energy from the sun and direct it into the room, while using a tiny amount of electricity to power their fan. Solar collectors are quite expensive devices, and they are installed in several pieces, so it is much more practical to make them yourself.
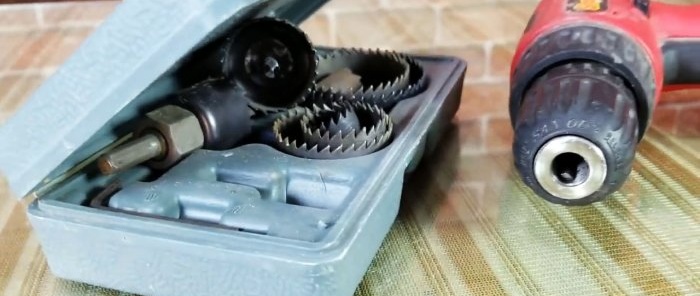
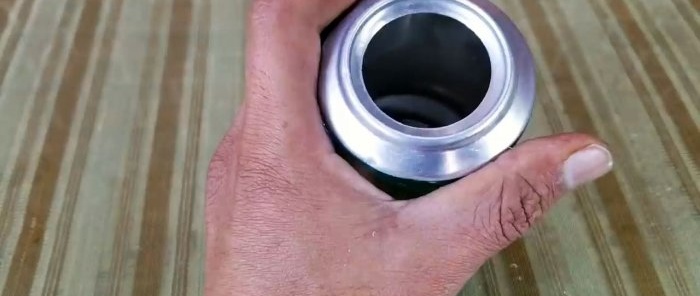
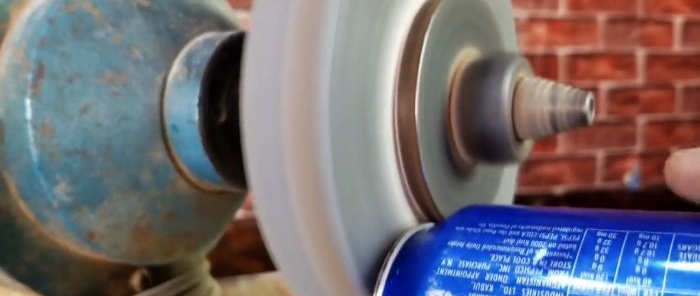
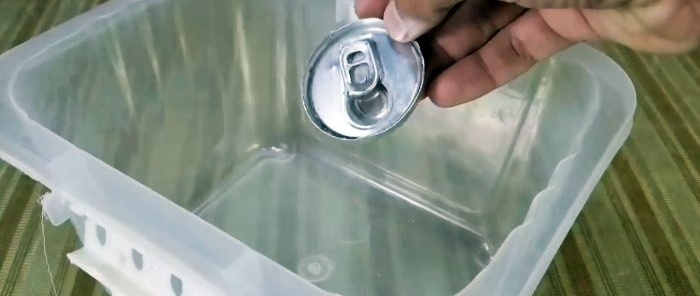
The proposed collector design involves heating the air. It uses thin-walled aluminum tubes made from soda or beer cans as surfaces heated by the sun's rays. To make such pipes, you need to drill out the bottom of the cans with a crown and grind off the seam of the lid.
At least a hundred cans will need to be recycled, the number will depend on the size of the collector.
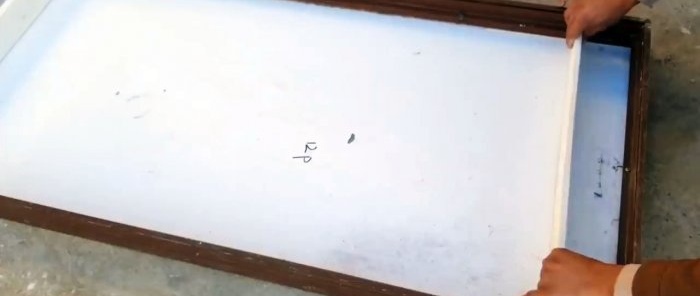
Next, the collector body is manufactured. It can be made from any available moisture-resistant materials. In the example, it is assembled from factory frames from broken solar panels.
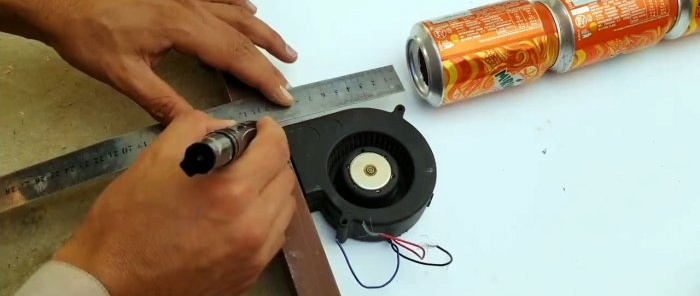
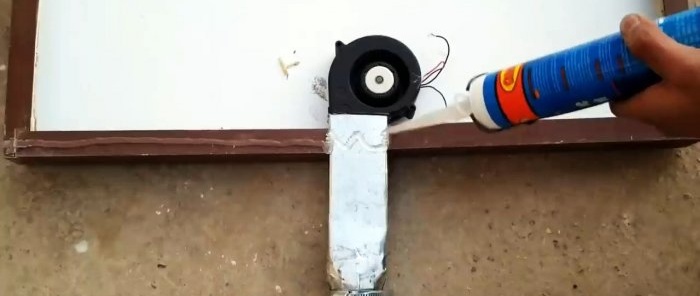
You need to cut a window for the fan in the collector body and secure it by blowing it outward. In this case, an adapter pipe is placed on the volute for connection to a corrugated pipe. You can bend it out of a spray paint can.
Since in this case old solar panels are used as the collector body, a second frame is installed on top of the frame with the snail. In this case, the body is deeper, which is necessary to accommodate the tubes. The gaps between the frames are sealed with silicone.
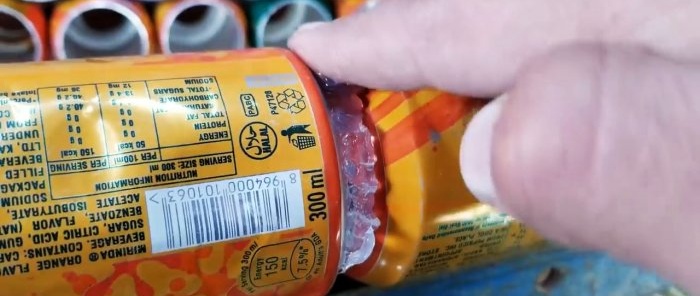
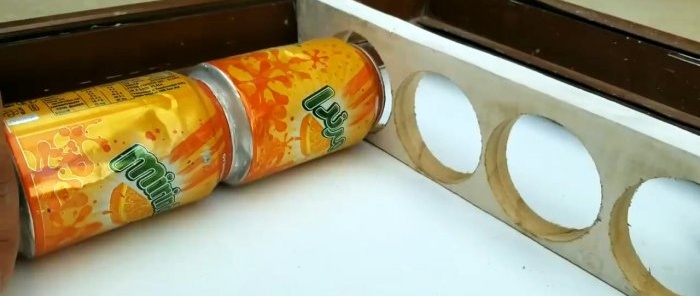
Next, first use hot glue and then silicone to glue the cans into long tubes. Hot-melt adhesive allows you to hold them together at the initial stage until the sealant sets.
To attach the tubes to the manifold, you need to install 2 jumpers. They are cut to the height of the body from boards, plywood or similar material.
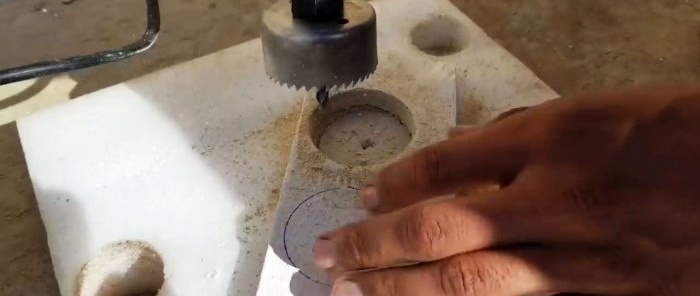
Then holes are drilled in the jumpers for each pipe. Using silicone, you need to seal the gaps between the body and the boards, as well as between the holes and tubes.
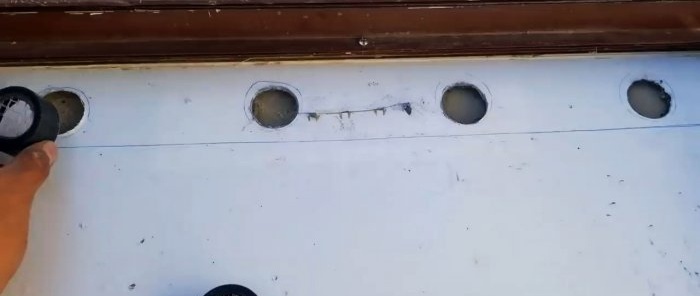
On the opposite side of the fan, fresh air intake windows are drilled into the rear wall of the collector housing. To prevent insects from penetrating through them, a mosquito net or special ventilation grilles should be placed on top.
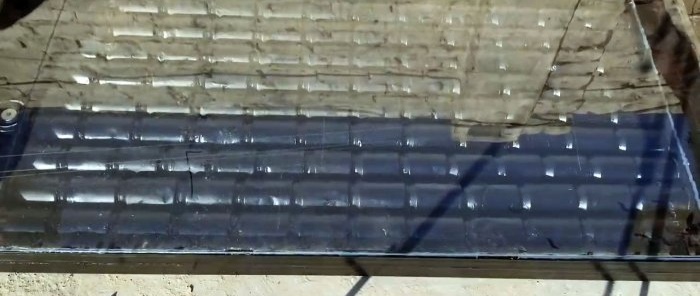
The inside of the collector is painted with matte black paint, which will increase the temperature and heating rate of the pipes. After this, the case is closed with clean glass. It is also glued onto silicone.
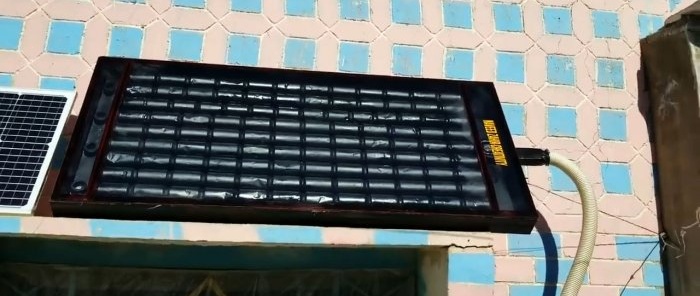
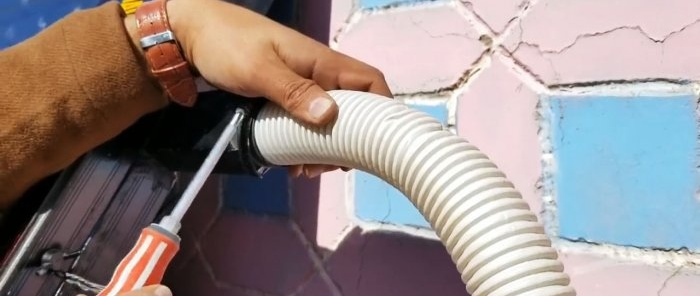
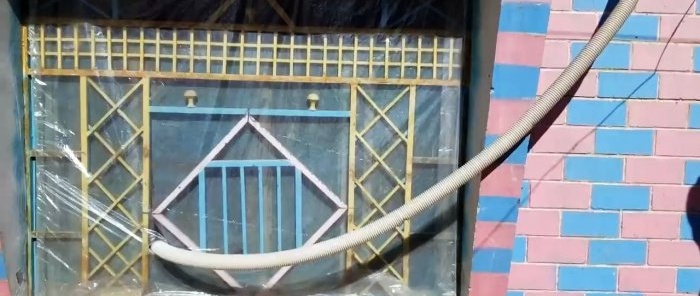
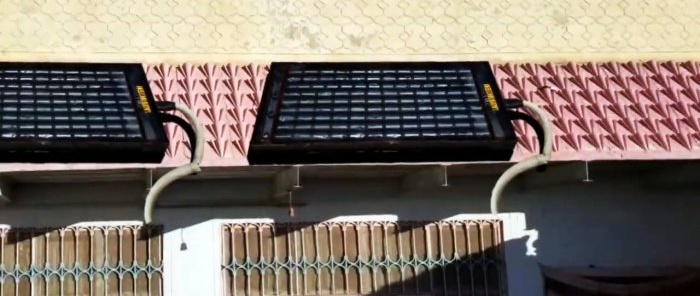
Next, the collector is installed on the roof on the sunny side. A pipe is connected to the volute pipe, which is led into the supply ventilation of the room.
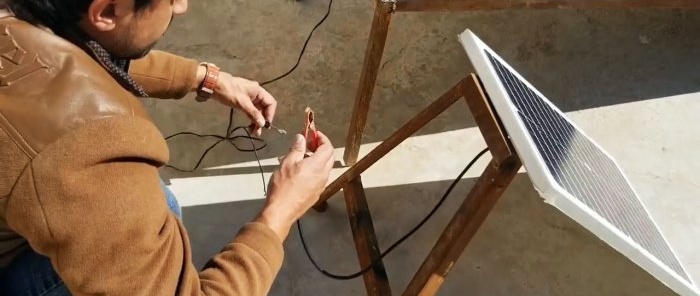
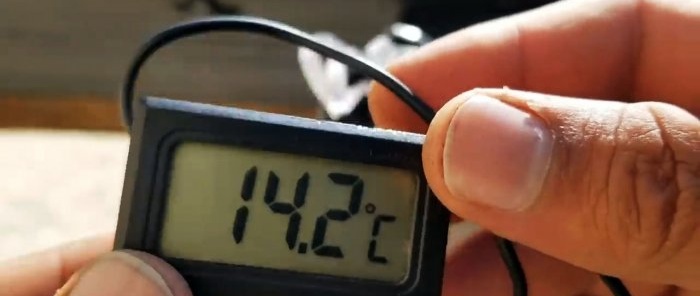
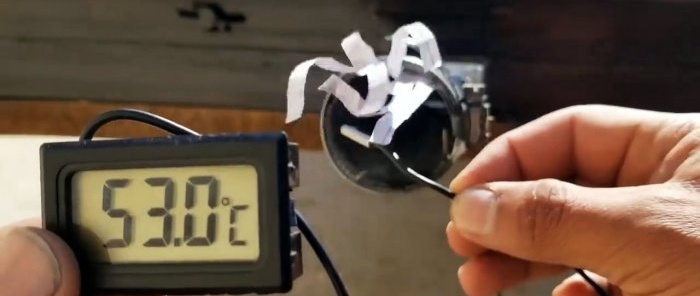
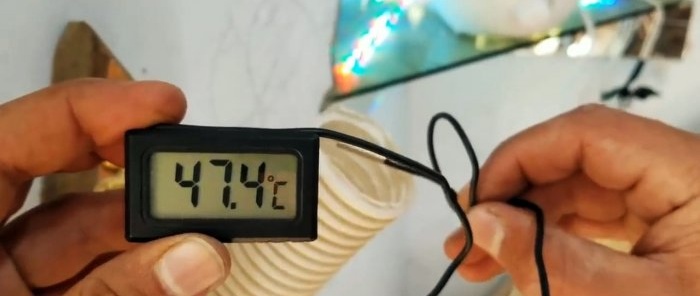
The fan itself can be directly powered by a solar panel. In this case, it will turn on only during the day, when there is sun, which means the air in the collector is warm. Using a panel in conjunction with a collector makes heating completely free. You can also simply connect the snail to the network via a time relay. In this case, it will turn on itself in the morning and turn off in the evening. On a bright day, a homemade collector is capable of supplying air heated to + 60 degrees Celsius into the room, which is very good.
Basic materials:
- aluminum soda or beer cans;
- profile pipe or wooden slats;
- moisture-resistant plywood or other board material;
- snail fan;
- silicone;
- glass.
Heating manifold assembly
The proposed collector design involves heating the air. It uses thin-walled aluminum tubes made from soda or beer cans as surfaces heated by the sun's rays. To make such pipes, you need to drill out the bottom of the cans with a crown and grind off the seam of the lid.
At least a hundred cans will need to be recycled, the number will depend on the size of the collector.
Next, the collector body is manufactured. It can be made from any available moisture-resistant materials. In the example, it is assembled from factory frames from broken solar panels.
You need to cut a window for the fan in the collector body and secure it by blowing it outward. In this case, an adapter pipe is placed on the volute for connection to a corrugated pipe. You can bend it out of a spray paint can.
Since in this case old solar panels are used as the collector body, a second frame is installed on top of the frame with the snail. In this case, the body is deeper, which is necessary to accommodate the tubes. The gaps between the frames are sealed with silicone.
Next, first use hot glue and then silicone to glue the cans into long tubes. Hot-melt adhesive allows you to hold them together at the initial stage until the sealant sets.
To attach the tubes to the manifold, you need to install 2 jumpers. They are cut to the height of the body from boards, plywood or similar material.
Then holes are drilled in the jumpers for each pipe. Using silicone, you need to seal the gaps between the body and the boards, as well as between the holes and tubes.
On the opposite side of the fan, fresh air intake windows are drilled into the rear wall of the collector housing. To prevent insects from penetrating through them, a mosquito net or special ventilation grilles should be placed on top.
The inside of the collector is painted with matte black paint, which will increase the temperature and heating rate of the pipes. After this, the case is closed with clean glass. It is also glued onto silicone.
Next, the collector is installed on the roof on the sunny side. A pipe is connected to the volute pipe, which is led into the supply ventilation of the room.
The fan itself can be directly powered by a solar panel. In this case, it will turn on only during the day, when there is sun, which means the air in the collector is warm. Using a panel in conjunction with a collector makes heating completely free. You can also simply connect the snail to the network via a time relay. In this case, it will turn on itself in the morning and turn off in the evening. On a bright day, a homemade collector is capable of supplying air heated to + 60 degrees Celsius into the room, which is very good.
Watch the video
Similar master classes
Particularly interesting
Comments (4)

