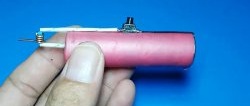
Mini soldering iron made from a lighter
To assemble a mini soldering iron from a regular lighter you will need about 15 minutes of your time. With this soldering iron you can solder both radio elements and wires. This homemade product will definitely help you out in an emergency.
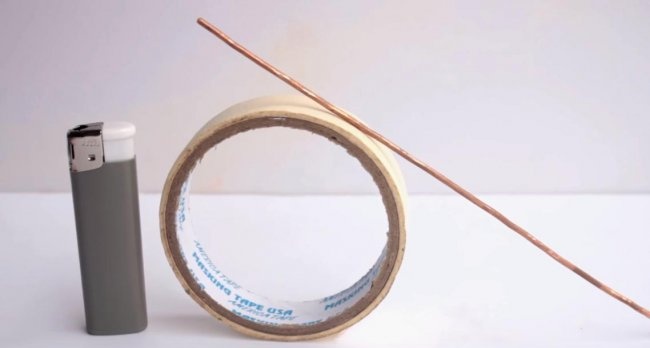
You will need:
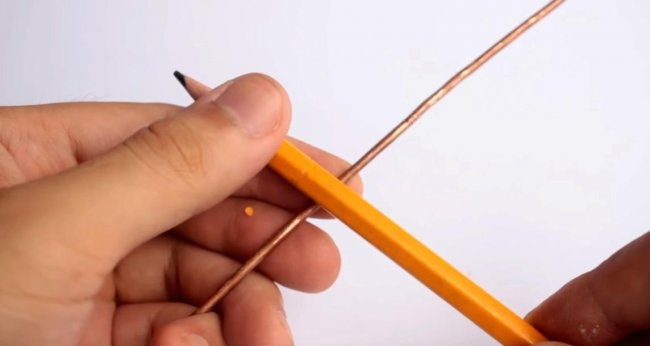
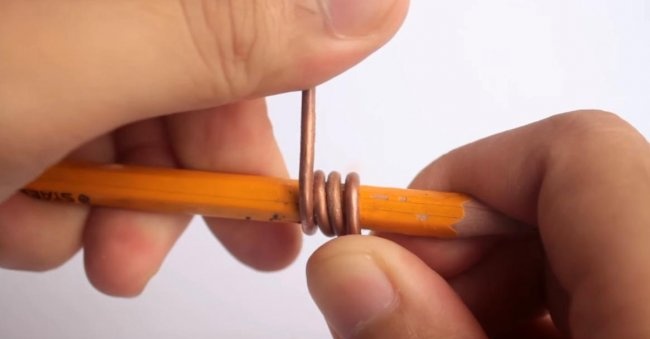
Take a thick wire and wrap it around a pencil or ballpoint pen. We make 4-6 turns, then take out the pencil.
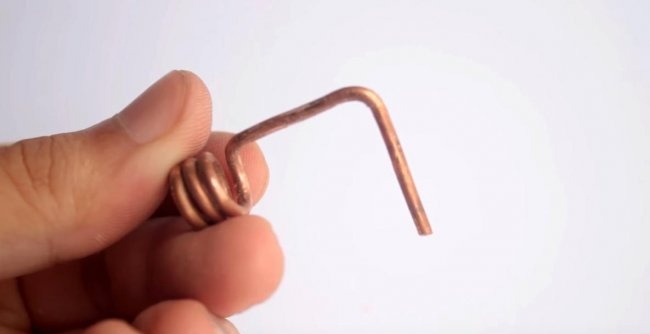
Next, at one end we make a hook like this with a right angle. At a distance of approximately 2 cm from the turns.
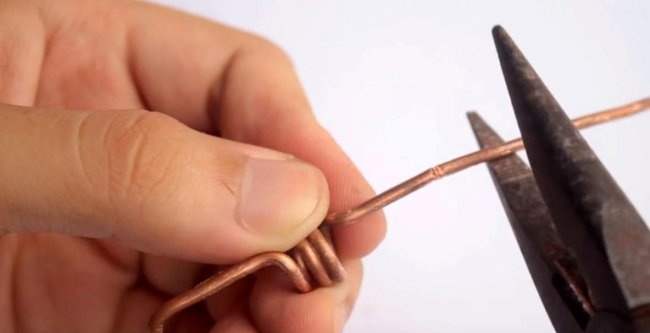
On the other side of the winding, we bite off the wire without any bends, at the same distance.
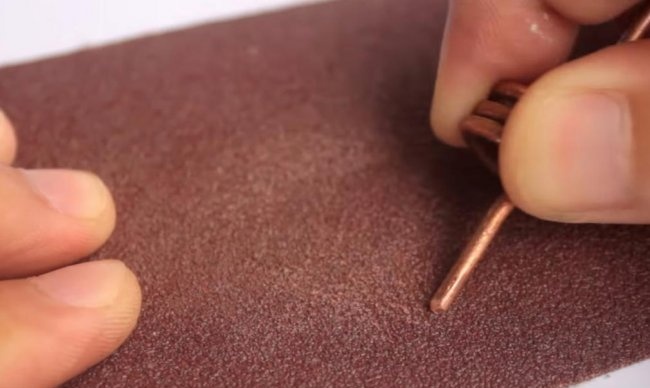
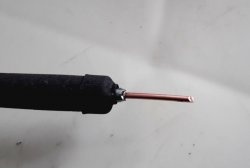
We sharpen the end a little with sandpaper - this will be the soldering iron tip.
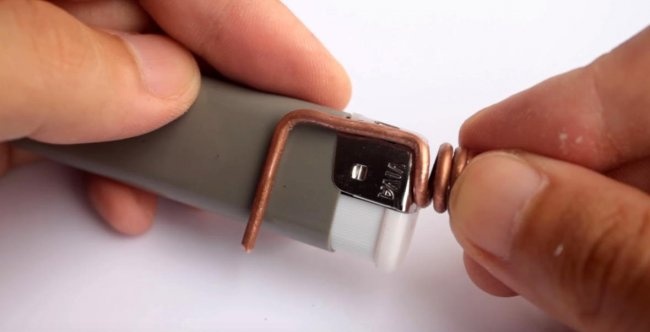
Let's try it on a lighter.
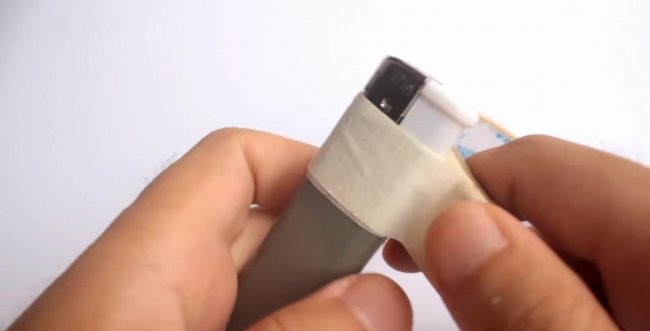
We put 5-7 layers of masking tape around the lighter to thermally insulate the lighter from the hot sting.
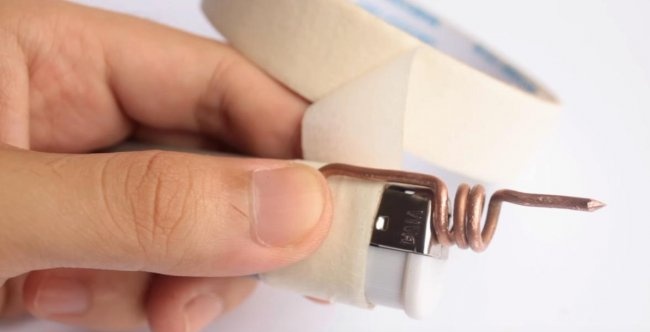
Then we install the tip and secure it with the same masking tape.
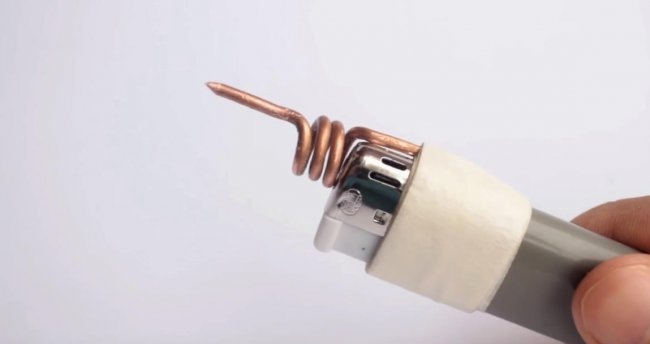
When installing the tip, you need to take into account that the center of the coil looks exactly into the hole in the lighter from which the flame comes out.
The soldering iron is ready.
It's very easy to use.
We light the lighter, wait a couple of seconds, release the button and solder. As soon as the tip begins to cool, we immediately repeat the ignition for a few seconds and continue.
A very big plus of this crafts the fact that soldering does not require an electrical network, which can be useful.
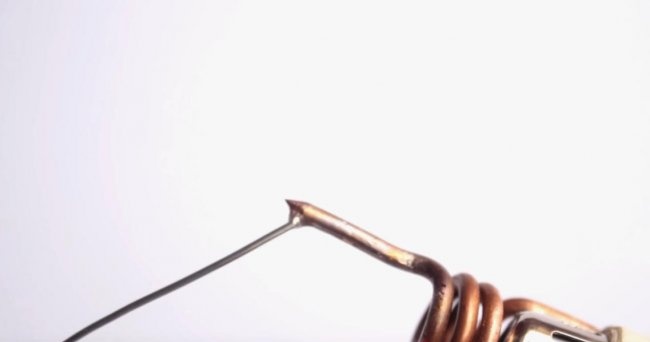
For soldering, it is better to use tubular solder with flux (rosin) inside.
Also, during the soldering process, do not keep the lighter in burning mode for very long. No more than 5 seconds. So that the inside of the pressure mechanism does not melt.
You will need:
- - masking tape.
- - a small piece of thick copper wire 1-3 mm.
- - regular gas lighter. It is better to take one with a piezoelectric element.
Making a soldering iron from a lighter
Take a thick wire and wrap it around a pencil or ballpoint pen. We make 4-6 turns, then take out the pencil.
Next, at one end we make a hook like this with a right angle. At a distance of approximately 2 cm from the turns.
On the other side of the winding, we bite off the wire without any bends, at the same distance.
We sharpen the end a little with sandpaper - this will be the soldering iron tip.
Let's try it on a lighter.
We put 5-7 layers of masking tape around the lighter to thermally insulate the lighter from the hot sting.
Then we install the tip and secure it with the same masking tape.
When installing the tip, you need to take into account that the center of the coil looks exactly into the hole in the lighter from which the flame comes out.
The soldering iron is ready.
How to use?
It's very easy to use.
We light the lighter, wait a couple of seconds, release the button and solder. As soon as the tip begins to cool, we immediately repeat the ignition for a few seconds and continue.
A very big plus of this crafts the fact that soldering does not require an electrical network, which can be useful.
For soldering, it is better to use tubular solder with flux (rosin) inside.
Also, during the soldering process, do not keep the lighter in burning mode for very long. No more than 5 seconds. So that the inside of the pressure mechanism does not melt.
Watch the video instructions for making a soldering iron from a lighter.
Similar master classes
Particularly interesting

Cable antenna for digital TV in 5 minutes

A selection of simple and effective schemes.

Three-phase voltage from single-phase in 5 minutes

Starting a three-phase motor from a single-phase network without a capacitor

Eternal flashlight without batteries

How to make an inexpensive but very powerful LED lamp
Comments (4)

