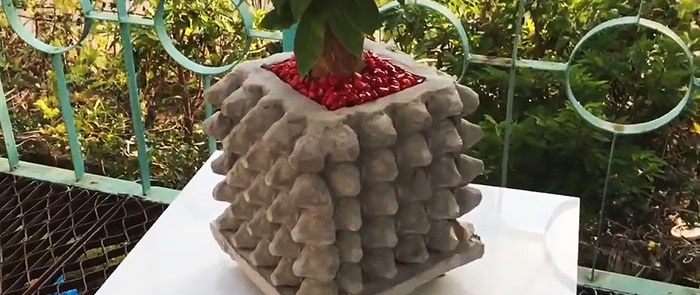
Flower pot made of cement and egg trays
Some houseplants with small roots have a developed crown, a powerful trunk and heavy leaves. They require not so much a voluminous, but a heavy pot. In order not to spend money on the purchase, we will make it ourselves from scrap and low-value materials.
Moreover, we can give a homemade pot a creative shape, an interesting external decor and, thereby, emphasize the originality of landscape design and interior.
We will find the materials needed for work at home or on the street:
To perform the upcoming operations, we will prepare scissors, a knife and a construction trowel.
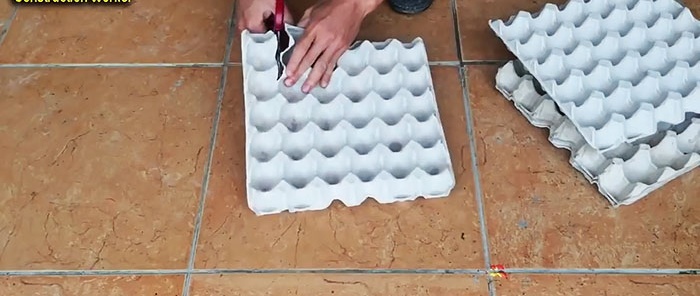
From two mesh trays we cut off one strip with scissors along the tops of the tubercles on the side with six nests for eggs. We do the same with another pair of trays, but we cut off not one, but two strips.
In a cardboard box of a cubic shape and the required dimensions for fitting, we place trays with one cut strip, pressing them close to two opposite walls.Using two narrow trays, we close the remaining sides of the box from the inside.
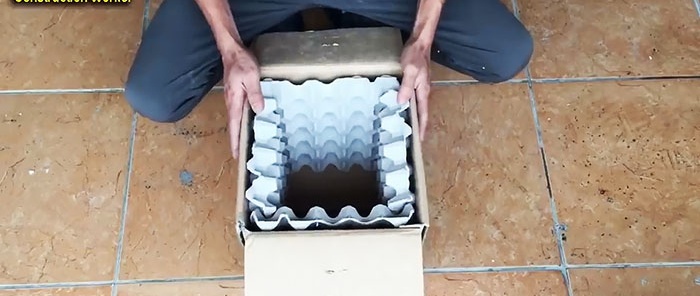
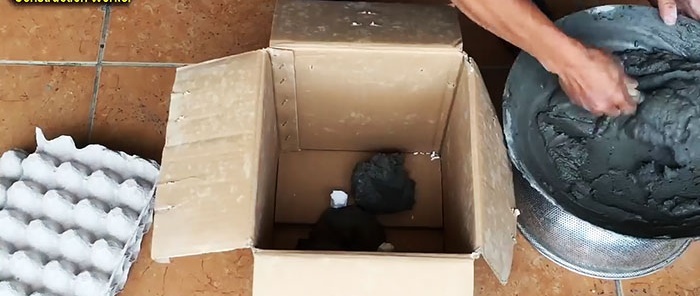
We take the trays out of the box and, having installed two beacons on the bottom, lay the pre-prepared cement mortar over them, and return the trays to their place.
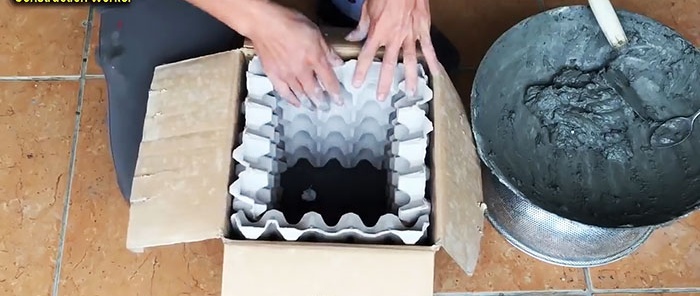
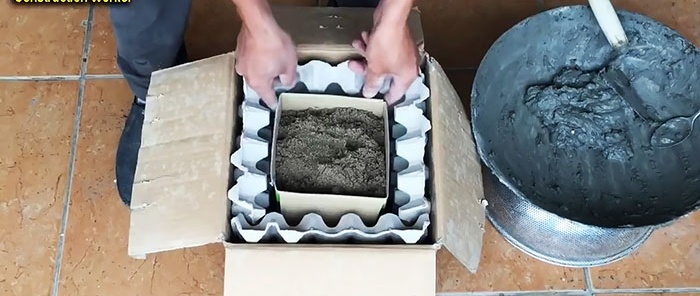
We place a small box of sand between the trays to maintain its shape. By changing the position of the small box, we achieve a uniform gap between it and the trays around the entire perimeter.
Add foam granules to the cement mortar and mix the components thoroughly to obtain a homogeneous moving mass. We can carry out this operation with our hands, wearing waterproof gloves.
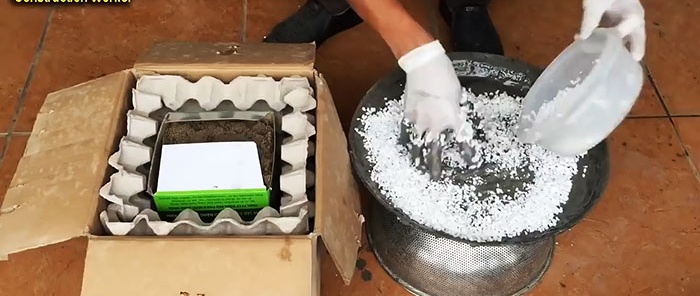
We fill the gap between the trays and the walls of the small box with the solution, lightly compacting it with a knife.
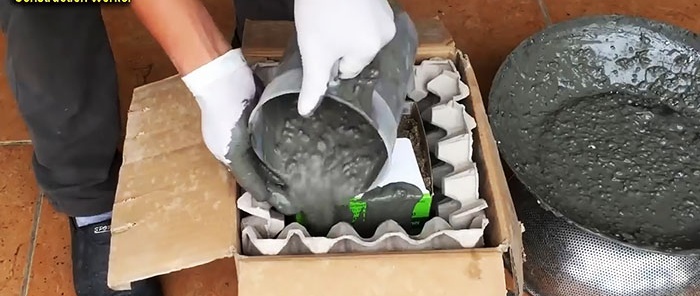
In a free tray, installing it horizontally, pour cement mortar into four nests - these are the future legs of the pot.
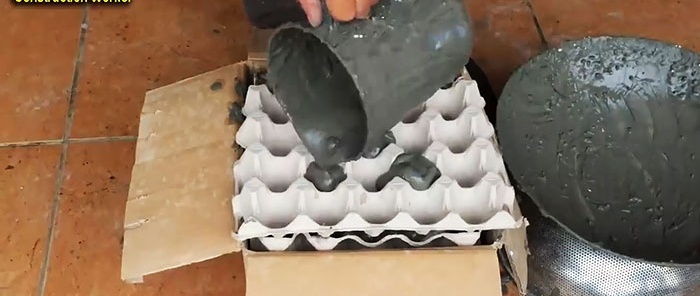
Allow the solution to harden sufficiently.
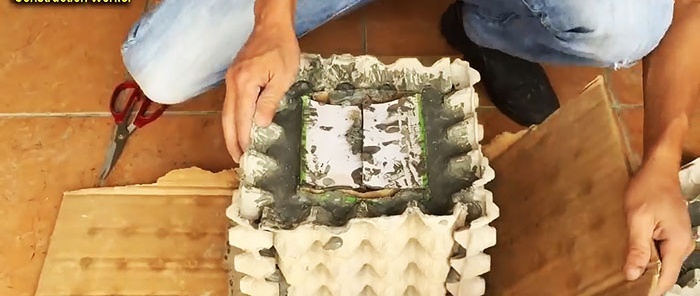
We cut the outer box with scissors and remove it. We also tear off the trays in pieces and remove the small cardboard box from inside. This operation is quite easy, since the cardboard is saturated with moisture and almost does not resist tearing.
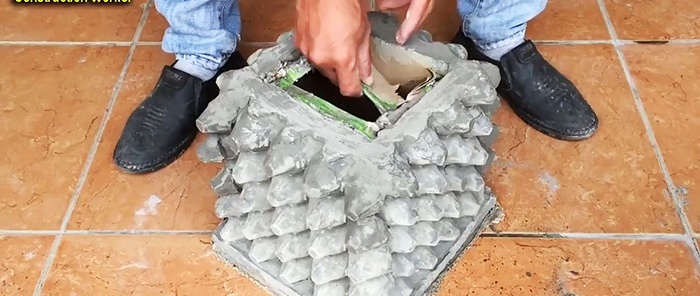
We turn the cement pot upside down, tear off the bottom of the cardboard box, and use a knife to make two drainage holes in the bottom of the pot to drain excess irrigation water.
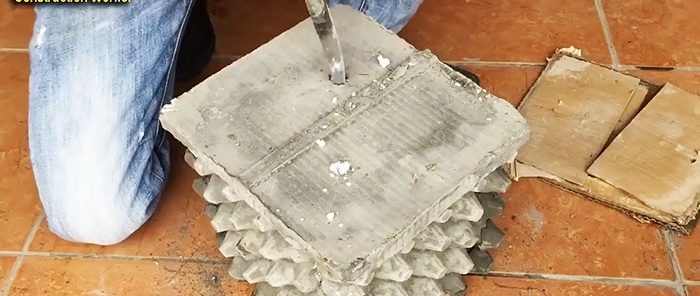
We take out four cement prisms from the tray sockets. We apply a little solution to the corners of the bottom of the pot, cover the base of the prisms with it and install them in their places.
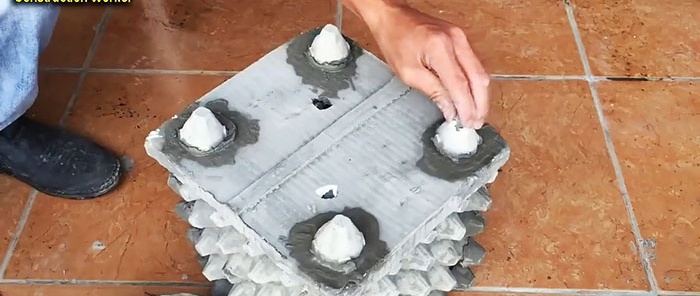
After the legs have set, the cement pot can be used for its intended purpose by planting a massive indoor plant in it.
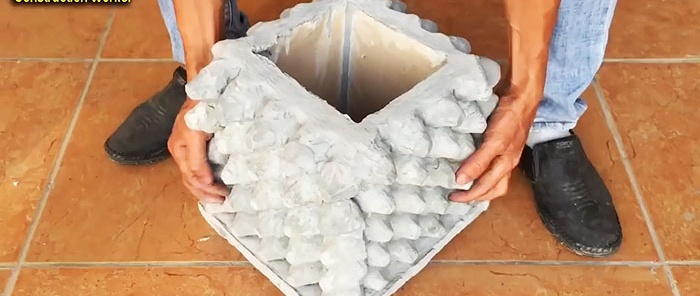
The outer lumpy shape of the pot will only emphasize the beauty of the plant and fit into the surrounding interior.

Moreover, we can give a homemade pot a creative shape, an interesting external decor and, thereby, emphasize the originality of landscape design and interior.

Will need
We will find the materials needed for work at home or on the street:
- four mesh trays for 30 eggs;
- large and small cardboard boxes;
- cement mortar;
- beacons – 2 pcs.;
- foam granules.
To perform the upcoming operations, we will prepare scissors, a knife and a construction trowel.
Cement pot making process
From two mesh trays we cut off one strip with scissors along the tops of the tubercles on the side with six nests for eggs. We do the same with another pair of trays, but we cut off not one, but two strips.

In a cardboard box of a cubic shape and the required dimensions for fitting, we place trays with one cut strip, pressing them close to two opposite walls.Using two narrow trays, we close the remaining sides of the box from the inside.

We take the trays out of the box and, having installed two beacons on the bottom, lay the pre-prepared cement mortar over them, and return the trays to their place.


We place a small box of sand between the trays to maintain its shape. By changing the position of the small box, we achieve a uniform gap between it and the trays around the entire perimeter.

Add foam granules to the cement mortar and mix the components thoroughly to obtain a homogeneous moving mass. We can carry out this operation with our hands, wearing waterproof gloves.

We fill the gap between the trays and the walls of the small box with the solution, lightly compacting it with a knife.

In a free tray, installing it horizontally, pour cement mortar into four nests - these are the future legs of the pot.

Allow the solution to harden sufficiently.

We cut the outer box with scissors and remove it. We also tear off the trays in pieces and remove the small cardboard box from inside. This operation is quite easy, since the cardboard is saturated with moisture and almost does not resist tearing.

We turn the cement pot upside down, tear off the bottom of the cardboard box, and use a knife to make two drainage holes in the bottom of the pot to drain excess irrigation water.

We take out four cement prisms from the tray sockets. We apply a little solution to the corners of the bottom of the pot, cover the base of the prisms with it and install them in their places.

After the legs have set, the cement pot can be used for its intended purpose by planting a massive indoor plant in it.

The outer lumpy shape of the pot will only emphasize the beauty of the plant and fit into the surrounding interior.

Watch the video
Similar master classes
Particularly interesting
Comments (0)


