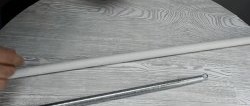
How to solder a pipe with water
Soldering plastic pipes, inserting or connecting fittings to them when the water is not completely turned off is technically impossible. It is required, at least for a short time, to get rid of the leak, dry the joint and promptly carry out the planned operation.
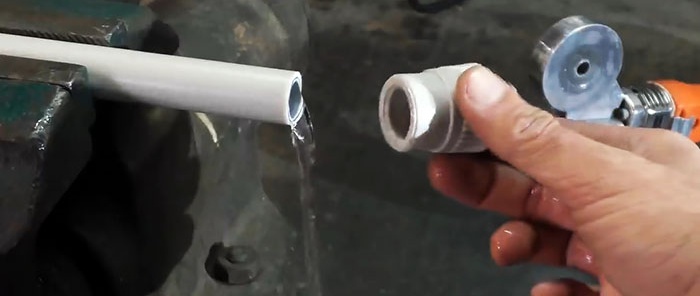
We turned off the water in the riser, but it continues to flow, although there is no pressure. Despite this, we need to firmly and hermetically fasten the coupling with a metal pipe to the end of the plastic pipe.
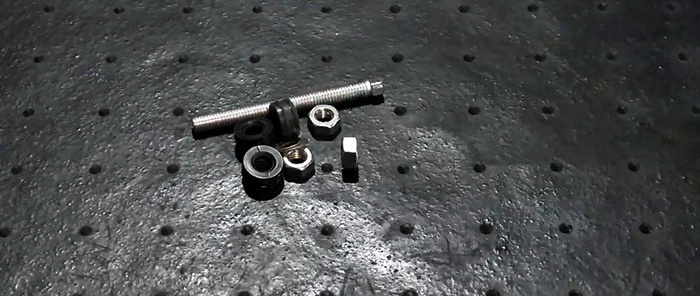
To completely shut off the water, we will make a simple device. To do this we need to prepare the following items:
Tools you will need: a grinder, a drill with an end mill, wrenches, a hand screwdriver, a soldering iron for connecting plastic pipes and a dry rag.
First, we will make a device, and then use it to turn off the water and carry out soldering and connection.
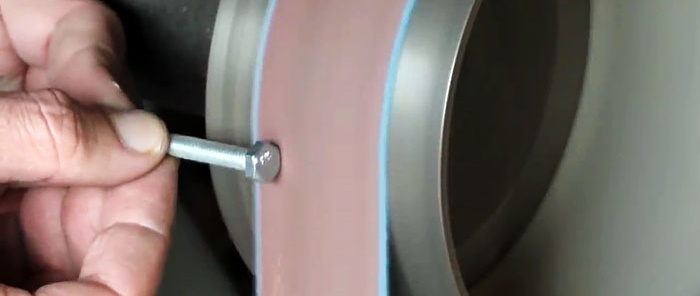
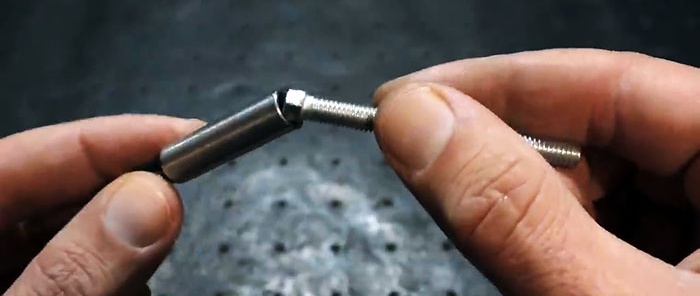
We adjust the size of the head of a standard bolt to a cylindrical hex socket with a bit at one end.To do this, we process it on a grinder.
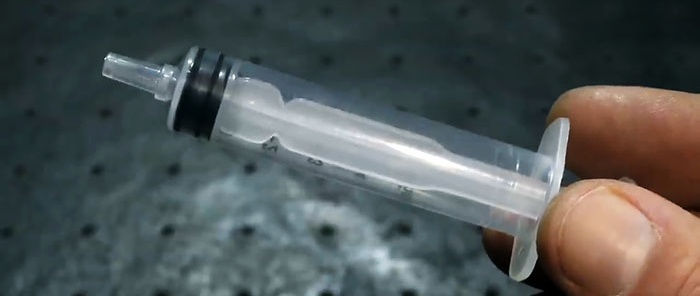
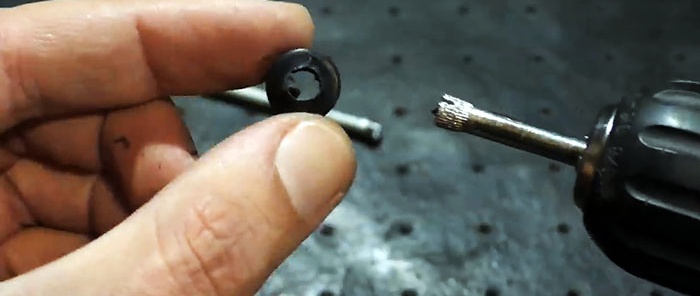
We remove the pistons from three identical medical syringes and use a drill with a final cutter to drill holes in them in the center.
Let's start assembling the sealing device.
To do this, screw two nuts onto a bolt with a reduced head and lock them against each other, turning them using wrenches to tighten them.
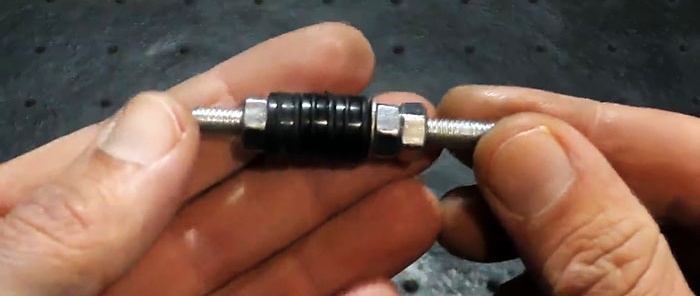
We put the washer on the bolt until it touches the nut, then alternately three rubber pistons and finally tighten them with another nut. Moreover, the tighter the tightening, the larger the diameter of the sealing belt of pistons will become.
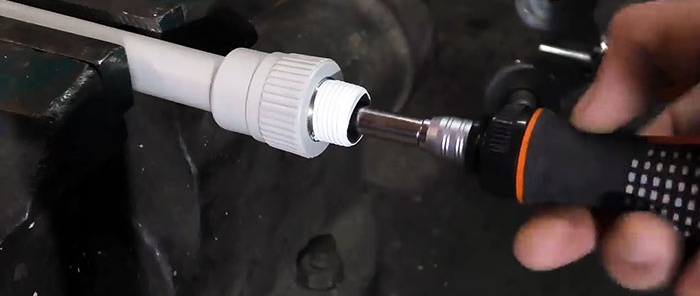
We insert the reduced bolt head into the hex socket with a bit and place the device inside the pipe.
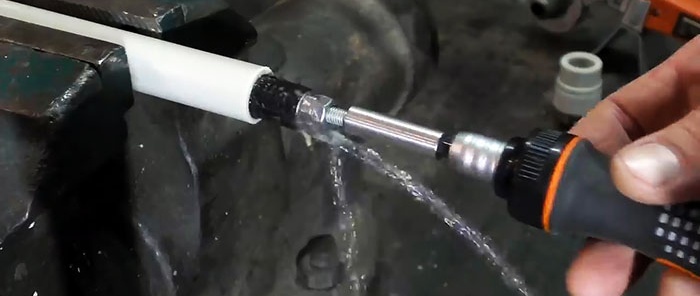
Then use a hand screwdriver to push it a little further along the pipe, mark this place and begin to tighten the bolt of the device.
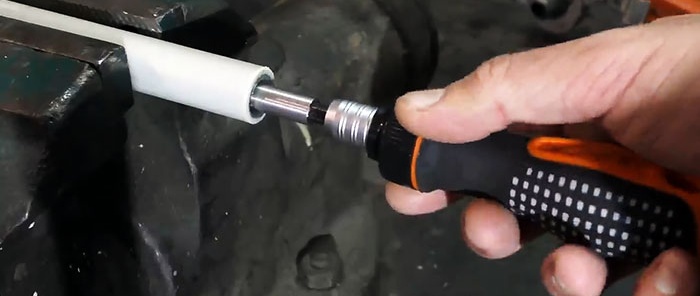
As a result, the sealing band, being compressed between the nuts, will begin to decrease in length, but increase in diameter. After some time, we will notice that water will stop flowing from the pipe.
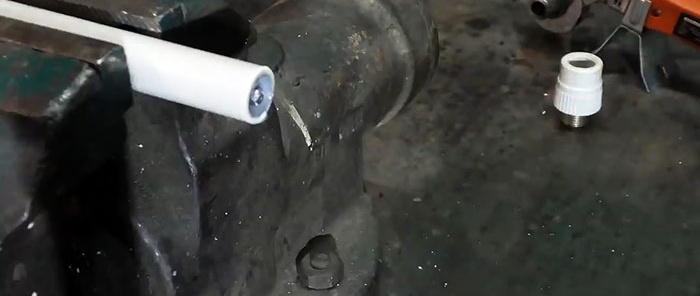
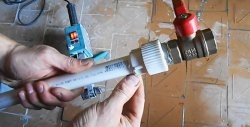
Dry the end of the pipe with a dry cloth and begin soldering. To do this, use a soldering apparatus to heat the end of the pipe and the coupling. After some waiting, we remove the soldering iron and connect the elements to be welded.
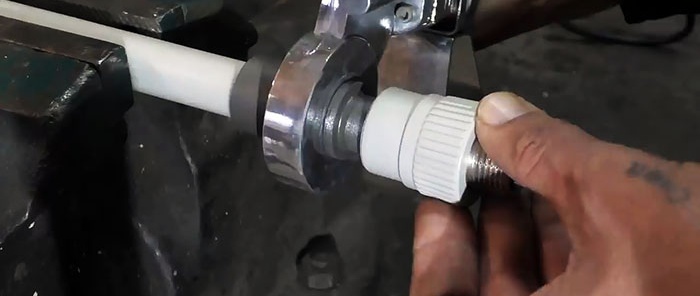
We wait for the joint to harden and use a screwdriver to unscrew the device inside the pipe.
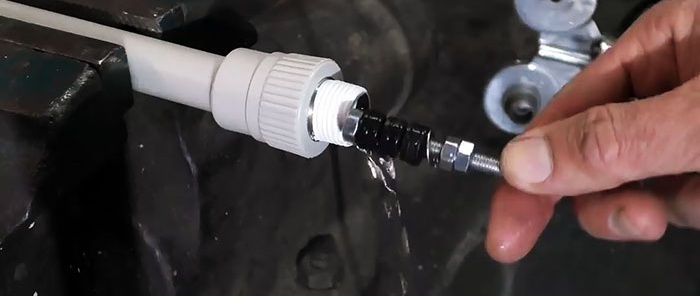
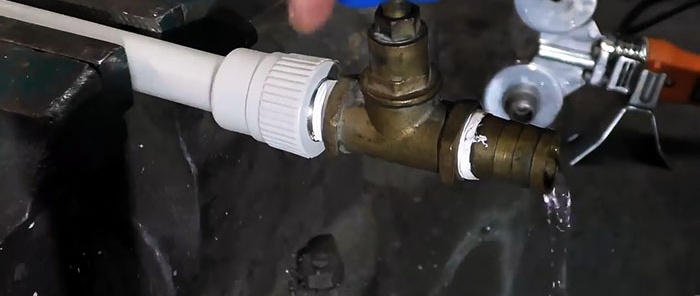
The fact that this happened can be judged by the appearance of water from the coupling outlet. All that remains is to pull the device out of the pipe, wrap the squeegee with FUM tape, screw on the valve and turn off the water.

Will need
We turned off the water in the riser, but it continues to flow, although there is no pressure. Despite this, we need to firmly and hermetically fasten the coupling with a metal pipe to the end of the plastic pipe.
To completely shut off the water, we will make a simple device. To do this we need to prepare the following items:
- hex head bolt with extended shank;
- hexagonal cylindrical nozzle with a bat;
- three rubber plungers from medical syringes;
- standard nuts and washers;
- valve, etc.
Tools you will need: a grinder, a drill with an end mill, wrenches, a hand screwdriver, a soldering iron for connecting plastic pipes and a dry rag.
The process of soldering pipes with water
First, we will make a device, and then use it to turn off the water and carry out soldering and connection.
Fixture manufacturing process
We adjust the size of the head of a standard bolt to a cylindrical hex socket with a bit at one end.To do this, we process it on a grinder.


We remove the pistons from three identical medical syringes and use a drill with a final cutter to drill holes in them in the center.


Let's start assembling the sealing device.

To do this, screw two nuts onto a bolt with a reduced head and lock them against each other, turning them using wrenches to tighten them.

We put the washer on the bolt until it touches the nut, then alternately three rubber pistons and finally tighten them with another nut. Moreover, the tighter the tightening, the larger the diameter of the sealing belt of pistons will become.
The process of shutting off water and soldering
We insert the reduced bolt head into the hex socket with a bit and place the device inside the pipe.

Then use a hand screwdriver to push it a little further along the pipe, mark this place and begin to tighten the bolt of the device.

As a result, the sealing band, being compressed between the nuts, will begin to decrease in length, but increase in diameter. After some time, we will notice that water will stop flowing from the pipe.

Dry the end of the pipe with a dry cloth and begin soldering. To do this, use a soldering apparatus to heat the end of the pipe and the coupling. After some waiting, we remove the soldering iron and connect the elements to be welded.

We wait for the joint to harden and use a screwdriver to unscrew the device inside the pipe.


The fact that this happened can be judged by the appearance of water from the coupling outlet. All that remains is to pull the device out of the pipe, wrap the squeegee with FUM tape, screw on the valve and turn off the water.

Watch the video
Similar master classes
Particularly interesting
Comments (5)

